What the Viking Warband box gives you to work with
The Viking Warband box contains 36 figures: 6 command figures (warlords, berserkers, and standard bearers), 12 armoured Vikings, 12 unarmoured Vikings, and 6 archers or slingers. This gives you a flexible force for Pillage or other skirmish games. Transfers and bases are sold separately.
For a painting guide, the key decision is how to handle the shields and cloaks — two areas that define the visual identity of a Viking warband on the tabletop. The box does not include specific painting instructions, so the techniques below are based on common wargaming practice and the figure poses supplied.
Evidence from the catalog
-
Viking Warband: 6 Command Figures (Warlords, Berserkers, & Standard Bearers) Command figures often have more elaborate cloaks and shields, making them ideal for testing a colour scheme before painting the rank-and-file.
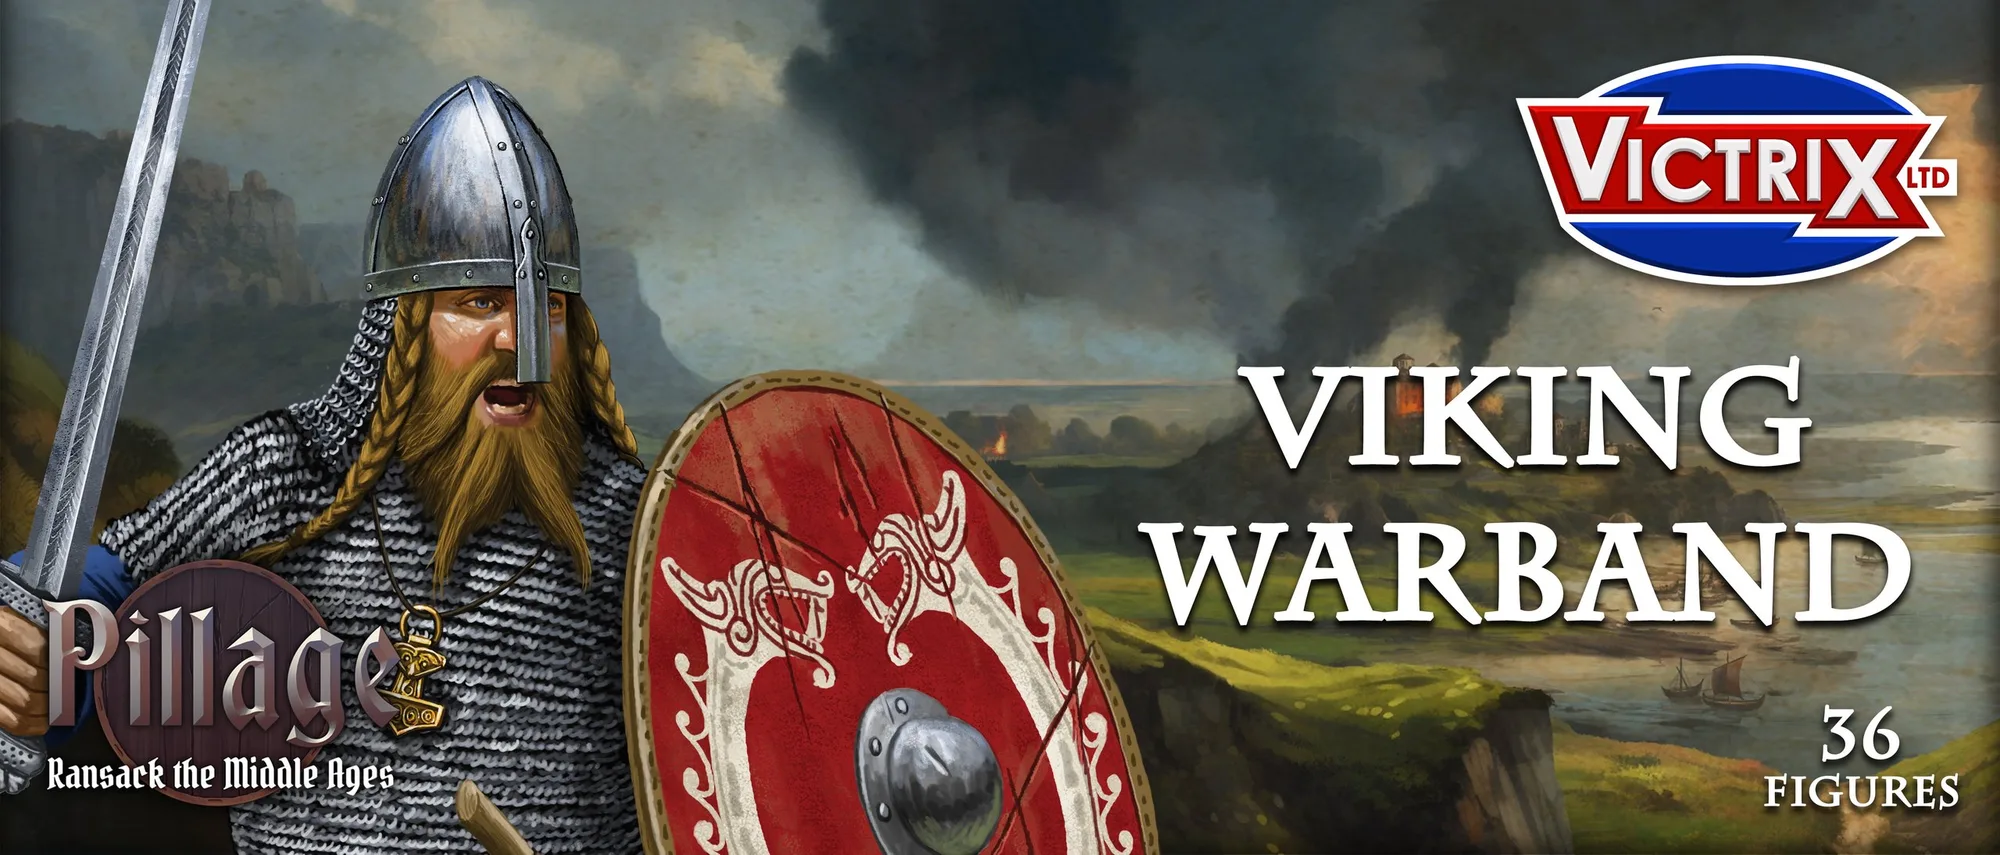
Viking Warband
-
Viking Warband: 12 Armoured Vikings, 12 Unarmoured Vikings The mix of armoured and unarmoured figures affects how much cloak and shield detail is visible. Armoured Vikings may have less exposed cloak fabric, so you can prioritise shield painting.
-
Viking Warband: 6 Archers or Slingers Missile troops often have smaller shields or no shield at all. This changes the painting focus: cloaks become the primary colour area for these figures.
Painting shields for a cohesive warband
Shields are the most visible part of a Viking warband on the tabletop. A consistent approach to shield colours and patterns helps the unit read as a single force, even if individual shields vary.
Start by priming the shields a neutral brown or grey. Then choose a limited palette of 3-4 colours for the shield faces — for example, a red, a blue, and a natural wood tone. Paint each shield with a base colour, then add a simple geometric pattern (a cross, a spiral, or a stripe) in a contrasting colour. The supplied figures do not come with transfers, so freehand patterns are the most practical option.
For the shield rims and bosses, paint them a metallic colour such as bronze or iron. A quick drybrush with a lighter metallic tone will pick out the raised detail. Avoid painting every shield identically — variation in patterns and colours makes the warband look like a gathered force, not a uniform army.
Cloak painting that complements the shields
Cloaks are the second major colour area. They should complement the shield colours without competing. If your shields are bright red and blue, choose a muted cloak colour such as grey, brown, or dark green. If your shields are mostly natural wood and iron, a brighter cloak — red, blue, or yellow — adds visual interest.
Paint the cloak base colour first, then apply a wash of a darker tone to the folds. A final highlight of the base colour mixed with a little white will bring out the raised areas. The command figures' cloaks can be a different colour to mark their status, but keeping the same palette as the rest of the warband maintains cohesion.
For the unarmoured Vikings, the cloak is often the largest area of colour, so it sets the tone for the whole figure. Armoured Vikings have less cloak fabric visible, so you can afford to use a bolder colour without overwhelming the model.
Practical painting order for the warband
A sensible order is: assemble and clean the figures, prime them, paint the flesh areas, then the cloaks, then the shields, and finally the weapons and details. This order lets you work from the inside out, reducing the risk of painting over a finished area.
Painting the cloaks before the shields means you can easily reach the cloak fabric behind the shield arm. If you paint the shield first, you may have to touch up the cloak later. The command figures are good candidates for a test scheme — paint one warlord and one berserker first to see how the colours work together before committing to the full warband.
The supplied information does not include specific paint colours or drying times, so use your preferred brand of acrylic or enamel paints and follow the manufacturer's instructions for thinning and drying.
What the supplied information does not settle
The catalog does not specify the exact shield size or cloak shape for these figures, so adapt the techniques to the actual models. The absence of transfers in the box means you will need to freehand any shield designs. For basing, the box notes that bases are sold separately, so plan your basing material accordingly.
The painting techniques described here are based on common wargaming practice and the figure poses supplied. They are not official instructions from Victrix Limited. Always test your chosen colours on a spare figure or piece of sprue before painting the whole warband.