Quick Answer
Painting with balls is a simple, mess-controlled art activity for kids: place paper in a box, add paint, roll balls around, and watch the patterns appear.
Why Ball Painting Works Well for Kids
Ball painting is a favorite among parents and teachers because it keeps little hands busy without requiring precise brush control. The rolling motion is natural for toddlers, and the results always look impressive, boosting confidence.
It's also a great way to introduce color mixing. As balls roll through different paint colors, they create new shades right on the paper, turning the activity into a mini science lesson about how colors combine.
What You Need to Get Started
Gather a shallow box or tray, washable paint, paper that fits inside the box, and a few balls. You can use any balls you have—golf balls, tennis balls, or even the included painting balls from a craft kit.
Using a box with sides is key to keeping the balls contained. A cardboard box lid or a plastic storage container works well. For easy cleanup, line the bottom with a plastic bag or newspaper.
Washable paint is a must for easy cleanup. You can also use paint in squeeze bottles for easier dispensing, especially with younger kids.
Choosing the Right Balls and Paint
Different balls create different effects. Smaller, heavier balls like golf balls make thin, precise lines, while larger, lighter balls like ping-pong balls create broader, softer strokes. Experiment with a few to see what you like.
For paint, tempera or washable poster paint works well. You can thin it slightly with water if it's too thick. Avoid using too much paint—a small amount goes a long way and prevents the paper from becoming soggy.
If you're using a kit like the 6 PCS Painting Ball set, you'll have everything you need in one package, making setup even easier.
Step-by-Step Ball Painting Process
- Set Up Your Work Area: Line a shallow box with paper. Place a small amount of paint in separate shallow dishes. Have a wet cloth or wipes nearby for quick hand cleaning. Check that the box has sides at least 2-3 inches high to prevent balls from rolling out.
- Dip the Balls in Paint: Roll each ball in a paint dish until it's coated. Use one color per ball, or mix colors on the same ball for a multi-color effect. Avoid overloading the ball with paint—a thin coat works best to prevent smudging.
- Roll the Balls on Paper: Place the painted balls in the box and let your child tilt the box to roll them around. Encourage them to experiment with different movements—fast, slow, zigzag. If the balls stop leaving marks, they need more paint. Re-dip them as needed.
- Add More Colors and Layers: Once the first layer is dry, add new colors or use a different ball to create overlapping patterns. This adds depth and interest to the artwork. Wait for the first layer to dry completely to avoid muddy colors.
- Let It Dry and Display: Remove the paper from the box and let it dry flat. Once dry, display the artwork on the fridge or frame it as a gift. Place the artwork on a flat surface to dry to prevent paint from running.
Recommended Product
-
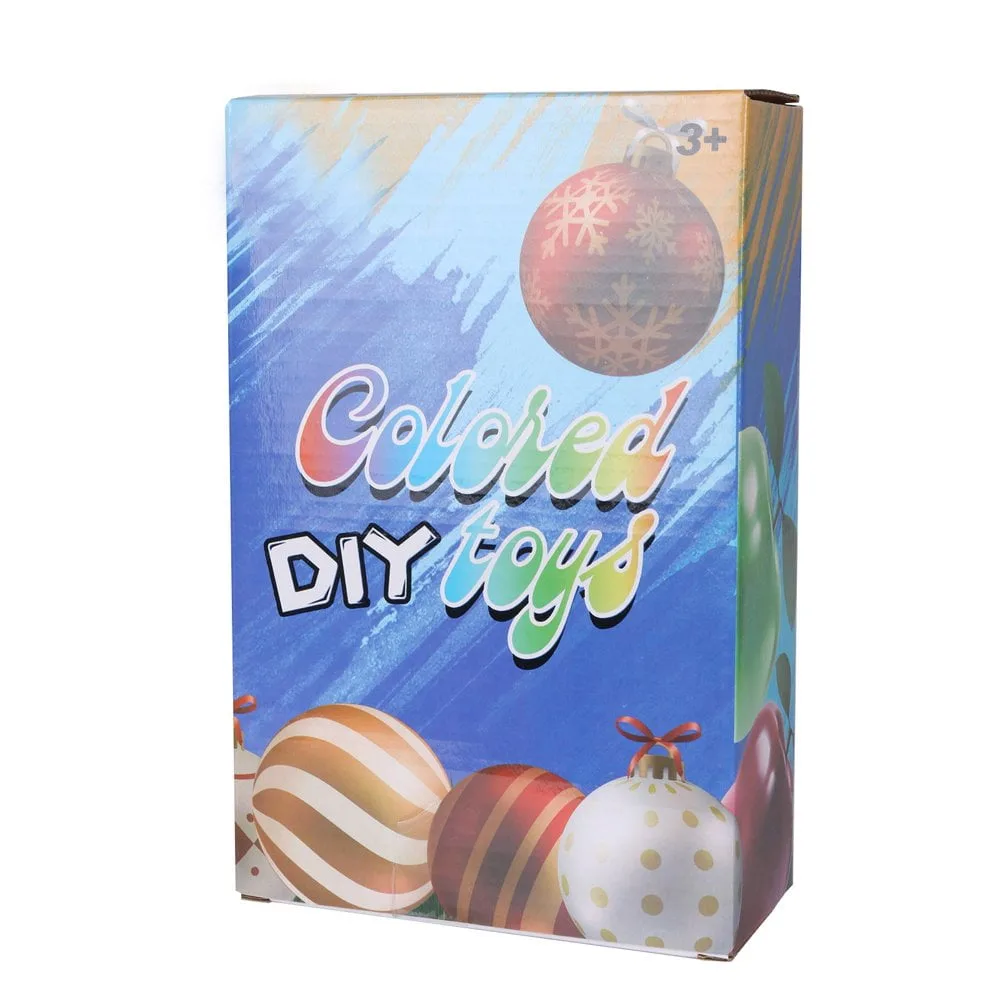
6 PCS Painting Ball: The 6 PCS Painting Ball set is a DIY Christmas ornament painting kit designed for kids to decorate with paint. It provides a ready-made craft activity that encourages creativity and family bonding during the holiday season.
6 PCS Painting Ball