Quick Answer
To paint Foot Knights from the 1150-1320 period, start with a dark primer, layer silver and steel for armor, add heraldic colors to shields and surcoats, then use a brown wash for depth and a matte varnish for protection.
Why Foot Knights Are a Great Project
Foot knights from the 12th and 13th centuries offer a chance to paint detailed chainmail, plate armor, and colorful heraldry. The Wargames Atlantic Foot Knights kit provides 28mm plastic figures with options for different weapons and poses, making each miniature unique.
One trade-off: painting heraldic devices freehand can be time-consuming. If you prefer speed, use decals or simple geometric patterns instead of complex coats of arms.
Step-by-Step Painting Process
- 1. Assemble and Clean: Remove mold lines with a hobby knife and file. Glue the knight together, leaving the shield and any separate weapon off for easier painting. Common mistake: forgetting to clean mold lines on chainmail areas, which will be visible after painting. Check each part under good light before gluing.
- 2. Prime Dark: Spray the miniature with a black or dark grey primer. This creates shadows in recesses and gives a realistic base for metallic paints. Common mistake: using white primer under metallics can make them look too bright and unrealistic. Dark primer saves time on shading.
- 3. Base Coat Armor: Paint chainmail with a dark silver or gunmetal color. For plate armor sections, use a brighter silver. Keep the paint thin to avoid obscuring detail. Common mistake: applying metallic paint too thickly, which fills in the chainmail texture. Two thin coats are better than one thick one.
- 4. Paint Surcoat and Shield: Choose two or three heraldic colors (e.g., red, blue, yellow) and paint the surcoat and shield base. Add simple stripes, crosses, or quartered patterns. Common mistake: trying to paint complex heraldry freehand without practice—stick to simple designs for a clean look. Less detail often looks better on a 28mm figure.
- 5. Apply a Brown Wash: Use a brown or dark brown wash over the entire miniature, especially on the armor and surcoat. This settles into recesses and creates depth. Common mistake: letting the wash pool on flat areas, which leaves stains—wick away excess with a clean brush. A wash is the easiest way to add realism.
- 6. Highlight and Drybrush: After the wash dries, drybrush the armor with a lighter silver to bring out raised edges. Highlight the surcoat edges with the original color mixed with a little white. Common mistake: over-drybrushing, which can look chalky—use a light touch and a soft brush. Less paint on the brush gives better control.
- 7. Paint Details and Base: Paint the weapon haft, belt, and any leather parts with brown or black. For the base, apply sand or texture paste, then paint and drybrush it. Add static grass or tufts. Common mistake: forgetting to seal the miniature after painting—use a matte varnish to protect the paint job. A finished base makes the whole miniature pop.
Product Used in This Guide
-
Foot Knights (1150-1320): AD MORTEM INIMICUS! Sons of noble birth, the knights of 12th and 13th century Europe were heavily armed and armored. Each knight practiced constantly to become a master of arms and horses. This kit captures the historical look of early medieval knights, with separate arms and weapons that let you customize poses for realistic wargaming units.
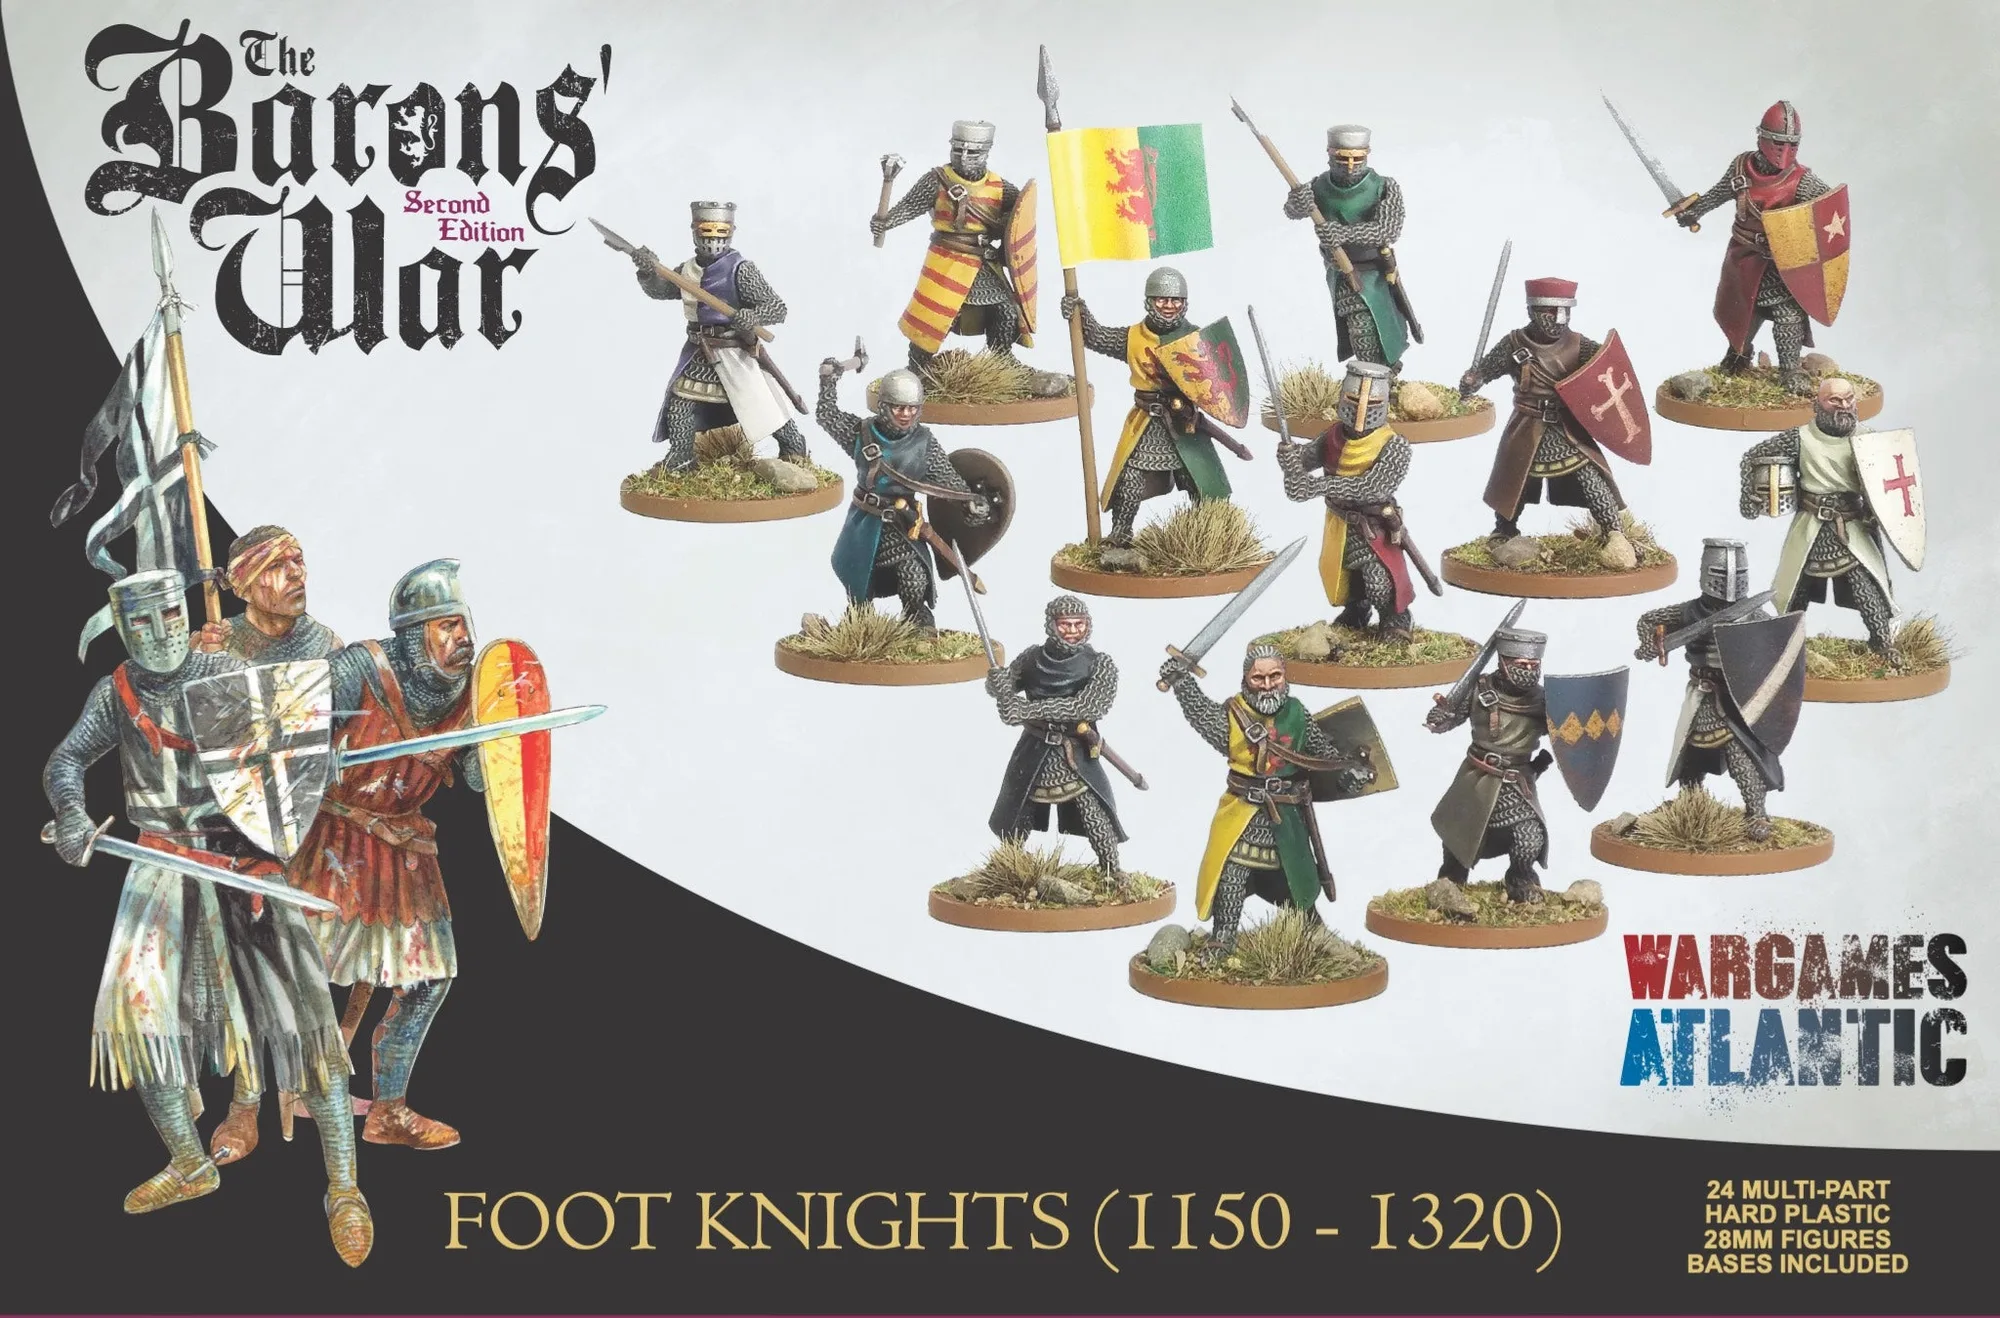
Foot Knights (1150-1320)