Quick answer
Assemble the wooden puzzle first, then paint in thin coats from light to dark, letting each coat dry fully before adding the next. The Butterfly and Unicorn kits both use laser-cut wood and included non-toxic colors, so the same order works for either one.
Why assemble before you paint
Painting flat pieces before assembly sounds easier, but the joints are where a kit shows its fit. If paint thickens the tabs and slots, the puzzle may not seat cleanly. Build the full shape first, check that every joint sits flush, then paint the assembled model.
The trade-off is reach: some inner corners are harder to paint once the model is together. Use a smaller brush and accept that a few tight spots will be simpler blocks of color rather than fine detail.
Where the two kits differ in practice
The Unicorn kit includes non-toxic colors in the box, so you can start with what is supplied. The Butterfly kit description emphasizes personalizing the assembled butterfly with your choice of colors, which means you may need to supply paints or use what you already have. Check the box contents before you promise a child a specific color scheme.
Neither kit lists a paint-drying time or a coverage area, so plan for thin coats and extra drying time rather than assuming one pass will finish the job.
Step-by-step painting process
- Dry-fit the assembled puzzle: Push every tab fully into its slot and set the model on a flat surface. Check that it stands or hangs without wobbling. Common mistake: forcing a joint and cracking the wood edge, which will show through paint. If a joint will not seat, ease it apart and check for a stray laser-cut nub before painting.
- Plan the color map on paper: Sketch the butterfly wings or unicorn body and mark which areas get which color. For the Unicorn, decide whether you want a classic white body with a rainbow mane or a fully custom scheme. Common mistake: starting with dark paint on a large area before deciding where light colors go. Keep the lightest color as the largest base area so later colors sit on top cleanly.
- Apply a thin base coat: Load the brush lightly and spread the base color in one thin layer, working with the wood grain. Do not try to cover the wood in one pass. Common checkpoint: if the paint looks streaky and wet, stop and let it dry rather than adding more. Two thin coats always beat one thick coat for an even finish.
- Let the base coat dry completely: Set the model aside until the surface feels dry to a light touch, then wait a little longer before handling. Common mistake: testing dryness with a finger pressed into a painted corner, which leaves a smudge. Paint one side, then rotate the model so you are not gripping wet areas.
- Add color blocking from light to dark: Paint the next lightest areas, then move to mid-tones, and finish with the darkest accents. On the Butterfly, this means wings first, then body and antennae. Common mistake: painting dark details before lighter surrounding areas are dry, which drags dark paint into light sections. Keep a clean water cup and blot the brush between color changes to avoid muddy tones.
- Paint fine details last: Use the smallest brush for eyes, wing spots, mane strands, and edge lines. Load very little paint and build the line in short strokes. Common mistake: overloading the brush so detail spreads into a blob. If a detail line goes wrong, let it dry and paint over it rather than wiping wet paint across the model.
- Do a final dry check before display: Once everything is dry, look for unpainted wood showing at joints and edges, and touch up with a thin coat. Confirm the model still sits flat. Common checkpoint: any tacky spot means it is not ready for a shelf. Display only after the paint is fully dry, especially if the model will sit near a window or be handled by kids.
Product facts
-
Hands Craft | Butterfly: The Butterfly kit is made from eco-friendly wood and includes all laser-cut pieces for the model. Because every structural piece is included, you can dry-fit the whole butterfly before opening any paint.
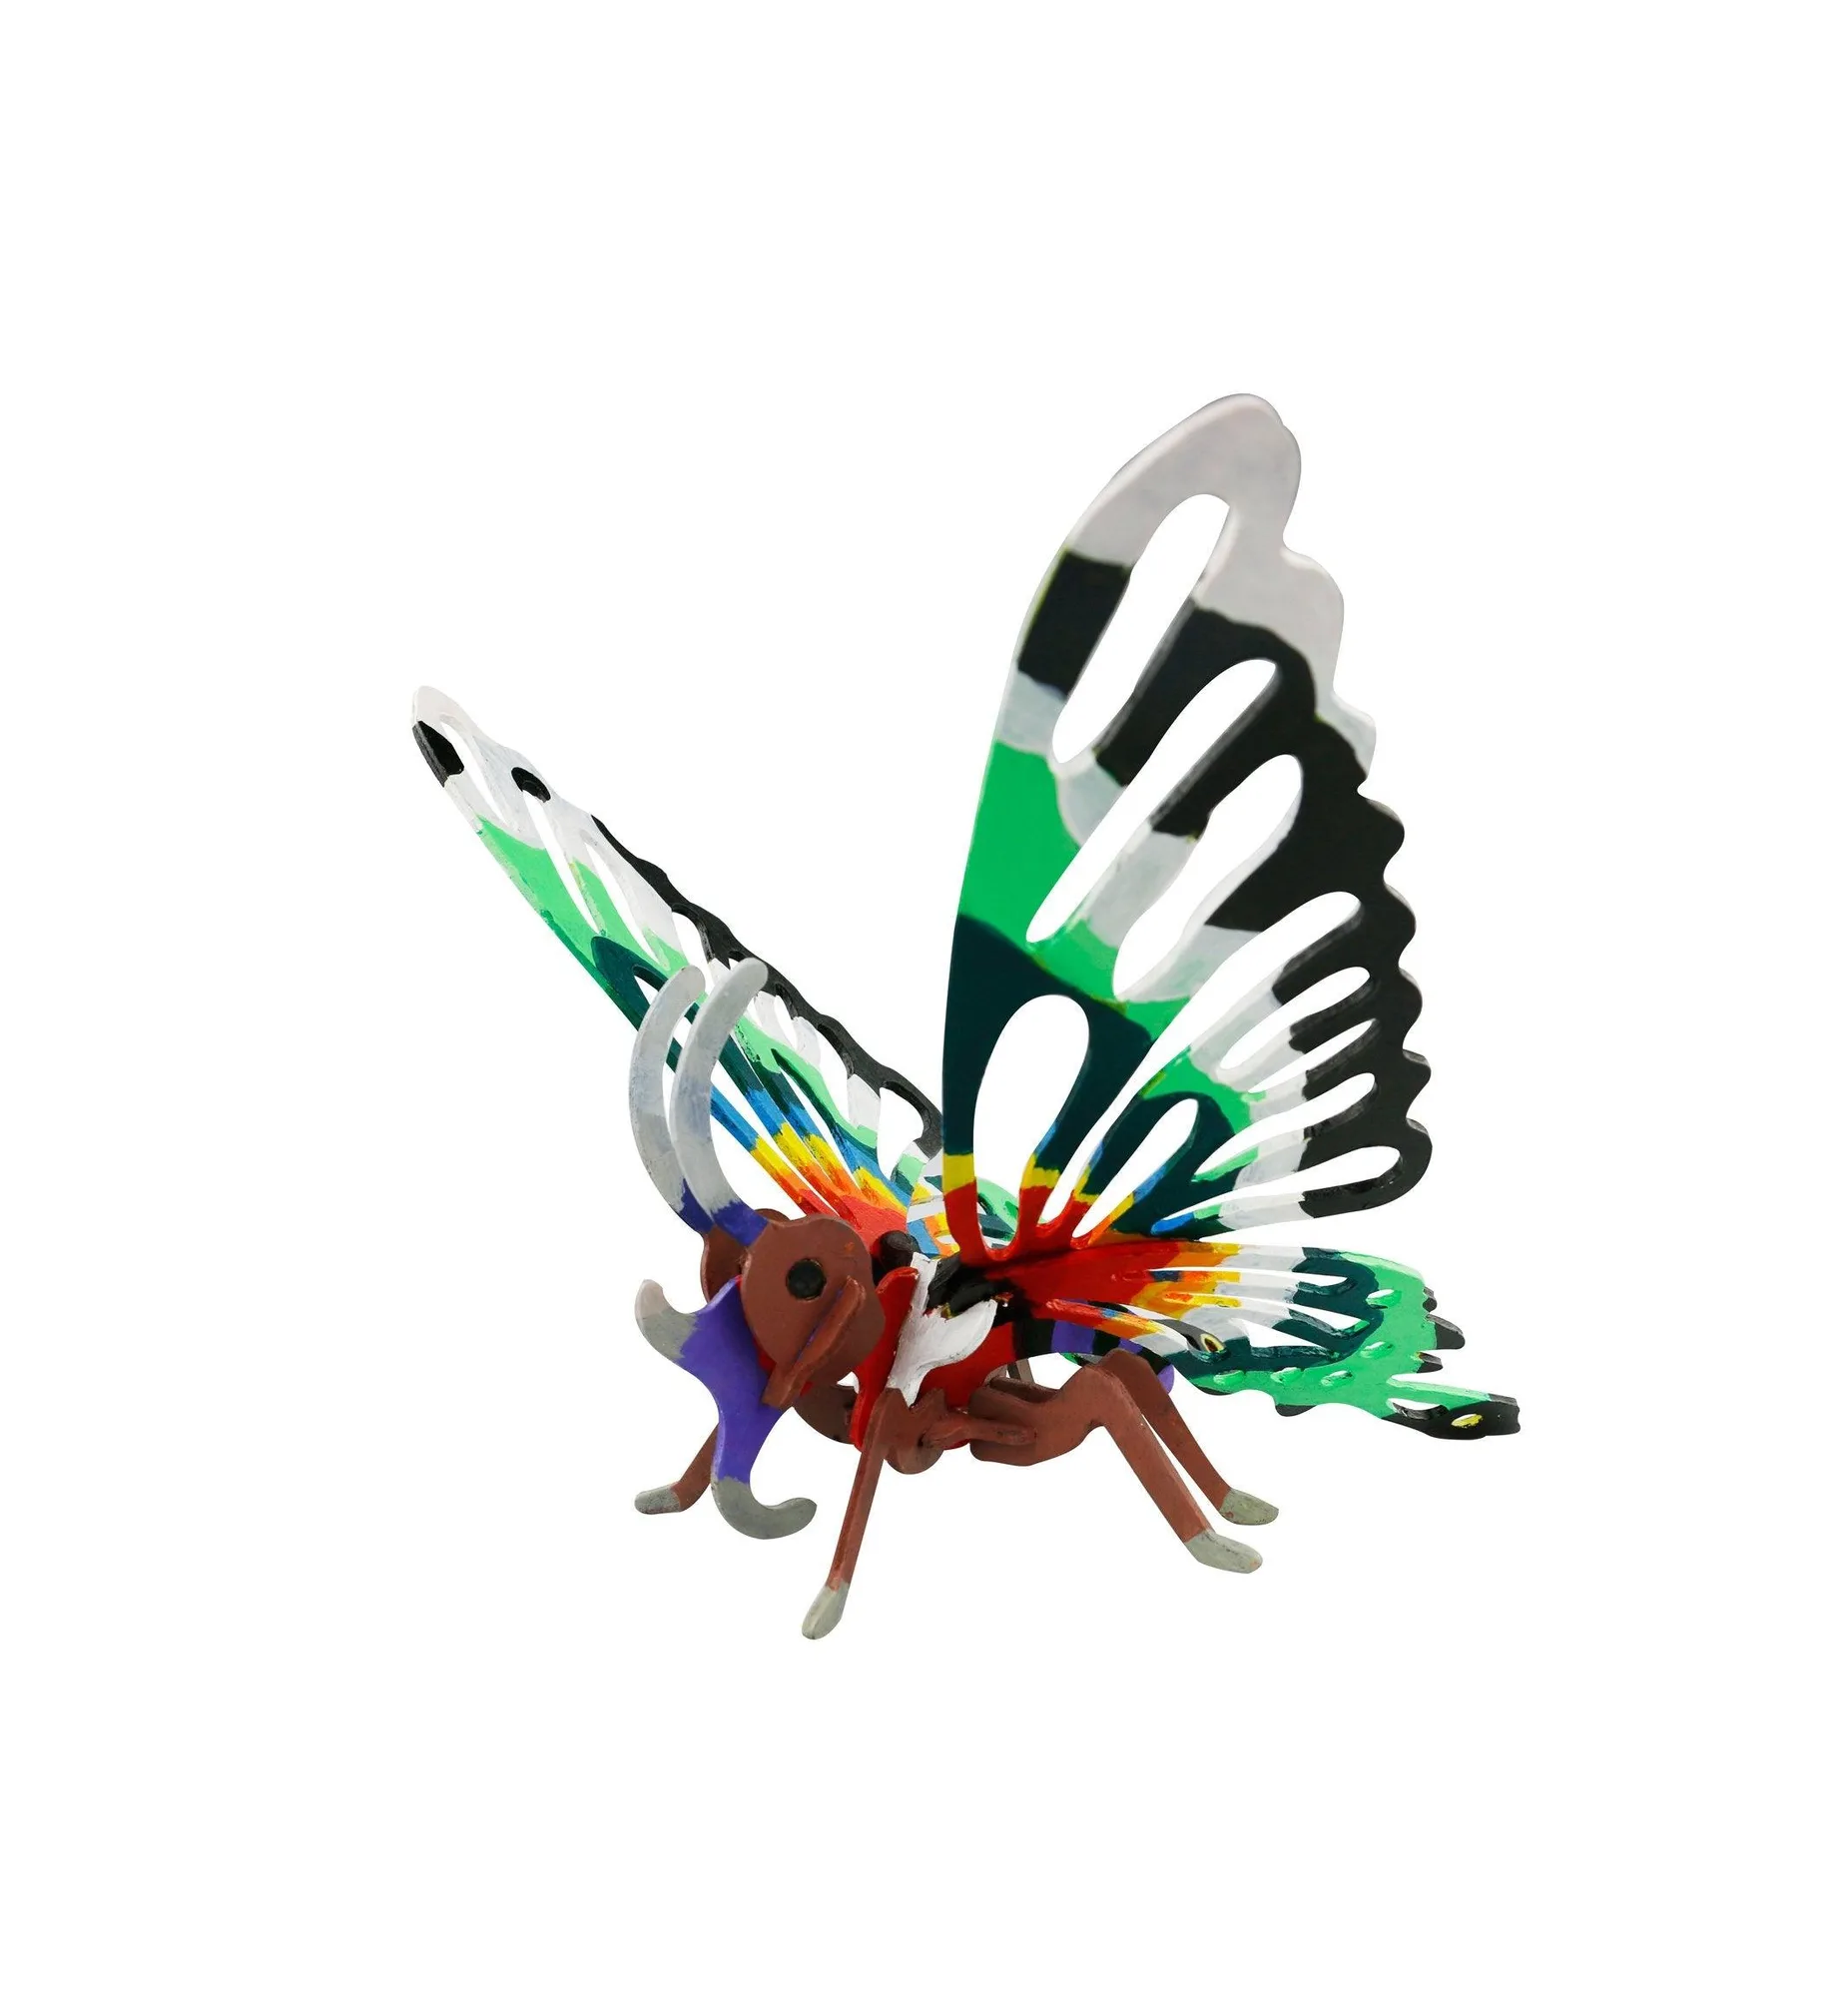
Hands Craft | Butterfly
-
Hands Craft | Unicorn: The Unicorn kit includes vibrant, non-toxic colors for painting after assembly. You can start painting without buying separate paint, which makes it the simpler kit for a first session with kids.
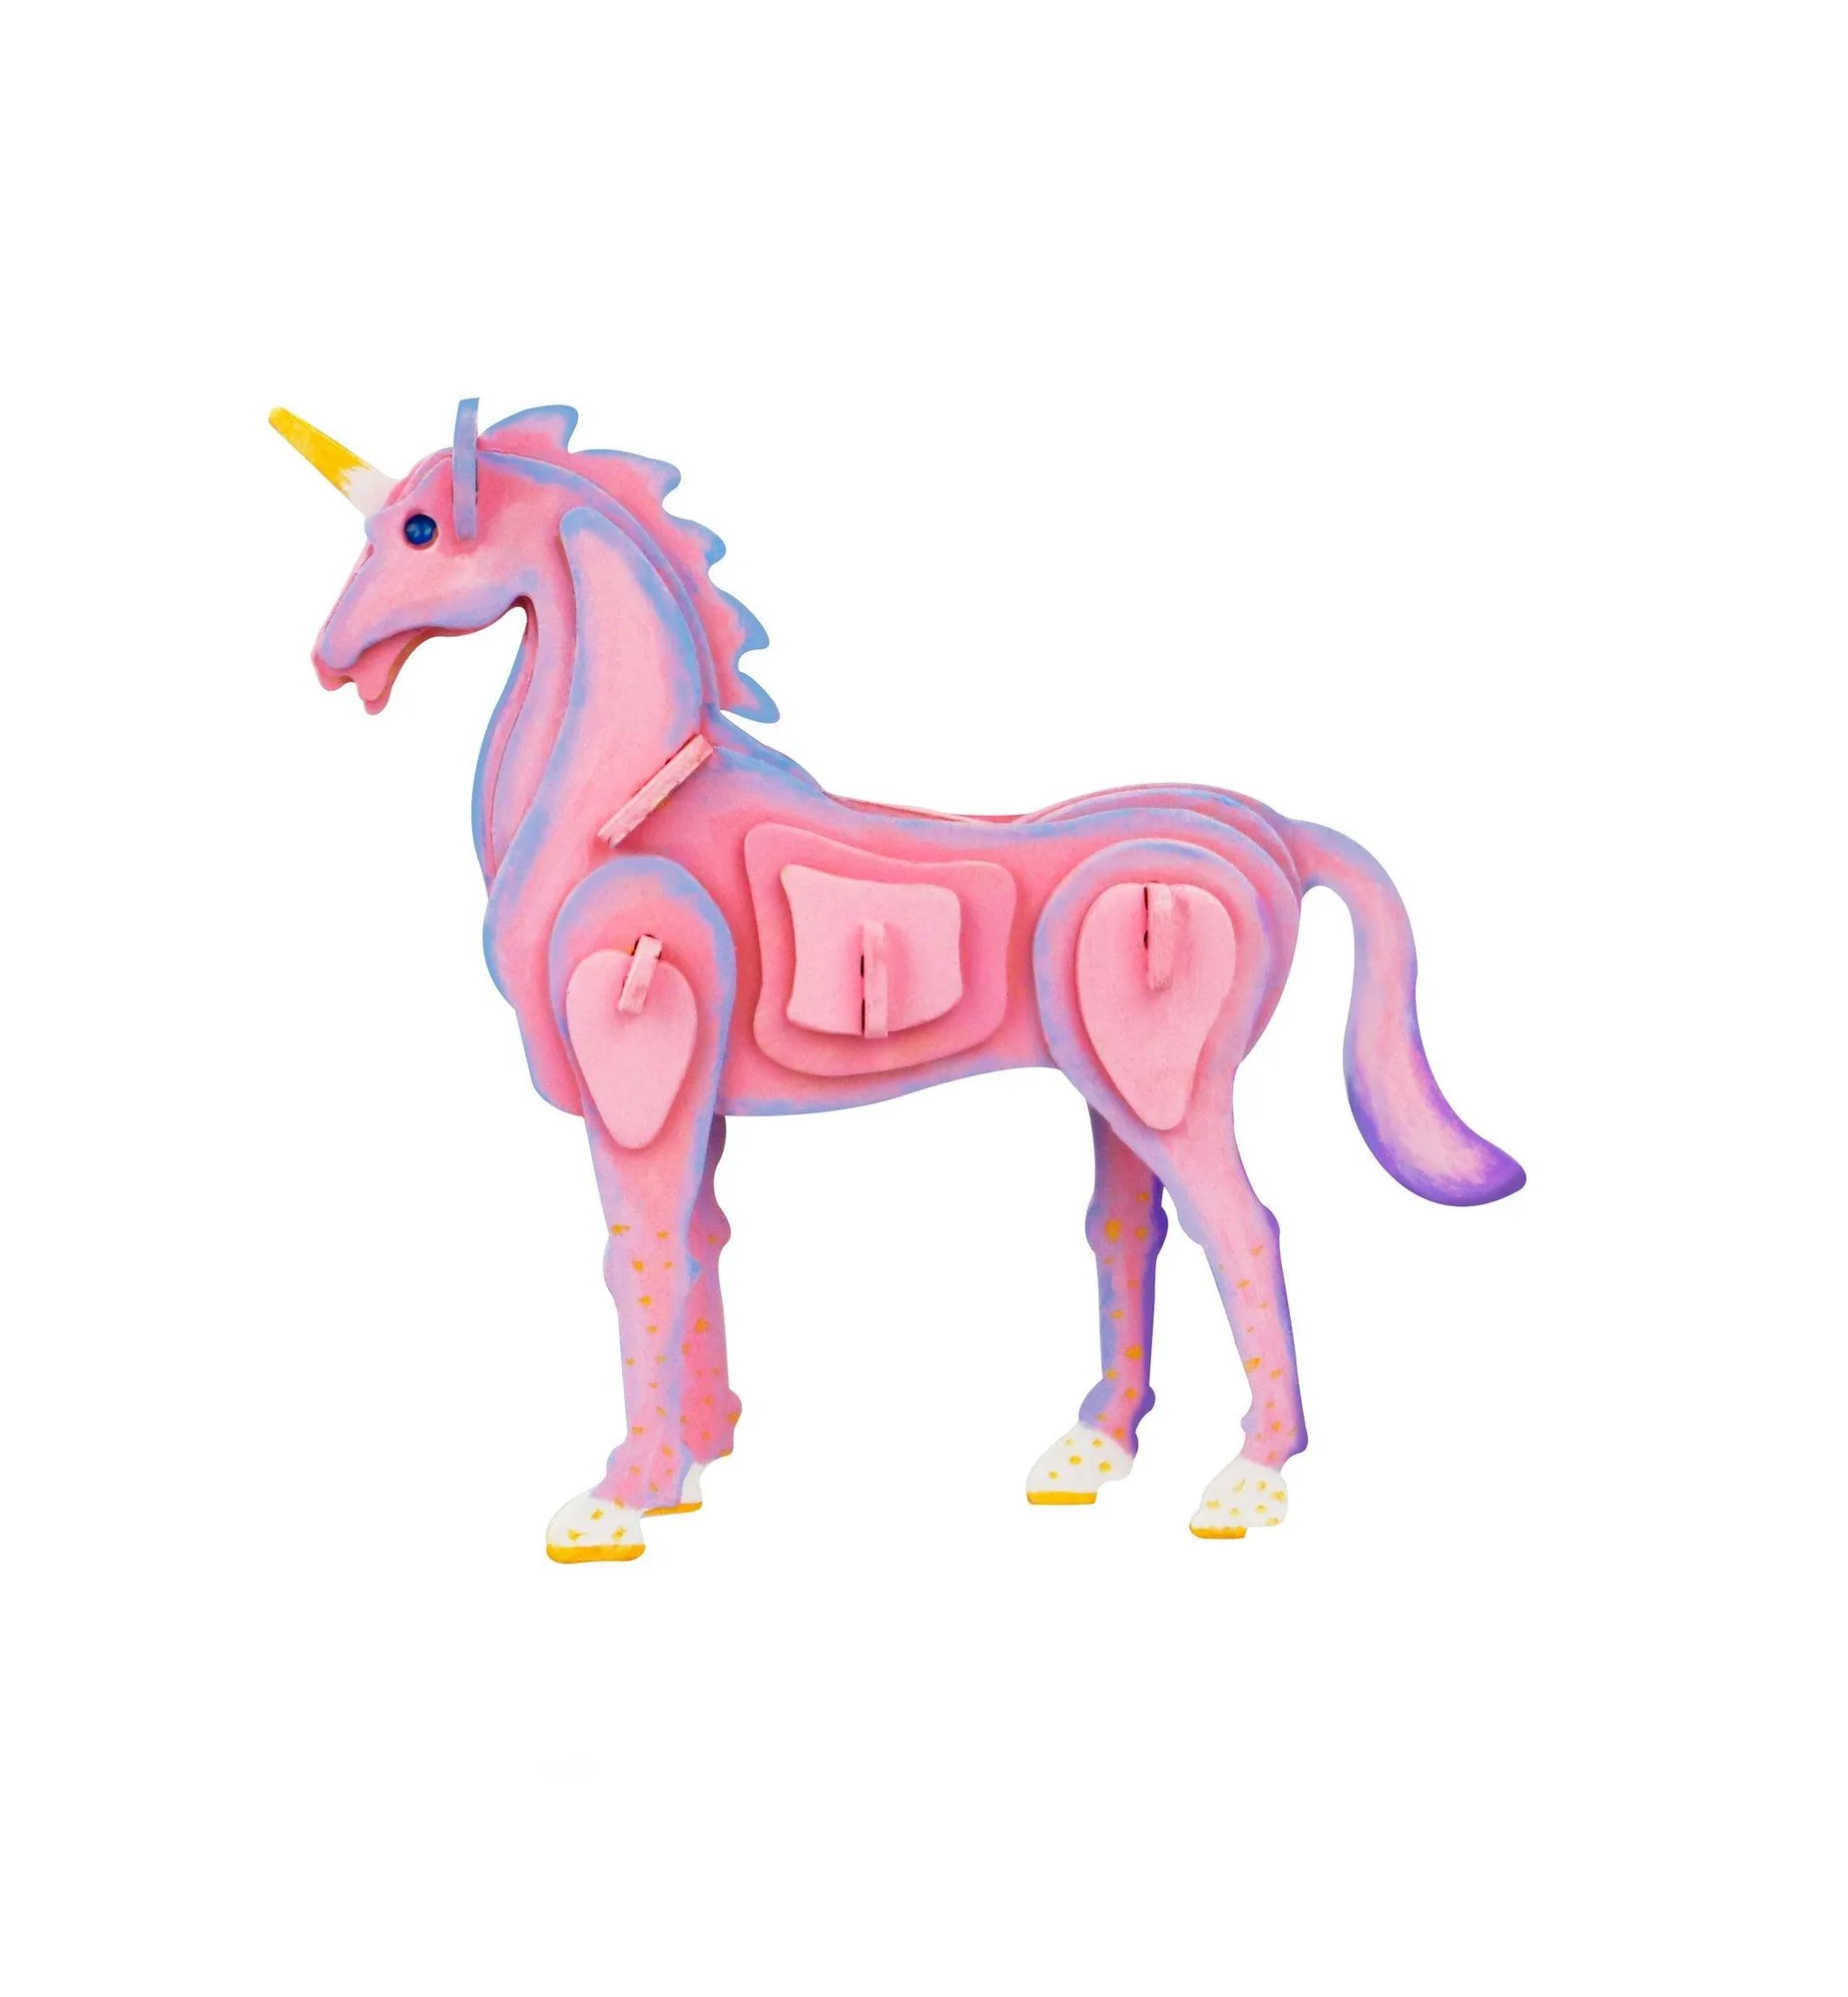
Hands Craft | Unicorn