Quick Answer
To paint realistic metal shotguns on 28mm miniatures, start with a dark metallic base, then layer highlights, apply a brown wash for depth, and finish with selective edge chipping and a scorched muzzle effect.
Why Shotguns Need a Different Approach
Shotguns have large, flat receiver surfaces and long barrels that catch light differently than swords or rifles. On a 28mm scale miniature, the eye reads the weapon's shape through contrast and texture rather than fine detail. Over-bright metallics can make the gun look like a toy, while a single flat metal color reads as unfinished. The trick is to build up a worn, battle-ready finish that suggests use without obscuring the weapon's silhouette.
Choosing Your Metallic Palette
For realistic steel, avoid pure silver or chrome paints. Instead, use a dark steel or gunmetal as your base—these colors have a natural grey-brown undertone that reads as heavy metal. A mix of 2 parts Gunmetal to 1 part Black Metallic gives a convincing base for shotguns. For the scorched muzzle effect, you'll need a transparent blue or purple wash, plus a sooty black-brown pigment or dry pigment powder.
Step-by-Step Painting Process
- 1. Prime and Basecoat: Prime the shotgun with a matte black spray primer. Then apply a basecoat of Gunmetal or Dark Steel metallic paint thinned 2:1 with water. Avoid pooling in the action area or barrel grooves. Common mistake: using a glossy primer, which makes subsequent layers slide off. A matte black primer is essential for metallic adherence.
- 2. Layer Highlights: Drybrush a lighter metallic (e.g., Chainmail or Silver) onto the upper edges of the receiver, barrel, and pump slide. Focus on areas that would catch light: top of the barrel, front of the receiver, and the pump handle. Common mistake: drybrushing too wet—wipe almost all paint off the brush first. Less paint on the brush gives better control.
- 3. Apply a Brown Wash: Use a thinned brown wash (e.g., Agrax Earthshade or homemade mix of brown ink + water) over the entire shotgun. This settles into recesses and creates depth. Let it dry fully. Common mistake: using a black wash, which makes the metal look flat and dirty rather than worn. Brown wash adds warmth and realism.
- 4. Edge Chipping and Wear: With a fine brush and pure silver or bright steel, paint tiny dots and short lines on the sharp edges of the receiver, barrel tip, and pump slide. This simulates holster wear and handling. Common mistake: overdoing chipping—three to five small marks per side is enough. Less is more for scale realism.
- 5. Scorch the Muzzle: Paint a thin glaze of blue or purple ink over the last 3-4mm of the barrel. While still wet, stipple a tiny amount of black-brown pigment powder into the tip. This creates a heat-stained effect. Common mistake: applying the glaze too thickly, which obscures the metallic sheen. Keep the glaze thin and build gradually.
- 6. Final Matte Varnish: Spray or brush a matte varnish over the entire shotgun to unify the finish and protect the paint. Avoid gloss varnish, which makes metal look like plastic. Common mistake: skipping varnish—metallic paints rub off easily on handling. Always seal your work.
Products Used in This Guide
-
5 Shotguns: 5 shotguns compatible with Victoria Miniatures and other 28mm heroic scale troops, hand cast in high quality resin. These resin shotguns have crisp edges and smooth surfaces that take washes and drybrushing well, making the painting steps easier to execute cleanly.
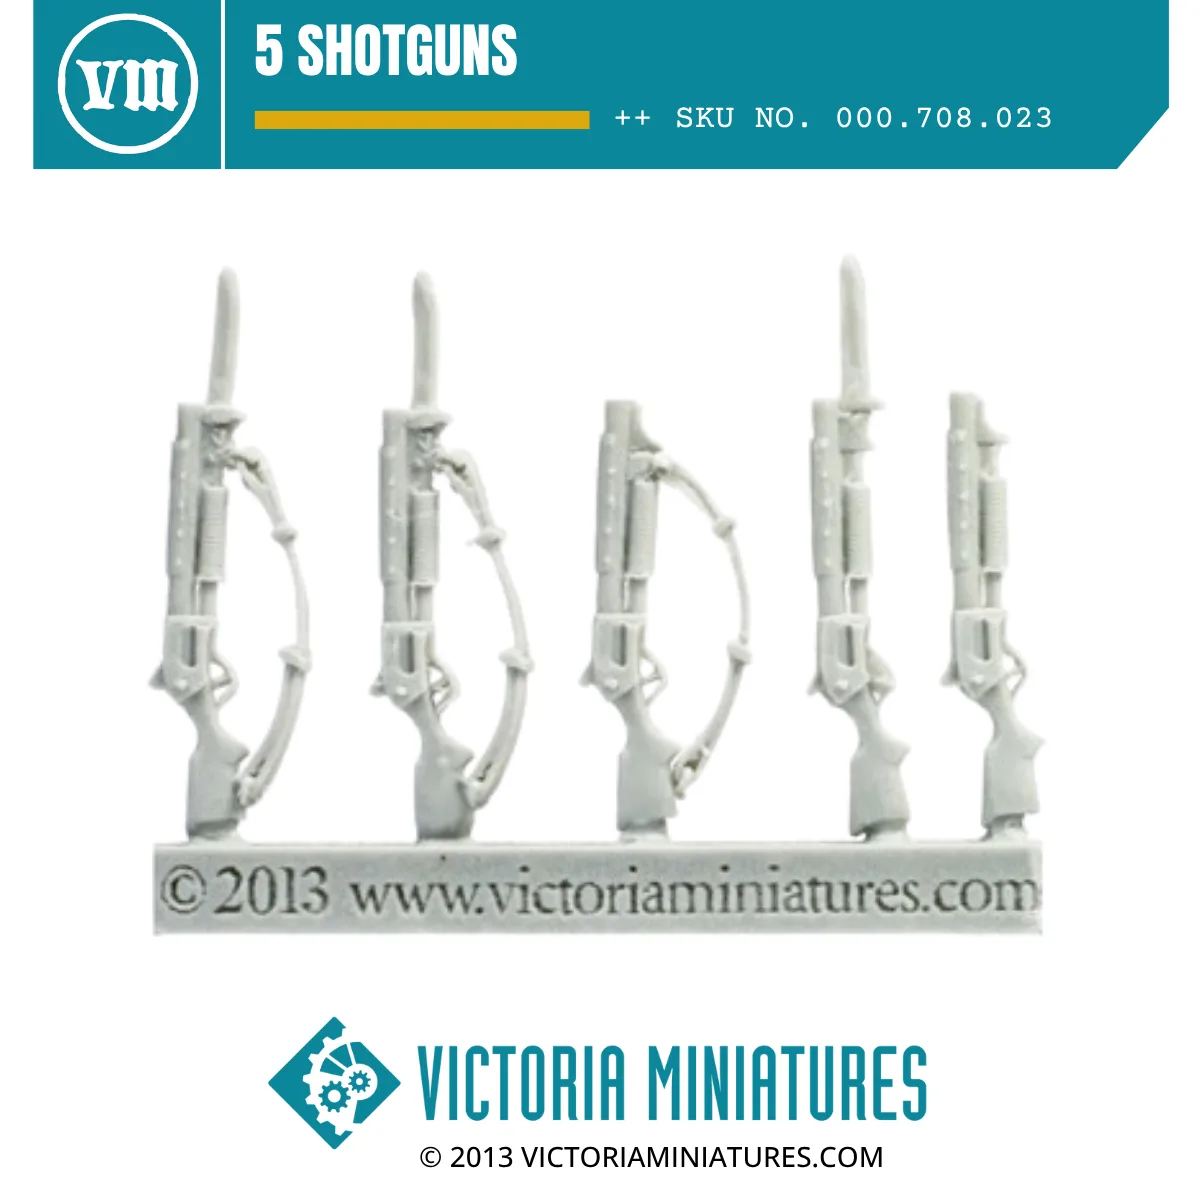
5 Shotguns