Quick Answer
For a realistic Panzer IV G in 12mm, basecoat in German Dark Yellow, then add irregular patches of Dark Green and Red Brown using a fine brush or airbrush, keeping edges soft and scale-appropriate.
Why Scale Matters for 12mm Camouflage
At 12mm (1:144 scale), camouflage patterns that look bold on a 28mm figure can overwhelm the tiny tank. The Panzer IV G's hull and turret offer limited flat surfaces, so you need to simplify the classic three-color scheme. Keep patches small and irregular—think of them as suggestions rather than exact replicas of full-size patterns.
The Panzer IV G saw action on all fronts from 1941 to 1945, so you can justify several camouflage variations. For Eastern Front winter scenes, a whitewash over the base colors works well; for late-war Western Front, a more defined three-tone scheme is appropriate. Match your choice to the theater your army represents.
Choosing Your Colors and Tools
For a 12mm Panzer IV G, you need a base of German Dark Yellow (Dunkelgelb), plus Dark Green (Olivgrün) and Red Brown (Rotbraun) for the camouflage patches. A size 0 or 00 brush is ideal for the fine lines, but a small airbrush can speed up the process if you have one. For washes, use a dark brown or black wash to bring out the panel lines and details.
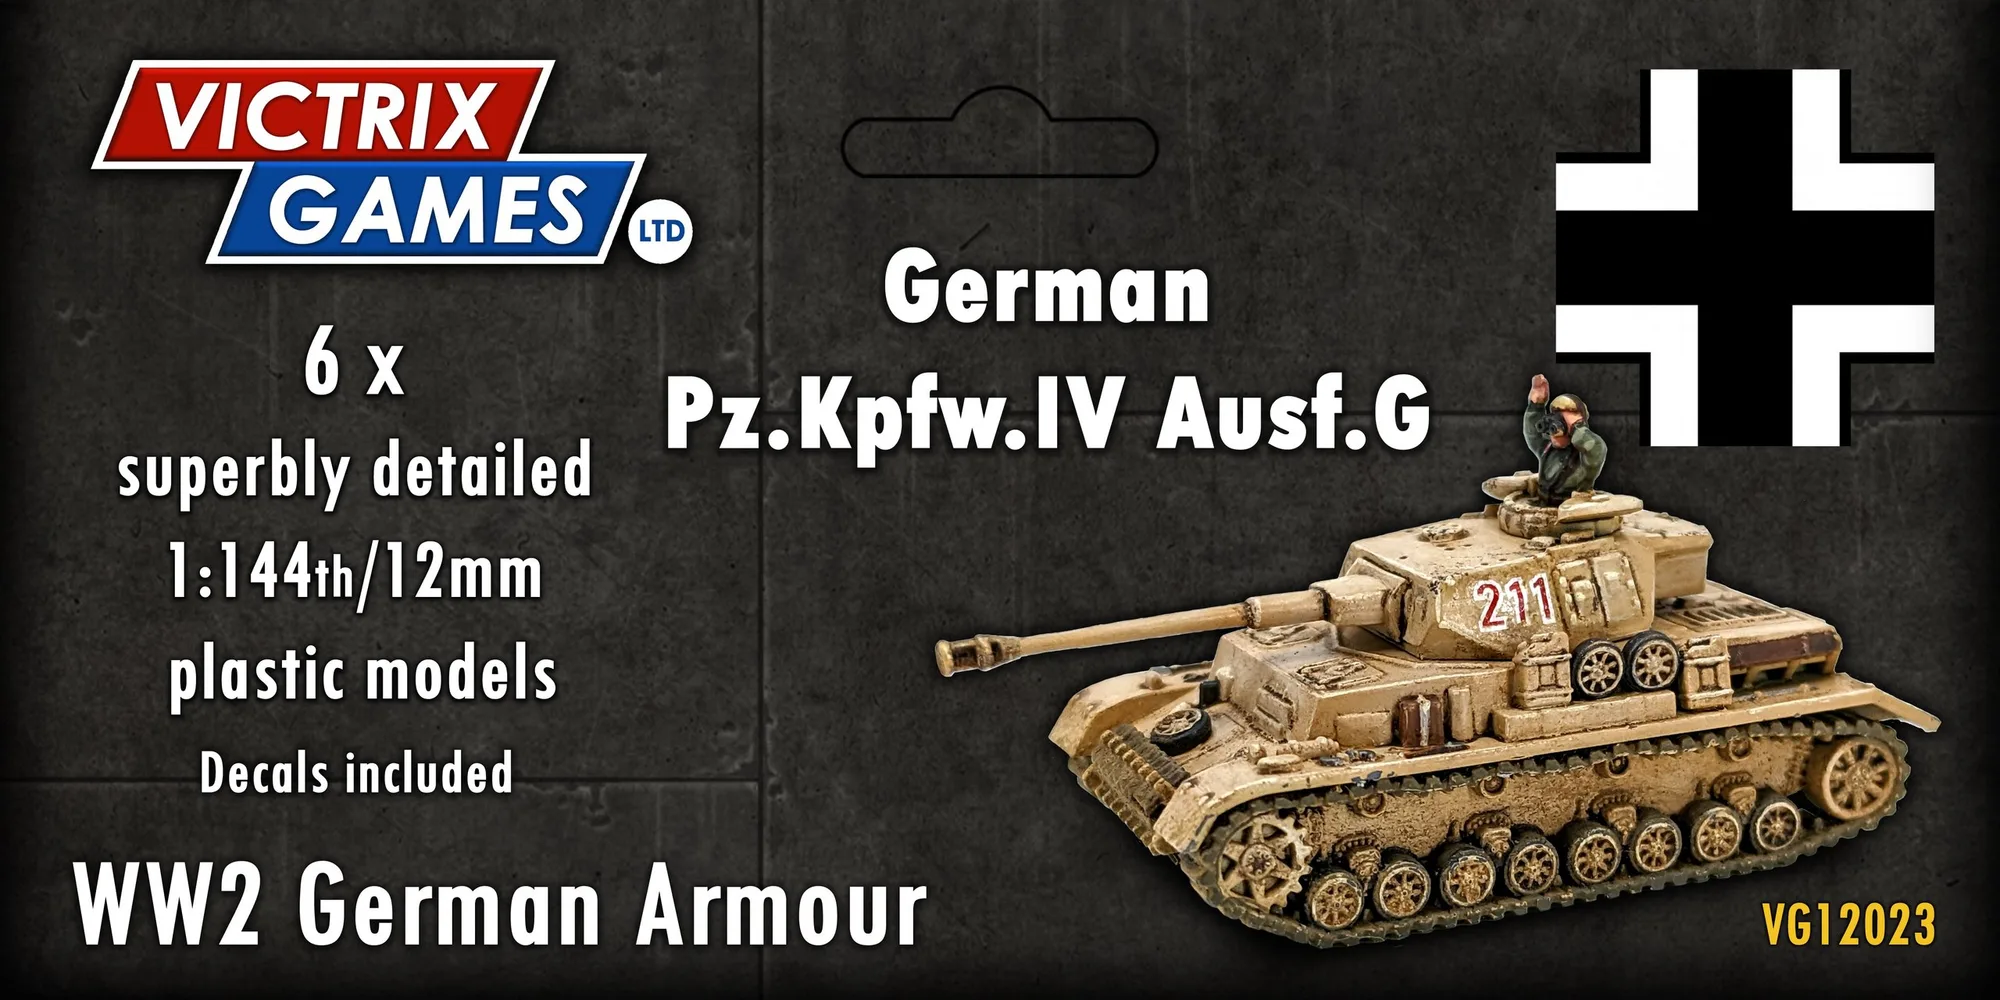
The kit includes six tanks and a decal sheet with German crosses and numbers, so you can practice on one tank first and apply your best work to the rest. This is a great way to refine your technique before committing to the whole unit.
Step-by-Step Camouflage Painting Process
- Basecoat the Panzer IV G: Apply a smooth, even coat of German Dark Yellow over the entire tank. Use a spray can or airbrush for the fastest coverage, or thin acrylic paint and apply multiple brush coats. Let it dry completely before proceeding. Ensure the basecoat is fully dry to avoid smudging when you add camouflage.
- Paint the Dark Green Patches: Using a fine brush or airbrush, paint irregular, curved patches of Dark Green on the hull, turret, and fenders. Keep the patches small and varied in shape—avoid straight lines or geometric patterns. Leave plenty of Dark Yellow showing through. Step back and check the balance: if green covers more than about 30% of the surface, you've overdone it.
- Add the Red Brown Patches: With a slightly smaller brush, apply Red Brown patches that overlap some of the green and some of the yellow. The brown should be the least prominent color, used to break up the green shapes and add depth. Keep edges soft by lightly feathering with a dry brush. If the brown patches look too large, thin your paint and use a stippling motion to create smaller, broken shapes.
- Wash and Highlight: Apply a dark brown or black wash to the entire tank to settle into panel lines, hatches, and wheel details. After the wash dries, dry-brush the raised edges with a lighter yellow or the base color to create highlights and make the camouflage pop. Wipe away excess wash with a damp cloth if it pools on flat surfaces, but don't over-clean or you'll lose the depth.
- Apply Decals and Seal: Soften the German crosses and numbers from the decal sheet in warm water, slide them onto the hull or turret, and press down gently. Once dry, seal the entire tank with a matte varnish to protect the paint and decals from handling and gameplay. Use a decal setting solution if you have it to help the decals conform to curved surfaces, and let the varnish cure fully before gaming.
Product Facts
-
Panzer IV G: This set includes 6 superbly detailed 12mm/1:144 scale tanks and a decal sheet (German crosses and black/white numbers). You get multiple tanks to practice your camouflage technique and decals to add authentic markings without extra purchases.
Panzer IV G