Quick answer
Clean the figure, prime it thinly, block in base colors, add a wash or shade, then highlight and seal. Work in that order, keep layers thin, and let each stage dry fully before moving on. The biggest beginner mistake is rushing the prep and priming stages; a clean, thin base makes every later step easier.
What you need before you start
You do not need a large paint collection to get a good result. A few acrylic paints, a primer, a wash, a couple of brushes, and a sealant will cover most beginner projects. Acrylic paint is the standard choice for miniature figures because it dries quickly, cleans up with water, and layers without reactivating the coat underneath.
Work in a well-lit area and keep a damp paper towel nearby to wipe your brush. If you are painting figures that will sit alongside laser-cut wooden terrain, such as a 20mm townhouse or a 15mm church, decide on a shared palette before you start so the figures and buildings look like they belong in the same scene.
How to prime scale model figures without losing detail
Priming gives the acrylic paint something to grip and creates a uniform surface so colors read the same across the whole figure. Apply the primer in short bursts from about 20–30 cm away, rotating the figure as you go. Two thin passes from different angles beat one heavy coat every time.
If you are painting 20mm figures, a light grey or white primer helps small details stay visible, while a black primer can hide mistakes in recessed areas. Whichever you choose, stop before the surface looks wet and glossy; if the primer pools in the folds, it will fill the detail you paid for. Let the primer cure fully before touching the figure again.
Blocking in base colors on miniature figures
Basecoating is where you lay down the main color for each area: skin, cloth, leather, metal, and wood. Use a brush that holds a point and apply the paint in thin, controlled layers. If the color looks patchy after the first pass, let it dry and add a second thin coat rather than loading more paint on the brush.
A common mistake is trying to paint every detail in one sitting. Work area by area and keep your brush strokes moving in the same direction as the form. For 20mm figures, slightly thinned paint flows into the smaller areas without flooding them, and you can always build up opacity with another layer.
Shading and highlighting without overdoing it
A wash or shade settles into the recesses and creates instant depth, especially on faces, belts, and folds. Apply it with a brush you do not mind staining, then wick away any pools that form on flat surfaces before they dry. Once the wash is dry, bring back the raised areas with a lighter version of the base color.
The checkpoint here is contrast, not coverage. If the highlight looks chalky, it is too thick or too light; if the figure looks flat, add one more thin highlight layer. You can always add another pass, but you cannot easily remove a heavy one.
Finishing, sealing, and basing your figures
Once the paint is fully dry, apply a thin sealant to protect the finish from handling and table wear. A matte varnish keeps the figure looking natural, while a gloss coat is tougher but shinier. If you use gloss for durability, follow it with a matte coat to knock back the shine.
Basing is the final step and the one that ties the figure to its surroundings. Add texture, paint it to match your terrain, and let everything cure before the first game. If you are building a themed table, matching your figure bases to the ground colors of your buildings makes the whole collection look intentional rather than assembled piece by piece.
Figure painting step by step
- Clean and prepare the figure: Remove mould lines and flash with a sharp blade, then wash the figure in warm soapy water and let it dry completely. This removes release agent and dust that stop primer and paint from sticking. Checkpoint: the surface should feel smooth and look uniformly dull before you prime.
- Prime in thin passes: Spray or brush on a thin primer from multiple angles, keeping the coat light enough that surface detail stays visible. Let it cure fully before handling. Common mistake: one heavy coat that fills in faces, folds, and fine equipment.
- Block in base colors: Paint each area with its main color using thin, controlled layers, working from larger areas to smaller details. Let each layer dry before adding the next. Checkpoint: colors should look even, not thick or streaky, before you move on.
- Add a wash or shade: Flow a wash into the recesses to create depth, then wick away any pools on flat surfaces with a clean, damp brush before they dry. Common mistake: letting wash pool on flat areas and dry into tide marks.
- Highlight the raised areas: Apply a lighter version of each base color to the high points, keeping the paint thin and building up in one or two passes. Checkpoint: highlights should read as light catching the form, not as chalky stripes.
- Seal and base the figure: Once the paint is fully dry, apply a thin matte or gloss sealant, then texture and paint the base to match your terrain. Next step: let the sealant cure completely before the figure goes on the table.
Terrain that pairs well with painted figures
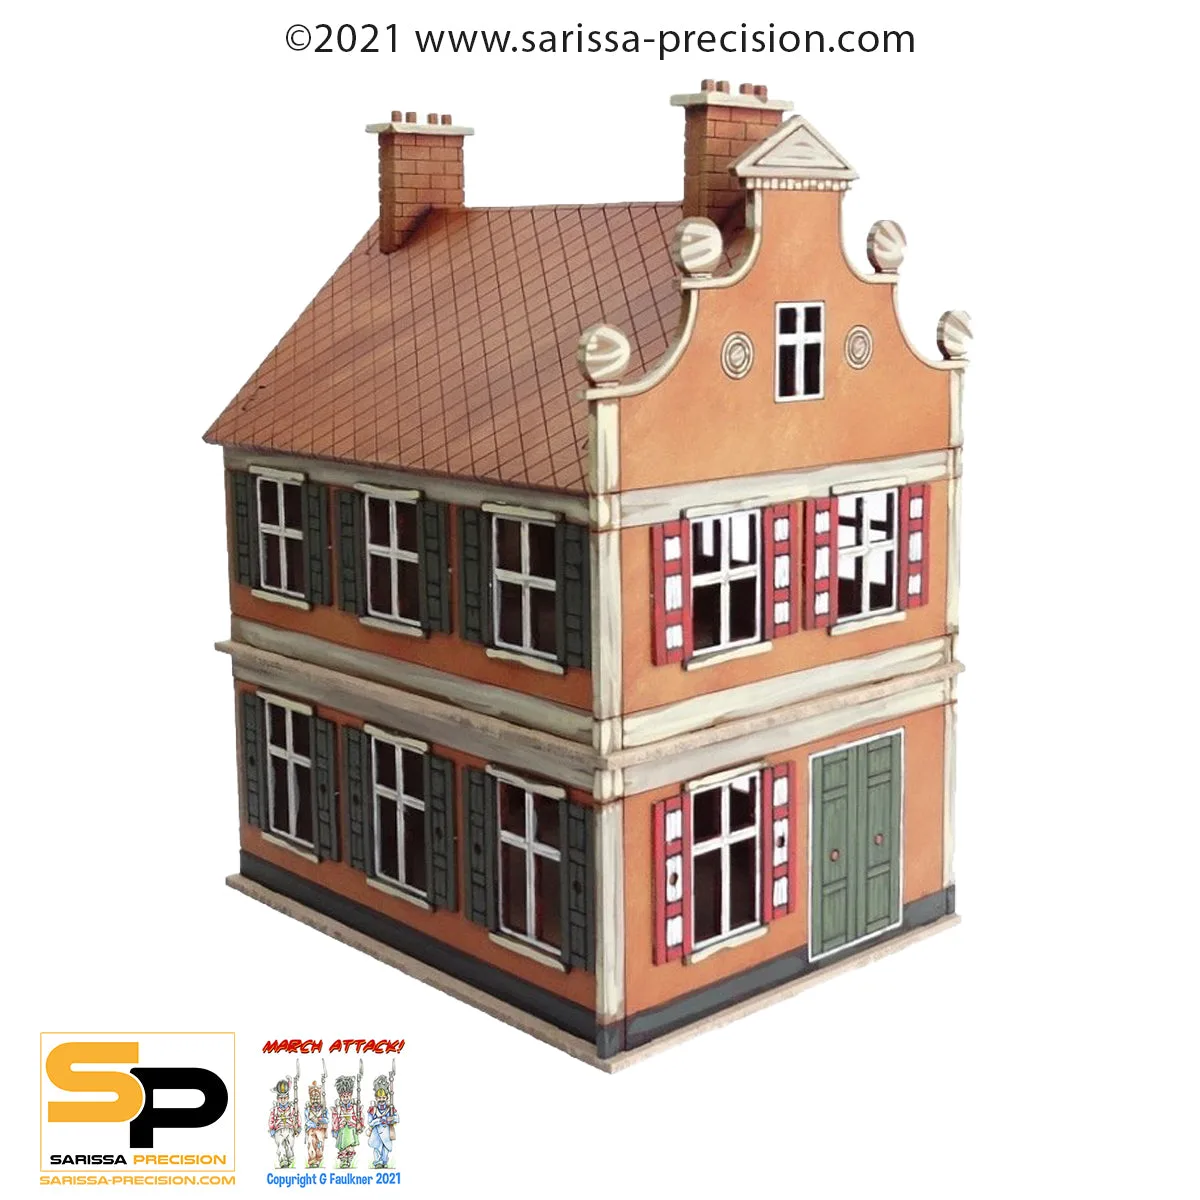
- Dutch / Belgian Two-Storey Townhouse (20mm): Dutch / Belgian Two-Storey Townhouse (20mm) is supplied unassembled and unpainted in kit form and is fully interchangeable with other multi-level Dutch / Belgian 20mm range kits. If you are painting 20mm figures, this kit gives you a matching scale building you can paint in the same session and expand later without repainting what you already own.
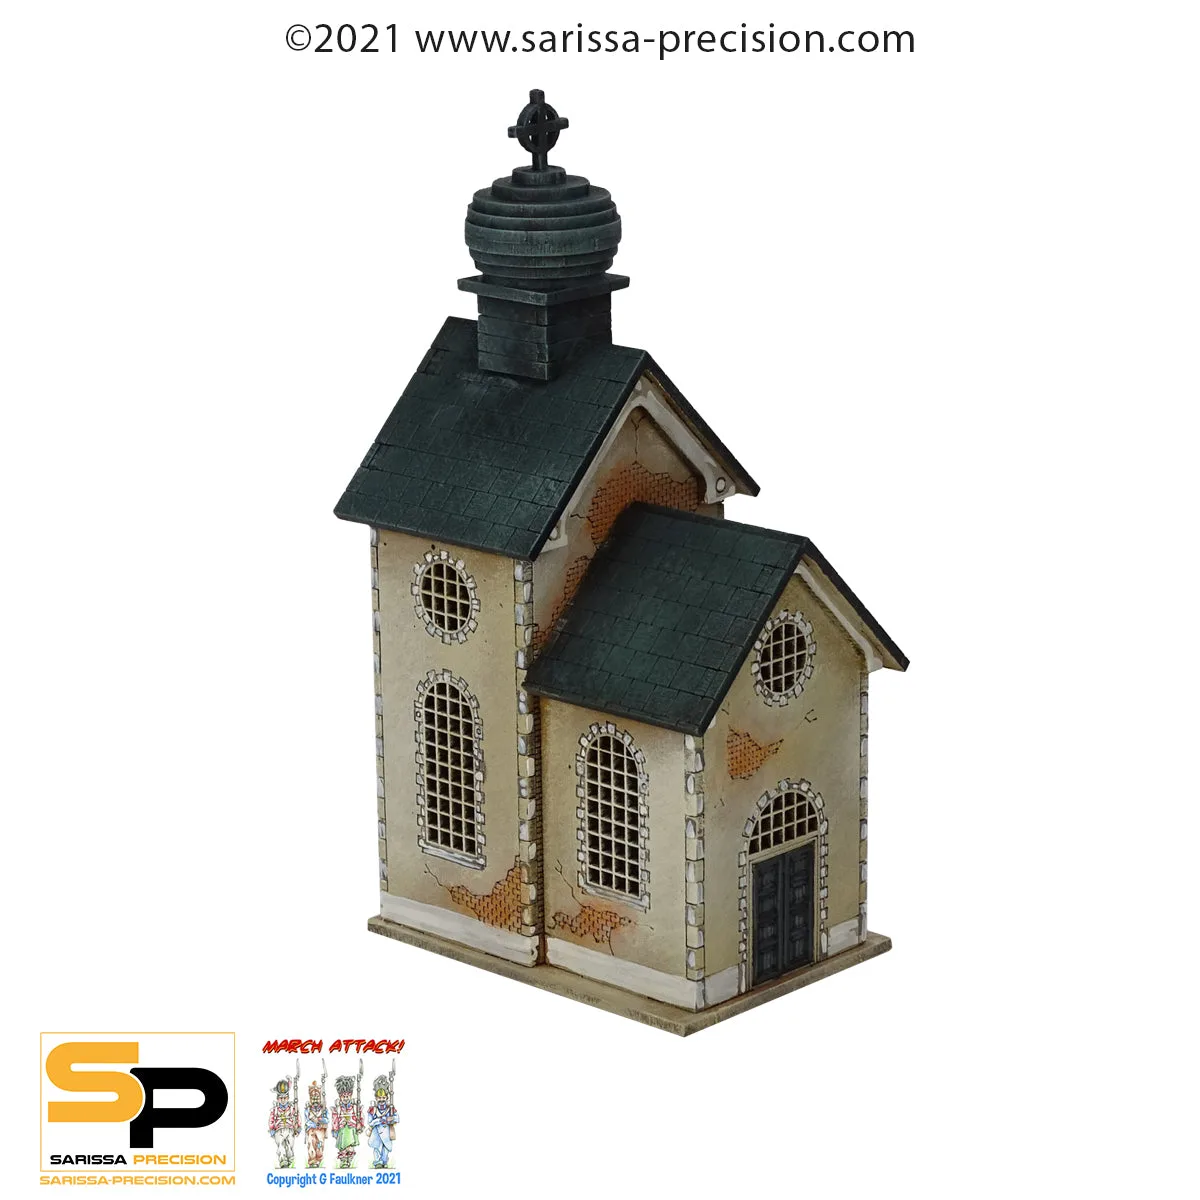
- European Church (15mm): European Church (15mm) is supplied unassembled and unpainted in kit form with full instructions, and its dimensions are approximately W55 x D75 x H145mm. A 15mm church gives smaller figures a focal point on the table, and the supplied instructions mean you can assemble it before or after your figures are painted without guessing at the build.