Why RUSSIAN UNIFORM works as a base for Soviet infantry
If you are painting Soviet WWII infantry, the uniform color is the anchor of the whole figure. RUSSIAN UNIFORM is a matte acrylic paint from the Warfront range, supplied in a 17ml dropper bottle. The catalog describes it as creamy with opacity that lets you build glazes easily, and it is valid for both brush and airbrush. That combination makes it a practical starting point for tunics, trousers, and helmets where you want a controlled, layerable color rather than a one-coat block.
This guide walks through a brush-first process for a single figure, then explains where the paint’s glaze-friendly nature helps with shading. It also flags what the supplied information does not cover, so you can make informed decisions without guessing.
What the catalog confirms for RUSSIAN UNIFORM
-
RUSSIAN UNIFORM: Matte finish acrylic paint 17ml A matte finish suits cloth uniforms and reduces shine on the tabletop; 17ml is enough for several infantry figures.
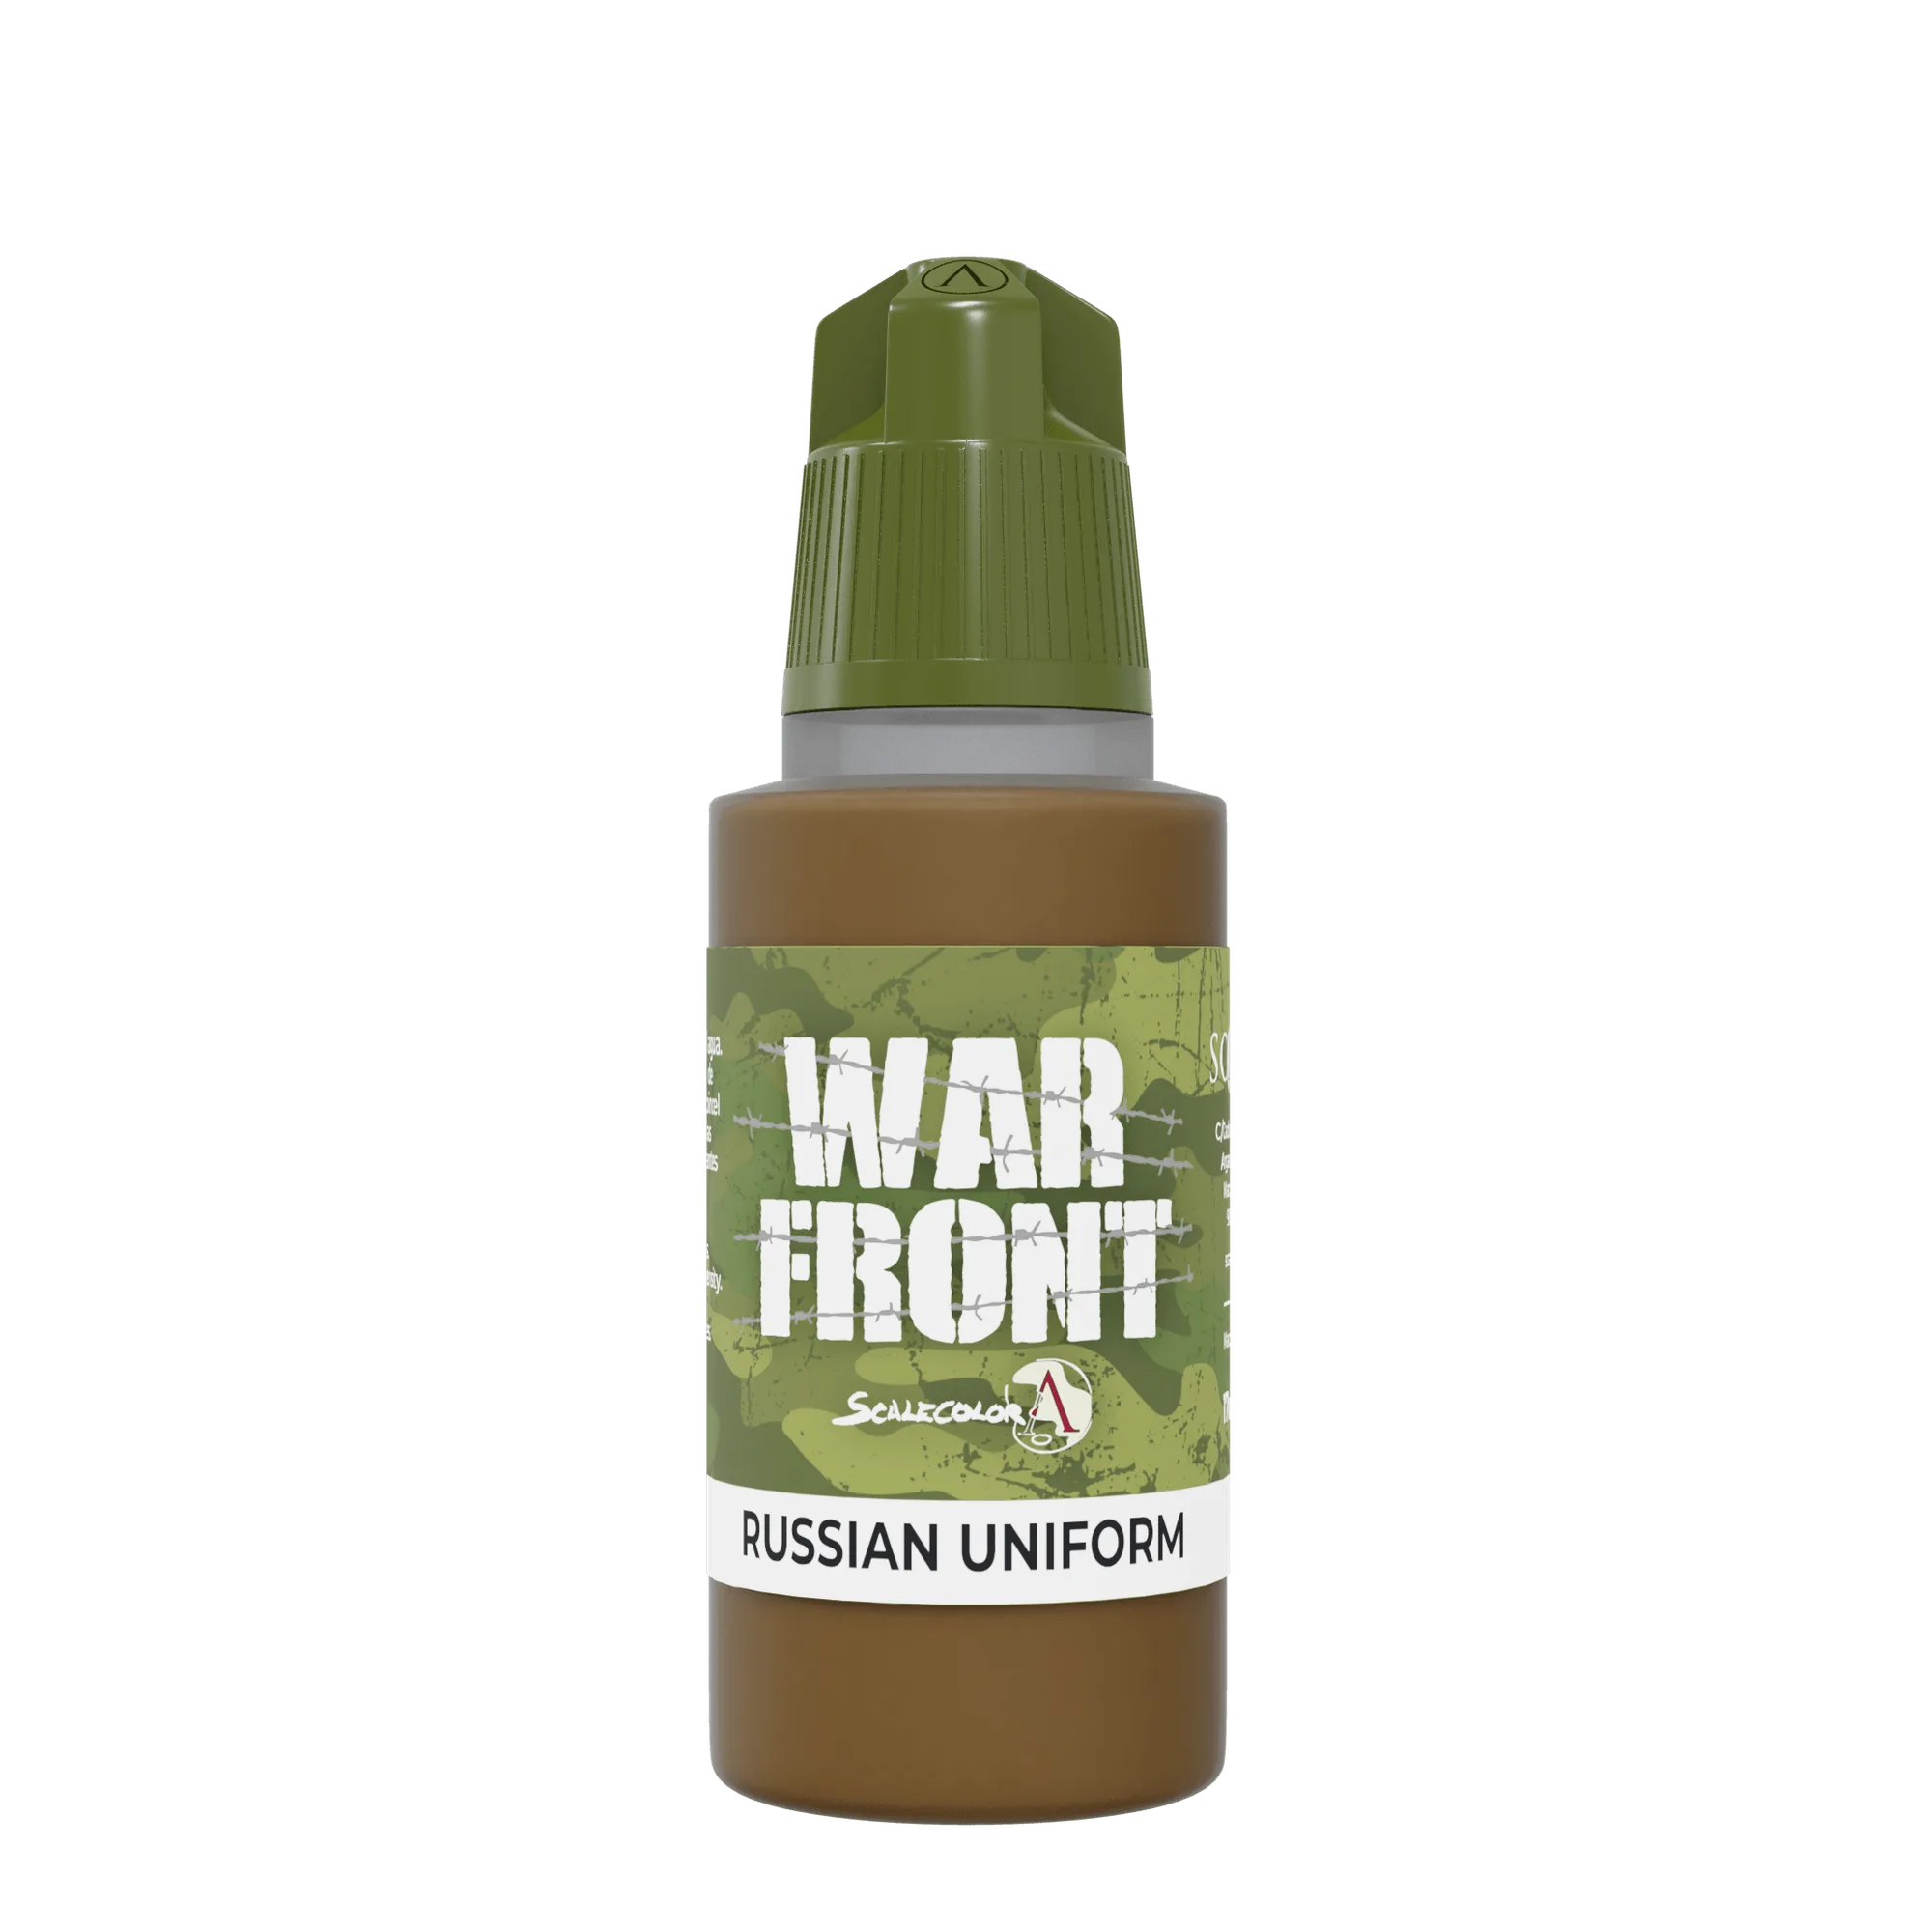
RUSSIAN UNIFORM
-
RUSSIAN UNIFORM: Warfront acrylic paints are creamy and their opacity allows us to create glazes with ease, achieving excellent results. Creamy consistency and glaze-friendly opacity mean you can thin the paint for smooth shading layers without losing control.
-
RUSSIAN UNIFORM: With tones suitable for modeling and military figures. The color is intended for military modeling, so it fits the historical subject without extra mixing.
-
RUSSIAN UNIFORM: Valid for brush and airbrush. You can apply it by brush for detail or airbrush for larger areas or smooth basecoats.
A brush-first painting order for a Soviet infantry figure
The sequence below assumes a primed figure and uses RUSSIAN UNIFORM as the uniform color. Adjust the number of layers to your taste, but keep each layer thin.
- Prime and let dry: Start with a primer suitable for your figure’s material. The supplied information does not specify a primer, so use one you normally trust.
- Basecoat the uniform areas: Apply a thin, even coat of RUSSIAN UNIFORM to tunics, trousers, and helmet covers. The creamy consistency helps it level, but avoid flooding details.
- Build a second thin coat if needed: Because the paint is opaque, a second thin layer can even out patchiness. Let the first coat dry before adding the next.
- Glaze for shading: Thin RUSSIAN UNIFORM with water or medium to a glaze consistency and apply it into folds and recesses. The catalog notes the opacity allows glazes with ease, so you can build depth gradually.
- Highlight with a lighter mix: Mix a small amount of a lighter acrylic (for example, a pale khaki or off-white) into RUSSIAN UNIFORM for raised areas. The supplied information does not include a specific highlight color, so test on a palette first.
- Seal if desired: A matte varnish can protect the paint during gaming. The catalog does not specify a varnish, so use one compatible with acrylics.
Using RUSSIAN UNIFORM through an airbrush
The catalog confirms the paint is valid for airbrush use. For smooth basecoats on multiple figures, thin the paint to a milk-like consistency and apply in light passes. Because the paint is creamy, start with a small amount of thinner and add more if needed. The supplied information does not give a specific thinning ratio, so test on a spare surface before committing to a batch.
Airbrushing is especially useful for large areas like greatcoats or vehicle crew uniforms, while brush work remains better for details and glazes.
Shading Soviet uniforms: what the glaze-friendly opacity means
The key advantage of RUSSIAN UNIFORM for shading is its opacity combined with a creamy flow. That means you can create a glaze that tints the surface without completely hiding the base color, which is ideal for building subtle shadows in fabric folds. Apply several thin glazes rather than one heavy layer, and let each dry fully. If a glaze pools, wick it away with a dry brush.
For deeper shadows, you can mix a darker acrylic into the glaze, but the catalog does not supply a specific shadow color. Keep your mixes consistent across the unit for a cohesive look.
Checkpoints before you move on
These checkpoints are based on the paint’s supplied characteristics and general miniature painting practice.
- Uniform coverage is even: No bare primer or patchy areas remain on the main uniform surfaces.
- Glazes have dried without tide marks: If you see shiny patches, the glaze was too thick; reapply a thinner glaze to blend.
- Details remain sharp: Buttons, belts, and facial features should not be clogged with paint.
What the supplied information leaves open
The catalog does not provide a specific historical color reference, a thinning ratio for airbrush, a recommended primer, or a highlight/shadow palette. It also does not list safety warnings or care instructions beyond the matte finish and 17ml volume. Treat any advice beyond these confirmed points as general modeling practice, and test on a spare figure or palette before applying to a finished unit.