Patriotic patches are a great way to show your pride on backpacks, hats, and tactical gear. But what happens when you want to switch them out, upgrade your setup, or retire an old patch? Removing a patch can be tricky, especially if it was applied with heat or strong adhesive. If you're not careful, you might end up with sticky residue, torn fabric, or a faded outline that ruins the look of your gear.
In this guide, we'll walk you through the best methods to remove both iron-on and sew-on patriotic patches without leaving any residue. Whether you're dealing with a Tactical Dog Vest, a Tactical Backpack for Everyday Carry, or your favorite cap, these techniques will help you keep your gear clean and ready for your next patch.
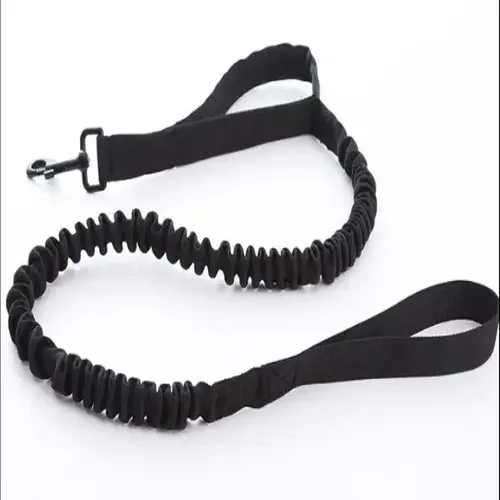
Tactical Dog Vest
Understanding Patch Types: Iron-On vs. Sew-On
Before you start removing a patch, it's important to know what type of patch you're dealing with. Iron-on patches have a heat-activated adhesive backing that bonds to the fabric when pressed with an iron. Sew-on patches, on the other hand, are attached with thread and may or may not have an adhesive layer. Knowing this will help you choose the right removal method and avoid damaging your fabric.
Iron-on patches are common on tactical gear because they're easy to apply and stay put. However, they can be more challenging to remove because the adhesive melts into the fabric fibers. Sew-on patches are simpler in theory—just cut the threads—but if they also have adhesive, you'll need to deal with that too. Always check the back of the patch or the product description to know what you're working with.
- Check if the patch has an adhesive backing by feeling for a plastic-like layer.
- Look for loose threads that indicate a sew-on patch.
- Test a small corner to see if the adhesive is still active.
Method 1: Heat and Peel for Iron-On Patches
The most effective way to remove an iron-on patch is to soften the adhesive with heat, then gently peel it off. Start by setting your iron to a medium-high heat (no steam) and place a thin cloth or parchment paper over the patch to protect the fabric and the iron. Press the iron on the patch for about 15-20 seconds, moving it in circles to heat the entire area evenly.
Once the patch feels warm and pliable, use a pair of tweezers or a flat-edge tool to lift one corner. If the adhesive is soft enough, the patch should peel away slowly. If it resists, apply more heat and try again. Avoid pulling too hard, as this can stretch the fabric or leave bits of adhesive behind. This method works well on sturdy materials like canvas or nylon, which are common in tactical gear.
- Use a pressing cloth to prevent scorching.
- Work slowly and reheat if needed.
- For stubborn patches, use a hairdryer on high heat for 30 seconds.
Method 2: Solvent-Based Removal for Stubborn Adhesive
If the patch leaves behind sticky residue, you'll need a solvent to break down the adhesive. Common household options include rubbing alcohol, nail polish remover (acetone), or even cooking oil. Apply a small amount to a cotton swab or cloth and dab the residue, letting it sit for a few minutes to soften the glue. Then, gently rub in a circular motion to lift the residue.
For heavy-duty adhesive, you can use a commercial adhesive remover like Goo Gone, but always test on an inconspicuous area first to ensure it doesn't discolor the fabric. After the residue is gone, wash the area with mild soap and water to remove any solvent traces. This method is perfect for cleaning up after removing patches from a Tactical Cross Body Bag or a Tactical Fanny Pack.
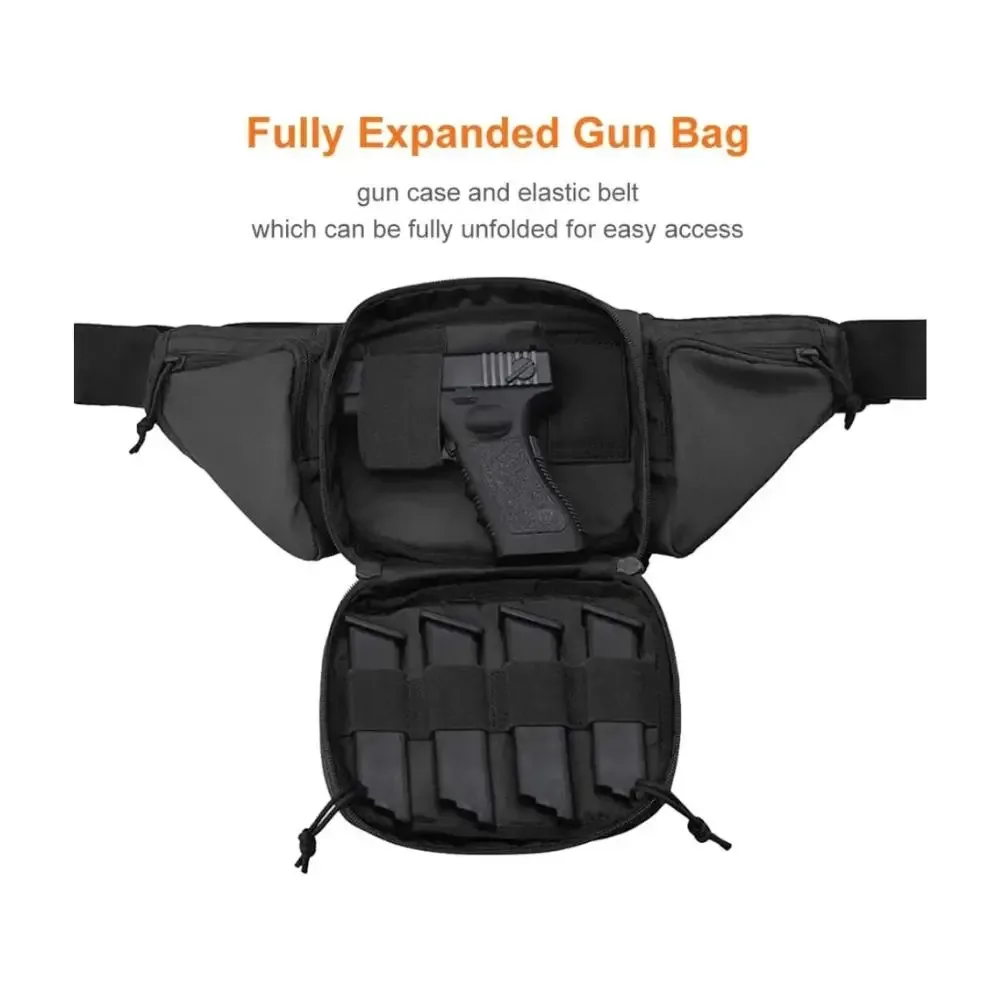
Tactical Fanny Pack
- Always test solvents on a hidden area first.
- Use a soft cloth to avoid scratching the fabric.
- For delicate fabrics, use a gentle oil like coconut or olive oil.
Method 3: Removing Sew-On Patches Without Damage
Sew-on patches are easier to remove if they haven't been glued. Start by locating the stitching on the back of the fabric. Use a seam ripper or small scissors to carefully cut the threads. Be patient and work in small sections to avoid cutting the fabric itself. Once all threads are cut, the patch should lift off easily.
If the patch was also ironed on, you'll need to combine methods: first, heat the patch to soften the adhesive, then cut the threads. After removal, you may still need to clean up residue with a solvent. This approach works well for patches on a Tactical Dog Vest, where you want to keep the vest in good condition for future patches or gear.
- Use a seam ripper for precision.
- Pull threads gently to avoid tearing the fabric.
- After removing all stitches, check for any leftover adhesive.
Cleaning Up After Patch Removal
Once the patch is off, you might notice a faint outline or shadow where the patch was. This is often caused by adhesive residue or slight color fading. To clean the area, use a mild detergent and warm water, gently scrubbing with a soft brush. For stubborn marks, apply a small amount of rubbing alcohol and blot with a clean cloth.
After cleaning, let the area air dry completely before applying a new patch. If you plan to reuse the spot, consider using a patch with a new adhesive or sewing a fresh patch for a secure hold. Keeping your gear clean not only looks better but also extends its lifespan, so you can continue to customize your Tactical Backpack for Everyday Carry or other gear with pride.
- Use a soft-bristled brush for textured fabrics.
- Avoid harsh chemicals that can damage waterproof coatings.
- Dry completely before storing or re-patching.
Removing patriotic patches doesn't have to be a messy or frustrating task. With the right techniques—heat for iron-ons, solvents for stubborn adhesive, and careful seam ripping for sew-ons—you can keep your gear looking fresh and ready for new patches. Whether you're updating your EDC setup or repurposing an old vest, these methods will help you achieve a clean removal every time. For high-quality patches and gear that can handle repeated customization, check out our selection of Tactical Dog Vests and Tactical Backpacks designed for durability and everyday use.