Quick Recommendation
Start with a blank, high‑quality cardstock card, write or print your custom message, then finish with matte vinyl stickers for a personal, durable touch.
A handmade greeting card shows the recipient you’ve put thought into every detail, from the words you choose to the little decorative accents you add.
This guide walks you through a simple process—design personalized greeting card, add custom text, and finish with stickers—so you can create a keepsake that feels truly yours.
Gather Your Materials
You’ll need a blank greeting card (or a cardstock sheet you cut to size), a fine‑point pen or printer for your message, and a selection of matte vinyl stickers. Choose stickers that complement your card’s colour palette and the occasion.
If you plan to mail the card, pick a cardstock that’s at least 14‑point thickness to protect the interior and any stickers you apply.
- Tip: Test a sticker on a scrap piece of cardstock first to see how it adheres and how the colours appear.
Add Your Custom Text
Write your message directly on the blank interior, or design it on a computer and print it onto the card using a laser printer for crisp lines. Keep the font legible and leave enough margin around the edges for stickers.
A common mistake is overcrowding the card. Aim for a short, heartfelt sentence or a brief poem—your stickers will fill the visual space.
Apply the Stickers
Peel each matte vinyl sticker carefully, position it where you want it, and press firmly from the centre outwards to avoid air bubbles. The waterproof finish of the stickers helps them stay put even if the card gets a little moisture.
Check the alignment before pressing down fully; repositioning a sticker after it’s stuck can weaken the adhesive.
- Remember: Matte vinyl stickers are scratch‑resistant, but heavy handling can still lift the edges.
Step‑by‑Step Summary
- Plan Your Design: Choose a blank card, decide on a colour theme, and select stickers that match the occasion. Avoid mismatched colours; a cohesive palette makes the card look polished.
- Create and Add Text: Write or print a short, heartfelt message, leaving space for decorative stickers. Check for spacing—crowded text makes stickers look cramped.
- Apply Stickers Carefully: Peel, position, and press each sticker, smoothing out air bubbles from the centre outward. If a bubble appears, use a soft card to push it out before the adhesive sets.
Products to Use
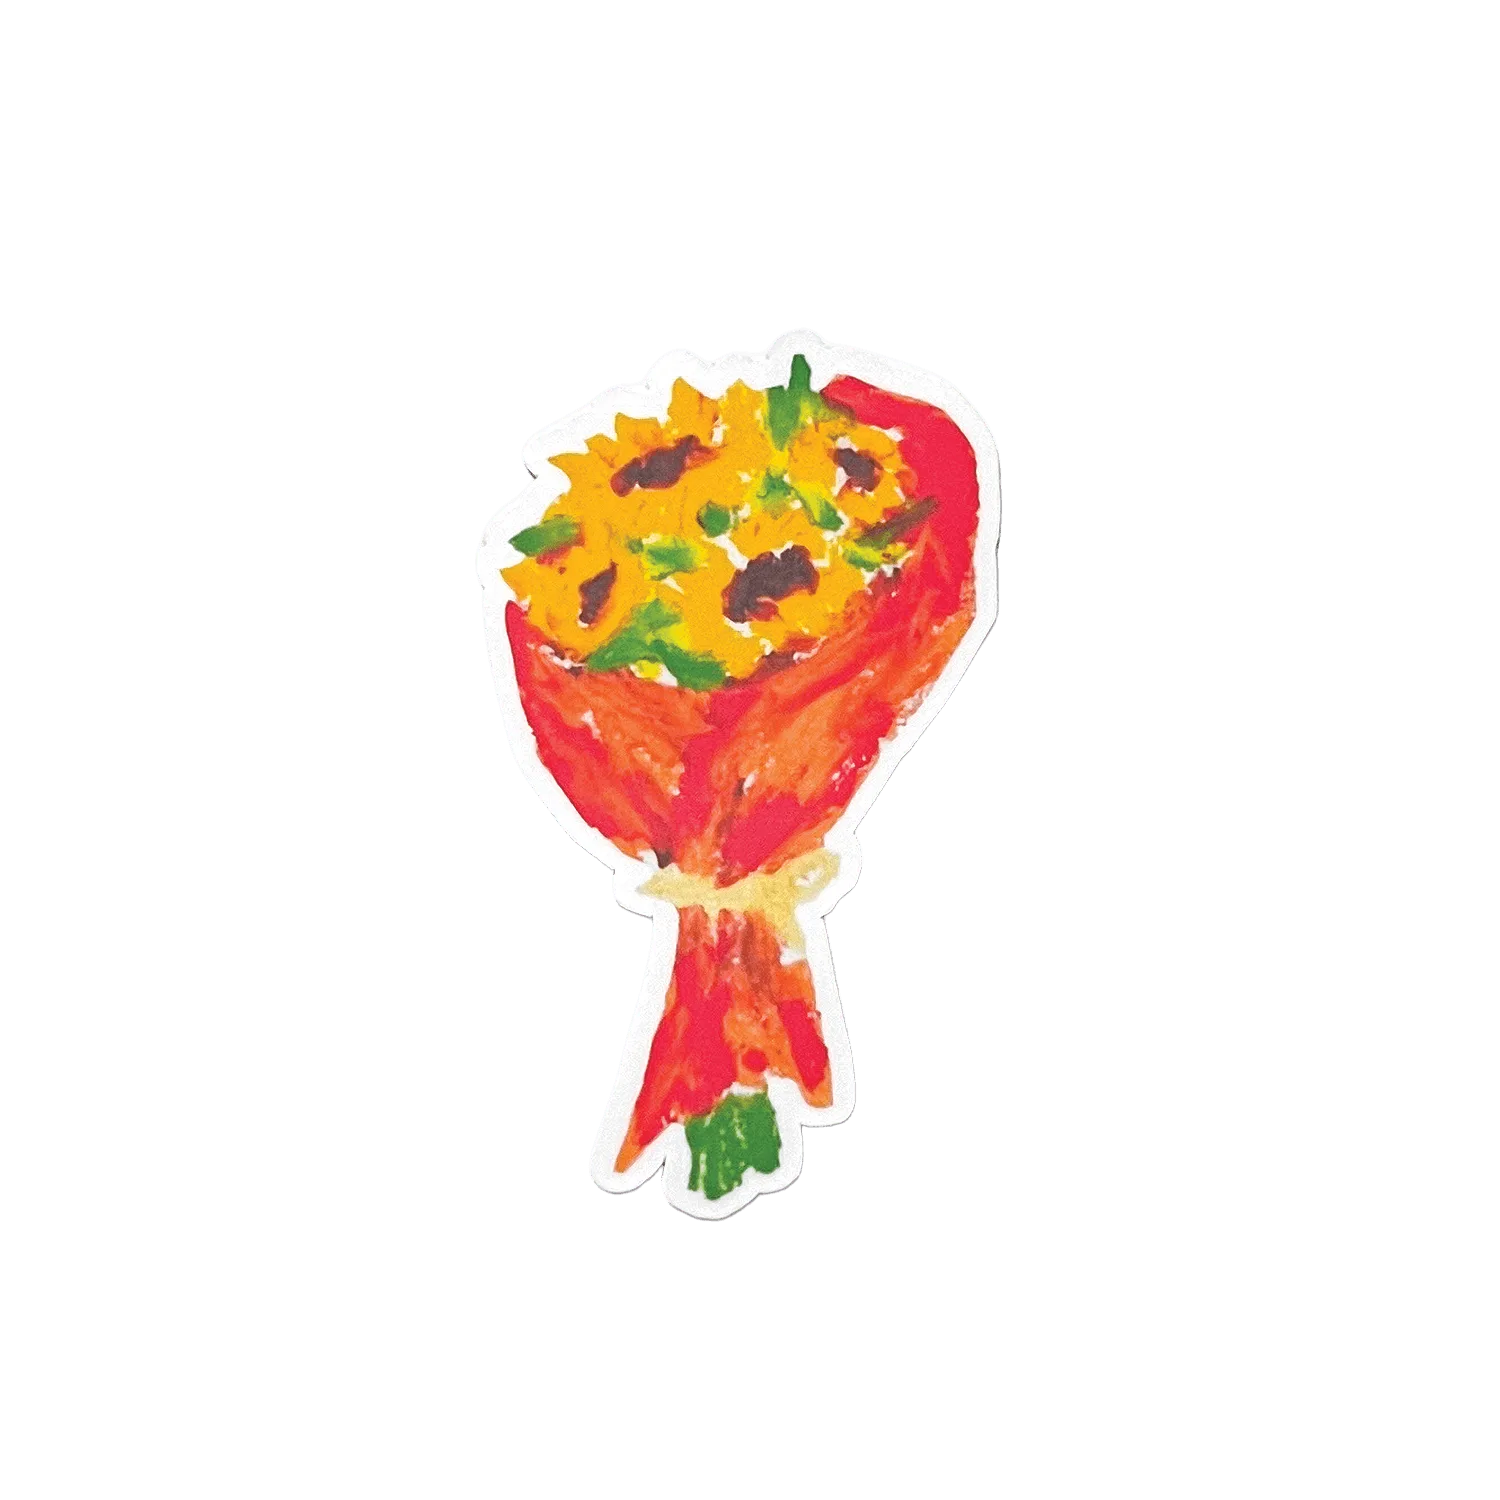
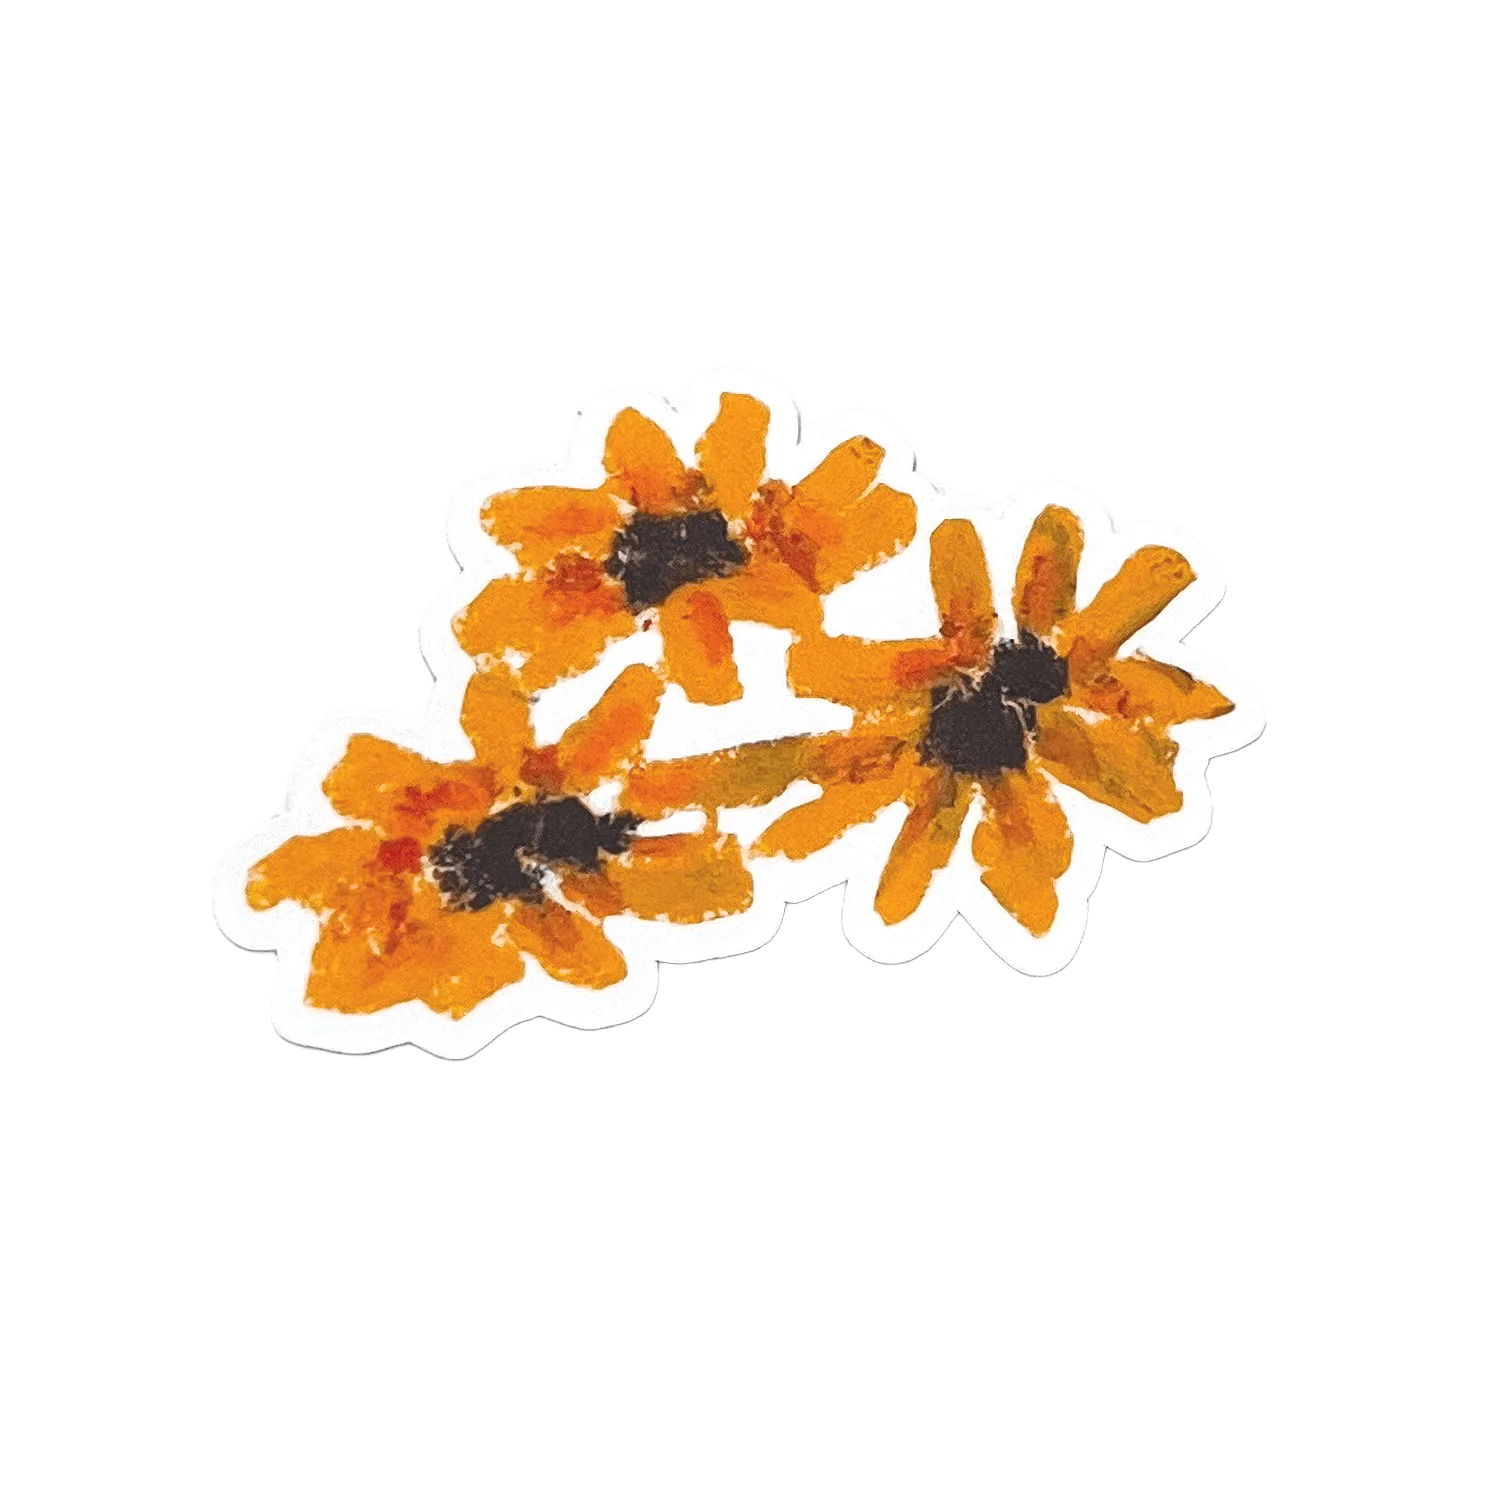
- Packaged Sunflowers | Matte Vinyl Sticker: Printed on durable, waterproof vinyl and laminated with a smooth matte finish, this Packaged Sunflower sticker is perfect for water bottles, laptops, phone cases, and journals! The waterproof, scratch‑resistant surface ensures the sticker stays vibrant on the card and won’t peel off easily.
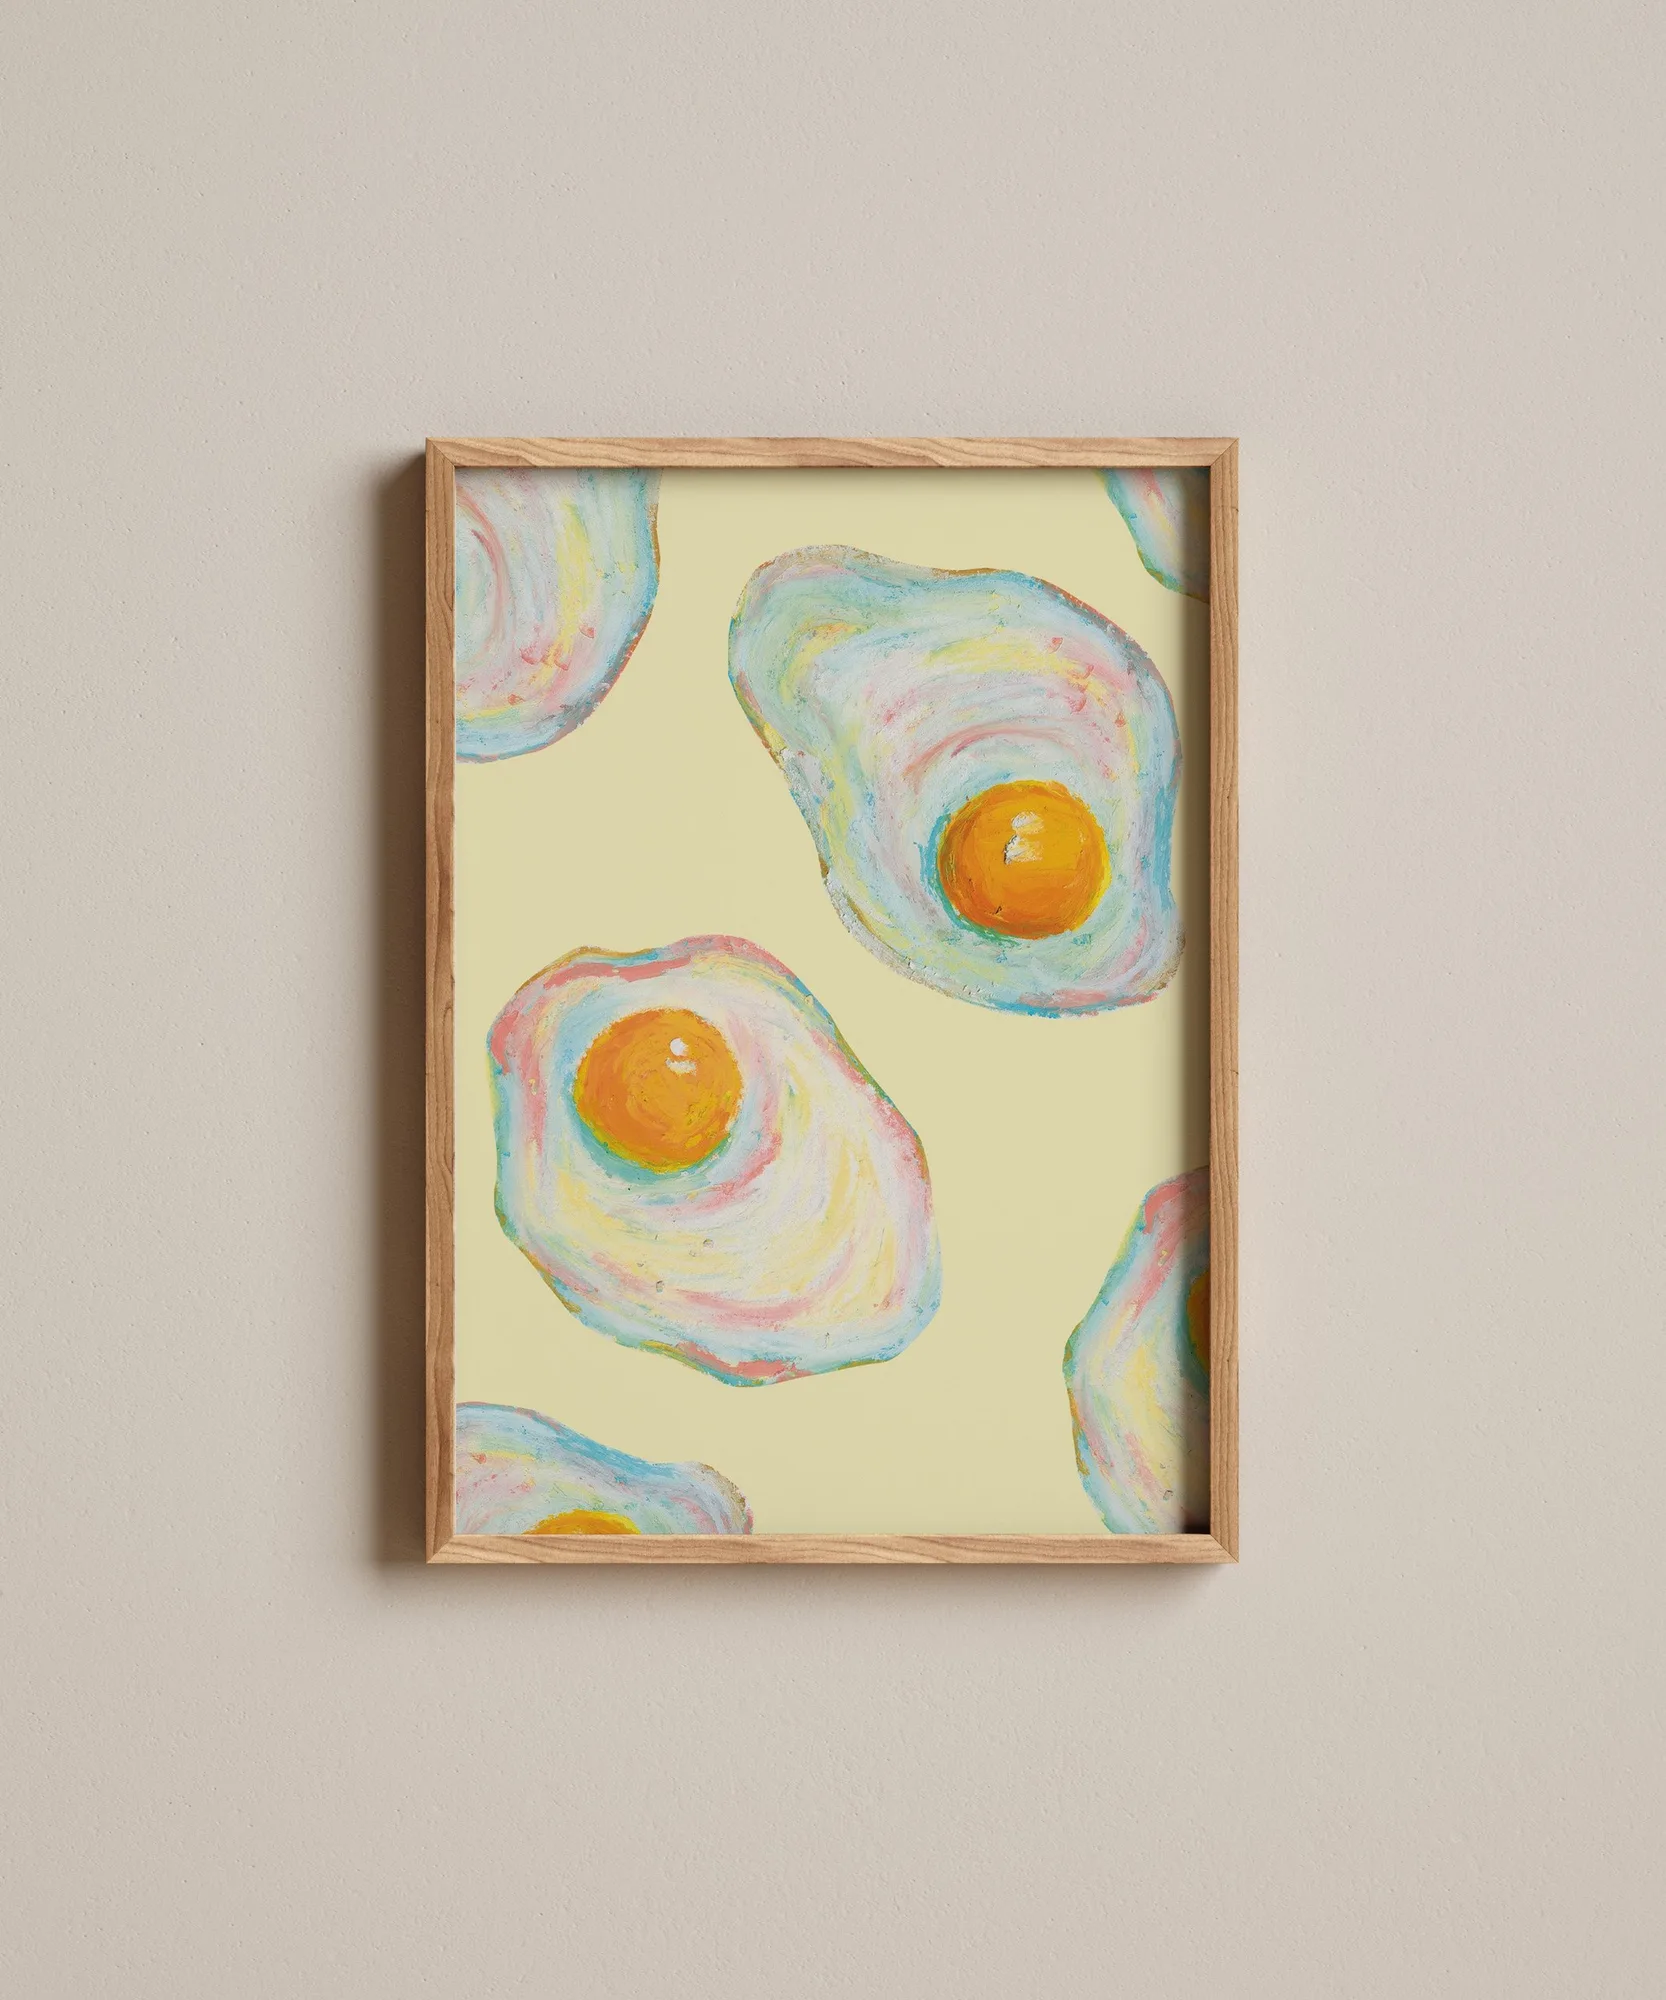
- Season's Greetings | Holiday Greeting Card: Celebrate this holiday season with the Season's Greetings card! Each card is lovingly made in my home studio, designed, printed, and packaged by Janine. Printed on high-quality cardstock, the soft pastel textures and hand‑drawn charm create a warm and meaningful keepsake. High‑quality cardstock provides a sturdy base for custom text and stickers, while the hand‑drawn design adds a personal artistic touch.
With just a few simple steps, you can turn a plain card into a personalized work of art that friends and family will treasure.