Quick answer
Build the PIPEROID Cats Calico by cutting the paper parts cleanly, folding along every scored line, and inserting the pipes gently until they click into the predrilled holes. Work on a clear, well-lit surface and keep the joint connections slightly loose so the cat can move.
Why the order of assembly matters
PIPEROID kits are designed so that the pipes hold each other in place through tension and friction. If you insert pipes randomly, you may find it harder to reach certain holes later or accidentally pop out a joint you already set. A logical build order—usually from the inside out and from the body to the limbs—keeps the structure stable as you go.
The Calico cat has multiple pipe lengths and joint types. Sorting them before you start saves time and prevents mixing up similar-looking pieces.
When to expect a looser or tighter fit
The holes are designed to hold pipes snugly but loosely enough for movement. Some joints will feel tighter than others; that is normal. If a pipe resists, do not force it—check that the hole is clear of paper fuzz and that you are using the correct pipe length. A gentle wiggle usually seats it.
Because the kit uses paper friction rather than glue, humidity and paper thickness can affect fit. Work in a dry room and avoid creasing the pipe ends, which can make insertion harder.
Step-by-step PIPEROID Cats Calico assembly
- Prepare your workspace and tools: Clear a flat, well-lit table and gather a pair of sharp scissors, the paper parts, and the pipes. Keep the pipes sorted by length in small piles or a tray. Avoid working on a soft surface like a bed, which can bend the paper. A clean, hard surface and sorted pipes prevent most assembly frustration.
- Cut out the paper parts: Cut along the solid outlines, staying just outside the line. Turn the paper as you cut rather than twisting the scissors. For tight curves, take small snips. Do not cut into the scored fold lines. Check each part against the diagram before cutting; a part cut too small cannot be fixed.
- Fold along all scored lines: Use your fingernail or the back of a scissors blade to crease every scored line firmly. Fold both directions once to loosen the paper fibers, then set the final fold as indicated. Sharp creases help the pipes align with the holes. Skipping a fold often leads to misaligned holes later; double-check each part before moving on.
- Insert pipes in the recommended order: Start with the body and work outward to the limbs and head. Insert each pipe into its hole until it sits flush, but do not force it. If a pipe feels stuck, rotate it slightly while pushing gently. Leave joints that are meant to move slightly loose. If a pipe will not go in, remove it and check for paper fuzz or a missed fold before trying again.
- Test and adjust the joints: Once all pipes are in, gently move each joint through its range. If a joint is too tight, ease the pipe out a millimeter and reinsert. If too loose, ensure the pipe is fully seated and the surrounding folds are sharp. Do not add glue; the kit is designed to hold without it. A properly built Calico should stand and pose with gentle handling; excessive wobble means a pipe is not fully seated.
Product facts
-
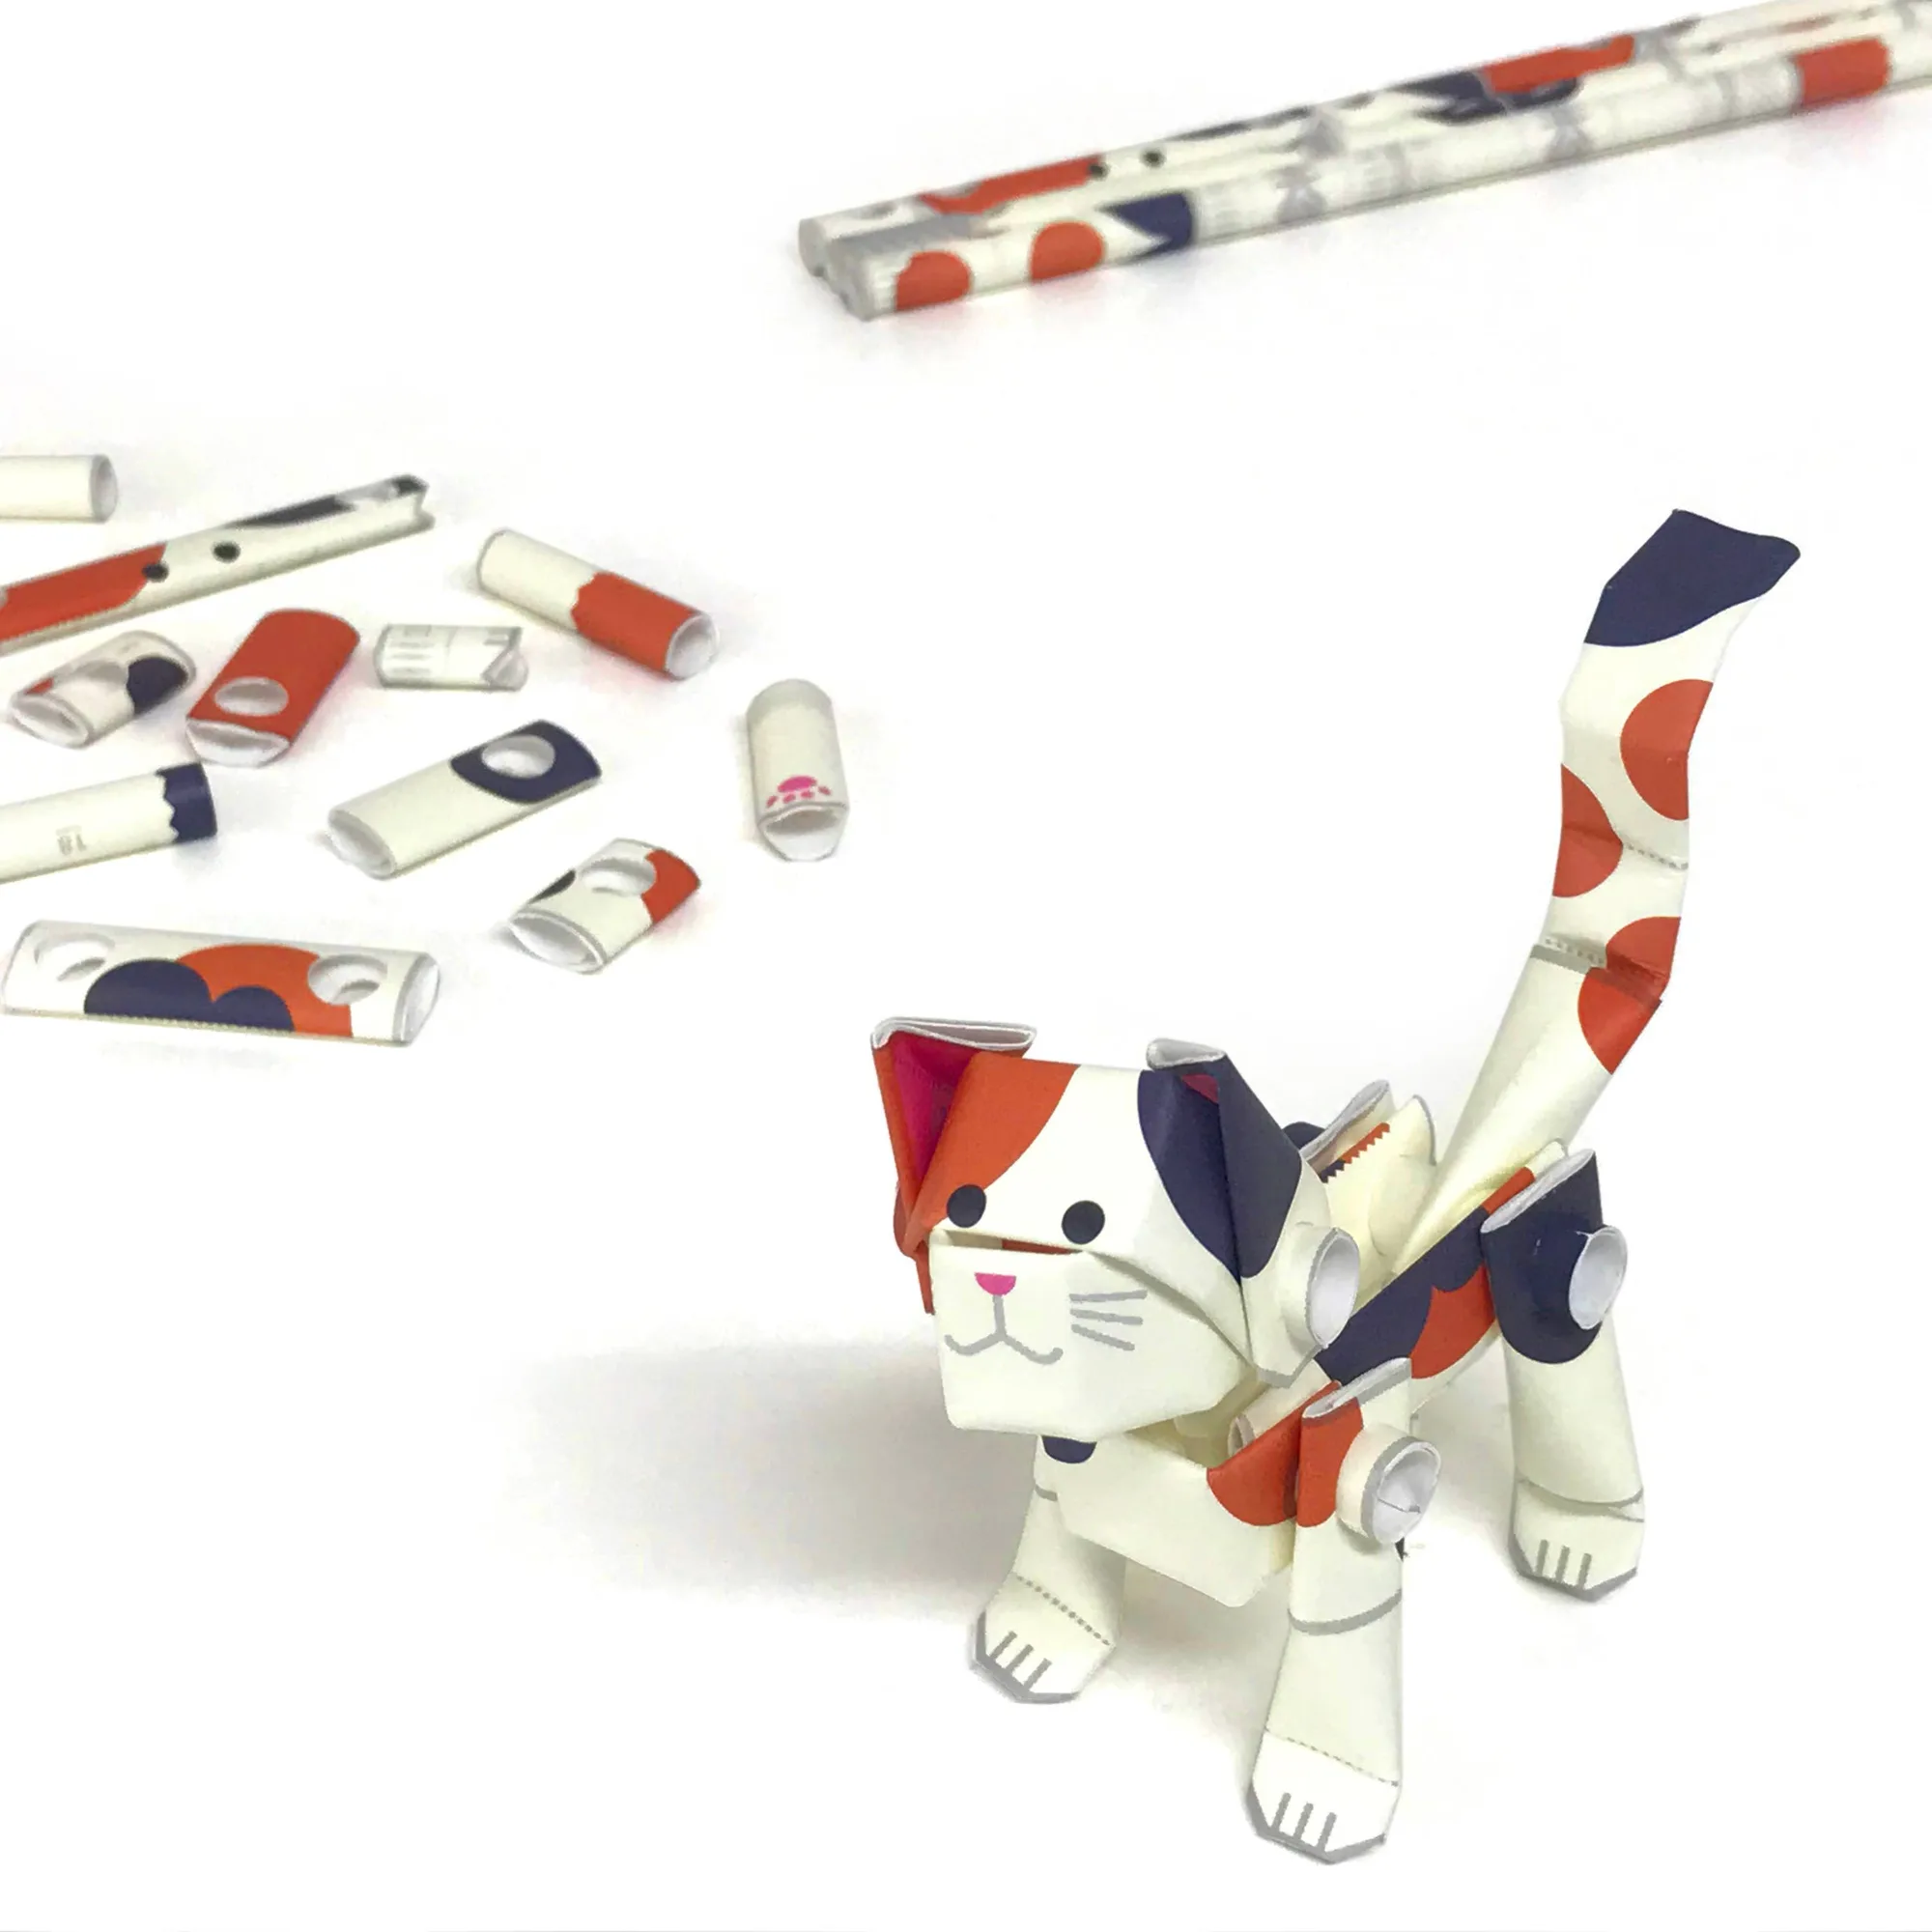
PIPEROID animals Cats Calico - paper craft kit from Japan: PIPEROID is an award-winning Japanese 3D paper craft kit from Kyoto that combines block construction with origami; no tape or glue is needed. You can build and rebuild the cat without a sticky mess, but the joint fit relies on clean cuts and careful folding.
PIPEROID animals Cats Calico - paper craft kit from Japan
-
PIPEROID animals Cats Calico - paper craft kit from Japan: The only tool required is scissors; the predrilled holes are designed to hold the pipes snugly while allowing the joints to move. A sharp pair of scissors and a steady hand are your main tools, so invest in good lighting and take your time cutting.