Quick answer
Dry-fit all three fins before any adhesive: confirm each root makes full contact with the body tube, each fin seats in its slot without forcing, and all three align to the same reference line. Fix fit problems now, while the parts are still loose.
Why a dry fit matters more than glue choice
A fin that rocks in its slot or sits proud of the tube will pull a weak fillet no matter which adhesive you use. The EZI-65 fin set gives you three identical 1/8-inch birch plywood fins, so any gap or misalignment comes from the airframe or slot, not from a mismatched fin. Check fit first, then choose glue.
Birch plywood is stiff and holds its shape, which makes it a good straightedge for checking the tube. It also means a fin that binds in the slot will not flex to hide the problem.
When the stock fin set is the right call
This fin set is intended for the LOC Precision EZI-65, and the catalog lists no thickness or span options. If you are repairing a damaged fin or building a stock EZI-65, the set matches the original three-fin layout. If you need a different fin profile or material, the catalog does not offer that choice here, so confirm your goal before ordering.
The set includes three fins, so you have no spare for a practice fit. Treat each dry-fit step as non-destructive and avoid trimming until you have confirmed the problem is the fin and not the slot.
Step-by-step fin fit checks
- Unpack and inspect all three fins: Lay the three fins side by side on a flat surface and check that each root edge is straight and free of raised splinters. Common mistake: starting with the first fin out of the pack and assuming the others match. If one root edge is visibly bowed, set it aside and test the other two before contacting the store.
- Test each fin in its slot without glue: Slide each fin into its slot on the body tube with light finger pressure. It should enter without forcing and without side-to-side rock. Common mistake: widening a slot with a knife before checking whether the fin root is the tight part. Mark each fin and slot pair with a pencil so you can repeat the same fit after any sanding.
- Check root-to-tube contact: Hold the rocket at eye level and look for daylight under the root edge along its full length. A fin that touches only at the front and rear leaves a middle gap that adhesive cannot bridge. Common mistake: judging contact by feel instead of sight. If daylight shows in the middle, check the tube for a flat spot before sanding the fin root.
- Confirm alignment against a reference line: Use a door frame or a straight edge clamped to the tube to compare all three fins to the same line. Each fin should sit at the same angle and the tips should be evenly spaced. Common mistake: aligning one fin perfectly and assuming the molded slots set the rest. Record any fin that sits off-line; if two fins disagree, the slot layout, not the fin, is the likely cause.
- Sand only where the fit check shows a problem: If a root edge is high, sand it flat on a hard block with light pressure, rechecking against the tube every few strokes. Common mistake: sanding the slot or the tube instead of the fin root. Stop sanding as soon as the root shows full contact; removing more material only weakens the joint.
- Re-dry-fit all three fins together before gluing: Install all three fins at once and view the rocket from the rear. The tips should form an even three-point pattern and no fin should touch another. Common mistake: gluing one fin before the others have passed the same check. Only start adhesive after all three fins pass the same dry-fit checks in the same session.
Product facts
-
Fin Set for PK-64 EZI-65: Each set includes three fins made from 1/8-inch birch plywood, sized for the EZI-65 rocket kit. Three matched fins let you compare root edges against each other, so a gap that appears on only one fin points to a slot or tube issue rather than the whole set.
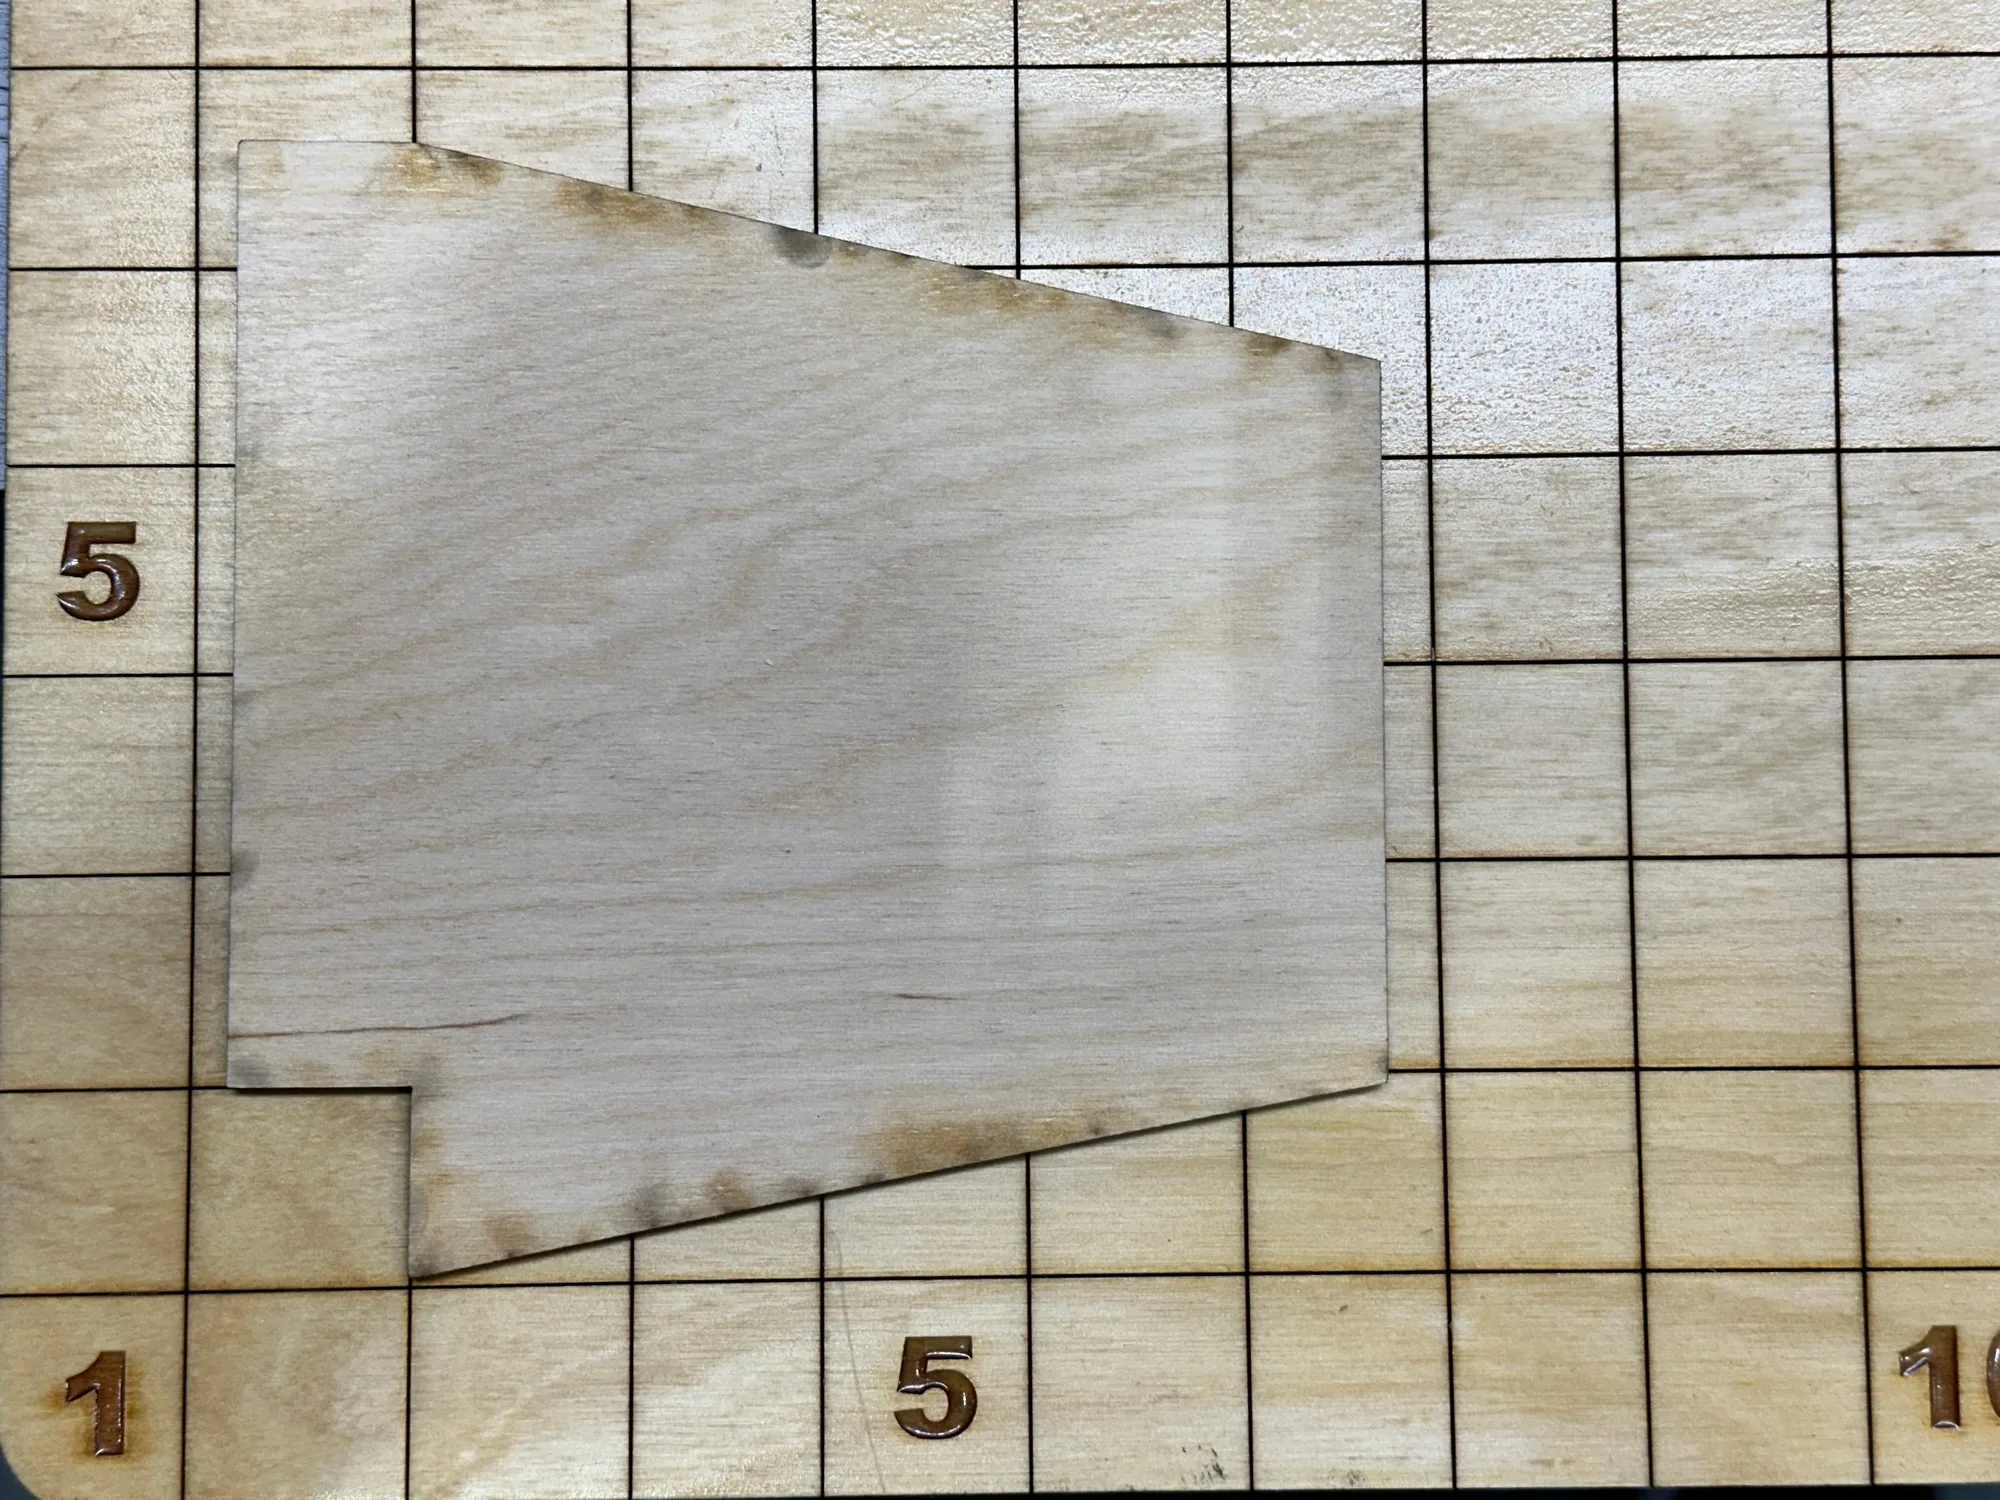
Fin Set for PK-64 EZI-65