Quick answer
Assemble the Pocket Coin Holder Kit by test-fitting the pre-cut pieces, setting the snap, stitching the pouch with a consistent saddle stitch, and burnishing the edges. Work slowly and check alignment at each stage to avoid a lopsided coin holder.
Why pre-punched holes make this kit beginner-friendly
The Pocket Coin Holder Kit comes with pre-cut and pre-punched vegetable-tanned leather pieces, so you do not need to measure or punch holes yourself. That removes the two most common sources of error for new leathercrafters: uneven hole spacing and miscut edges. Your main job is to keep the pieces aligned as you stitch and to finish the edges neatly.
One trade-off: less room for customization
Because the holes are already punched, you cannot change the stitch length or the shape of the pouch. If you want a different look, focus your customization on stamping, dyeing, or painting the leather before assembly. The kit's vegetable-tanned surface accepts those treatments well, but do any decoration before you stitch so you can work flat.
Step-by-step assembly for the Pocket Coin Holder Kit
- Lay out and inspect all pieces: Unpack the kit and confirm you have both leather pieces, the snap components, and any thread or needles included. Check that the pre-punched holes are clean and free of debris. Missing or damaged pieces are easier to resolve before you start stitching.
- Decorate the leather flat (optional): If you plan to stamp, dye, or paint, do it now while the leather is flat. Work on a stable surface and let any dye or paint dry completely before handling. Decoration after assembly is much harder and can distort the pouch shape.
- Set the snap closure: Following the snap manufacturer's instructions, install the snap parts in the pre-marked positions. Use a snap setter and mallet, and strike firmly but evenly. A crooked snap will prevent the flap from closing flat, so check alignment before striking.
- Align the pieces for stitching: Match the pre-punched holes of the front and back pieces, keeping the edges flush. Hold them together with clips or a small amount of glue if needed. Misaligned holes cause puckering that cannot be fixed after stitching.
- Stitch the pouch: Thread a needle with a length of waxed thread about 2.5 times the seam length. Saddle stitch through the aligned holes, pulling each stitch snug but not tight enough to distort the leather. Consistent tension matters more than speed; loose stitches will wear quickly.
- Finish the edges: Sand the edges lightly with fine sandpaper, apply a edge finish such as gum tragacanth or edge paint, and burnish with a slicker until smooth. Skipping edge finishing leaves the pouch looking unfinished and prone to fraying.
Kit facts that affect assembly
-
Pocket Coin Holder Kit: Includes pre-cut and pre-punched vegetable-tanned leather pieces and a snap closure. You can start stitching right away, but you must set the snap before closing the pouch.
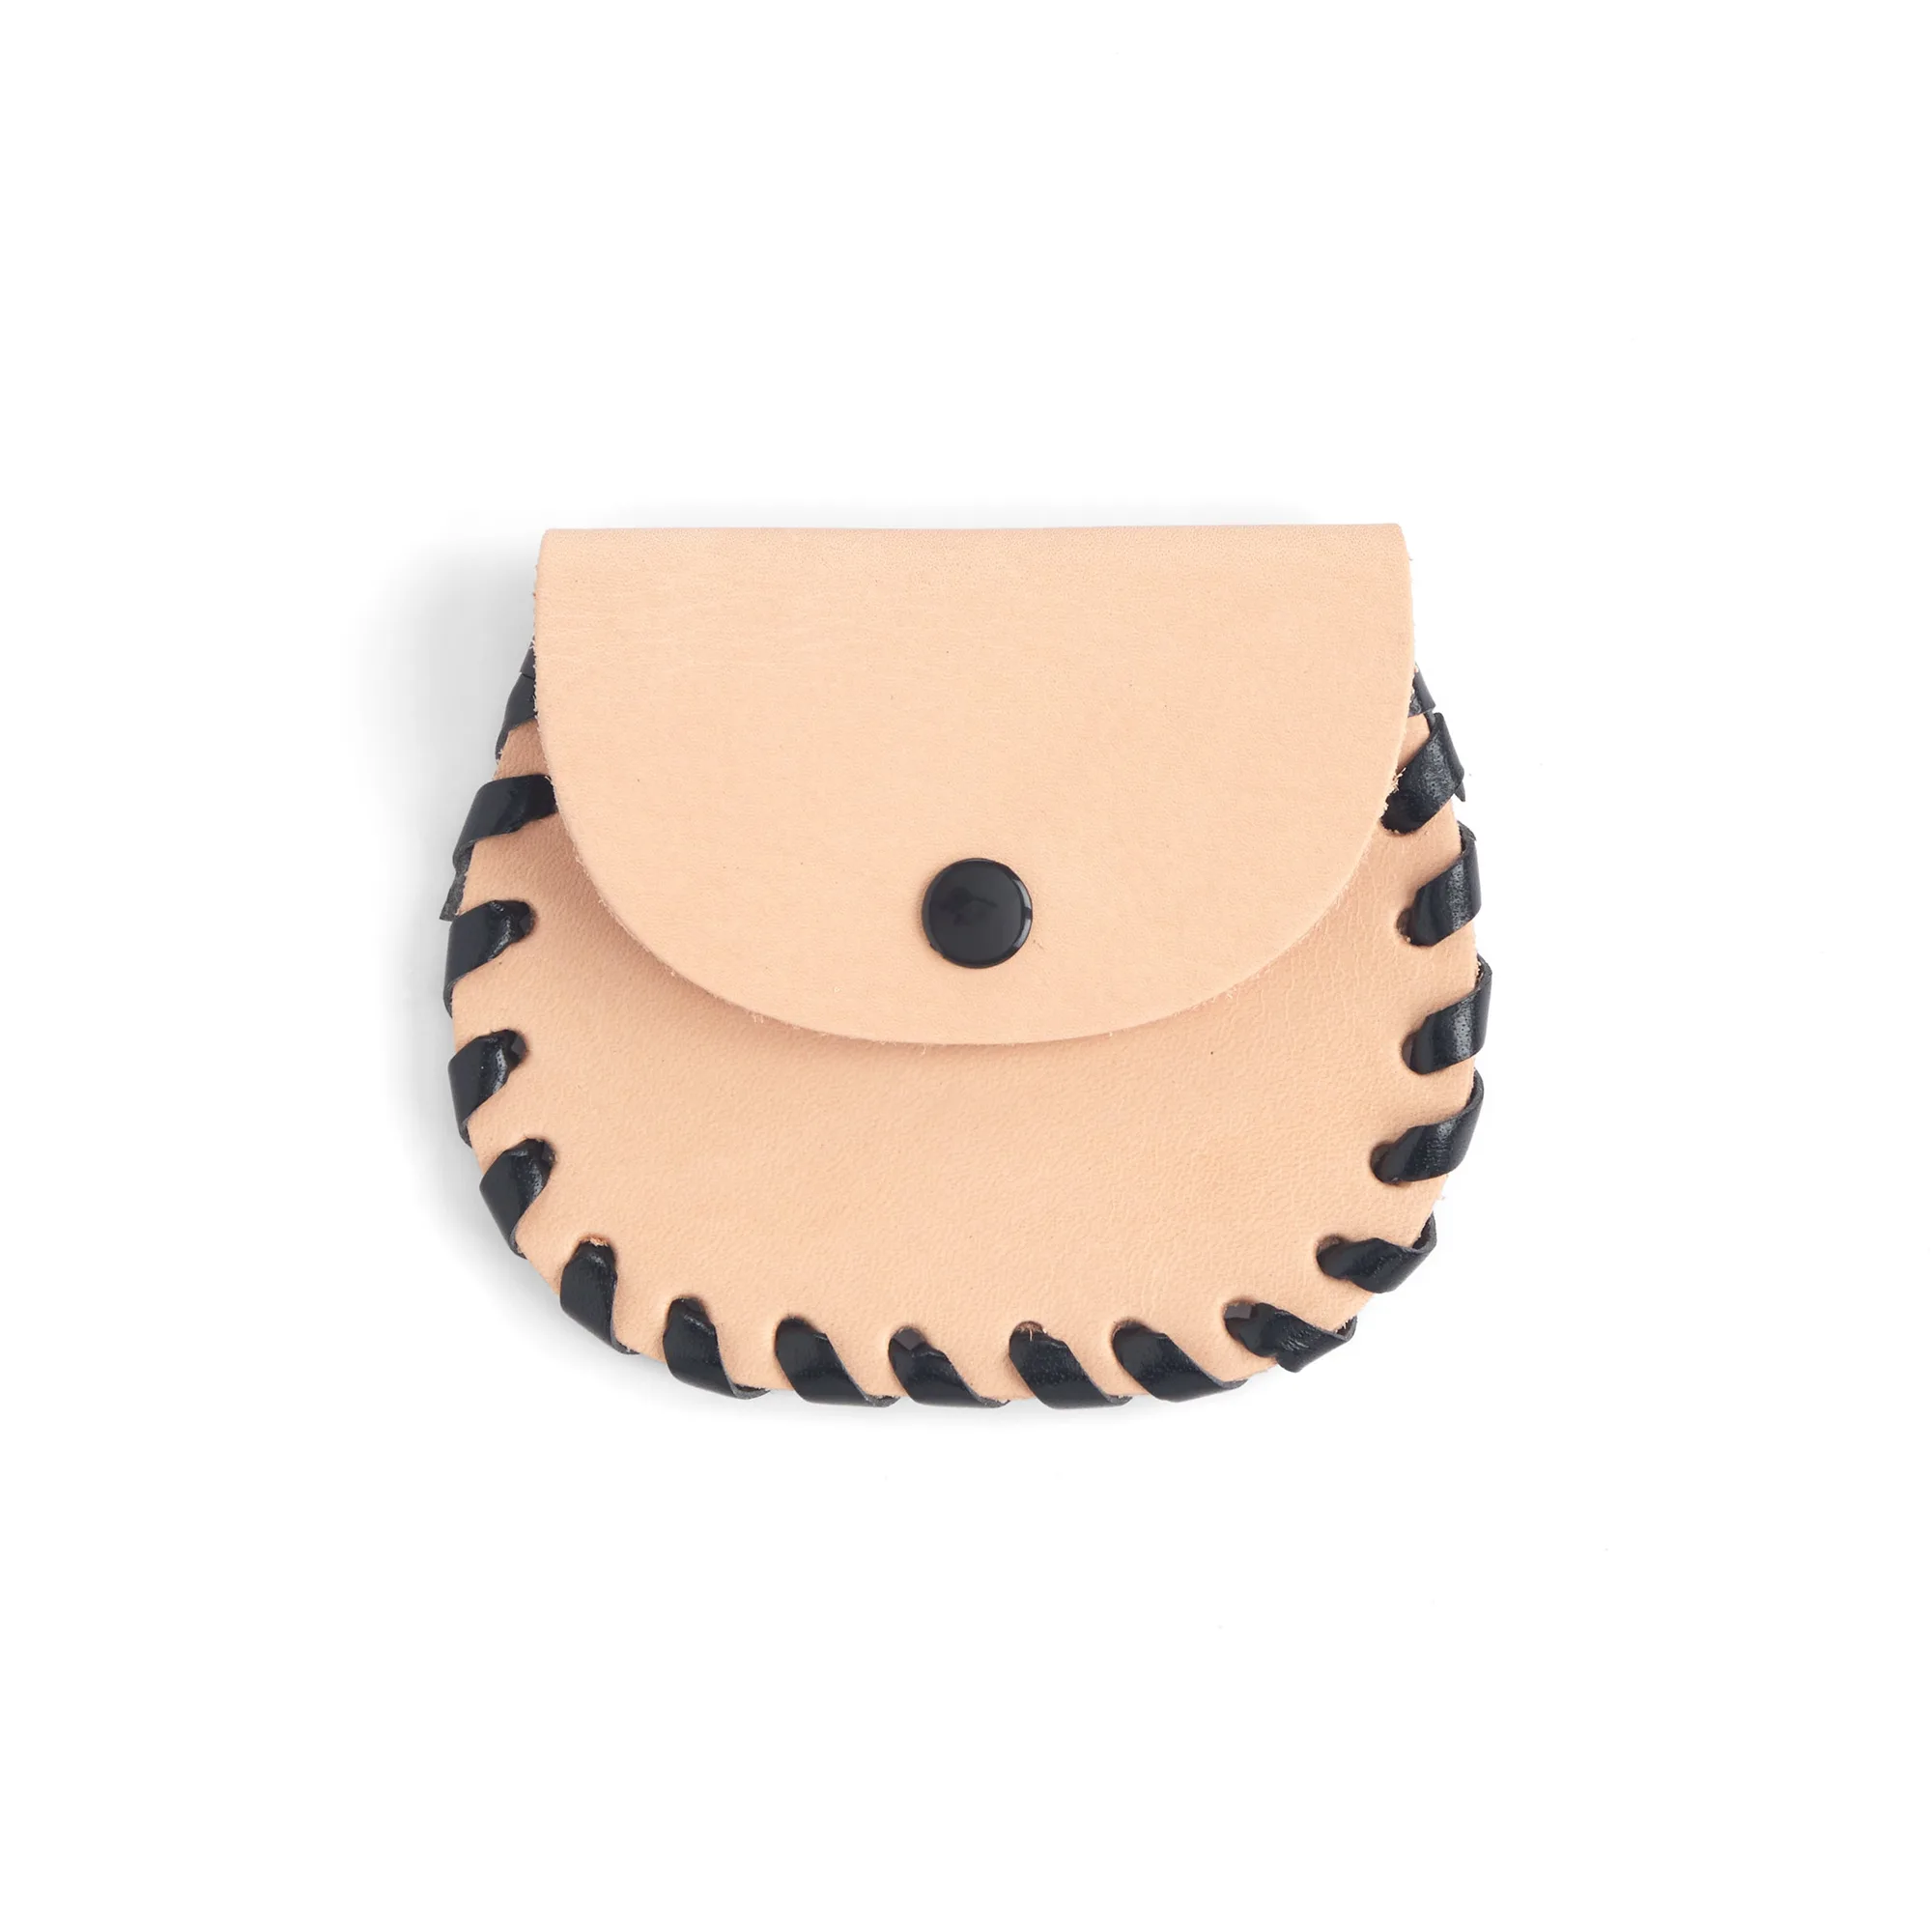
Pocket Coin Holder Kit