Quick answer
Use Poinsettia HEMA-Free and TPO Free Gel Polish as your red glitter base, then build a simple poinsettia design with a fine liner brush and a matte top coat for contrast. Cure each gel layer fully before moving on.
Why Poinsettia works for holiday nail art
Poinsettia is a deep red glitter gel polish that gives festive shine without overpowering a design. Its glitter reflects light like poinsettia petals under holiday lights, so it works as a full-color base or as an accent for petal details. Because it is HEMA-free and TPO-free, it fits customers who avoid those ingredients in gel polish. Keep in mind that glitter gels can be slightly thicker than creme polishes, so apply thin coats to avoid bulk.
Design decisions that affect wear
A poinsettia design can be as simple as one accent nail or as detailed as full-hand petals. For beginners, start with a single accent nail using Poinsettia as the flower and a gold or white liner for petal outlines. If you want a matte finish, use a matte top coat over the petals but keep a glossy top coat on the base for contrast. Avoid applying glitter gel too close to the cuticle; it can lift if the edge is thick.
Step-by-step poinsettia nail design
- Prep the nail plate: Buff the surface lightly, push back cuticles, and wipe with alcohol to remove oils. Apply a pH bonder if your system requires it. Skipping prep is the most common cause of lifting; keep the plate dry and matte before gel.
- Apply base coat and cure: Apply a thin base coat, cap the free edge, and cure according to your lamp's instructions (typically 30–60 seconds for LED). Check that the base coat is fully cured before adding color; tacky base will drag color.
- Paint Poinsettia as the base or accent: For a full-color look, apply two thin coats of Poinsettia, curing each coat. For an accent nail, apply one coat only on the chosen nail and cure. Thin coats prevent glitter from clumping and ensure even curing.
- Build the poinsettia petals: Using a fine liner brush and Poinsettia (or a small dotting tool), draw petal shapes radiating from the center of the accent nail. Cure for 30 seconds to set the shape. Work one petal at a time and cure between layers to keep the design crisp.
- Add center and outline details: Place a small gold or white dot in the center for the flower core. If desired, outline petals with a thin white liner. Cure again. Keep details thin; thick lines can pool and wrinkle under top coat.
- Seal with top coat and cure: Apply a glossy or matte top coat over the entire design, cap the free edge, and cure fully. Wipe with cleanser if needed. Double-check that glitter particles are fully sealed; rough edges can catch on hair and clothing.
Product facts
-
Poinsettia~ HEMA-Free and TPO Free Gel polish: Poinsettia is a deep red glitter gel polish that is HEMA-free and TPO-free. This gives you a festive red glitter option without those specific ingredients, useful for clients or personal use with sensitivity concerns.
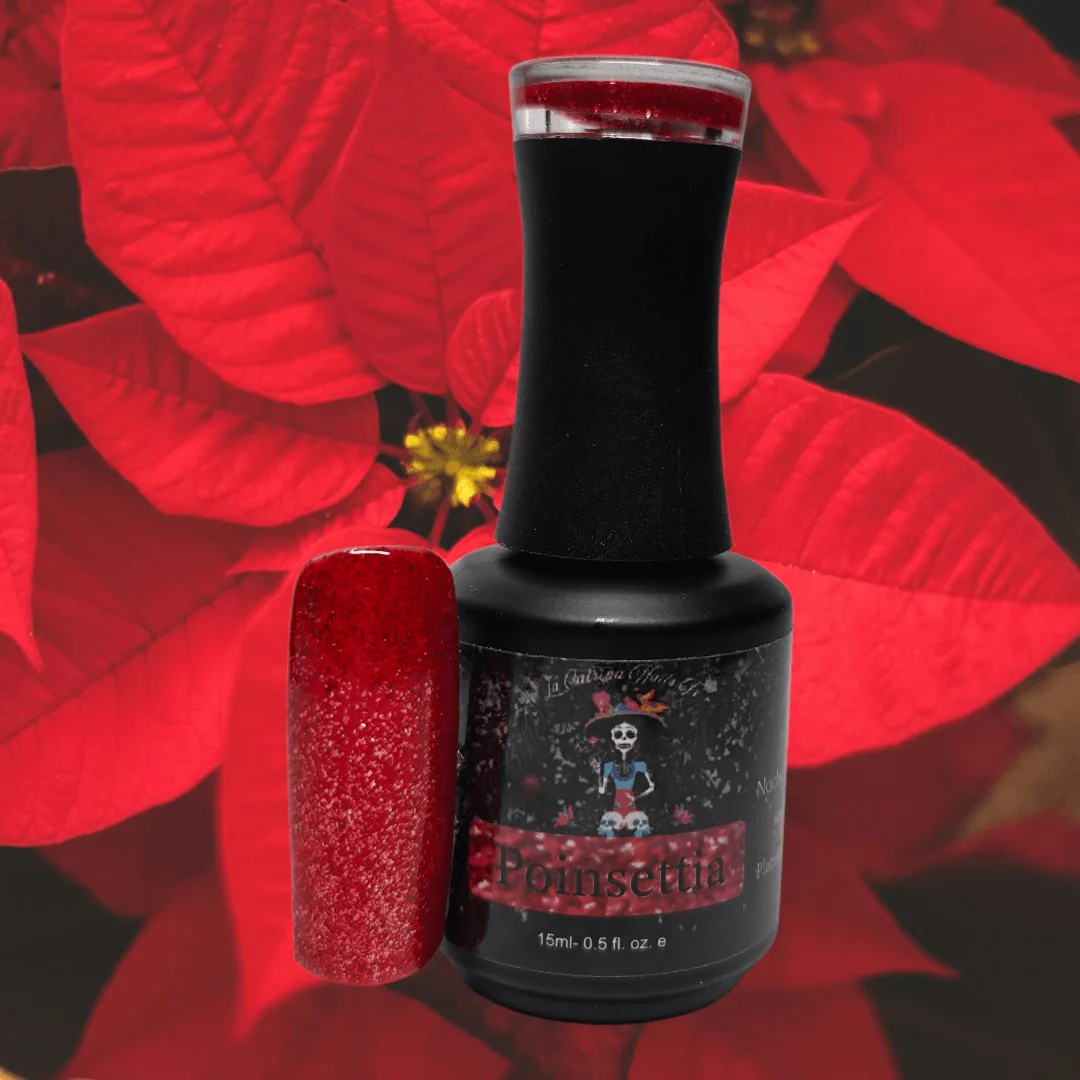
Poinsettia~ HEMA-Free and TPO Free Gel polish