Start with the sticker's real dimensions and finish
The Posture of an Artist Die Cut Sticker is small: 2.5 inches tall (6.35 cm) and 2.36 inches wide (6.27 cm). That footprint matters before you commit to a spot. On a laptop lid, it sits comfortably in a corner or beside a logo without crowding other stickers. In a journal, it covers less than a typical page corner, so it works as a small accent rather than a full-page focal point.
The sticker is also waterproof, which makes it a reasonable candidate for items that see light moisture—a water bottle, a notebook cover, or a laptop that travels. Waterproof does not mean indestructible, though. The supplied information does not describe abrasion resistance, UV fading, or adhesive strength, so treat those as unknowns rather than promises. If you need a sticker for heavy outdoor use or repeated washing, this one is a sensible starting point but not a confirmed heavy-duty choice.
The specs that affect placement
-
Posture of an Artist Die Cut Sticker: Measures 2.5 inches tall (6.35 cm) and 2.36 inches wide (6.27 cm). A sticker this size fits small, flat areas—laptop corners, journal covers, and compact gear—without dominating the surface.
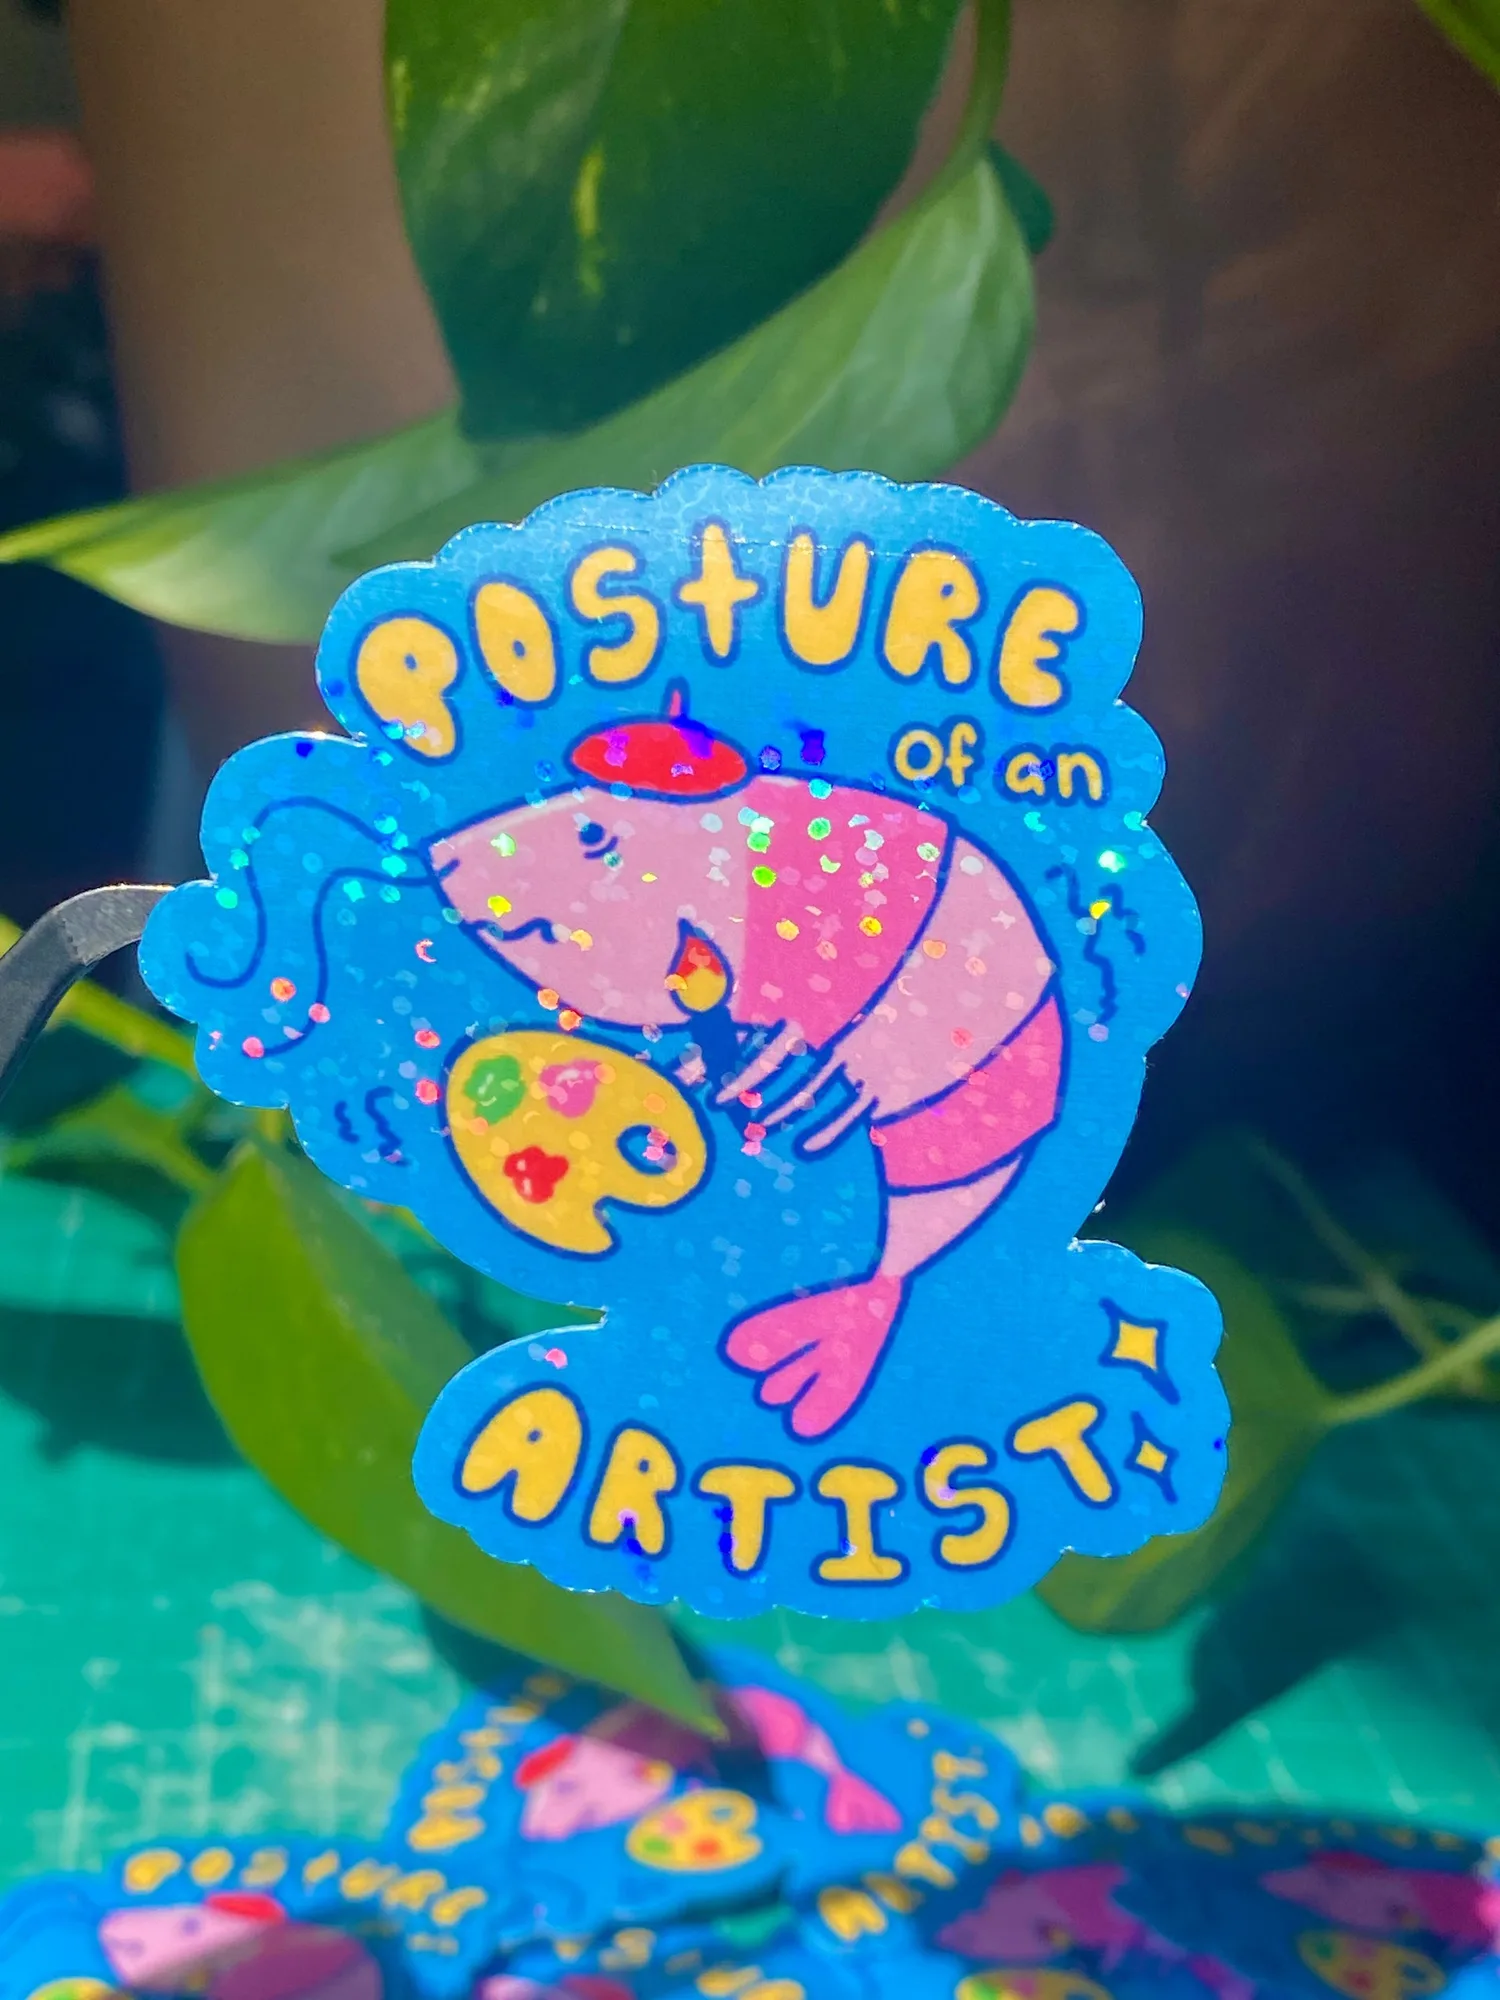
Posture of an Artist Die Cut Sticker
-
Posture of an Artist Die Cut Sticker: Waterproof. Useful for items that may get splashed or wiped, but the supplied record does not confirm resistance to abrasion, heat, or long-term UV exposure.
How to place it for a clean, lasting hold
Placement is the main lever you control. These steps reduce the chance of trapped air and early lifting without relying on unverified techniques.
- Choose a smooth, flat surface: Textured laptop lids, fabric journal covers, and curved bottles give adhesive less continuous contact. A flat, non-porous area is the safest bet.
- Clean and dry the spot: Wipe away dust and oils, then let the surface dry completely. Adhesive bonds poorly to damp or gritty surfaces.
- Test the position before peeling: Set the sticker in place without removing the backing. At 2.5 inches tall, it is easy to misjudge the visual balance on a laptop lid or journal cover.
- Peel and press from the center outward: Apply the sticker starting at one edge, then smooth toward the opposite edge to push air out. Press firmly around the entire border, especially the die-cut points and curves.
Where it works best—and where to think twice
On a laptop, the sticker suits the lid or a hard-shell case. Avoid placing it directly over vents, rubber feet, or the hinge area, where flexing and heat can work against the adhesive. On a journal, the front cover is the natural home; spiral-bound covers and soft fabric covers are less reliable because the surface flexes and may not bond evenly.
Water bottles and travel mugs are fair game given the waterproof finish, but hand-washing is gentler than a dishwasher. The supplied information does not confirm dishwasher or high-heat tolerance, so do not assume it. For a water bottle, place the sticker above the typical fill line and away from the base, where scratches and knocks are most common.
If the sticker starts to lift
Lifting usually shows up at edges or die-cut points first. The fix depends on how far it has progressed, and the supplied record does not include a manufacturer-approved repair method, so keep interventions conservative.
- Small edge lift: Press the edge back down firmly with a clean, dry finger and hold for a few seconds. If it lifts again immediately, the adhesive may have picked up dust or oil; clean the surface and try a fresh spot.
- Lift after curved-surface placement: Curved bottles and rounded lids put constant tension on the sticker. If it will not stay flat, move it to a flatter surface rather than fighting the curve.
- Sticker has lost tack: The supplied information does not include a recommended adhesive or reapplication method. Avoid improvising with household glues, which can damage the sticker or the surface. If it no longer holds, replacing it is the predictable option.
Everyday care that keeps the print and edges intact
Keep the sticker away from prolonged direct sun and high heat—car dashboards in summer are a poor home for any sticker. When cleaning the surrounding surface, wipe around the sticker rather than scrubbing across its edges. A soft, damp cloth is gentler than abrasive pads or solvents, though the supplied information does not specify a preferred cleaner.
On a laptop, the sticker will see handling, bag friction, and temperature changes. That is normal wear, not a defect. If you want the design to stay crisp for as long as possible, place it where it will not rub against a sleeve or another device. In a journal, the main risks are page flexing and items pressing against the cover; a flat, rigid cover protects the sticker better than a soft one.
What the supplied record does not tell you
The product record confirms size, waterproofing, and that the sticker was drawn and designed by the seller. It does not confirm UV resistance, dishwasher safety, adhesive type, removability, or a lifespan. Those gaps are decision limits, not hidden flaws. If your use case depends on any of those properties—for example, a sticker that must survive repeated dishwasher cycles—treat this one as unproven for that job and choose accordingly.