Quick answer
Start with lightweight resin pots you can lift alone, place them on existing surfaces or freestanding stands, and choose designs with built-in drainage trays so you never need to drill or install permanent fixtures. For most renters, a movable planter like the Archie Pot or Tri Planter gives you a stylish, damage-free setup that relocates in minutes.
Why weight and drainage decide everything for renters
Rental agreements often restrict wall and ceiling alterations, so the practical limit is what you can move without tools. A pot that is too heavy to lift alone becomes a permanent fixture whether you intended it or not. Resin planters solve this because they are hand-made and lightweight, yet still look like stone or terrazzo. Drainage is the second constraint: without a tray or built-in reservoir, water will mark floors and balconies, which can affect your deposit. Choose pots that include a tray or plinth so you can water freely without risking stains.
Map your surfaces before you shop
Walk through each room and note every flat surface that gets decent light: windowsills, low shelves, the top of a radiator cover, a sturdy side table, or a balcony floor. Measure the depth and width of the smallest surface you plan to use, then treat that as your maximum pot footprint. This prevents the common mistake of buying a planter that overhangs a narrow sill and tips. For balconies, check whether the surface is level and whether wind could catch a tall plant; a lower, wider pot is safer there.
Choose pots with built-in trays or plinths
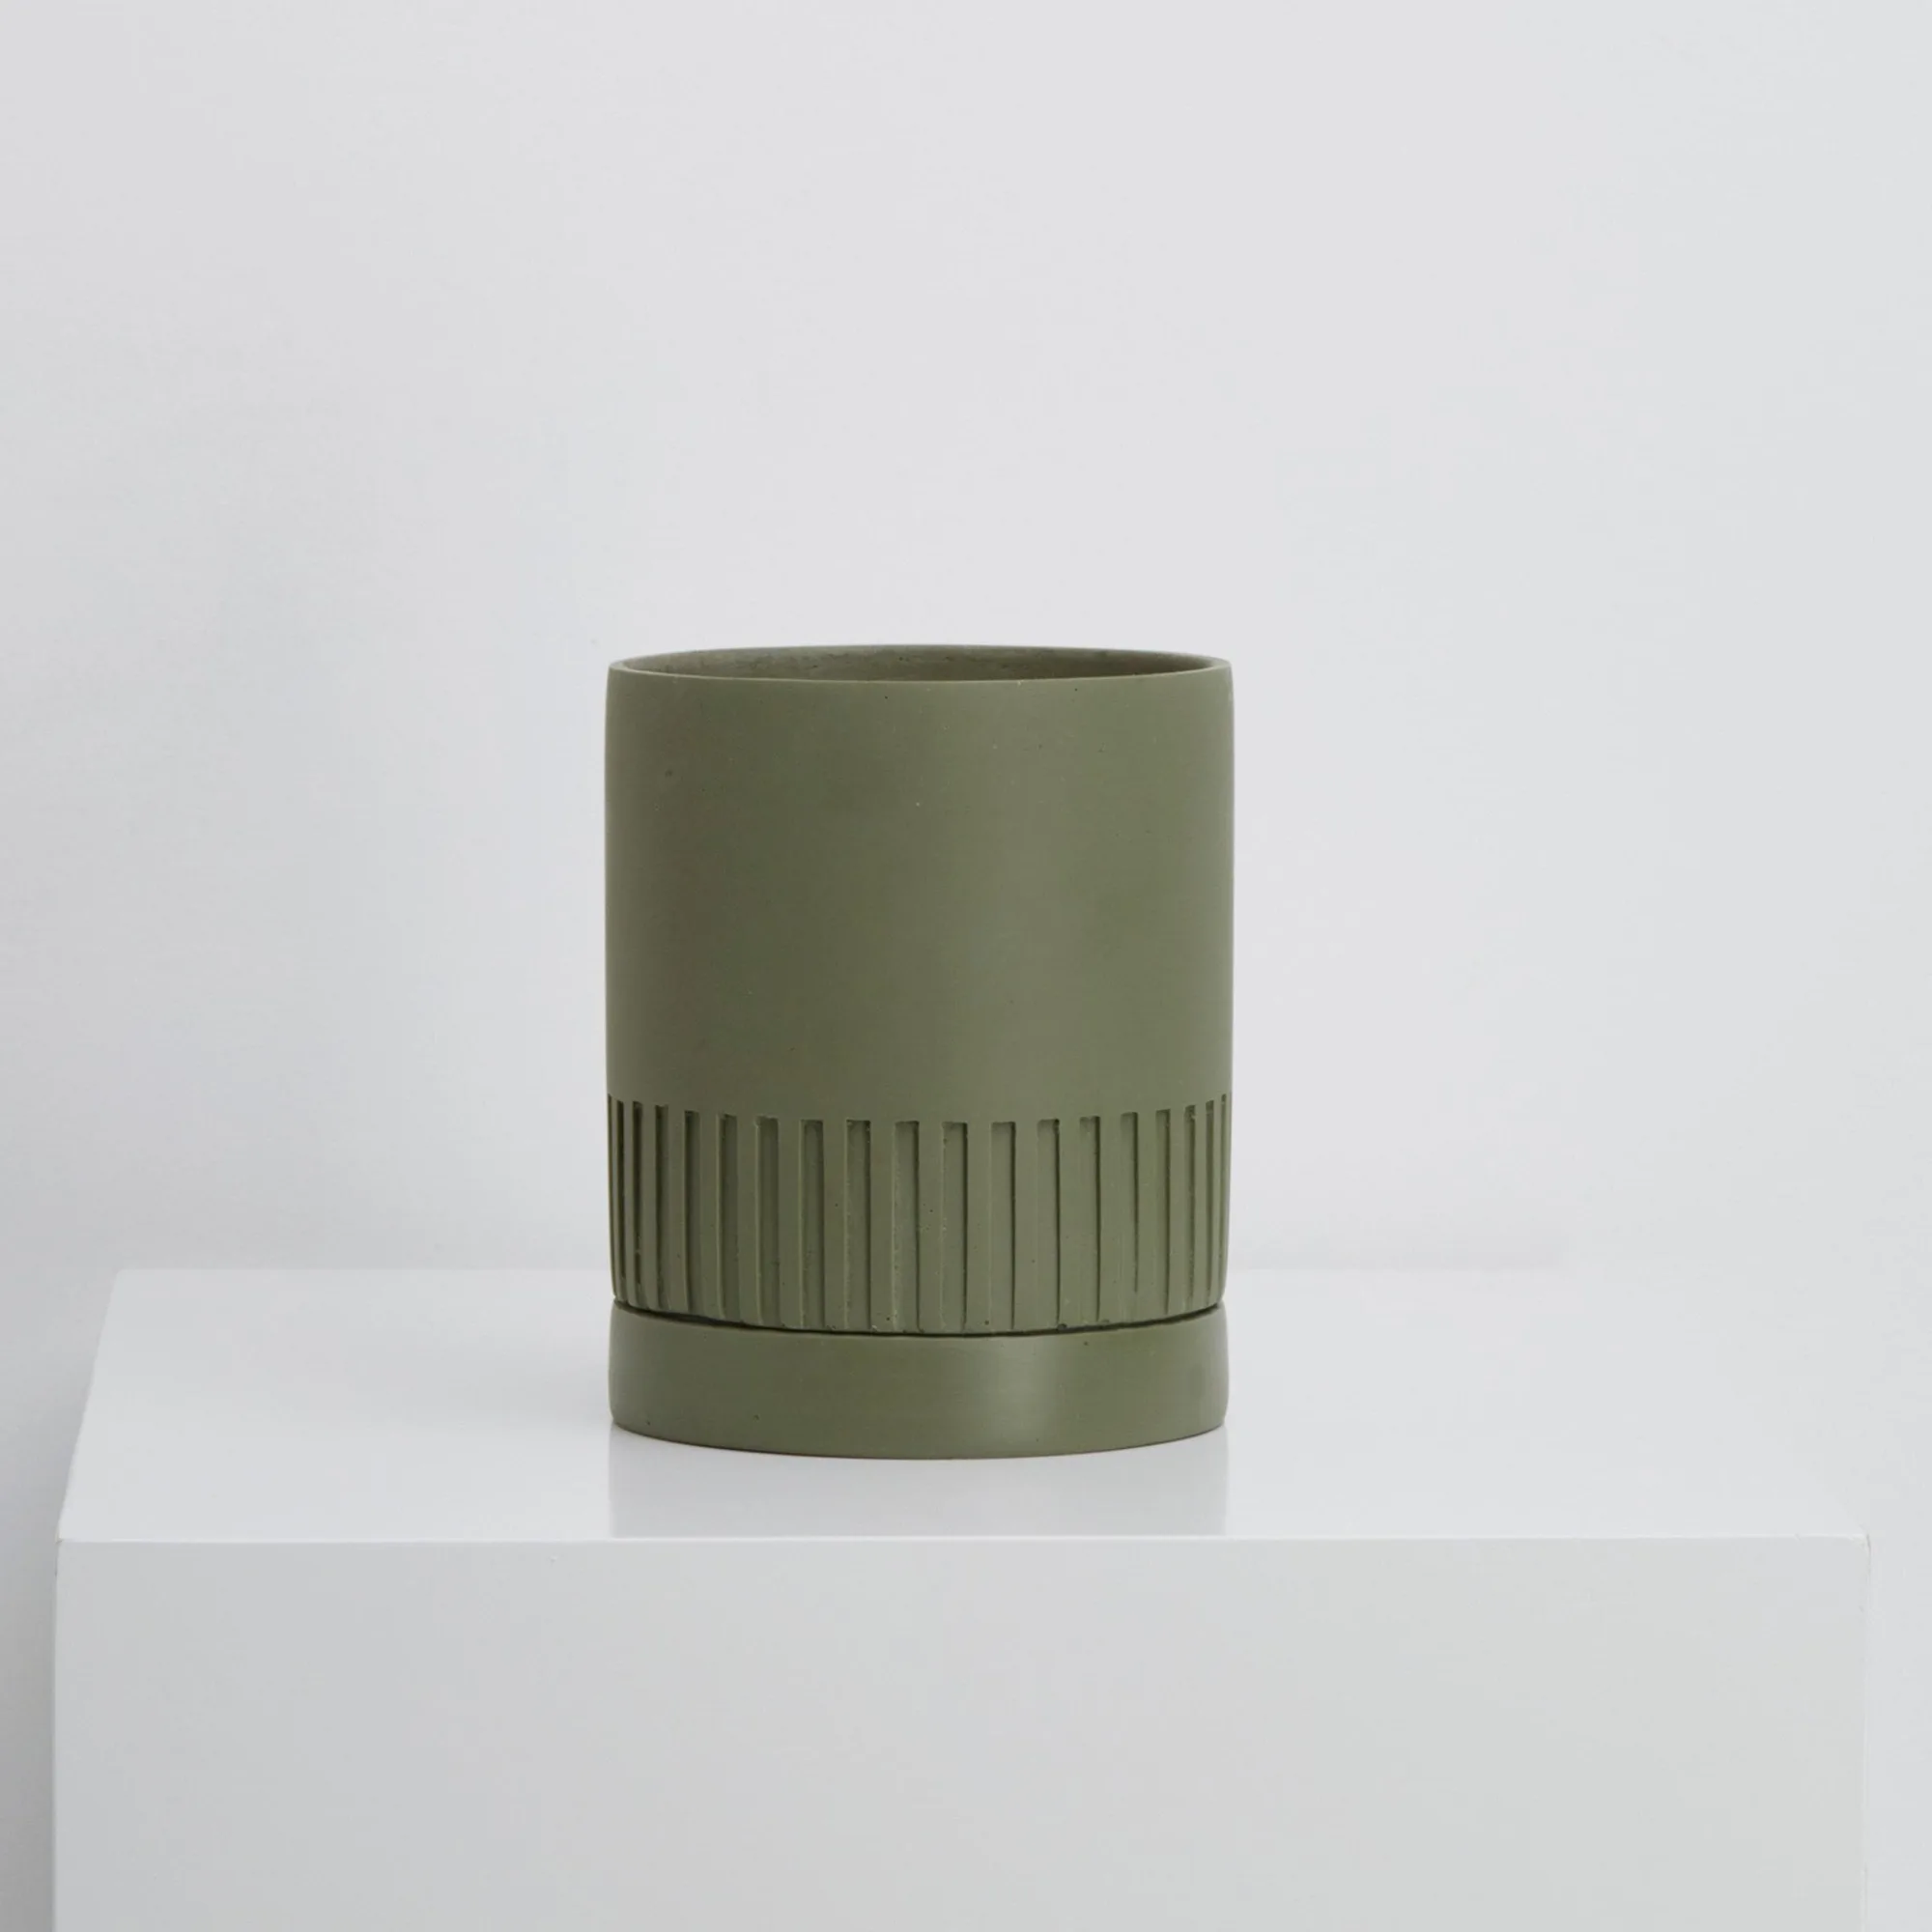
A separate saucer is easy to knock loose, and a missing saucer means water rings on wood or tile. Pots that come with an integrated tray or a water tray that doubles as a plinth remove that failure point. The Etch Pot, for example, is designed with a tray so you can pot directly into the planter and still get proper drainage. That single design choice means fewer pieces to pack and less risk of a leak when you water.
Build height without hooks or brackets
No-drill hanging pots usually rely on tension rods, adhesive hooks, or over-door brackets, but each has a weight limit that is easy to exceed once the pot is watered. A safer renter strategy is to create height with freestanding plant stands, stackable crates, or a ladder shelf. Place the heaviest pot on the lowest level and the lightest on top. If you do use an adhesive hook, test it with an empty pot for a week before adding soil and a plant, and keep the total weight well under the stated limit.
Group and rotate for a small-space setup
A cluster of three pots at different heights reads as a deliberate display and takes less floor space than the same pots spread out. Rotate each pot a quarter turn every week or two so the plant grows evenly toward the light. When you move out, the group lifts away as separate lightweight pieces, leaving no marks. This is also the easiest way to test a new spot: shift one pot, watch it for a week, then move the rest if it thrives.
Your renter-friendly planter setup in five steps
- Audit surfaces and light: Walk each room and note every flat surface that gets natural light. Measure the smallest one you plan to use and write down its depth. Checkpoint: if a surface is narrower than your chosen pot's base, pick a smaller pot or a different spot.
- Pick lightweight resin pots: Choose hand-made resin planters you can lift alone when empty. Avoid ceramic or concrete unless you plan to leave them behind. Mistake to avoid: buying a heavy pot that becomes permanent because you cannot move it without help.
- Confirm drainage and tray: Select pots with a drainage hole and either an integrated tray or a water tray that doubles as a plinth. Pot directly into the planter only when a tray is included. Checkpoint: water the pot over a sink the first time to confirm no drips escape the tray.
- Create height without drilling: Use freestanding stands, stackable crates, or a ladder shelf instead of wall hooks. If you use an adhesive hook, test it empty for a week and keep the loaded weight well under the limit. Mistake to avoid: hanging a watered pot on an adhesive hook rated for a dry, empty weight.
- Group, rotate, and plan the move-out: Cluster pots at different heights to save floor space, rotate each pot a quarter turn weekly, and keep the original trays together so everything lifts away cleanly. Next step: photograph your arrangement before you disassemble it so you can recreate it in your next place.
Renter-friendly pots from our catalog
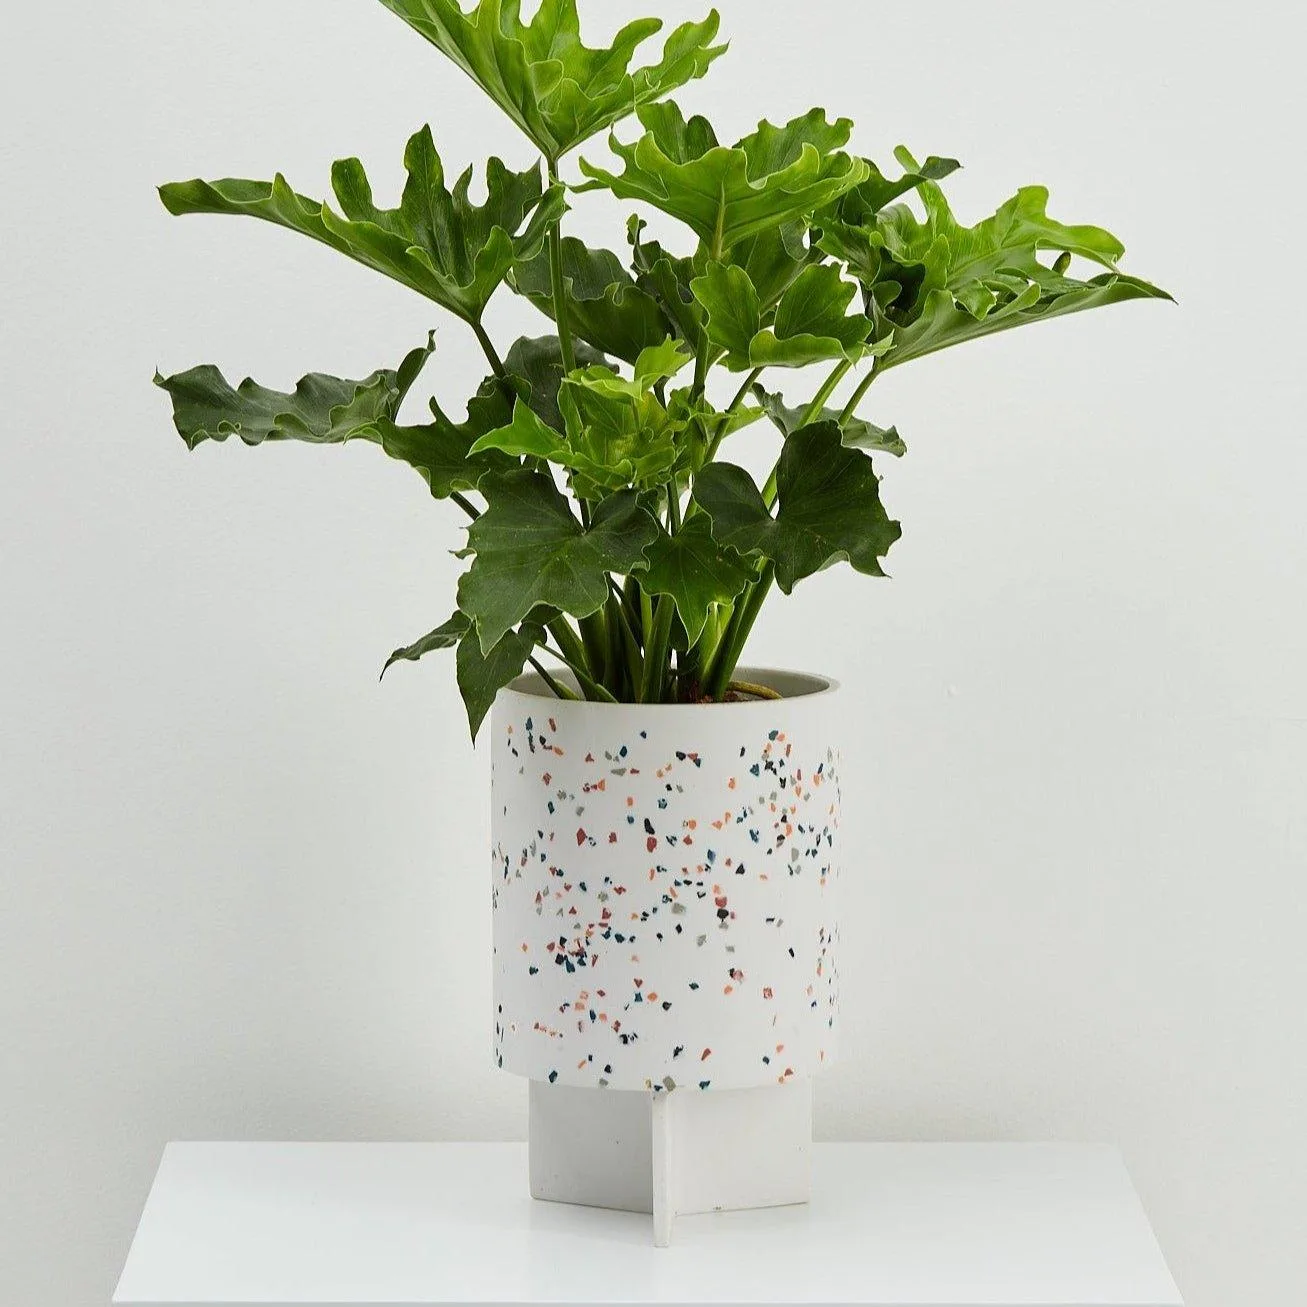
- Archie Pot: The Archie Pot is a resin planter with a terrazzo design and comes with a drainage hole. The drainage hole lets excess water escape, and the resin body is light enough to lift and move when you rearrange or relocate.
- Etch Pot: The Etch Pot is a hand-made resin planter with a tray, so you can pot directly into it and still get proper drainage. The integrated tray protects floors and balconies from water marks, which matters when you cannot risk a deposit deduction.
- Tri Planter: The Tri Planter is a hand-made resin terrazzo planter with a water tray that doubles as a plinth. The plinth raises the pot off the floor for a finished look while keeping the water contained, and the resin build stays movable.