Quick answer
Choose the best iron for quilting by matching heat control to your fabric and workspace: a dry iron with adjustable temperature for cotton piecing, a small travel or mini iron for applique and narrow seams, and a full-size steam iron only if you have room and a pressing mat that can handle moisture. Then add pressing notions for quilters that solve your biggest problem, such as Ruler Grip Tape for slipping rulers and a stable ironing mat for quilting that fits your table.
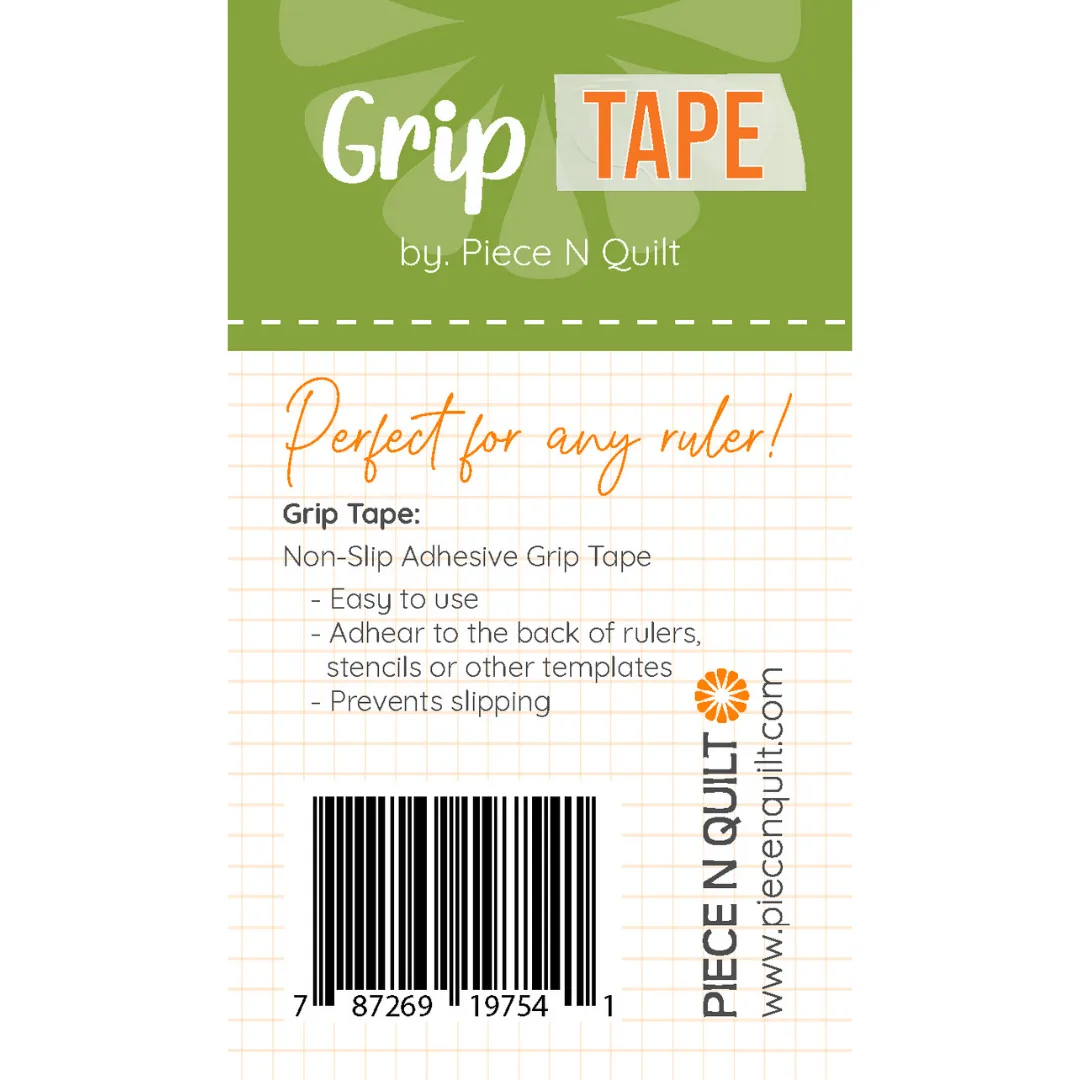
Ruler Grip Tape
Pressing is not the same as ironing. In quilting, you press seams by lifting and setting the iron rather than sliding it, because sliding stretches bias edges and distorts blocks. That single habit changes what you need from an iron: precise heat, a flat soleplate, and a surface that does not fight back.
This buying guide gives you concrete decision rules for irons, mats, and pressing notions for quilters. You will see where to spend, where to save, and which trade-offs actually matter for piecing, applique, and ruler work. Product mentions are limited to tools that solve specific pressing problems.
Start with your pressing surface, not the iron
Most quilters upgrade the iron first and then discover the real problem is the surface. A thick, soft ironing board cover lets seams sink and blocks rock, so points get rounded and blocks measure small. A firm, heat-reflective ironing mat for quilting gives you a flat plane where seams press crisp and rulers sit stable. If you press on a table, measure your space before buying; a mat that overhangs or slides is worse than a dedicated board.
For small spaces, a mat that rolls or folds away is the practical choice. For daily piecing at a fixed station, a larger mat with a grippy backing saves time because you are not repositioning it. Whichever you choose, keep a pressing cloth nearby for dark fabrics and fusibles, and never press directly on a mat that is not rated for the heat you use.
- Press by lifting and setting the iron; do not scrub the seam.
- Test any new mat with a scrap of your most heat-sensitive fabric first.
- Keep the mat clean; starch and fusible residue transfer to the next project.
What iron do quilters use, and why
The honest answer is that quilters use several irons, not one. A full-size iron with adjustable temperature and a smooth soleplate handles yardage, backing, and large seams. A mini or travel iron reaches into small piecing and applique where a full soleplate would press the wrong seam flat. Many quilters keep both and choose by task, not by brand loyalty.
Steam is the biggest trade-off. Steam helps relax stubborn wrinkles in cotton, but moisture plus heat can shrink fabric, set wrinkles into seams, and leave water marks on some battings. If you use steam, do it before cutting or on a test scrap, and empty the reservoir when you are done. If you never use steam, a dry iron with reliable temperature control is simpler and often lighter.
- Look for a soleplate that glides without scratching and a dial you can read.
- Auto shut-off is convenient but can interrupt long pressing sessions; know your iron's timing.
- A lightweight iron reduces wrist fatigue during marathon piecing.
Decision rules for buying an iron
Rule one: match the iron to your dominant task. If you piece cotton blocks most days, prioritize even heat and a pointed tip for opening seams. If you applique or sew garments, prioritize a small soleplate and fine tip. If you quilt large tops, prioritize water capacity only if you actually use steam, because a heavy iron with a full tank is tiring to lift repeatedly.
Rule two: buy for control, not for maximum wattage. Higher wattage can recover heat faster, but a poorly controlled iron that spikes hot will scorch fabric no matter how fast it heats. Rule three: keep a backup. Irons fail at inconvenient times, and a spare mini iron keeps a deadline project moving.
- Write your top three pressing tasks before comparing models.
- Check the cord length and whether it swivels; a short stiff cord drags seams.
- Confirm the manufacturer's guidance for distilled water if you plan to use steam.
Pressing notions that earn their space
Pressing notions for quilters fall into three jobs: hold things still, mark or protect fabric, and extend what your iron can do. Grip products keep rulers and templates from sliding while you cut or quilt, which reduces miscuts and skipped stitches. Marking tools let you note seam lines or quilting paths without staining fabric. Small irons and pressing bars reach seams a full iron cannot.
Buy notions that solve a problem you have actually had. If your ruler slips during rotary cutting, grip tape is a direct fix. If your seams shine or scorch, a pressing cloth or lower temperature is the fix. If your blocks are inconsistent, the problem is usually pressing technique and surface firmness, not a missing gadget.
- Add one notion at a time and test it on a scrap project.
- Store grip tape and marking tools away from heat and lint.
- Replace grip when it stops holding; worn grip is a safety issue, not just an annoyance.
Ruler work, machine quilting, and pressing overlap
If you quilt with rulers, pressing and grip are linked. A flat, firm surface helps your quilt sandwich stay stable, and grip on the ruler back helps you control the template without pressing down hard. That control matters most on dense designs where a slip shows. Courses that demonstrate ruler and free-motion work can help you see how much grip and surface stability affect stitch quality before you buy more tools.
Pressing also affects how a quilt feeds under the needle. Seams that are pressed flat and blocks that lie square are easier to quilt, especially on a domestic machine. If you are learning ruler work, practice on a small quilted sample so you can feel how surface, grip, and ironing habits interact.
- Press the quilt top and backing before layering; wrinkles become tucks.
- Test grip tape on a ruler you use for straight-line work first.
- Keep your pressing station close to your cutting and sewing area to avoid handling distortion.
Decision rules for buying pressing tools
- If you piece cotton blocks most days: Buy a dry iron with adjustable temperature and a pointed soleplate, plus a firm ironing mat for quilting. Skip steam until you have a specific wrinkle problem that a test scrap proves steam solves. Prioritize heat control and a flat surface over extra features.
- If you applique or sew small pieces: Add a mini or travel iron with a fine tip. Keep a full-size iron for yardage and backing. Use a small pressing mat or pressing bar so you can press seams without flattening adjacent units. Two irons by task beats one iron that does neither job well.
- If your ruler slips during cutting or quilting: Apply Ruler Grip Tape to the back of the ruler you use most. Cut strips to size, remove the backing, and press them onto the bottom side. Replace the grip when it stops holding. Fix grip before buying a new ruler; it is cheaper and often solves the problem.
- If your blocks measure small or seams look rounded: Change your surface before your iron. Move to a firmer mat or board, press by lifting and setting rather than sliding, and let seams cool flat before moving them. Firm surface plus set-and-lift pressing corrects most distortion.
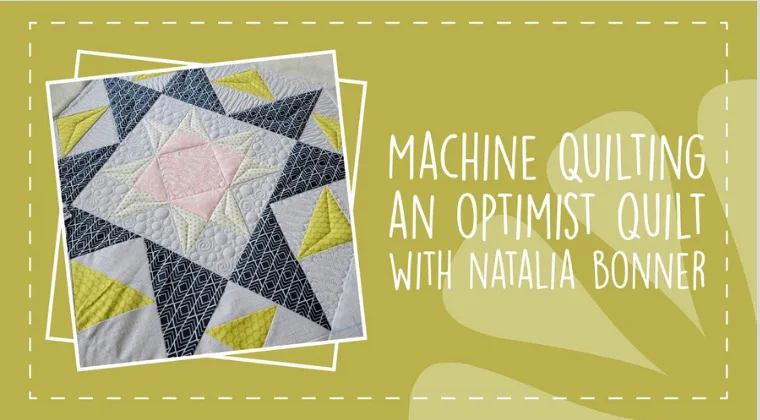
- If you quilt with rulers or free-motion: Combine a stable pressing surface, grip on your ruler, and practice on a small quilted sample. Use a course such as Machine Quilting an Optimist Quilt with Natalia Bonner to see how these choices affect stitch quality in a real project. Technique and surface stability matter more than tool count.
Product facts that matter for pressing and grip
- Ruler Grip Tape: Ruler Grip Tape by Piece N Quilt is non-slip adhesive grip tape that adheres to the back of rulers, stencils, or other templates to prevent slipping. The package contains 4 strips, each 2 inches by 4 1/2 inches, in bright orange. Directions: cut to desired size, remove backing, and stick to the bottom side of any ruler. Grip wears down over time; remove previous grip and replace. If your ruler shifts during rotary cutting or ruler quilting, grip tape is a low-cost fix that improves control and reduces miscuts. Because it wears, treat it as a consumable and keep spare strips on hand.
- Machine Quilting an Optimist Quilt with Natalia Bonner: Join Natalia Bonner as she custom machine quilts this Optimist quilt. The course includes a bit of free-motion and ruler quilting. To see more in-depth videos, become a member of the Piece N Quilt Academy and gain unlimited access to all membership videos; unlimited access ends at termination of membership. Watching a full project quilted end to end shows how pressing, grip, and ruler control affect stitch quality. It is useful if you are deciding whether to invest in ruler-work tools or improve technique first.
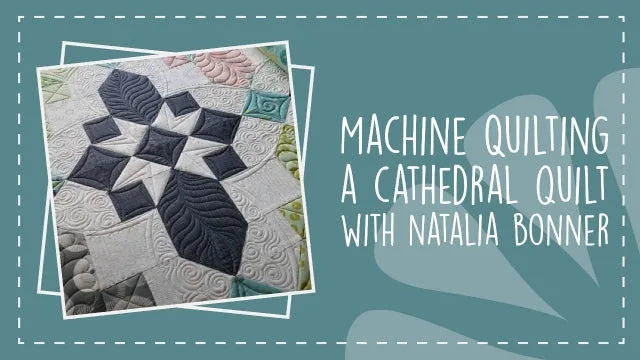
- Machine Quilting a Cathedral Quilt: In this exclusive PNQ Academy video, Natalia demonstrates how to transform something basic into something truly amazing. She guides you through adding an extra touch by incorporating swirls, feathers, straight-line quilting, and many other techniques. This course is a practical way to see how different quilting motifs behave on a pressed, stable quilt. If you are choosing pressing tools for a specific style, the techniques shown can tell you whether you need more surface firmness or more grip.
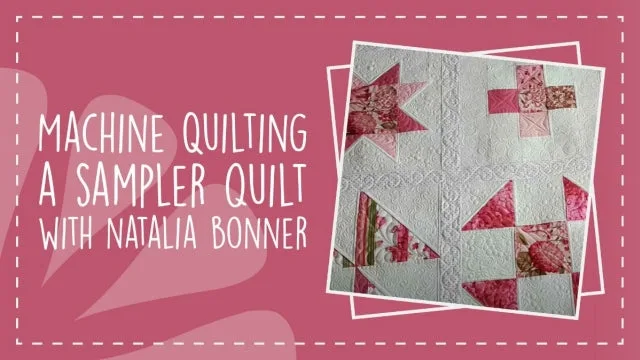
- Machine Quilting a Sampler Quilt: Watch as Natalia brings variety to this sampler quilt by machine quilting a variety of traditional quilt blocks, including 9 Patch, Shoofly, a Sawtooth Star, Half Square Triangle and more. A fun sashing design is also featured. Sampler quilts have many seam intersections, so pressing accuracy shows immediately. This course helps you connect pressing decisions to how flat a block lies and how easily it quilts.
Who this buying approach fits
Best for
- Quilters who piece regularly and want crisp seams without scorching fabric
- Sewists with limited table space who need a foldable or rollable ironing mat for quilting
- Ruler quilters and rotary cutters who need grip and a stable pressing surface
- Beginners who want a simple, low-risk tool set before upgrading machines
Not for
- Quilters looking for a single iron that does every task equally well
- Anyone who needs industrial pressing equipment for production volumes
- Shoppers who want steam to replace proper pressing technique
- Buyers who will not test heat settings on scraps before pressing a project
Buy the iron that matches your daily task, the mat that fits your table and stays flat, and the notions that fix a problem you have actually had. Press by lifting and setting, test every new tool on scraps, and replace grip when it wears. That combination does more for seam quality than any single upgrade.