Quick answer
Use Pro Acryl Dark Jade as your mid-tone base for green armor, then build depth with a darker glaze in the recesses and a lighter edge highlight on raised plates. Thin each layer to a skim-milk consistency and let it dry fully before judging the color.
Why Dark Jade works as a mid-tone rather than a one-coat color
Dark Jade sits in the middle of the green range, so it covers well over a neutral primer but still leaves room to push shadows and highlights. Treating it as a mid-tone means you can use the same pot for both the base and, when thinned further, a glaze that ties layers together.
If you try to use it as a single opaque coat over black, you will likely need several passes and may lose detail. A light grey or white primer gives the pigment a better chance to show its actual hue on the first or second coat.
Where this scheme fits and where it needs adjustment
This layered approach suits power armor, vehicle panels, and smooth organic plates where you want a clean transition from shadow to highlight. On heavily textured surfaces, such as fur or chainmail, the same steps work but you can skip the final edge highlight and rely on a drybrush instead.
If your army already uses a much warmer green, Dark Jade will read cooler next to it. Test a small patch alongside your existing models before committing a whole squad, and adjust the highlight color toward yellow-green if you need a warmer result.
Step-by-step: painting green armor with Dark Jade
- Prime and basecoat: Prime the model with a light grey or white primer, then apply a thin coat of Dark Jade over the armor plates. Work in one direction and stop before the paint pools in recesses. Checkpoint: if the primer texture still shows through after the first coat, let it dry and add a second thin coat rather than scrubbing wet paint.
- Thin for layering: Mix Dark Jade with water or acrylic thinner on a palette until it flows like skim milk. Load the brush lightly and draw it across a palette edge to remove excess. Checkpoint: if the paint beads on the surface or dries with visible brush marks, it is too thick; add a little more thinner.
- Reinforce the mid-tone: Apply a second thin layer of Dark Jade to the center of each armor plate, leaving the darkest recesses untouched. Let it dry completely before judging coverage. Checkpoint: avoid flooding the recesses, or you will erase the shadow you established in the basecoat.
- Deepen the recesses: Mix a small amount of a darker green or black into Dark Jade and apply it as a glaze into panel lines, joints, and the deepest folds. Use a fine brush and wick away excess. Checkpoint: if the glaze dries with a hard edge, it was too concentrated; thin it further and feather the edge with a clean damp brush.
- Layer the highlights: Mix Dark Jade with a lighter green or a pale yellow-green and apply a thin layer to the raised edges and upper surfaces of each plate. Build the highlight in two or three passes, covering a smaller area each time. Checkpoint: stop before the highlight becomes opaque; you want the mid-tone to remain visible beneath it.
- Edge highlight and seal: Use the lightest highlight mix to draw a fine line along the sharpest edges of the armor. Once dry, apply a matte varnish to unify the finish. Checkpoint: if the edge highlight looks chalky, it was applied too thickly; a second, thinner pass will smooth the transition.
Product facts
-
Pro Acryl - Vince Venturella Dark Jade: Pro Acryl - Vince Venturella Dark Jade is a Signature Paint created with a community artist, and a portion of each sale goes back to that artist. You get a specific, artist-chosen green while supporting the person who designed the color, which makes it a practical choice if you want a ready-made mid-tone rather than mixing your own.
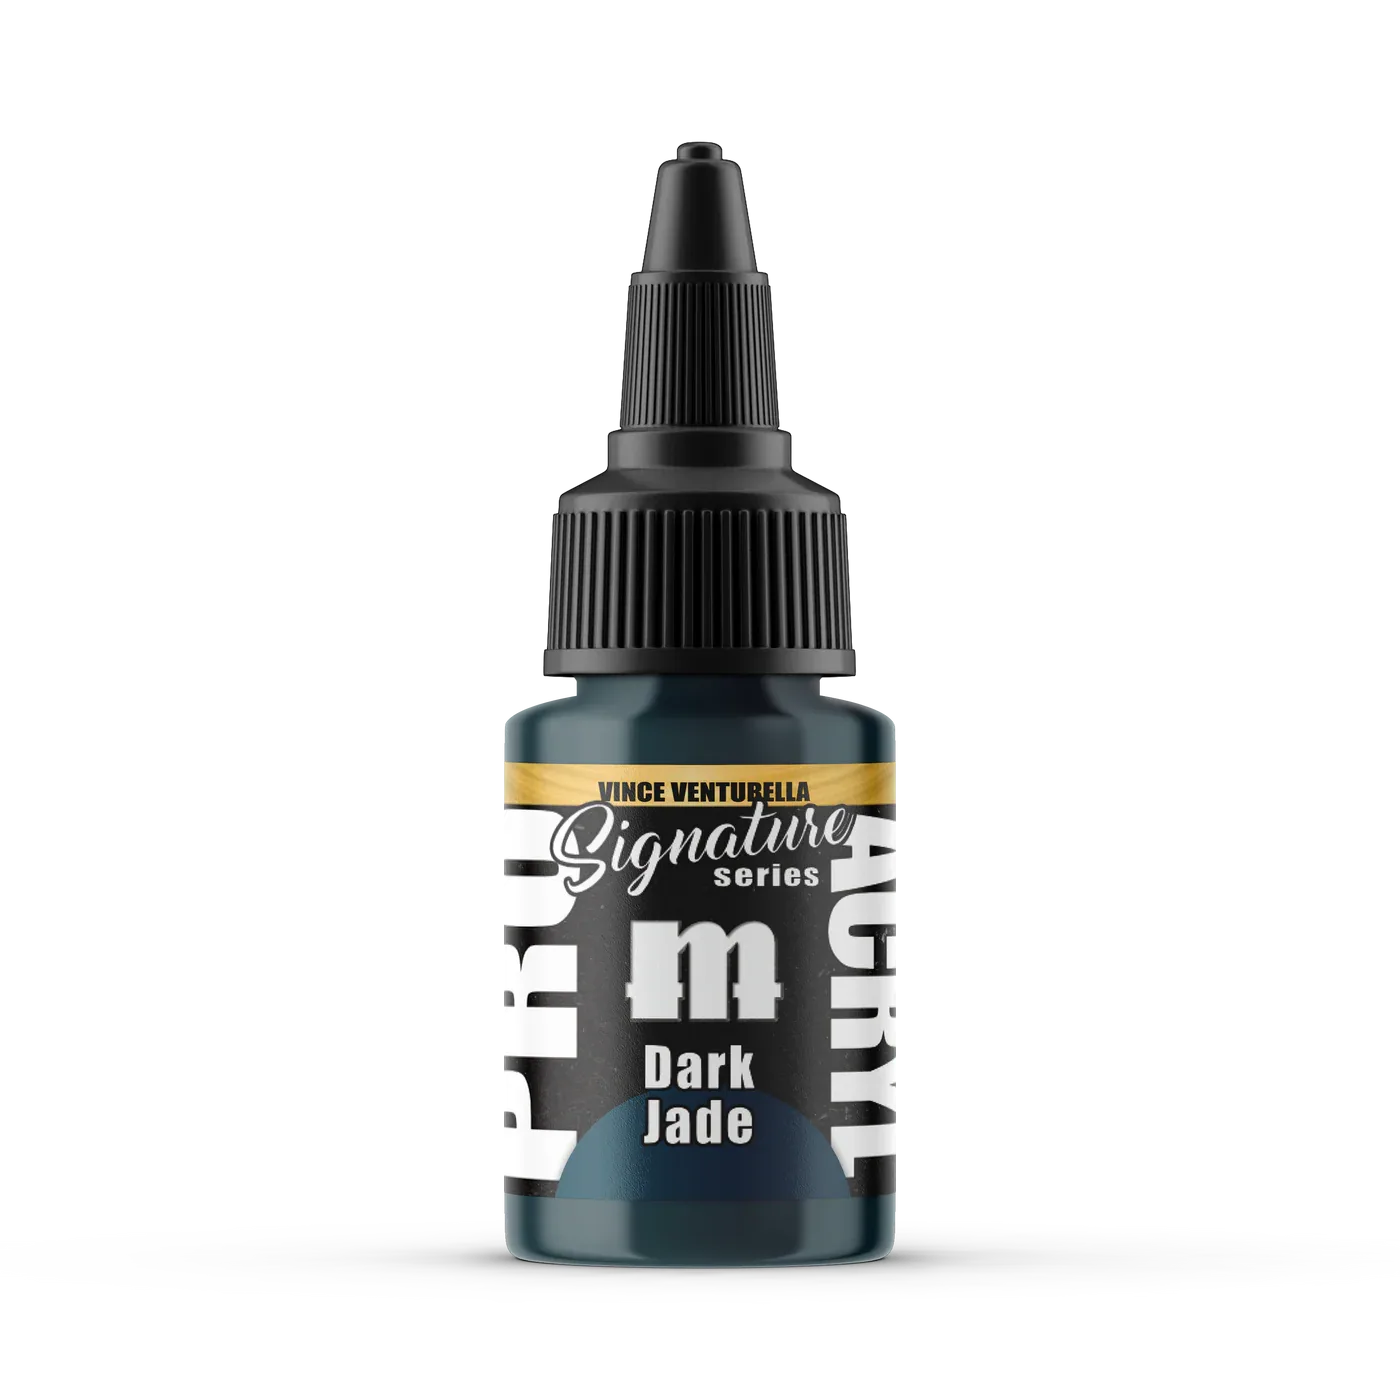
Pro Acryl - Vince Venturella Dark Jade