Three Colors, One Skin Recipe
You do not need a dozen bottles to paint believable skin. Pro Acryl Plum, Pale Pink, and Burnt Sienna give you a shadow, a highlight, and a warm bridge between them. The trick is mixing them in ratios that suit your model rather than treating any single bottle as a finished flesh tone.
All three are high-density acrylics that thin evenly and dry matte. That consistency matters when you are blending because each color responds to water and medium the same way. Start with small drops and keep notes on your ratios so you can repeat a result later.
What Each Bottle Brings to a Skin Mix
-
Pro Acryl Plum: Pro Acryl Plum is a 22ml acrylic paint with high-density pigment that thins evenly to any level of transparency. Plum works as the cool shadow tone in skin mixes; its transparency range lets you glaze shadows without covering detail.
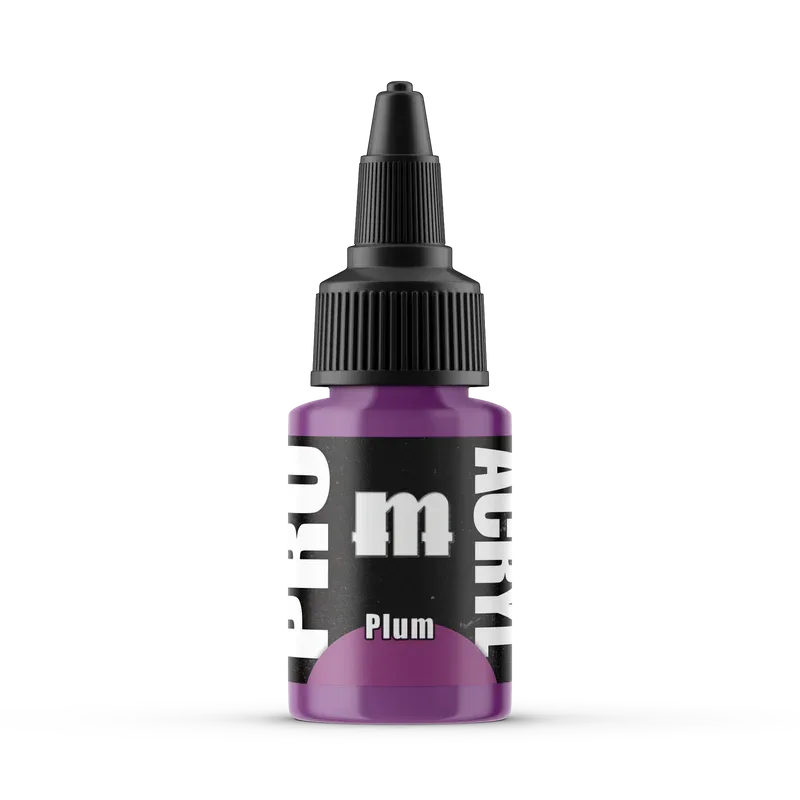
Pro Acryl Plum
-
Pro Acryl Pale Pink: Pro Acryl Pale Pink is a 22ml acrylic paint that provides great coverage right out of the bottle and dries to a matte finish. Pale Pink is the lightest of the three, so it lifts a mix toward highlight without adding a separate white.
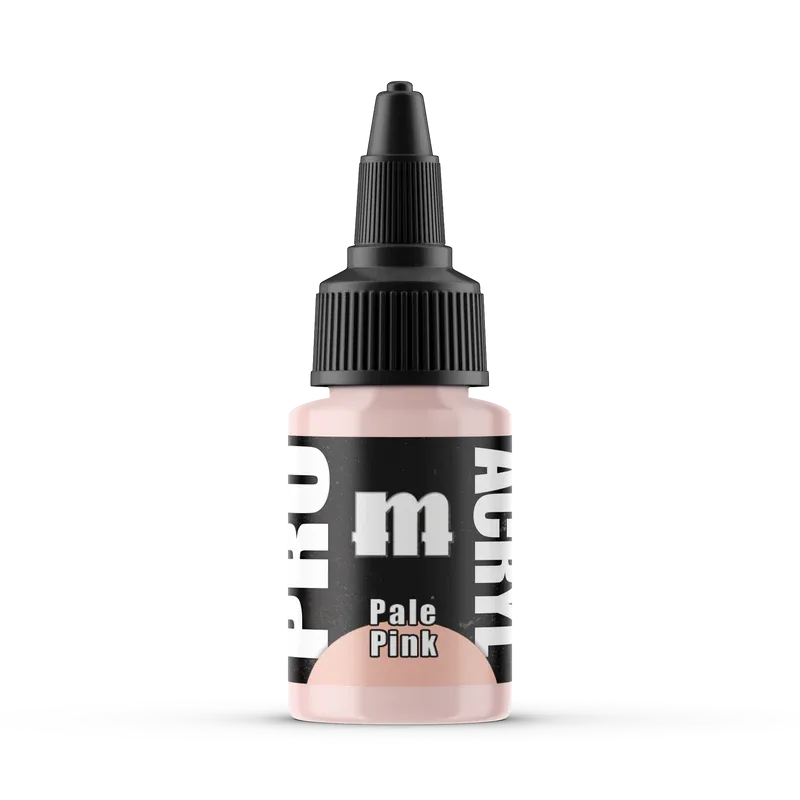
Pro Acryl Pale Pink
-
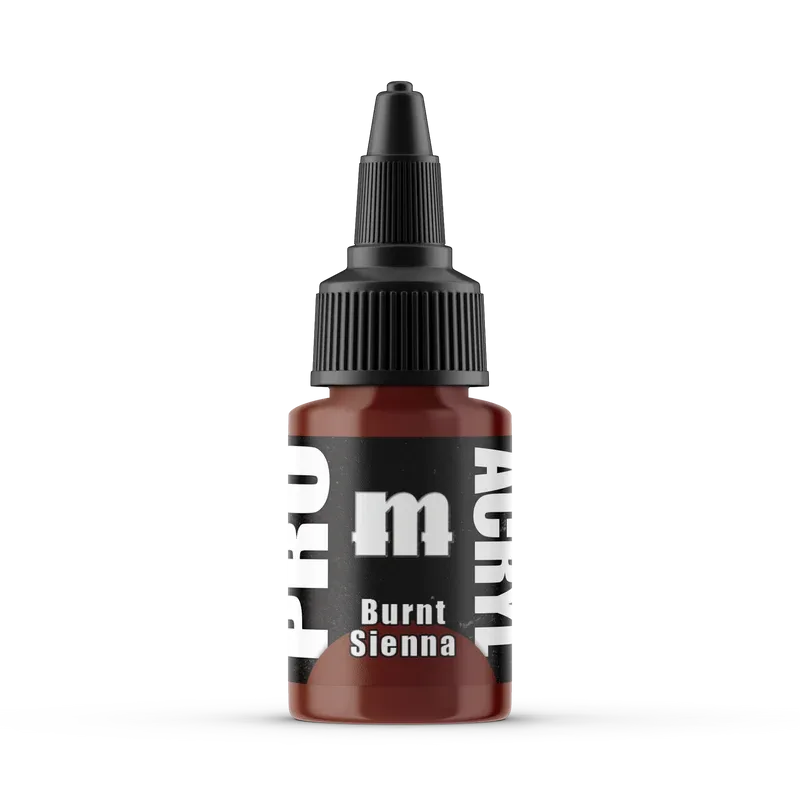
Pro Acryl Burnt Sienna: Pro Acryl Burnt Sienna is a 22ml acrylic paint formulated for the same consistency and coverage whether brushed or airbrushed. Burnt Sienna adds warmth and depth; its brush-or-airbrush consistency means you can use the same mix for both application methods.
Mixing a Basic Flesh Tone
- Start with Pale Pink as the base: Put a small drop of Pale Pink on your palette. It is the lightest of the three and gives you room to darken gradually.
- Add a touch of Burnt Sienna for warmth: Mix in a smaller amount of Burnt Sienna. This shifts the pink toward a natural flesh tone. Add it slowly; a little goes a long way.
- Introduce Plum for shadow depth: Add a very small amount of Plum to cool the mix or create a shadow variant. Keep this separate from your main flesh mix so you can glaze it into recesses.
- Thin to your working consistency: All three paints thin evenly with water or acrylic medium. Aim for a consistency that flows off the brush without pooling in details.
Adjusting the Mix for Different Skin Tones
- Lighter skin: Lean on Pale Pink and use Burnt Sienna sparingly. Use Plum only in the deepest shadows and thin it well so it reads as a cool shadow rather than a bruise.
- Warm mid-tones: Increase the Burnt Sienna ratio until the mix reads as a warm tan. Keep a separate pot of the lighter base for highlights.
- Deeper skin: Build up from a Burnt Sienna base and add Plum for richness. Pale Pink becomes a highlight accent rather than the main body of the mix.
- Cool or undead skin: Push the Plum ratio higher and reduce Burnt Sienna. The matte finish of these paints helps cool mixes read as skin rather than metal.
Layering and Glazing on the Miniature
Paint a thin base coat of your main flesh mix and let it dry fully. Because these paints dry matte, you can see the true color before you commit to shadows. Then glaze Plum into recesses such as eye sockets, the sides of the nose, and under the chin. Keep the glaze thin; Plum thins to high transparency, so you can build the shadow in several passes.
For highlights, mix Pale Pink with a little of your base flesh tone rather than using it straight. Apply it to raised planes like cheekbones, brow, and knuckles. If the highlight looks chalky, add a tiny amount of Burnt Sienna to warm it back up.
Checkpoints Before You Commit
- Test on a spare surface: Brush a stripe of each mix on a primed offcut and let it dry. The matte finish can make colors look slightly different dry than wet.
- Keep shadow and base separate: Do not contaminate your main flesh mix with Plum. A separate shadow pot gives you cleaner glazes and a repeatable base color.
- Record your ratios: Note how many drops of each color you used. Because all three paints share the same formulation, your ratio will behave consistently in future sessions.
- Check the cap and agitator: Pro Acryl bottles include glass agitators and a no-clog cap that works as both a dropper and a twist cap. Shake well before mixing so the high-density pigment is fully dispersed.
What This Recipe Does Not Cover
The supplied product information does not include specific drying times, recommended thinner ratios, or a manufacturer-endorsed skin-tone recipe. Treat the ratios above as starting points and adjust them on your palette. If you need an exact color match for a competition piece, test your mix under the same lighting you will use for the final model.