Quick answer
Add prong collar replacement links only when the collar sits too high and tight or cannot be slipped over your dog's head, then recheck fit at the neck and under the chin. Remove links when the collar hangs loose or slides down the neck.
Why link count matters more than collar size alone
A prong collar's fit depends on the number of links, not just the labeled size. Adding a link increases the circumference; removing one tightens it. Because the collar must sit high on the neck, just behind the ears and under the jaw, a small change in link count can move the fit from correct to too loose or too tight.
Check fit with the collar on and the leash attached, since the prongs close slightly under tension. A properly fitted prong collar should sit snug but allow one finger to slide under a link. If you can fit two fingers easily, the collar is likely too loose and may slide down; if you cannot fit one, it is too tight.
When to add links and when to remove them
Add links when the collar leaves pressure marks without tension, sits lower than the base of the ears, or is difficult to slip over the head. Remove links when the collar rotates freely, hangs below the neck, or the dog can back out of it. Always adjust one link at a time and recheck fit before training.
Puppies and dogs with thick winter coats may need a temporary link change as their neck size fluctuates. Recheck fit monthly and before any new training session, especially if the dog has gained or lost weight.
Step-by-step fit adjustment
- Remove the collar and inspect the links: Take the collar off and check that all links are closed and not bent. Open one link by twisting the prongs apart, not by pulling them straight out. A bent or partially open link can fail under tension, so replace it before adjusting fit.
- Add or remove one link: To add a link, hook the new link onto the end link and twist it closed. To remove a link, twist open the end link and unhook it. Change only one link at a time. Changing more than one link at once makes it hard to tell which adjustment caused the fit problem.
- Place the collar high on the neck: Slip the collar over your dog's head and position it just behind the ears and under the jaw. The prongs should point inward toward the neck, not outward. If the collar will not slip over the head, add one link rather than forcing it.
- Check the finger gap: With the collar in place and the leash attached, try to slide one finger under a link. You should feel light pressure but still be able to move the finger. If two fingers fit easily, remove a link; if no finger fits, add a link.
- Test for rotation and slippage: Gently turn the collar and watch whether it stays high on the neck. Then walk your dog a few steps and check that the collar has not slid down. A collar that rotates or slides needs one link removed, not a tighter squeeze.
- Recheck after five minutes of wear: After a short training session, look for redness, hair loss, or deep pressure marks. A correctly fitted collar may leave light temporary marks, but they should fade quickly. Persistent marks mean the collar is too tight or sitting too low; adjust again.
Product facts
-
Aspen Pet Heavy Duty Prong Collar Replacement Links - 3pk: Aspen Pet® Training Collar Links let you add up to three links to an existing training prong collar. Having spare links on hand means you can fine-tune fit as your dog's neck size changes or as you move the collar between dogs.
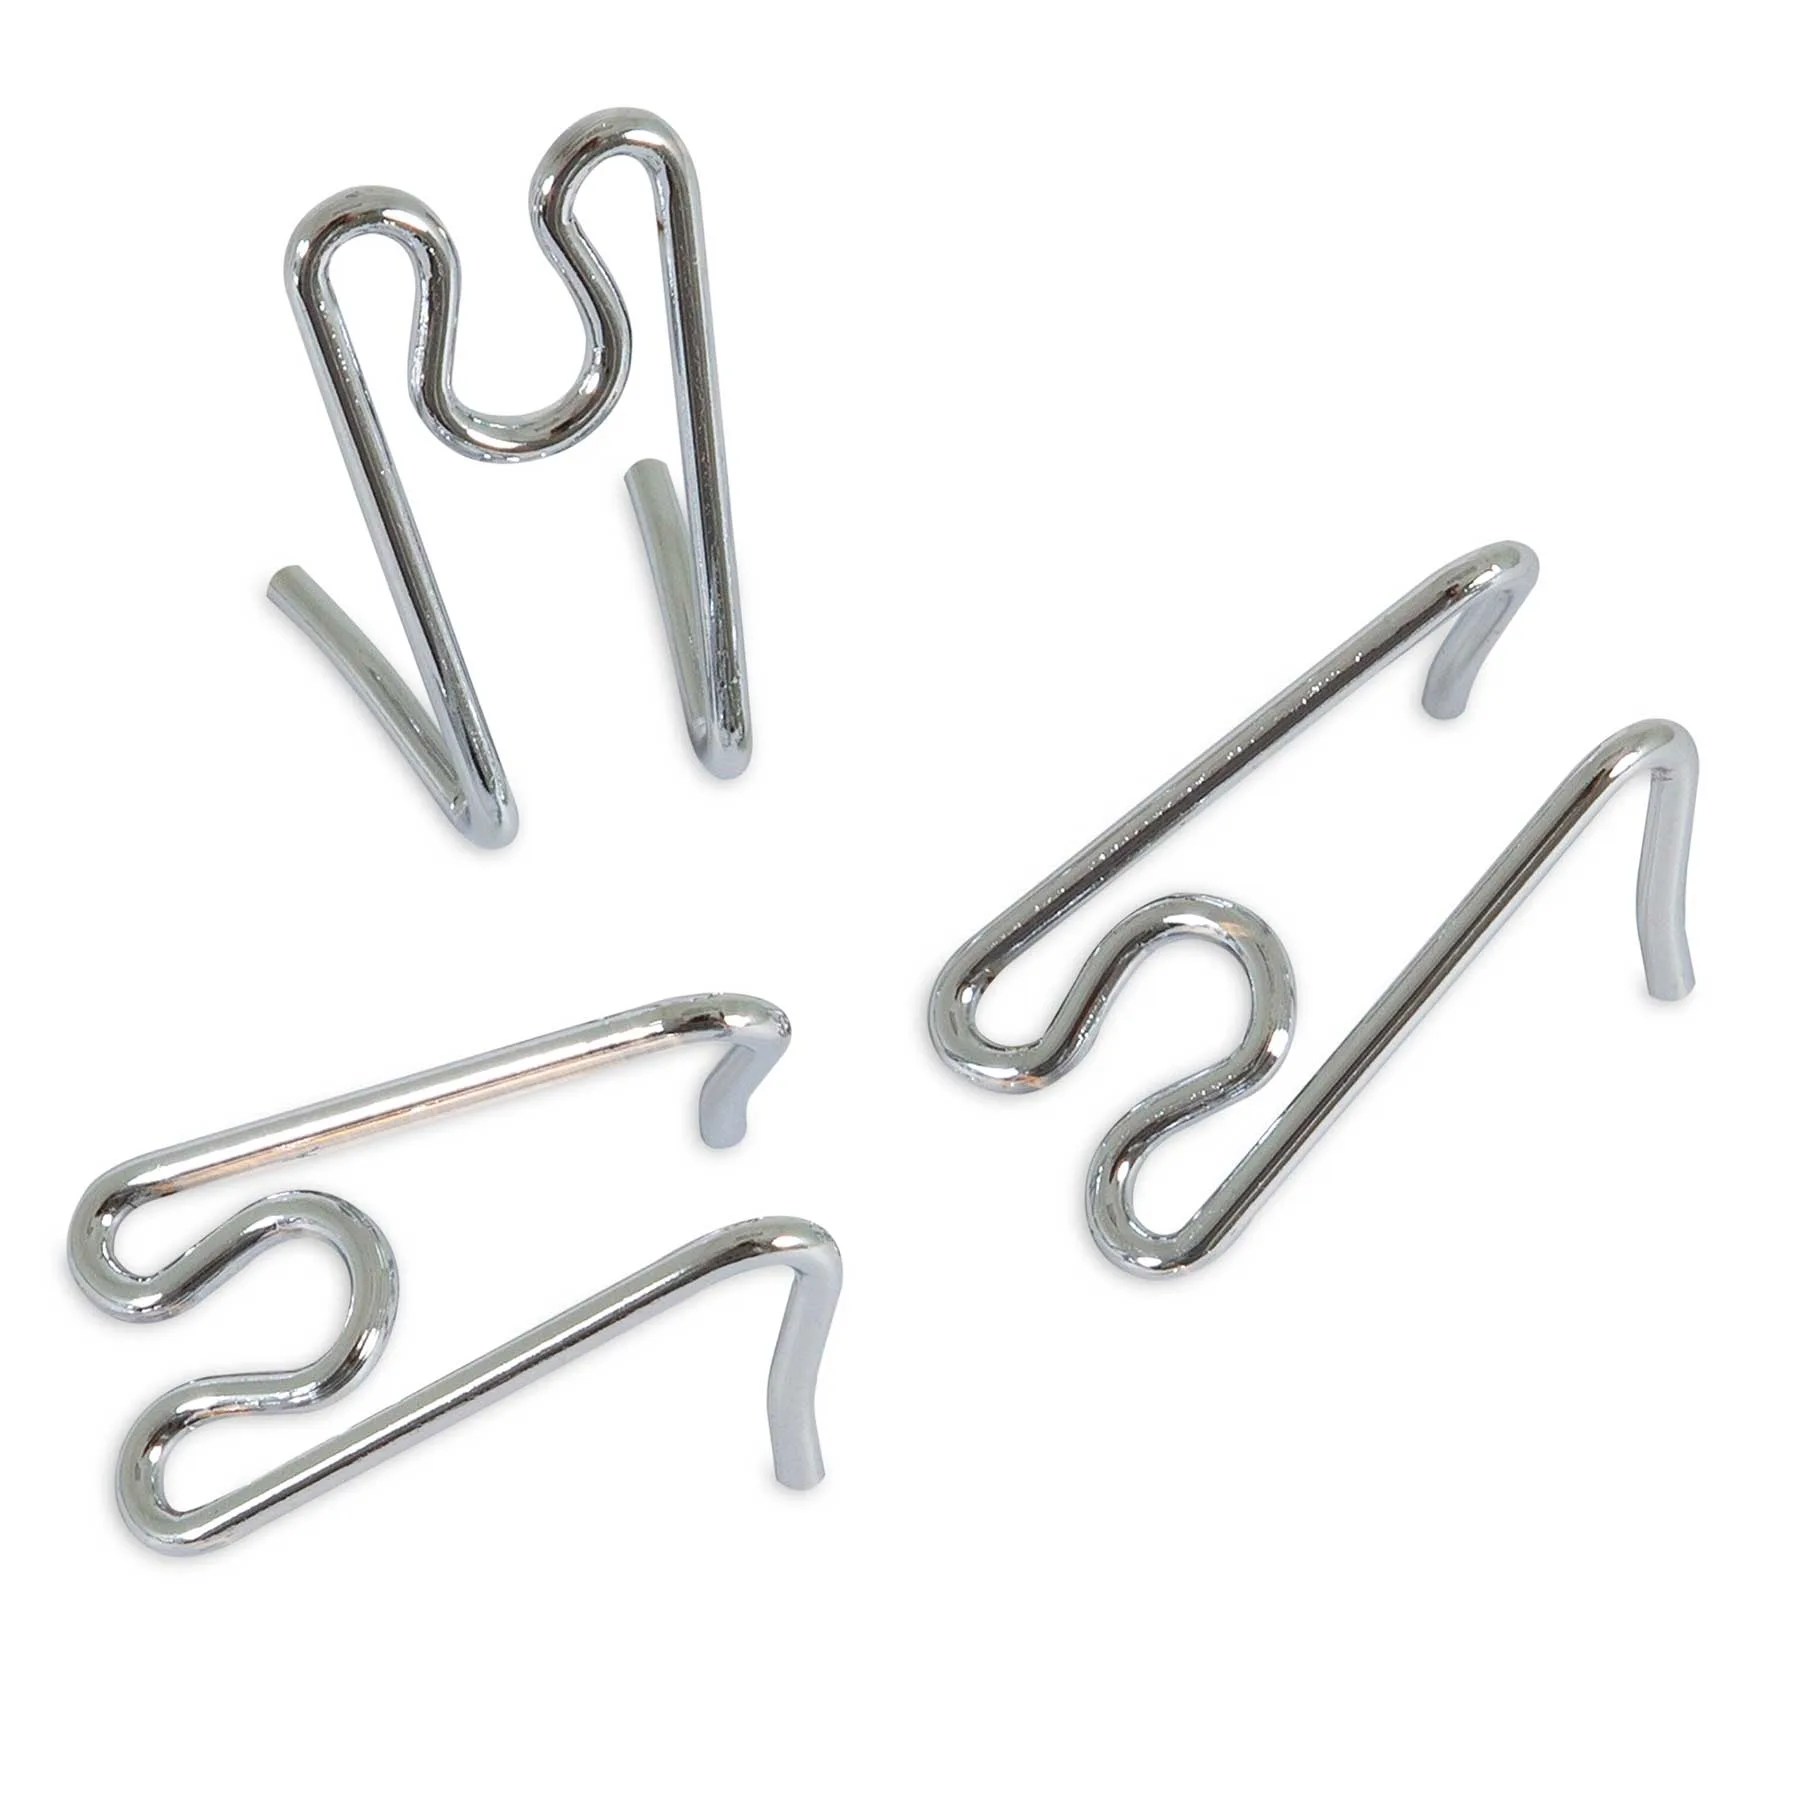
Aspen Pet Heavy Duty Prong Collar Replacement Links - 3pk