Quick answer
Pack your pump bag the night before with three zones: pump and parts, milk storage, and comfort or cleaning supplies. Bring more storage bags than you think you need, a cooler or insulated pouch, and a hands-free setup if your pump supports it. Then protect one non-negotiable break on your calendar, because the schedule matters as much as the gear.
Why packing by zone beats packing by list
A flat checklist gets messy fast when you are tired and rushed. Grouping items into zones makes it obvious when something is missing. Zone one is the pump itself and any parts that touch milk. Zone two is everything the milk touches after it leaves your body. Zone three is what you touch: hands, surfaces, and your own comfort.
This zoning also helps you restock. If you keep a small pouch of spare parts and a few extra storage bags in your bag at all times, you only need to swap out the milk you pumped and wash the parts you used. That cuts morning decisions down to almost nothing.
Choose storage that survives a commute
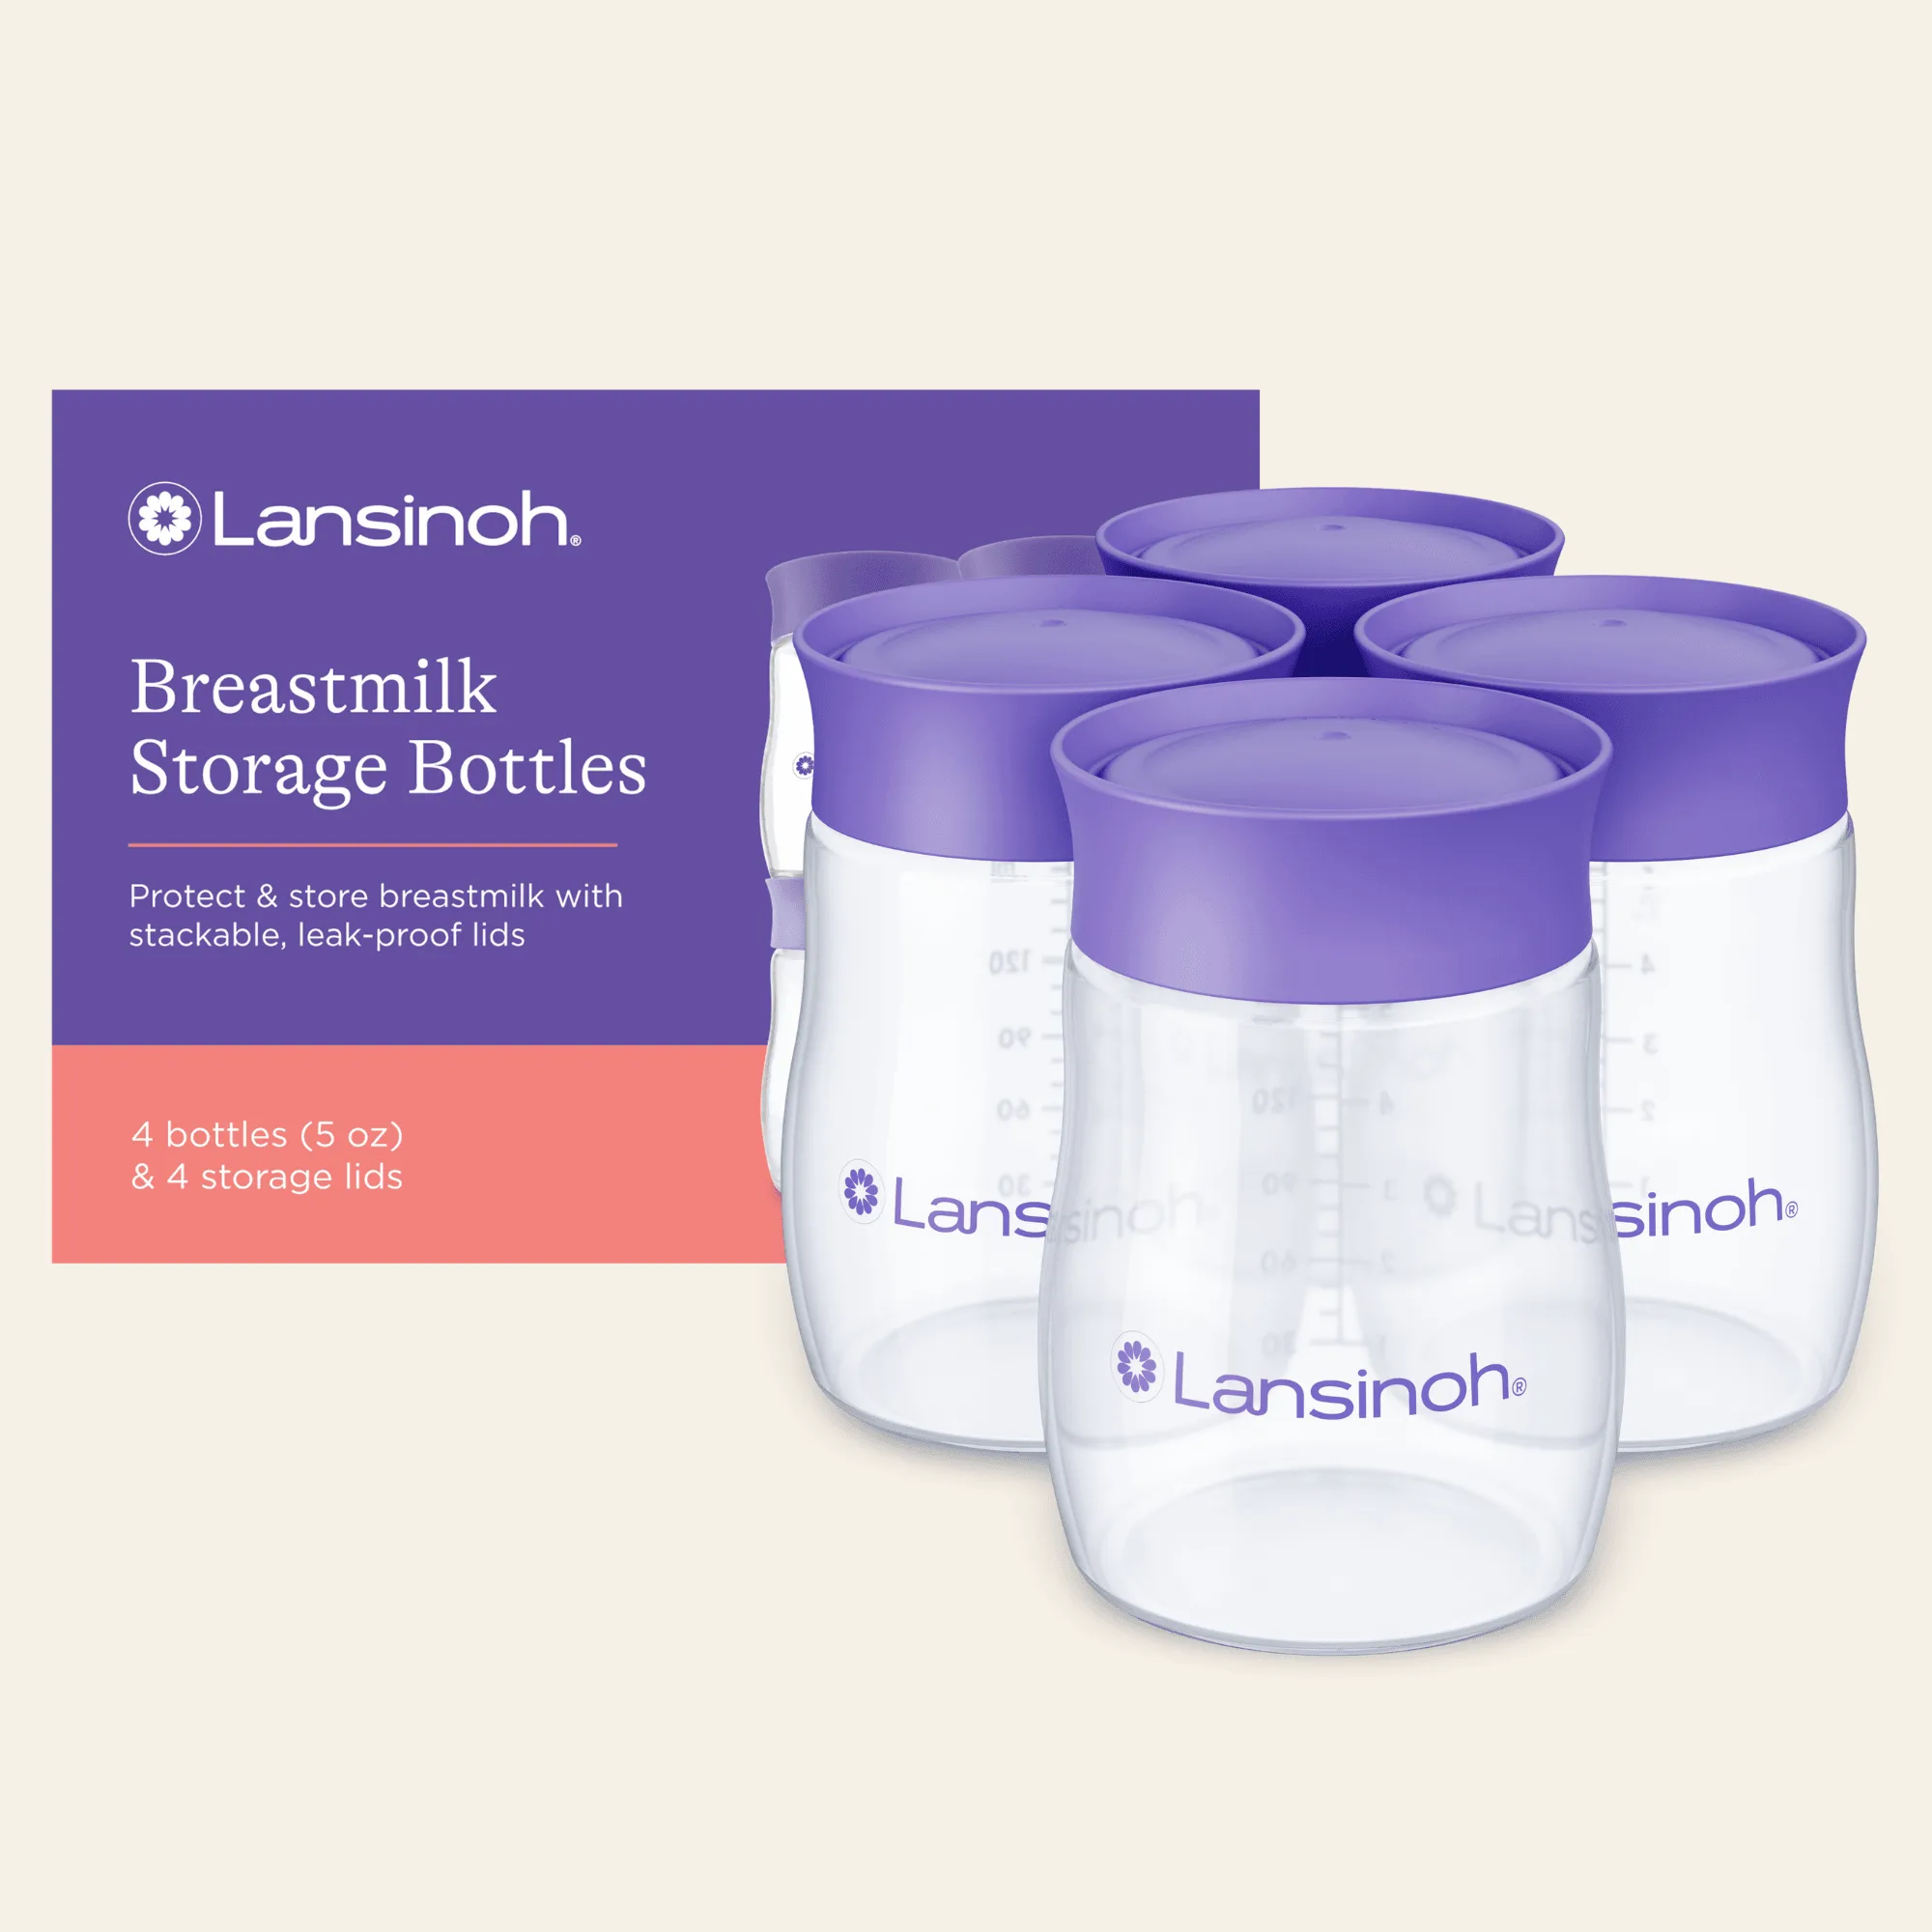
Milk storage at work is where most pump bags fail. A bag that leaks in a shared fridge or a warm car creates a mess and wastes milk you worked for. Look for storage that seals twice, stands up when filled, and has a write-on area so you can label date and time without hunting for tape.
If you pump directly into storage bags, you skip a transfer step and one more container to wash. That matters when you are packing up quickly between meetings. Silicone storage bags are a flexible option if you want something reusable and durable for freezing and refrigerating expressed milk, while presterilized disposable bags are convenient when you do not want to wash and dry between uses.
Build a realistic pumping schedule at work
The schedule you planned on leave often meets reality on day one. A better approach is to anchor two or three pumping sessions to breaks you already have, then adjust after the first week. If you normally feed every three hours, aim to pump at roughly the same interval. If your supply is still regulating, dropping to one long session may reduce output.
Protect the first session of the day. It is usually the easiest to keep because it happens before the day's meetings pile up. Put it on your calendar as a recurring event with a private location noted, and tell one trusted colleague so someone can cover you if a meeting runs over. A wearable pump for work can help you pump while answering email, but it is not a substitute for a private space if you need to focus or hand-express.
Your step-by-step pump bag packing routine
- Step 1: Pack the pump and milk-contact parts first: The night before, put your pump, flanges, valves, membranes, and any bottles or connectors that touch milk into the main compartment. If your pump uses a rechargeable battery, charge it overnight and pack the charger as backup. Common mistake: assuming the parts you washed are dry. Check that valves and membranes are fully dry, because trapped moisture can affect suction. Checkpoint: do a five-second tug on each valve and membrane to confirm they are seated and not torn.
- Step 2: Add storage and a cooler zone: Count the sessions you expect and pack one extra storage bag or container per session. Put them in an insulated pouch with a small ice pack if you will not have fridge access within two hours. If you use the shared fridge, label everything with your name, date, and time. Common mistake: packing only the number of bags you plan to use, then losing one to a spill or a dropped bag. Checkpoint: confirm your cooler or fridge plan before you leave, not after your first pump.
- Step 3: Add cleaning and comfort supplies: Pack pump wipes or a small wet bag for parts you cannot wash immediately, plus a burp cloth or paper towels. Include a water bottle and a snack, because pumping burns calories and thirst can reduce let-down. If you hand-express, add a small towel. Common mistake: skipping wipes because you plan to wash parts in a sink. Many workplace sinks are not ideal for pump parts, and wipes bridge the gap until you get home. Checkpoint: if your bag has no wet bag, use a sealed reusable pouch so damp parts do not touch your laptop or phone.
- Step 4: Set up your schedule and backup plan: Before your first day back, block two or three recurring pumping times on your calendar and note the room you will use. Tell your manager or a trusted colleague so coverage is possible. Keep a spare parts bundle in your bag so a lost valve does not end your day. Common mistake: scheduling pumping only when you feel full. By then you may be rushed, and output can drop. Checkpoint: after week one, review what you actually used and remove anything you did not touch.
Products that fit this routine
- Breastmilk Storage Bags - 6oz: Lansinoh's #1 selling breastmilk storage bags are presterilized, BPA and BPS free, and have a double zipper seal with reinforced double sealed side seams. They let you pump directly into the bag. Pumping directly into the bag removes a transfer step, and the double seal plus reinforced seams reduce the chance of a leak in a shared fridge or commute bag.
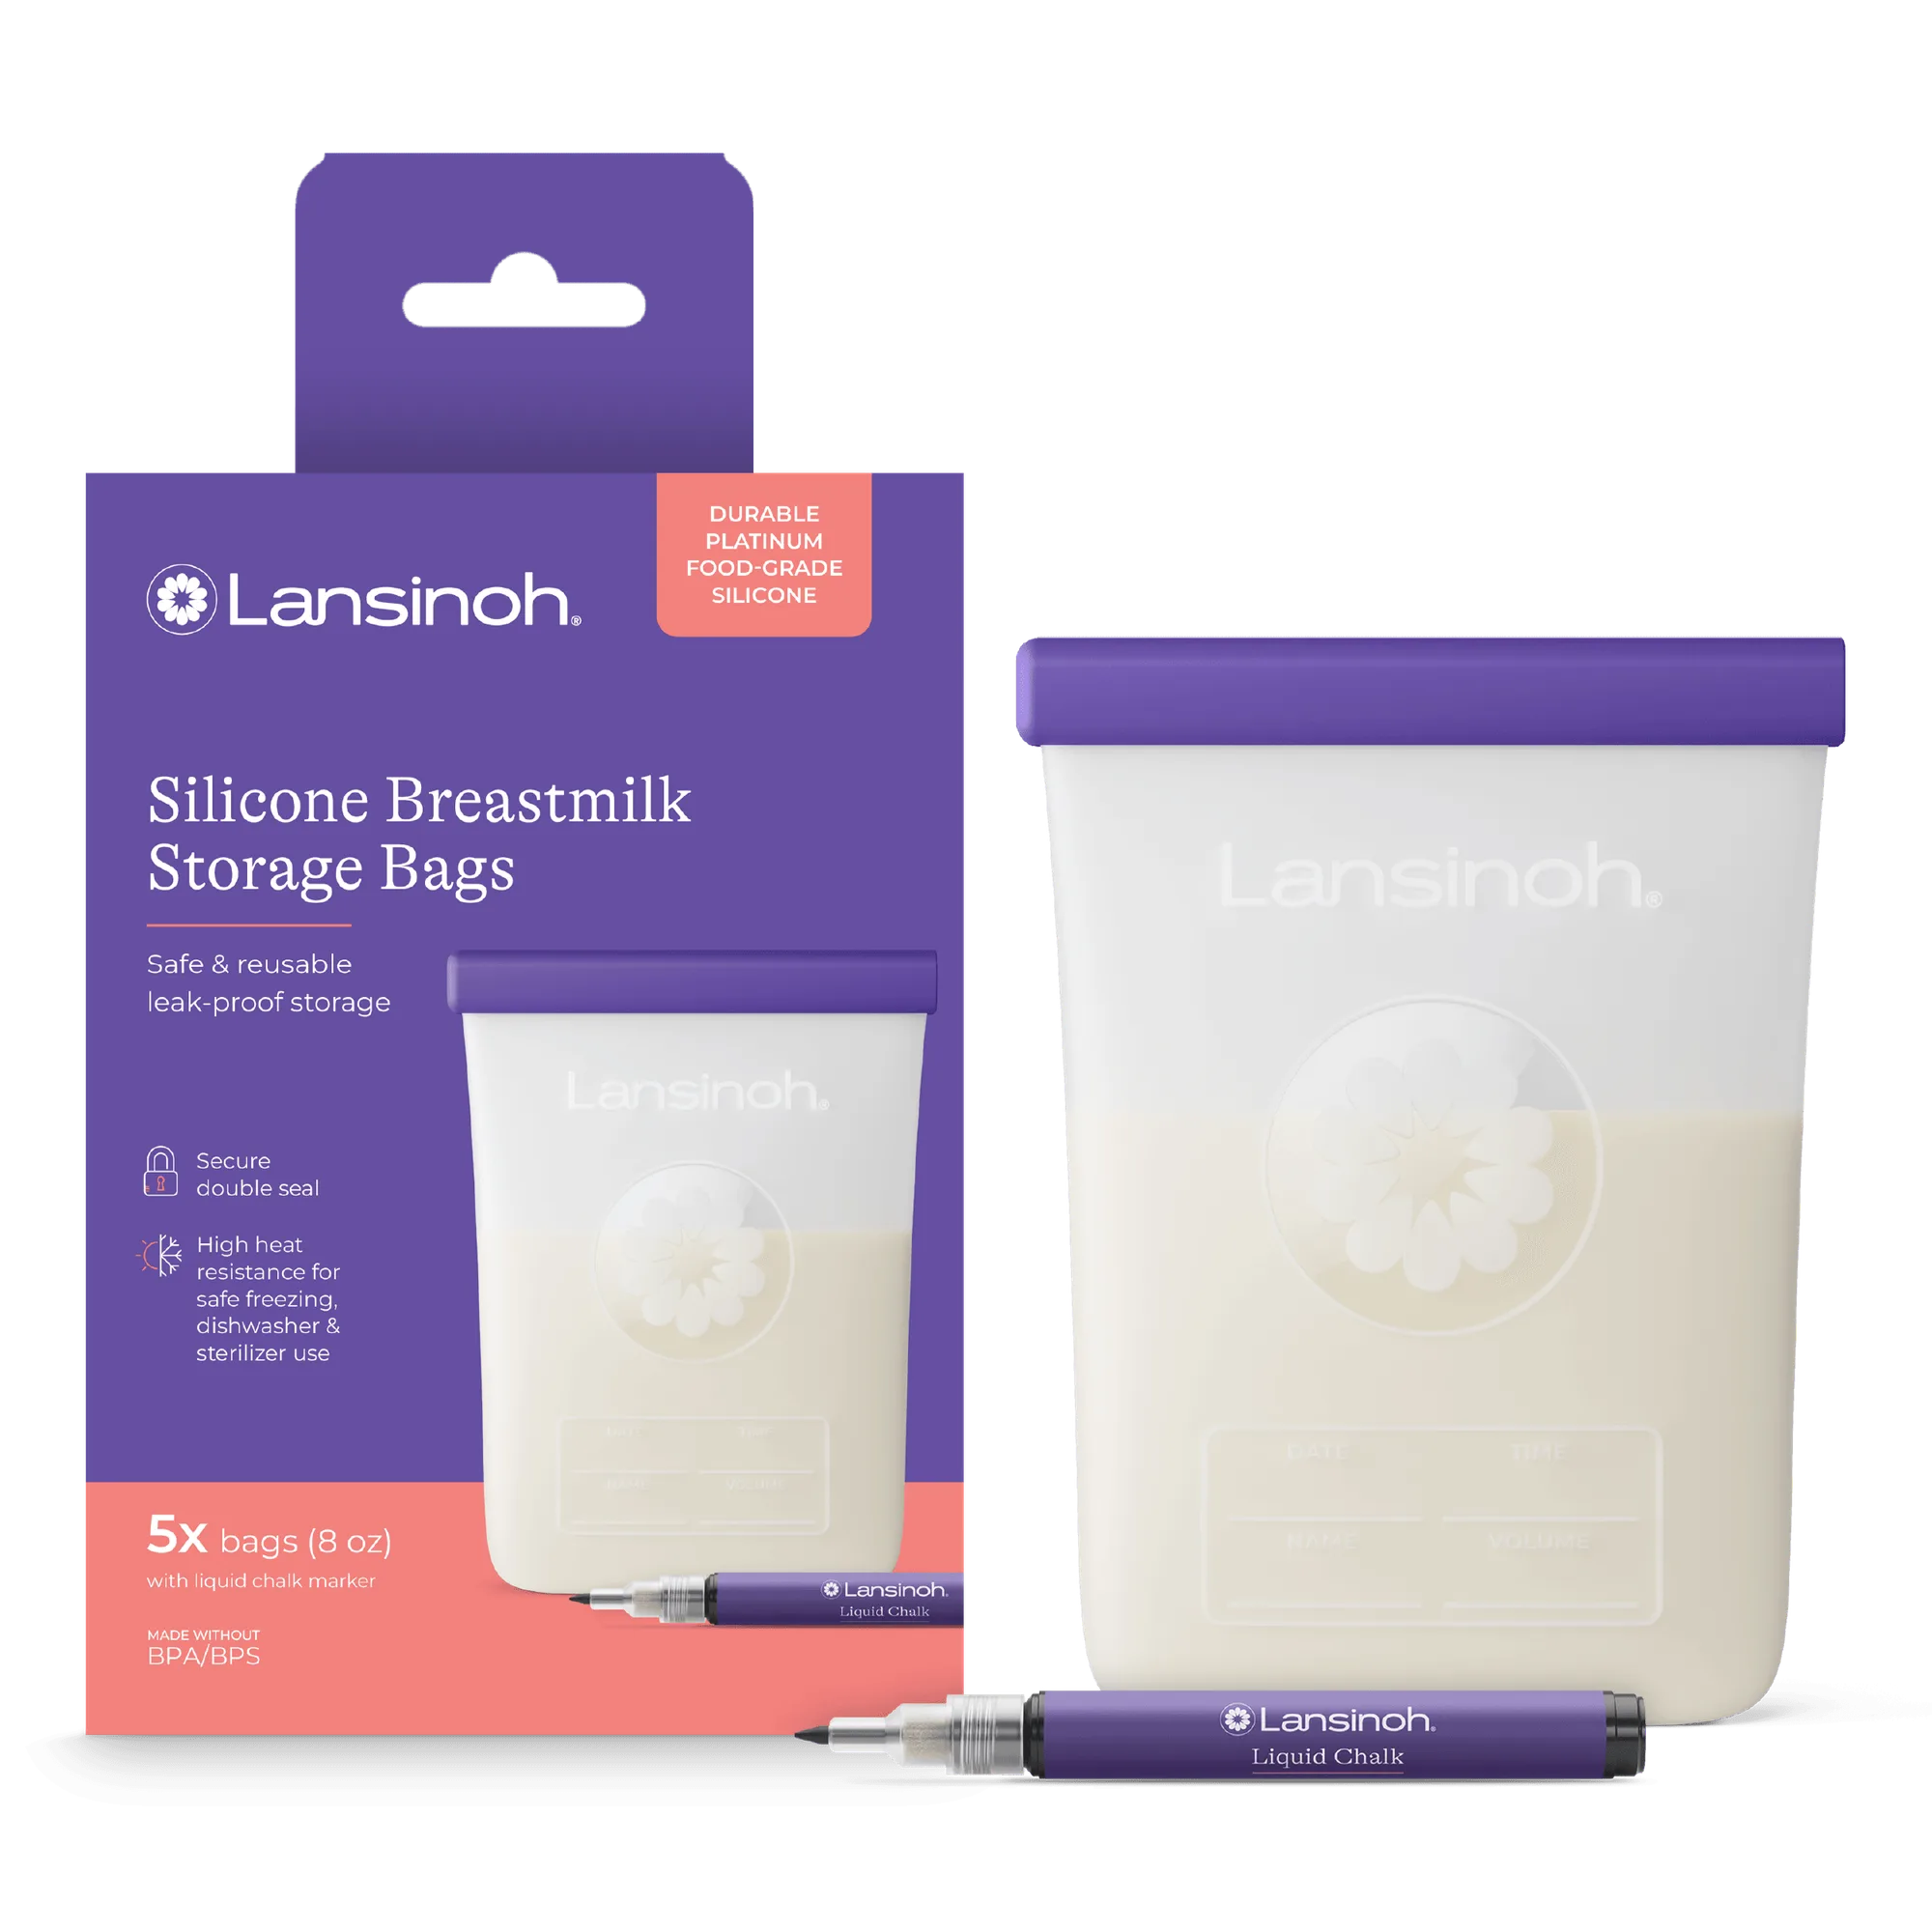
- Silicone Breastmilk Storage Bags: Lansinoh Silicone Breastmilk Storage Bags are designed for freezing and refrigerating expressed milk, with a flexible, durable silicone construction. Reusable silicone bags suit pumpers who want a durable option and less single-use waste, and they stand up to repeated freezing and thawing.
- Breast Pump Parts Bundle for Signature Pro and Smartpump: The Breast Pump Parts Bundle for Signature Pro and Smartpump includes the most frequently lost or worn pump parts to help maintain pump performance. Keeping a spare bundle in your work bag means a lost valve or worn part does not cancel a pumping session or force an early trip home.