Quick answer
To get the most from your pumpkin ceramic candle, trim the wick to about 1/4 inch before every burn, allow the wax to melt to the edge on the first burn, and never burn longer than 4 hours at a time. These habits prevent tunneling, soot, and uneven burns.
Why ceramic candles need a different touch
Ceramic vessels hold heat differently than glass or metal. The thick walls can stay warm long after you blow out the flame, so it’s important to let the candle cool completely before moving or touching it. A ceramic candle also looks decorative, which makes it tempting to burn for hours—but longer sessions can overheat the wax and cause the wick to mushroom or the scent to fade. Treat your ceramic candle like a small appliance: give it attention, and it will reward you with a cleaner, longer burn.
The first burn sets the tone
The first time you light your pumpkin candle, let it burn until the melted wax reaches the edge of the container—usually 1 to 2 hours for a standard candle. This creates a full melt pool and prevents tunneling later. If you blow it out too soon, the wax will only melt in the center and the candle will burn down like a tunnel, wasting wax and shortening its life. Plan your first burn for a time when you can keep an eye on it.
When to trim and when to skip
Trimming the wick is the single most effective way to keep a candle burning cleanly. A wick that’s too long creates a large flame, which can smoke and blacken the ceramic. But don’t trim a cold wick right before lighting—trim it after the candle has cooled and the wax has hardened, so you don’t accidentally crack the wax. Also, if you notice the flame getting too tall or flickering excessively, extinguish the candle, let it cool, and trim again.
Step-by-step candle care routine
- Trim the wick before every burn: Use a wick trimmer or sharp scissors to cut the wick to about 1/4 inch (6 mm) before lighting. Do this when the candle is at room temperature and the wax is hard. A long wick causes a large flame, soot, and uneven burning—trimming is non-negotiable.
- Allow a full melt pool on the first burn: On the first burn, let the candle burn for 1–2 hours, or until the melted wax reaches the edge of the ceramic vessel. Never burn longer than 4 hours at a time. This prevents tunneling and sets a memory ring that helps the candle burn evenly for the rest of its life.
- Keep the wax pool free of debris: Before each burn, check that no wick trimmings, matches, or dust have fallen into the wax. If you see debris, remove it with a tweezers when the wax is cool and hard. Debris can ignite or clog the wick, causing a smoky flame and wasted wax.
- Burn in a safe spot away from drafts: Place the candle on a heat-resistant surface, away from curtains, pets, and air vents. Never leave a burning candle unattended. Drafts cause uneven burning and can push the flame too close to the ceramic edge.
- Extinguish properly and let it cool: Use a candle snuffer or gently blow out the flame. Don’t use water. Allow the ceramic to cool completely before moving it or touching the wax. Hot ceramic can crack if moved suddenly, and water can splatter hot wax.
- Fix tunneling early: If the candle starts to tunnel, use a hair dryer on low heat to melt the wax evenly, or wrap a piece of aluminum foil around the top edge (leaving a hole for the flame) and burn for 30 minutes. Repeat if needed. Act as soon as you see a tunnel—the longer you wait, the harder it is to fix.
- Know when to stop: Stop burning when about 1/2 inch of wax remains at the bottom of the ceramic vessel. Burning further can overheat the container and crack it. Retire the candle before the wick runs out of wax—safety first.
Product facts
-
Pumpkin Ceramic Candle: Soy wax with a 45-hour burn time. Soy wax burns cooler and cleaner than paraffin, but it still needs proper wick care to reach its full 45-hour potential.
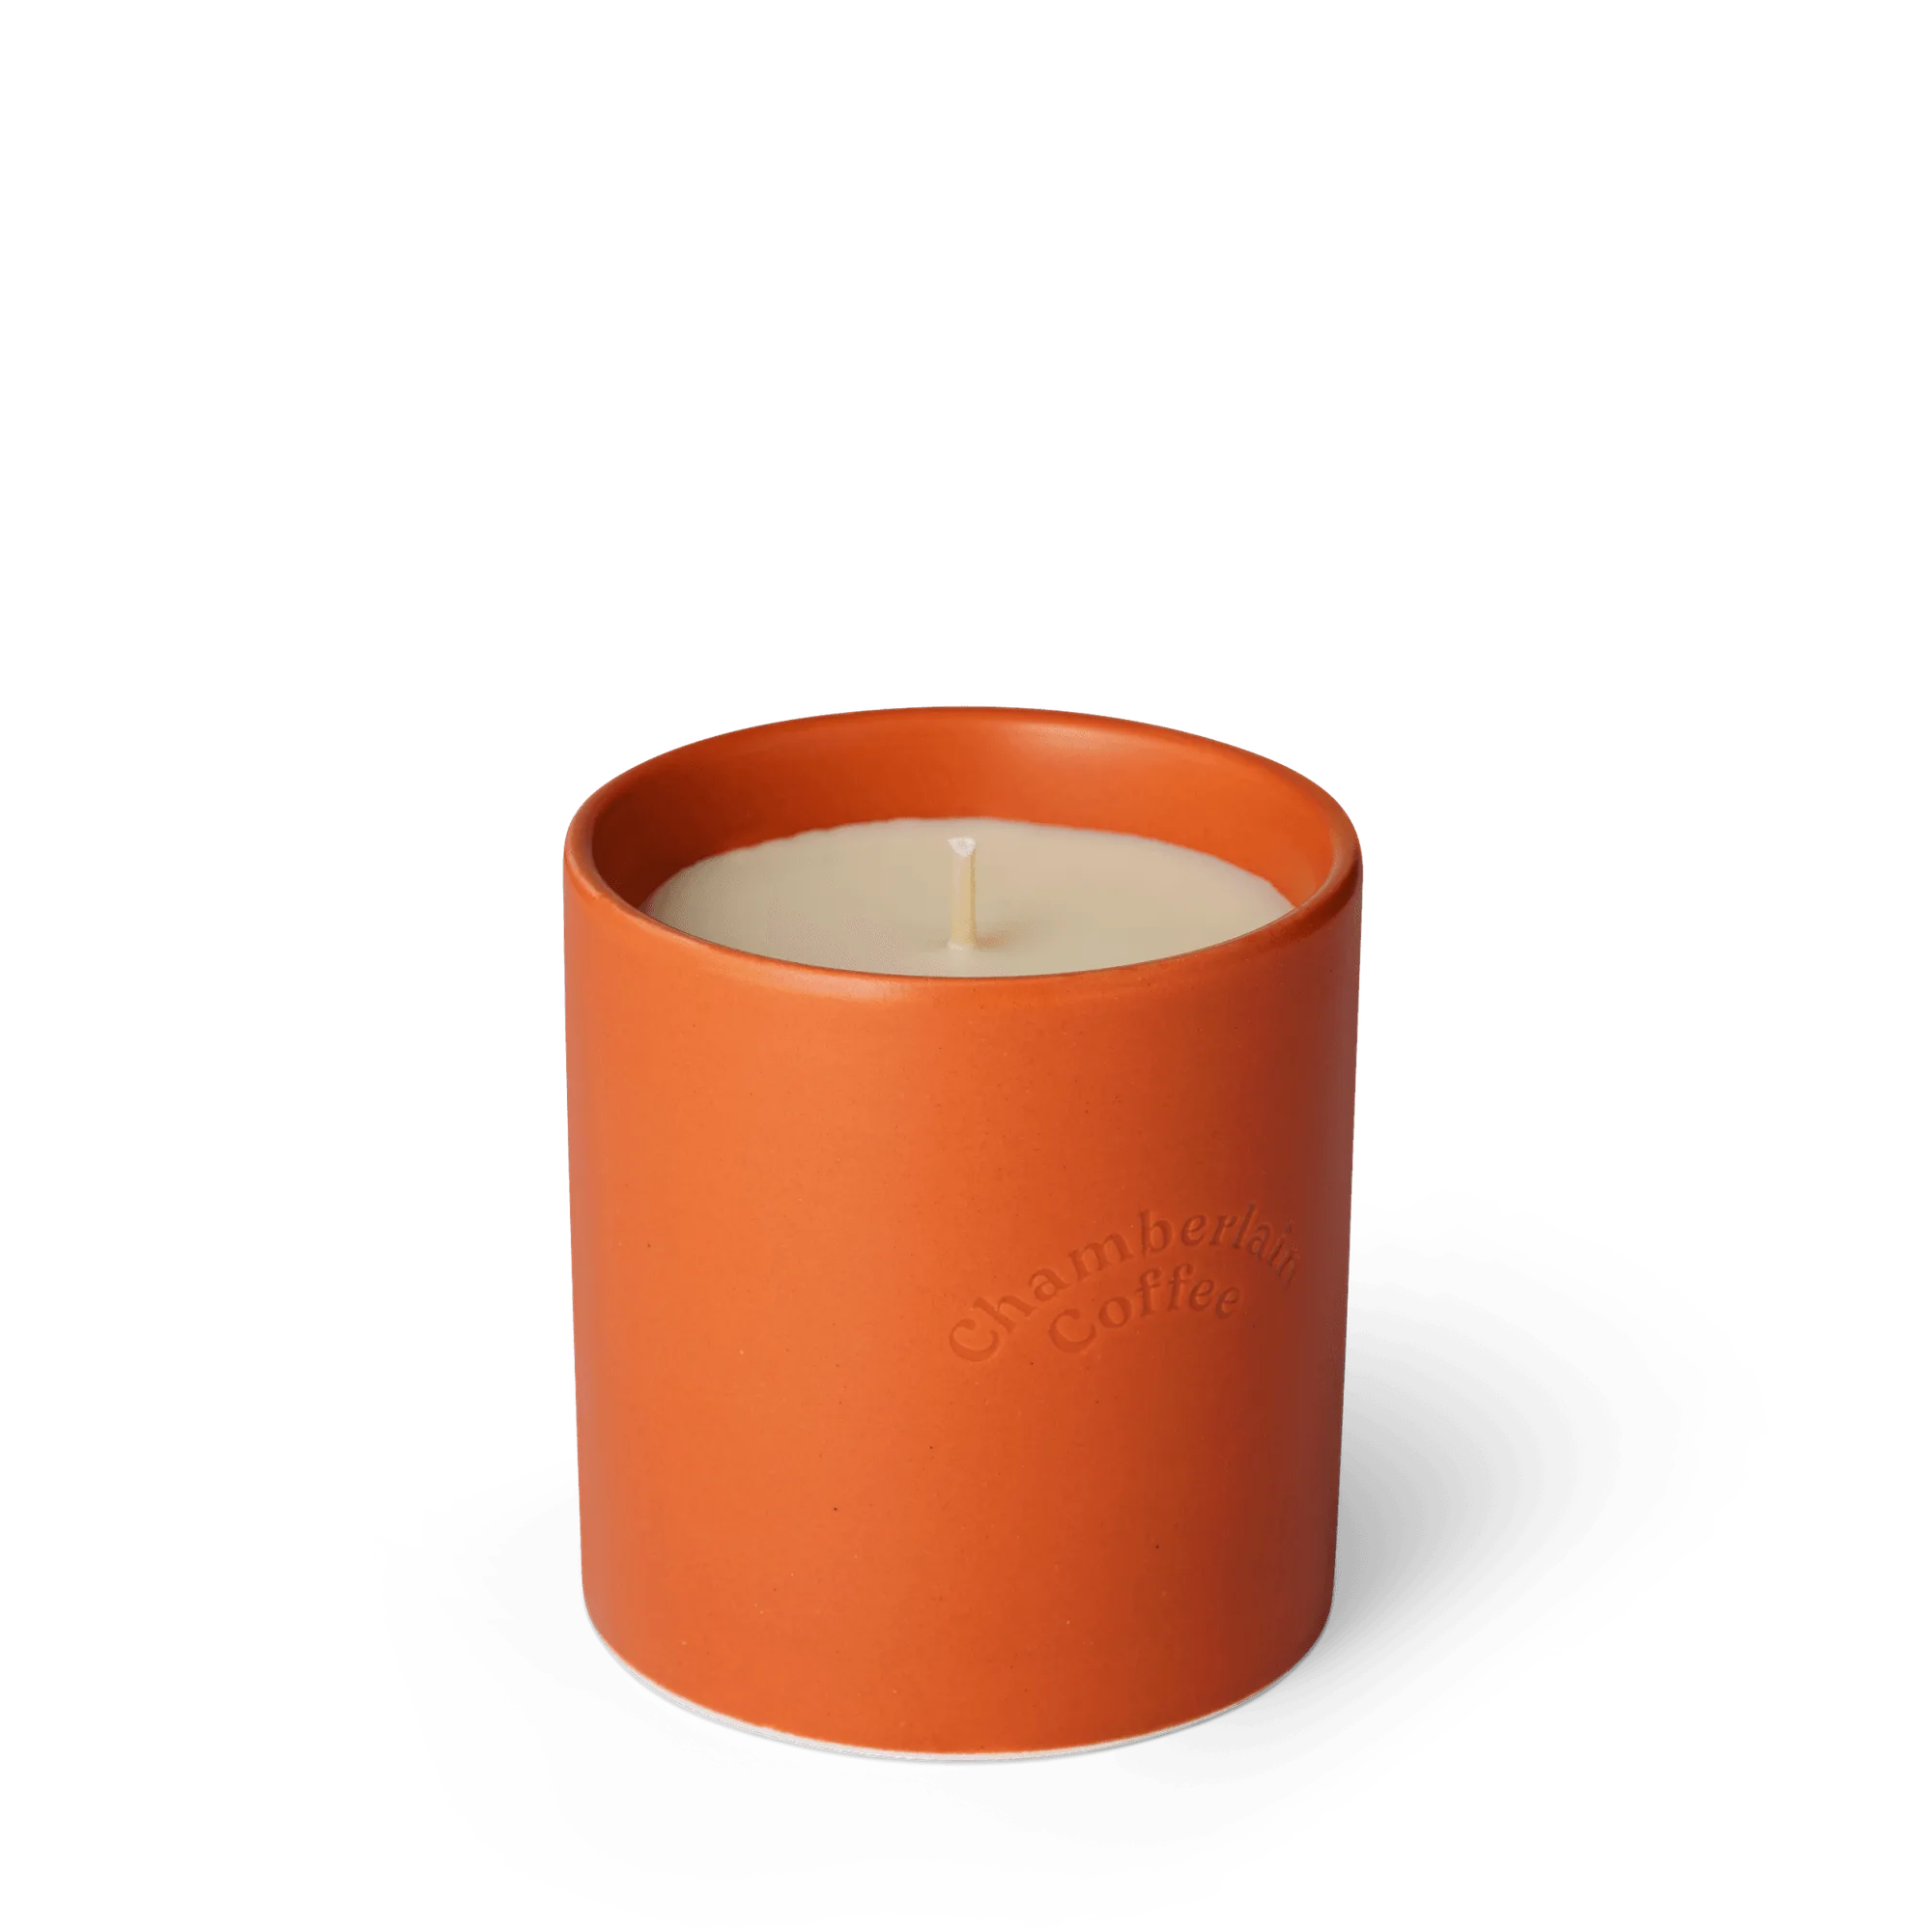
Pumpkin Ceramic Candle