Quick answer
Build a stable base first, then place the motion-activated light-up cubes where marbles will hit cube floors, and test each section with a single marble before adding height or decoration.
Why light-up cubes change your build plan
The Deluxe Lights Set includes cubes that flash red, green, blue, or white when a marble hits the cube floor. Because those cubes are single-exit, they send marbles in one direction only. Plan your path so each light-up cube sits on the main route, not on a dead-end branch or a spot where marbles rarely land.
If you want a glowing effect along a whole section, chain several light-up cubes in sequence. Keep in mind that each one adds a single-exit decision, so test the sequence early rather than after the maze is tall.
When to skip the lights and build plain first
If you are new to Q-BA-MAZE, build a small plain-cube maze first to learn how marbles fall through the system. Add the light-up cubes once you have a working path. This avoids the frustration of rebuilding a tall maze because a single-exit cube blocked the route.
The light-up cubes are compatible with all Q-BA-MAZE 2.0 cubes, so you can swap them in and out as your build changes. Treat them as accents rather than the foundation.
Setup steps for the Deluxe Lights Set
- Sort cubes by type: Separate light-up cubes from plain cubes before building. Check that each light-up cube is not cracked or dirty, since a poor connection can stop the light from triggering. Keep light-up cubes in a small tray so you can grab them without digging through the bin.
- Build a wide, stable base: Start with a flat layer of plain cubes at least three cubes wide. Press each connection firmly until you feel it seat. A narrow or loose base is the most common reason a tall maze topples mid-play. Test the base by pressing gently on one corner; if it shifts, widen it before continuing.
- Map the marble path before adding lights: Use plain cubes to create the main route from top to bottom. Drop one marble through to confirm it reaches the bottom without getting stuck. Do not add light-up cubes yet. If the marble stops, find the blocked cube now rather than after decorating.
- Swap in light-up cubes at impact points: Replace plain cubes with light-up cubes at spots where the marble will hit the cube floor, such as the bottom of a straight drop or the end of a ramp. Remember each light-up cube has only one exit, so orient it to send the marble toward the next section. Place one light-up cube at a time and test with a marble before adding the next.
- Test each light-up cube individually: Drop a marble through the cube and watch for the flash. If it does not light, reseat the cube and check that the marble actually strikes the floor inside it. A cube that never receives a direct hit will stay dark. Move any dark cube to a busier junction or replace it with a plain cube.
- Add height and decoration last: Once the path and lights work, extend upward or add themed shapes such as a dragon eye or light-bulb outline. Add one layer at a time and re-test the full run after each addition. Keep the finished maze on a flat, hard surface; carpet can make the base wobble.
Product facts
-
Q-BA-MAZE 2.0 Deluxe Lights Set: Motion-activated cubes flash red, green, blue, or white every time a marble hits the cube floor. Place these cubes where marbles will actually land, or the light effect stays dark.
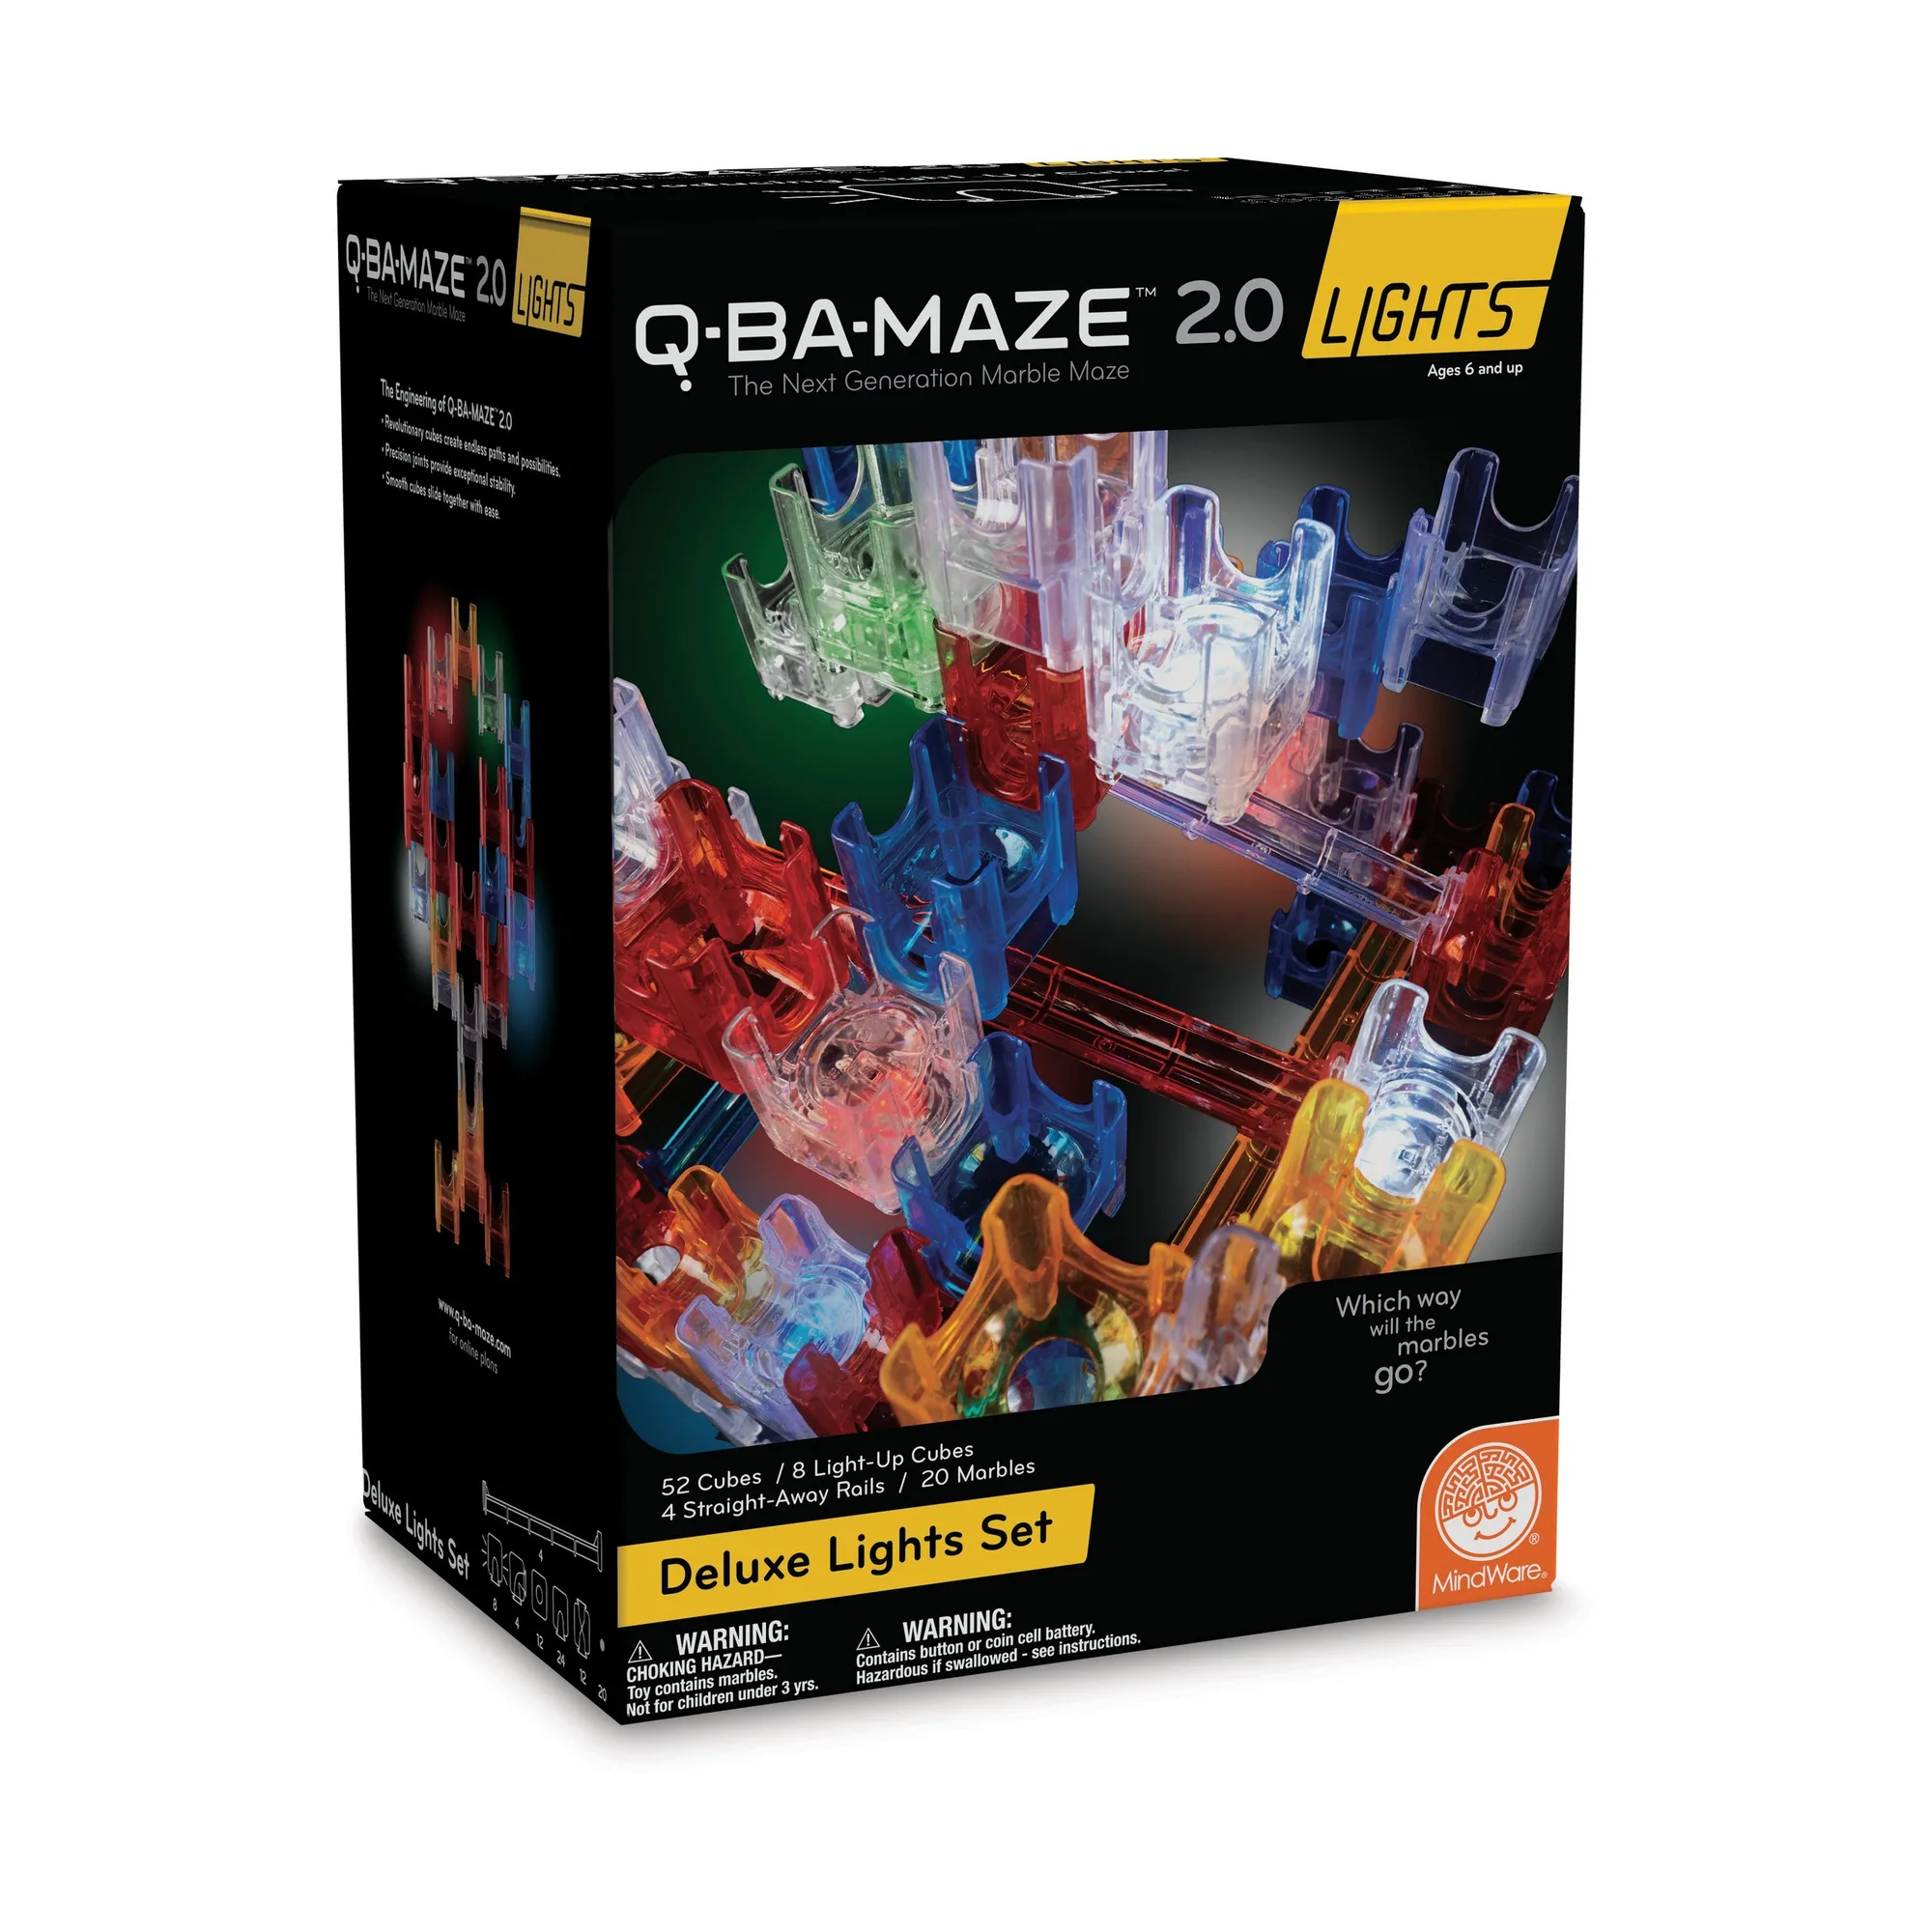
Q-BA-MAZE 2.0 Deluxe Lights Set
-
Q-BA-MAZE 2.0 Deluxe Lights Set: All light-up cubes are single exit and compatible with all Q-BA-MAZE 2.0 cubes. You can mix them into any build, but each one forces a single direction, so plan the path before you stack.