What the SuperBird Q2010 actually asks of you
The Quest SuperBird is a Skill Level 2 kit, which Quest describes as requiring some basic beginner skills in model rocketry construction and finishing. It is not a snap-together toy: the kit requires assembly, and the catalog notes that assembly, finishing, and glue drying can take a day or more.
The payoff is a 31.25 in. (79.4 cm) rocket with dual 14 in. parachutes, a large payload section, and flights up to 1,100 ft. (335 m). The kit is recommended for ages 10 to adult, with direct adult supervision suggested for those under 12 when building or flying.
Kit facts to check before you open the box
-
Quest SuperBird™ Model Rocket Kit - Q2010: Skill Level 2; requires assembly and basic beginner model rocketry construction and finishing skills. Confirms this is a build project, not a ready-to-fly model, so plan workspace and drying time.
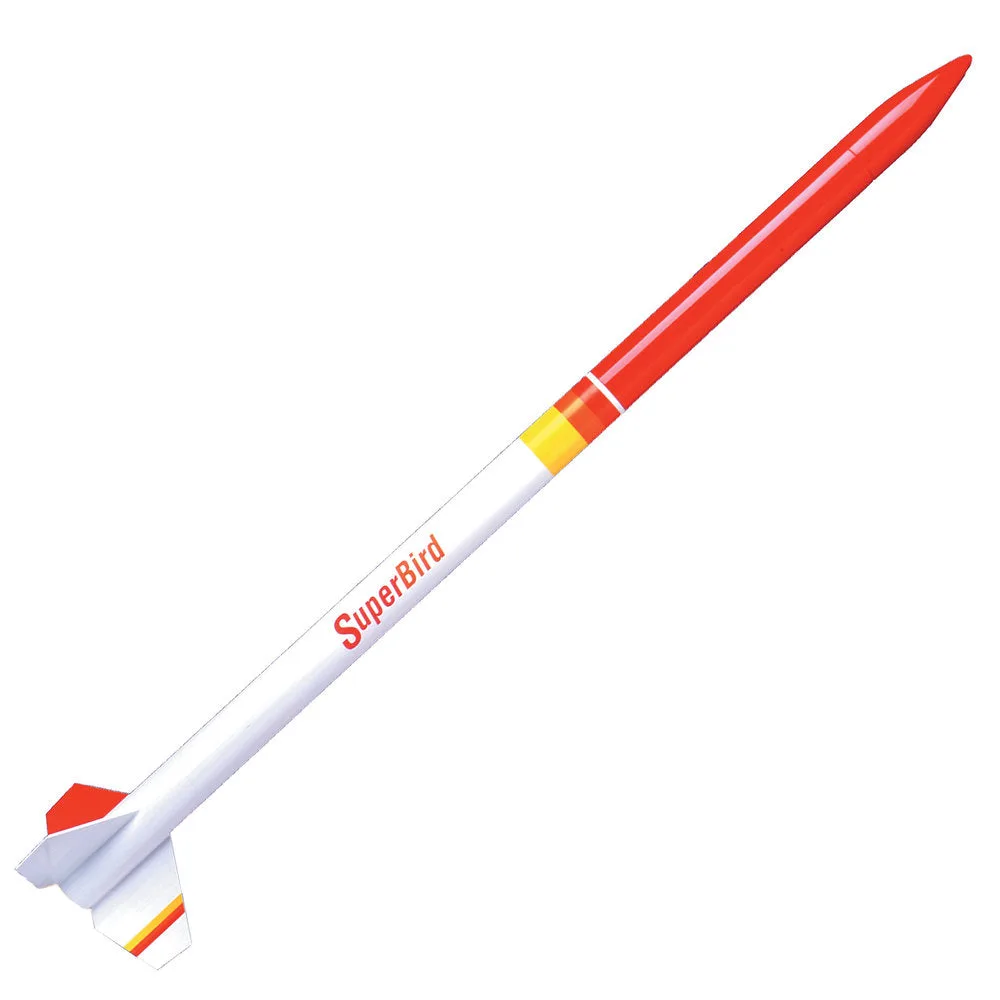
Quest SuperBird™ Model Rocket Kit - Q2010
-
Quest SuperBird™ Model Rocket Kit - Q2010: Length 31.25 in. (79.4 cm), diameter 1.378 in. (35 mm / T35), weight 2.75 oz. (78 g). These dimensions help you judge storage, transport, and whether your launch area suits a rocket this size.
-
Quest SuperBird™ Model Rocket Kit - Q2010: Recovery uses dual 14 in. parachutes; fins are laser-cut balsa; décor is self-adhesive decals. Tells you what recovery and finishing materials the kit includes so you can plan the build sequence.
-
Quest SuperBird™ Model Rocket Kit - Q2010: Hobby glues, finishing supplies, building tools, launch system, and rocket motors are not included. These are the items you must gather before starting assembly.
Gather these before you start gluing
The catalog is explicit about what the kit does not include. Collect these first so you are not stuck mid-build waiting on supplies.
- Hobby glue and finishing supplies: Not included. The kit needs glue for assembly and finishing supplies for the airframe and fins; the catalog does not specify brands or types, so follow the kit instructions and your usual model-rocketry practice.
- Building tools: Not included. Have your standard model-building tools on hand before opening parts bags.
- Complete Launch System (Q7700): Required for launching and not included. The Q2 Launch Controller also needs one 9-volt snap-top lithium battery, which is not included.
- Quest Q-Jet motors with FirstFire Micro Initiators and recovery wadding: Required and not included. The catalog lists specific Q-Jet White Lightning and Black Max motor designations for this kit, covered below.
A sensible build and finish sequence
The supplied catalog does not include a step-by-step instruction sheet, so treat this as a planning framework rather than a substitute for the kit's own instructions. Work in stages and let glue cure fully between major assemblies.
- 1. Inventory the parts: Confirm you have the airframe, laser-cut balsa fins, dual 14 in. parachutes, payload section components, and self-adhesive decals before starting. The catalog does not list every small part, so compare against the kit's parts list.
- 2. Build the main airframe and fin can: Assemble per the kit instructions using hobby glue. Laser-cut balsa fins need clean edges and straight alignment; check fin alignment before glue sets.
- 3. Assemble the payload section: The SuperBird features a large payload section. Build it according to the kit instructions; the catalog does not specify a payload weight limit, so do not assume one.
- 4. Install the recovery system: The kit uses dual 14 in. parachutes. Follow the kit's shock cord and parachute mounting instructions; recovery wadding is required at flight time and is not included.
- 5. Finish and apply decals: Sand, seal, and paint as your finishing supplies allow, then apply the self-adhesive decals. Allow finishing and glue drying time; the catalog notes this can take a day or more.
Motor options listed for the SuperBird
The catalog lists two Q-Jet propellant families for this kit. Use the B6-4W or B4-4FJ for the first flight as designated, and treat the larger designations as options only after the model has proven itself.
The catalog also notes that other brands of model rocket motors with a similar motor type (power) designation should be OK for use in this product.
- White Lightning: B6-4W, C18-4W, C18-6W, D20-6W, D20-8W: B6-4W is listed as the first-flight motor. Higher designations increase power; choose delay and impulse to suit the rocket's weight and your launch site.
- Black Max: B4-4FJ, C12-4FJ, C12-6FJ, D16-6FJ, D16-8FJ: B4-4FJ is listed as the first-flight motor. The same caution applies: work up through the list rather than starting with the largest motor.
Planning the first flight
The catalog states flights up to 1,100 ft. (335 m), so pick a launch site with enough open area for a rocket of that altitude and dual-parachute recovery. Check wind and local rules before launching.
Use the designated first-flight motor, a complete launch system, and fresh recovery wadding. The Q2 Launch Controller requires one 9-volt snap-top lithium battery, which is not included, so verify your controller is powered before heading out.
Direct adult supervision is suggested for those under 12 when building or flying. The catalog does not provide a pre-flight checklist or specific launch-angle guidance, so follow your launch system instructions and range safety rules.
SuperBird at a glance
- Quest SuperBird™ Model Rocket Kit - Q2010: Maximum altitude: 1,100 ft. (335 m); recovery: dual 14 in. parachutes; recommended ages 10 to adult. Sets expectations for site size and supervision.
- Quest SuperBird™ Model Rocket Kit - Q2010: Requires Complete Launch System (Q7700), Quest Q-Jet motors with FirstFire Micro Initiators, and recovery wadding; Q2 Launch Controller needs one 9-volt snap-top lithium battery (not included). These are the launch-day essentials the kit does not supply.