Quick answer
Buy quilting rulers based on your machine type, the quilting technique you use most, and the size of the shapes you quilt. For longarm ruler work, start with a 1/4-inch thick acrylic ruler with clear markings and a high-profile foot. For domestic machine quilting, choose a 1/8-inch or 3/16-inch thick ruler that fits under your presser foot. If you quilt feathers, swirls, or straight lines, add a specialty ruler for that shape rather than buying a large set at once.
Quilting rulers are not one-size-fits-all. A ruler that works beautifully on a longarm machine can be too thick or too tall for a domestic sewing machine, and a ruler that feels comfortable for stitch-in-the-ditch may be awkward for feathers. The right choice comes down to how you quilt, what you quilt, and which machine you use.
This buying guide walks through the decisions that matter most: ruler thickness, size and shape, markings, and material. It also explains when a specialty ruler earns its place in your sewing room and when a basic set is enough. By the end, you will know exactly what to look for before you add another ruler to your collection.
Start with your machine: longarm vs. domestic
The first decision is your machine type. Longarm quilting machines have a high throat space and use a special ruler foot that rides along the ruler edge. Rulers for longarm quilting are typically 1/4 inch thick, which gives the foot a stable surface to follow. Domestic sewing machines have a lower presser foot, so you need thinner rulers, usually 1/8 inch or 3/16 inch thick, that slide under the foot without tilting.
If you use both machine types, do not assume one ruler works for both. A 1/4-inch ruler may be too tall for a domestic machine, and a thin ruler can flex under a longarm foot. Many quilters keep two small sets: one for the longarm and one for the domestic machine. That way you always have the right thickness for the machine you are using.
- Measure the space under your presser foot before buying any ruler.
- Check your machine manual for the maximum ruler thickness it supports.
Ruler thickness for quilting: why 1/4 inch is the longarm standard
Ruler thickness for quilting is measured in inches, and the most common longarm thickness is 1/4 inch. That thickness keeps the ruler rigid and gives the ruler foot a consistent edge to follow. Thinner rulers, such as 1/8 inch, are more flexible and can slip under the foot, which is why they are preferred for domestic machines. Acrylic quilting rulers are the standard material because they are clear, durable, and easy to mark.
Thicker is not always better. A 1/2-inch ruler can feel bulky and may not fit under some longarm feet. If you are unsure, start with 1/4 inch for longarm work and 1/8 inch for domestic work. Then add specialty thicknesses only if a specific technique requires them.
- 1/4 inch: best for longarm ruler work and most ruler feet.
- 1/8 inch: best for domestic machines and low-shank presser feet.
- 3/16 inch: a middle option for some midarm and high-shank domestic machines.
Size and shape: match the ruler to the quilting design
Quilting ruler sizes range from small 2-inch squares to long 12-inch or wider rulers. Small rulers are great for tight curves, pebbles, and detailed work. Larger rulers help with straight lines, crosshatching, and borders. If you quilt feathers, look for a feather ruler or a curved ruler with a gentle arc. If you quilt swirls, a swirl ruler or a circle template will give you consistent shapes.
A common mistake is buying a large set of many sizes before knowing which shapes you actually use. Instead, choose one or two rulers that match the designs you quilt most often. For example, if you quilt a lot of straight lines and stitch-in-the-ditch, a long straight ruler is more useful than a set of small curves. If you quilt free-motion designs, a small curved ruler and a circle ruler may be enough to start.
- Straight lines and borders: 6-inch to 12-inch straight ruler.
- Feathers and swirls: curved or specialty feather ruler.
- Pebbles and small fills: 2-inch to 4-inch curved ruler.
Markings and grip: what makes a ruler easy to use
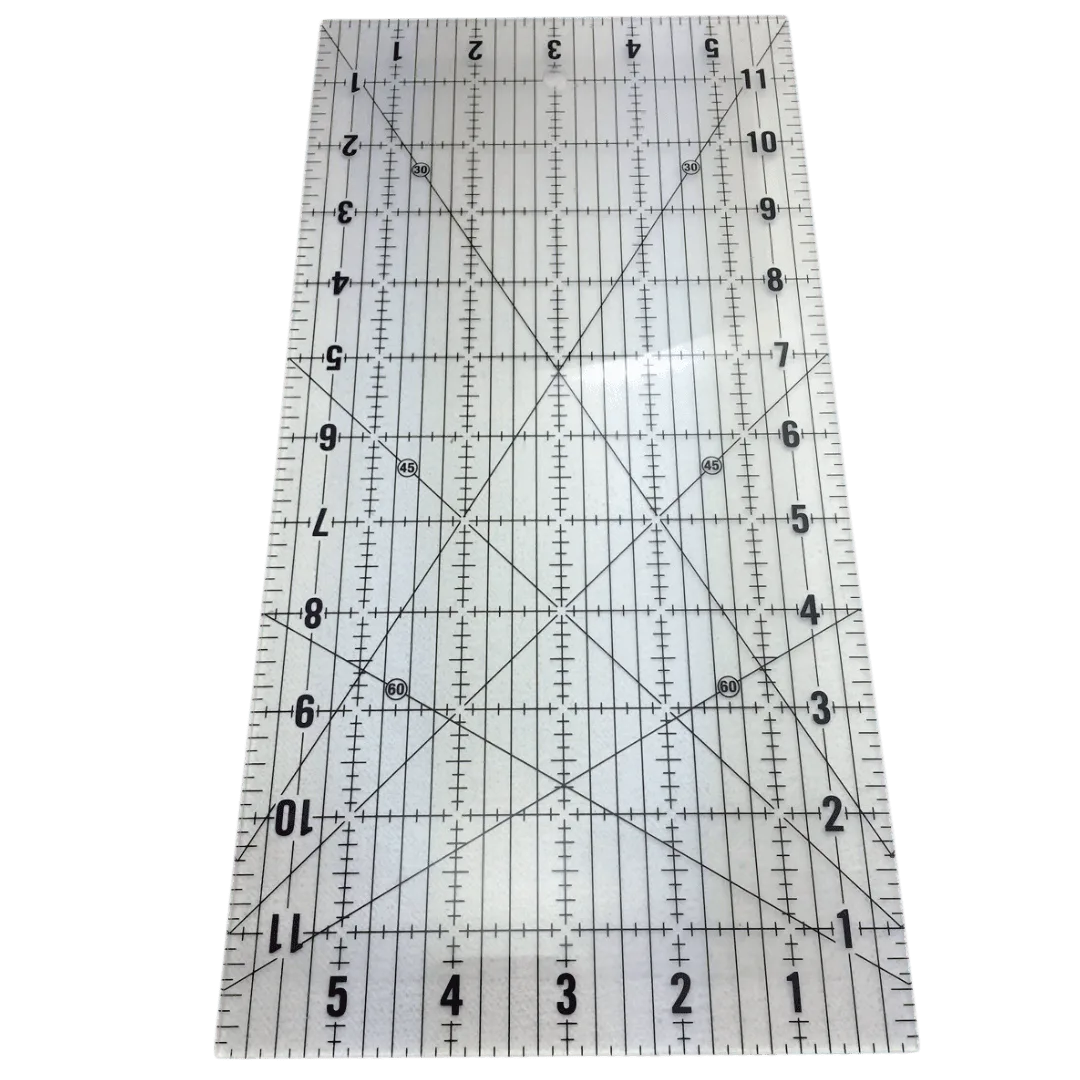
Clear markings matter more than most shoppers expect. Look for rulers with high-contrast lines, 1/4-inch seam allowances, and angle lines if you quilt geometric designs. Some rulers include grid lines that help you align the ruler with piecing seams. If the markings are faint or only on one side, you may struggle to see them against busy fabric.
Grip is the other comfort factor. Many quilters add grip tape or use a ruler with a textured back to keep it from sliding. If you have trouble holding a ruler steady, a handle or a thicker ruler can help. But remember: grip accessories add thickness, so check that the ruler still fits under your presser foot after you add them.
- Choose high-contrast markings that are easy to read on both light and dark fabric.
- Test the ruler with your preferred grip method before committing to a full set.
When to buy a specialty ruler vs. a basic set
Specialty rulers solve specific problems. A feather ruler helps you quilt consistent feather shapes. A circle ruler makes perfect circles and arcs. A straight ruler is the workhorse for stitch-in-the-ditch and crosshatching. If you quilt a variety of designs, a basic set of two or three rulers covers most needs. If you focus on one style, a specialty ruler is worth the investment.
Before buying, watch a video or take a class that uses the ruler you are considering. Seeing the ruler in action shows you whether the size and shape match your quilting style. PNQ Academy courses, such as Machine Quilt a Comet Quilt, demonstrate ruler work, feathers, swirls, and background fillers. That kind of demonstration can help you decide which ruler shapes you actually need.
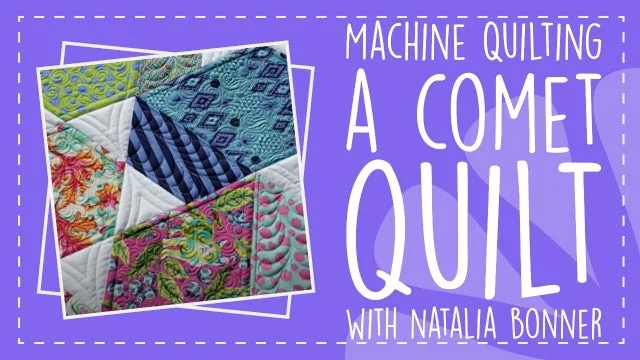
Machine Quilt a Comet Quilt
- Buy one specialty ruler at a time and test it on a practice quilt.
- If a ruler feels awkward, check whether a different size or shape would suit your machine better.
Decision rules for buying quilting rulers
- Rule 1: Match thickness to your machine: Longarm machines need 1/4-inch rulers. Domestic machines need 1/8-inch or 3/16-inch rulers. Measure the space under your presser foot before buying. If a ruler does not fit under your foot, it will not work, no matter how good the markings are.
- Rule 2: Buy for the designs you quilt most: If you quilt straight lines, start with a long straight ruler. If you quilt feathers or swirls, start with a curved or specialty ruler. Do not buy a large set until you know which shapes you use. One well-chosen ruler beats a set of ten you never touch.
- Rule 3: Check markings and grip before you commit: Look for high-contrast markings and a surface that works with your grip method. If you add grip tape, recheck the ruler thickness under your presser foot. A ruler you can see and hold steady is safer and more accurate.
- Rule 4: Learn the ruler before you buy more: Watch a course or video that uses the ruler you are considering. PNQ Academy courses show ruler work in real quilts, which helps you judge size and shape. Seeing the ruler in action prevents expensive trial and error.
PNQ Academy courses that show ruler work in action
- Machine Quilt a Comet Quilt: In this PNQ Academy video, Natalia demonstrates custom machine quilting using free-motion quilting, feathers, ruler work, swirls, pebbles, and background fillers. Seeing ruler work alongside other techniques helps you judge which ruler shapes you will actually use before you buy.
- Machine Quilting Pigs & Flowers: Natalia demonstrates ruler work, quilting on pig blocks, flower blocks, flying geese, and background fillers, with swirls and echo quilting also featured. This course shows how different ruler shapes handle figurative blocks and background fills, so you can match rulers to the designs you quilt.
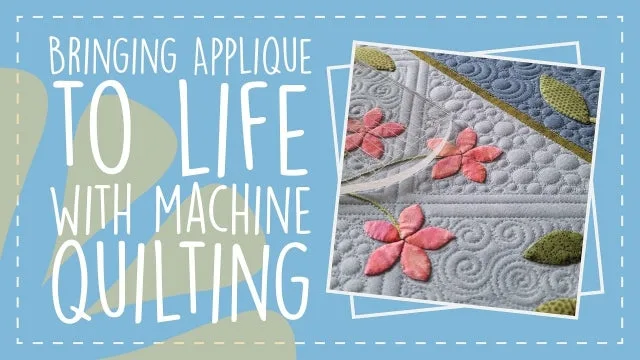
- Bringing Applique to Life with Machine Quilting: Natalia marks applique shapes, then uses quilting rulers to quilt straight lines along the background and through the applique shapes. If you quilt applique, a straight ruler and a small curved ruler are often enough to add structure and symmetry without a large set.
Who should buy which quilting ruler
Best for
- Longarm quilters who need 1/4-inch thick rulers for ruler work and free-motion quilting.
- Domestic machine quilters who need thin rulers that fit under a low presser foot.
- Quilters who focus on one technique, such as feathers, swirls, or straight-line quilting, and want a specialty ruler for that design.
Not for
- Quilters who have not checked their machine's maximum ruler thickness and presser foot clearance.
- Shoppers looking for a single ruler to handle every technique on both longarm and domestic machines.
- Beginners who have not yet practiced with a basic ruler and want to buy a large set immediately.
Choosing the right quilting ruler comes down to three things: your machine, your technique, and the designs you quilt most. Start with one or two rulers that match your machine's thickness limit and the shapes you use. Add specialty rulers only when a specific design calls for them. If you want to see ruler work in action before you buy, PNQ Academy courses like Machine Quilt a Comet Quilt and Machine Quilting Pigs & Flowers show how different rulers handle real quilts.