Quick answer
Plan raised garden bed irrigation on paper before you buy or bury anything. Measure the bed, choose a single line, circuit or grid layout, then decide the water source, because tank or bore water needs a 13mm in-line filter while mains water does not. If you want to run more than one line, a 13mm tee splits the poly pipe cleanly, and a waterproof potting mat keeps soil and cuttings off your work area while you lay it out.
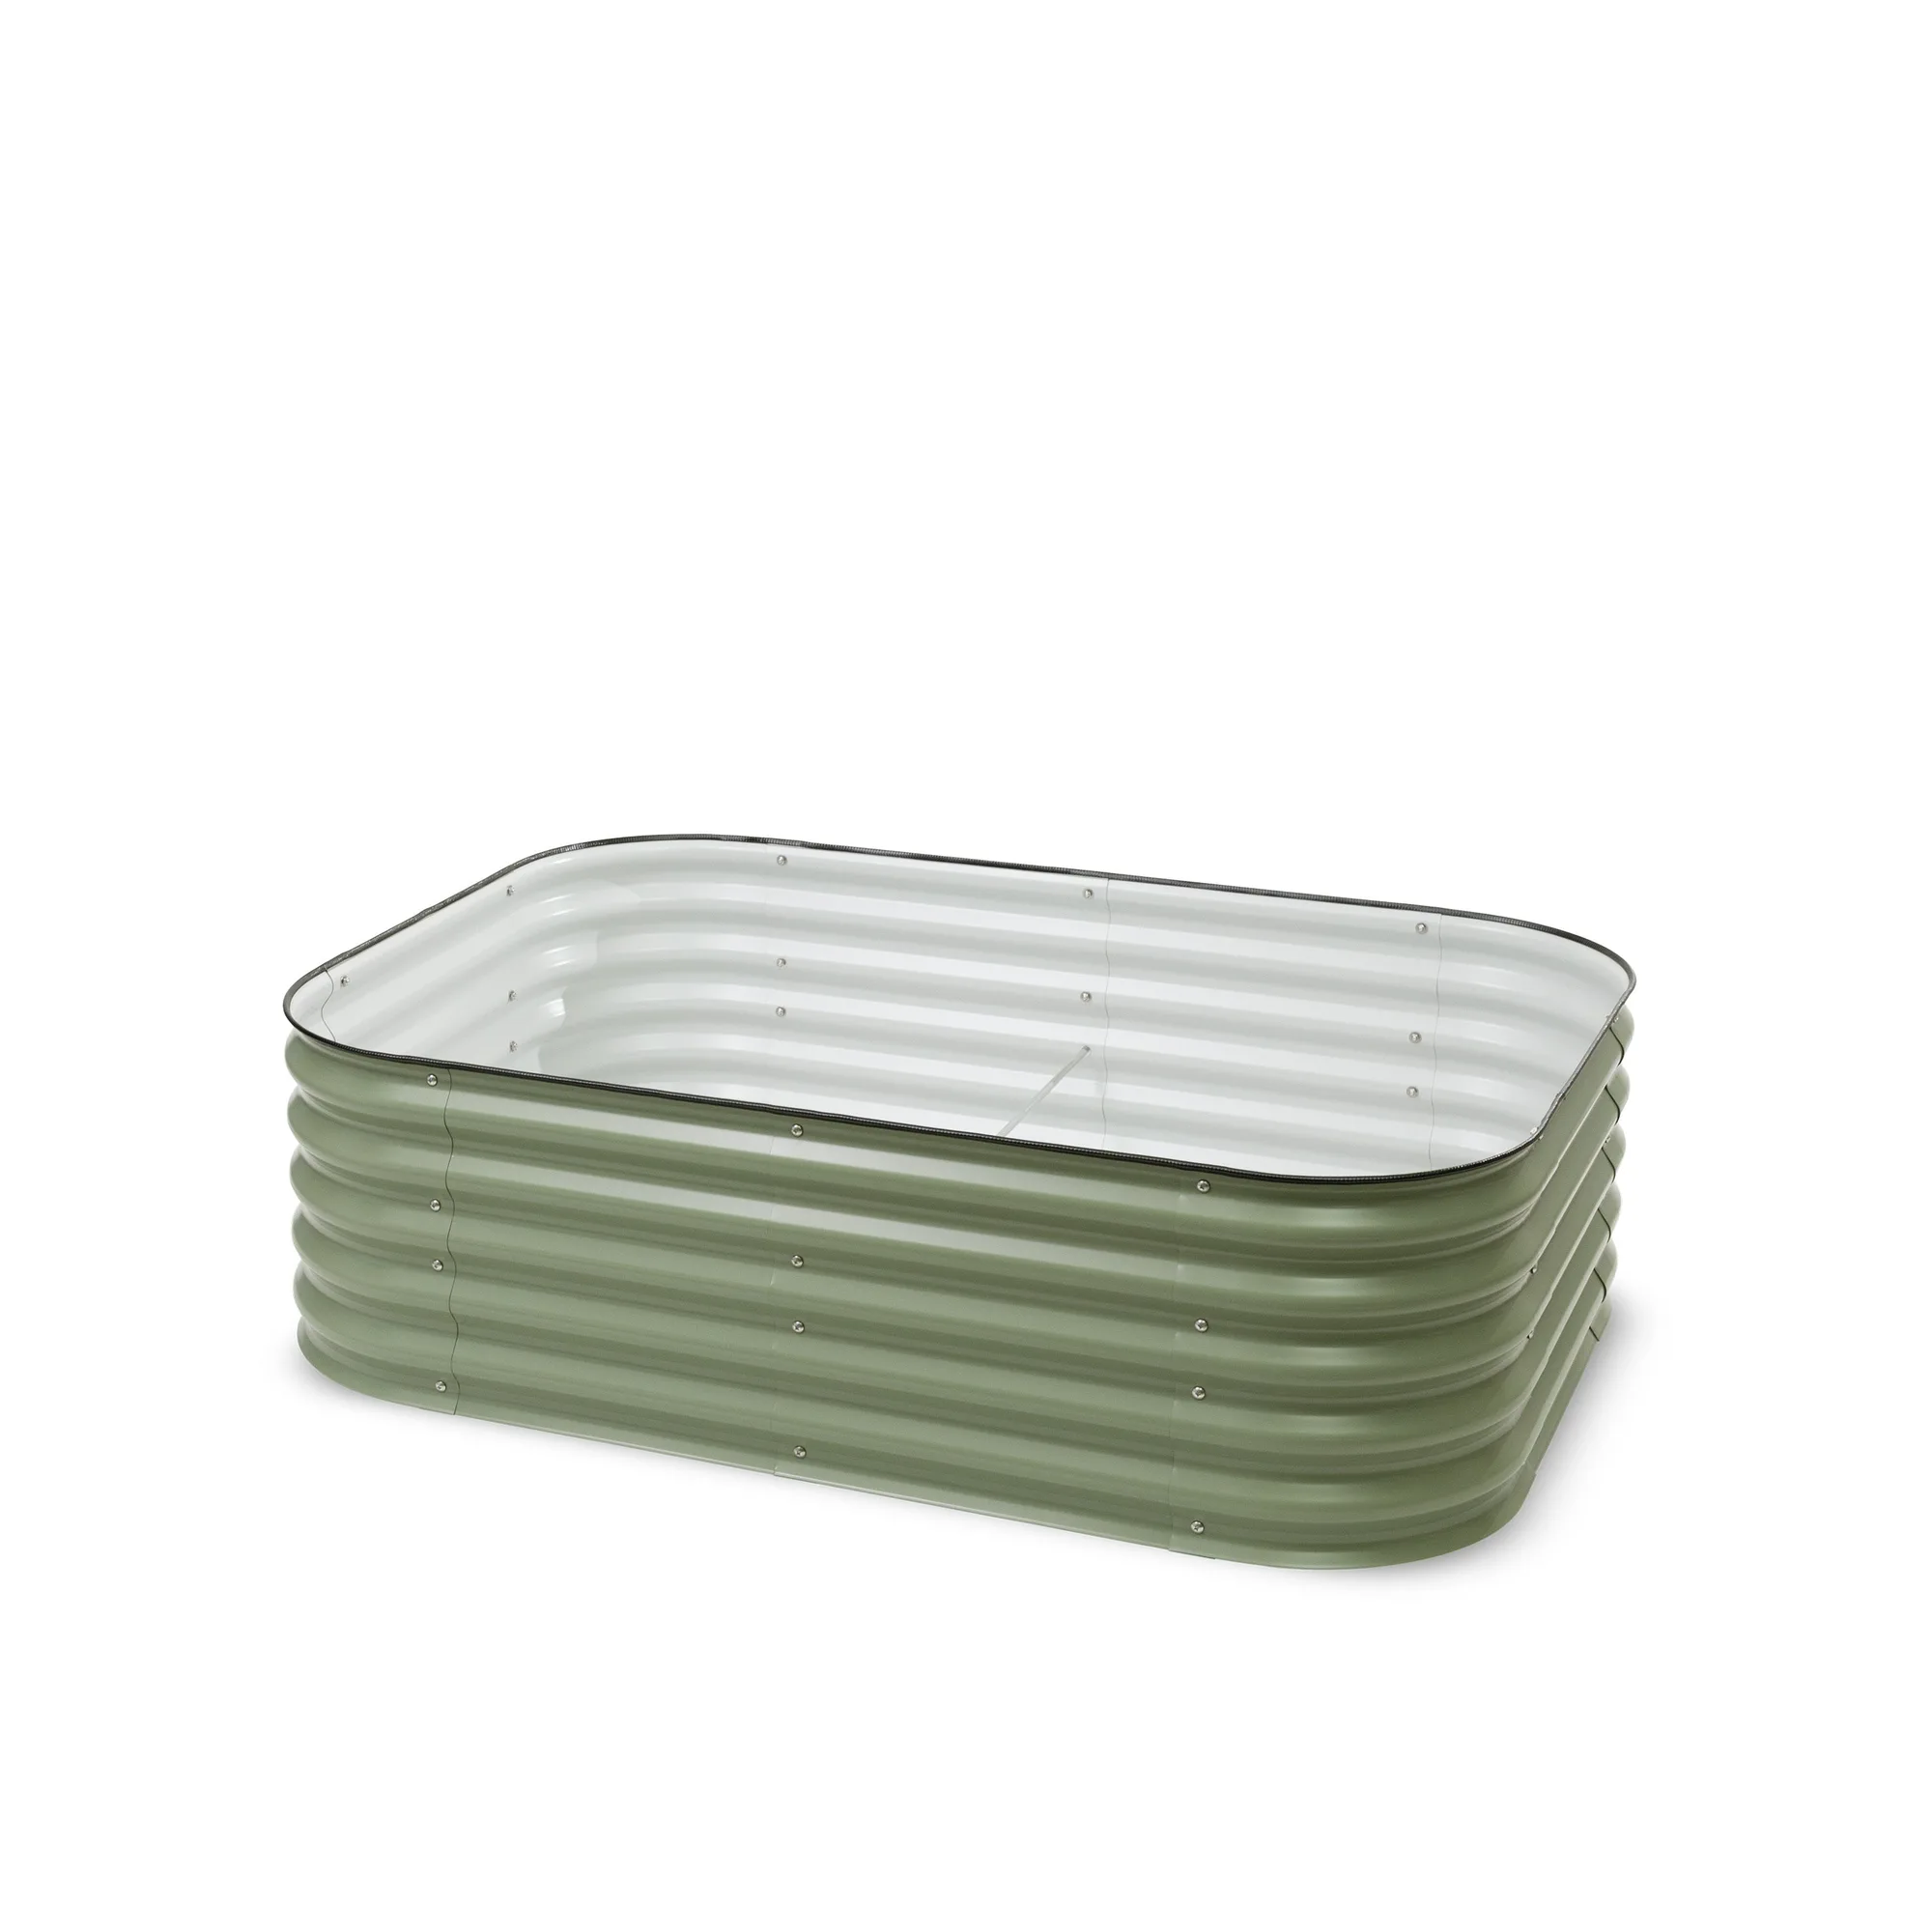
garden bed
Start with the bed, not the fittings
Measure the internal length and width of the bed and note the planting style: rows, blocks or mixed perennials. A long narrow bed usually suits one straight drip line down the centre, while a wide bed needs either two parallel lines or a loop so the far side gets the same pressure as the near side. Check how far the tap sits from the bed, because every extra metre of 13mm poly pipe adds friction and reduces flow at the last emitter.
Choose a layout: single line, circuit or grid
A single line is the simplest option for a bed under about 60cm wide and easy to flush at the end. A circuit layout feeds the pipe back to the start so water travels in a loop, which evens out pressure across a wider bed. A grid suits dense plantings where you want coverage in both directions. Whichever you choose, sketch the route and mark where lines branch, because that is where you will place a tee rather than cutting and joining pipe in three separate places.
Match emitters to the crop, not the calendar
Adjustable drip and adjustable spray emitters let you dial flow up or down per plant, which matters in a raised bed where a tomato and a lettuce sit in the same soil volume. Under-tree sprinklers cover a wider root zone but wet foliage, so keep them away from beds where you are trying to keep leaves dry. Group plants with similar water needs onto the same line so one zone is not drowning while another dries out.
Decide the water source before you connect anything
Mains or town water is already filtered and pressurised, so you can run emitters straight from the tap. Tank or bore water carries grit and sediment that clogs small emitters and narrow irrigation tubing, so a filter belongs at the start of the line, before the first tee. Fit it where you can reach it without digging up the bed, because a filter you cannot access is a filter you will not clean.
Lay it out dry, then pressure-test
Assemble the pipe and fittings on the surface with the tap turned off, then run water through before you bury or mulch over anything. Watch the last emitter in the line, not the first, because the end of the run shows pressure loss first. If the far end dribbles, shorten the run, switch to a circuit, or split the bed into two zones rather than turning the tap up and stressing every joint.
Raised bed drip layout: the planning sequence
- Measure the bed and the distance to the tap: Record internal length, width and the run from tap to bed. Long runs lose pressure at the last emitter, so note the total distance before choosing pipe. Checkpoint: if the run is long, plan two shorter zones instead of one long line.
- Sketch the layout and mark every branch: Draw a single line, circuit or grid on paper and circle each point where a line splits. Each circle is a tee, not a cut-and-join. Common mistake: deciding the layout while holding the pipe, which usually ends in a kinked run.
- Confirm your water source and filter need: Mains water needs no filter. Tank or bore water does, placed before the first tee so grit never reaches the emitters. Checkpoint: if you cannot reach the filter to clean it, move it before you bury anything.
- Choose emitters per plant group: Adjustable drip and spray emitters let you tune flow per plant. Group plants with similar needs on the same line. Common mistake: mixing thirsty and drought-tolerant plants on one zone.
- Assemble dry and pressure-test the far end: Connect pipe and fittings with the tap off, then run water and watch the last emitter in the line. If the end dribbles, shorten the run or switch to a circuit rather than raising the tap pressure.
- Mulch and secure, then set a cleaning routine: Once flow is even, pin the line, mulch over it and note a filter-cleaning interval for tank or bore water. Next step: check the filter after the first week, then adjust the interval to your water quality.
Fittings that solve the two most common planning problems
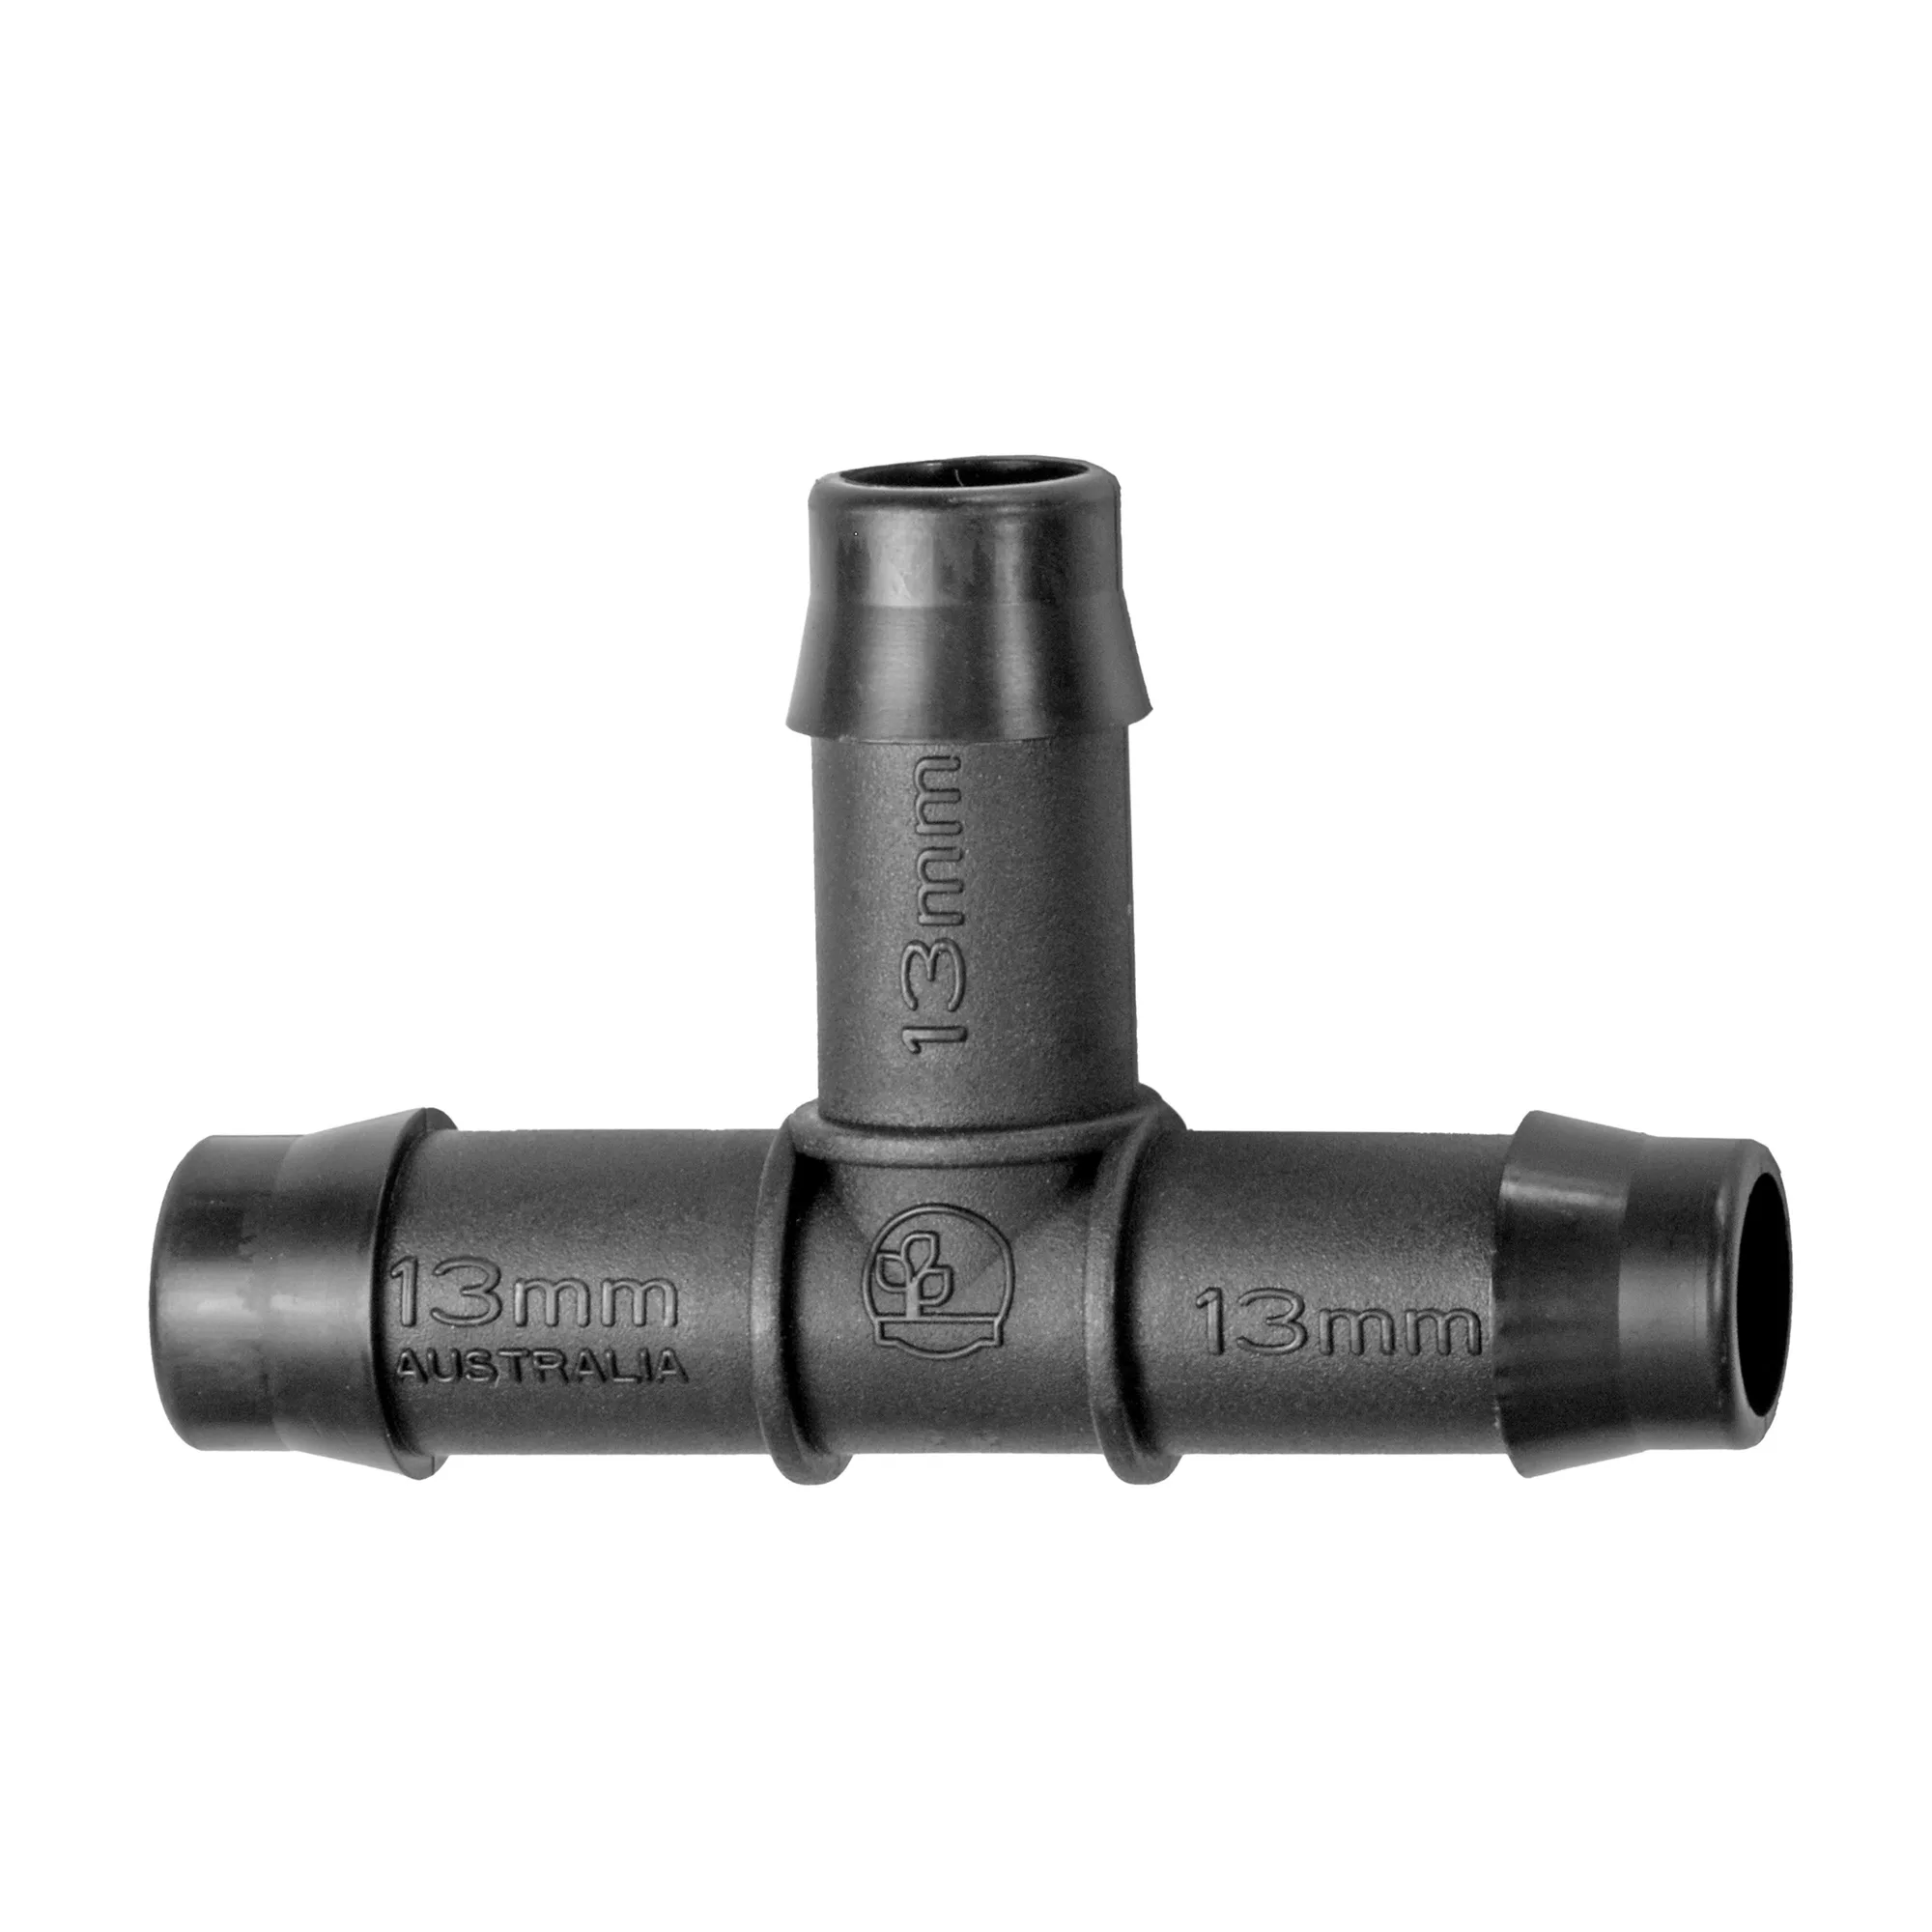
- Irrigation Kit | 13mm Tee: The 13mm Tee is included in the Adjustable Drip, Adjustable Spray and Under Tree Sprinkler Irrigation Kits and is used to split off an extra line or create a circuit with 13mm Poly Pipe. If your sketch shows a branch or a loop, this is the part that makes it possible without cutting the main line into separate runs. It is secured with three 13mm Ratchet Clamps for a leak-free join.
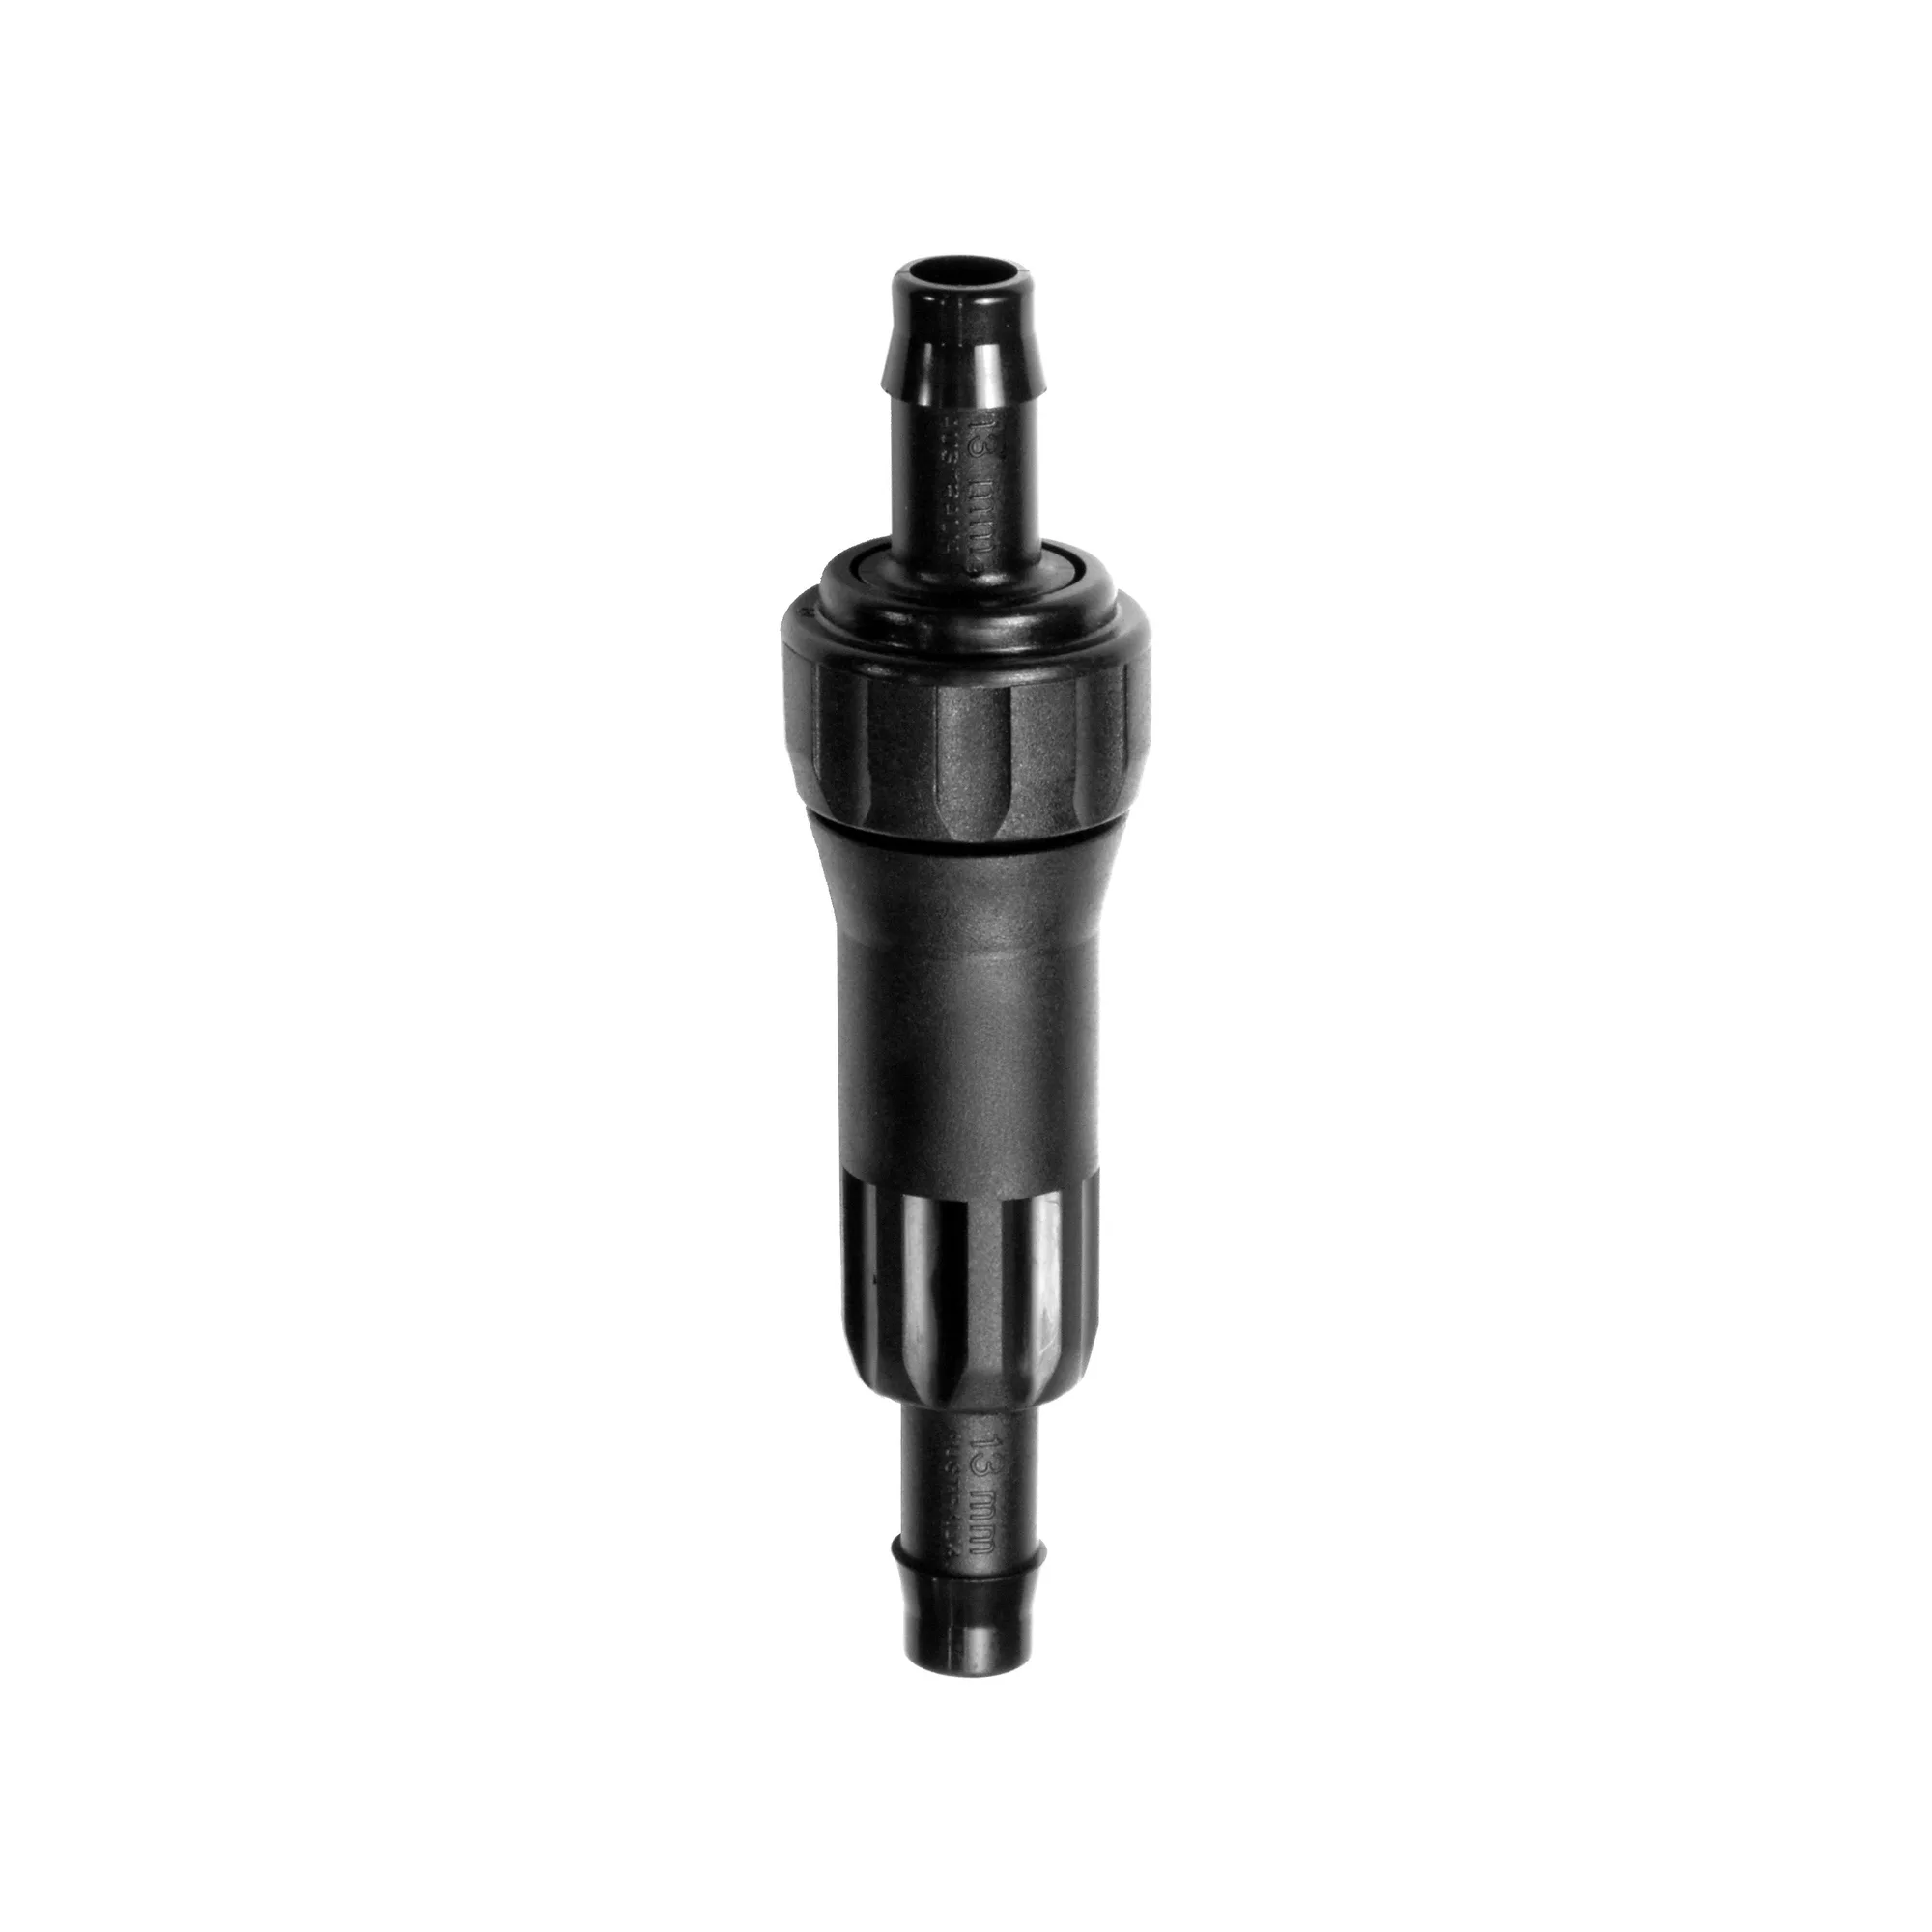
- Irrigation Kit | 13mm In-Line Filter: The 13mm In-Line Filter is designed for use with the Adjustable Drip, Adjustable Spray and Under Tree Sprinkler Irrigation Kits, and should be used when connecting to water sources other than mains or town water. Tank and bore water carry the grit that blocks small emitters and narrow tubing, so this filter protects the layout you just planned. It is not necessary on mains or town water.
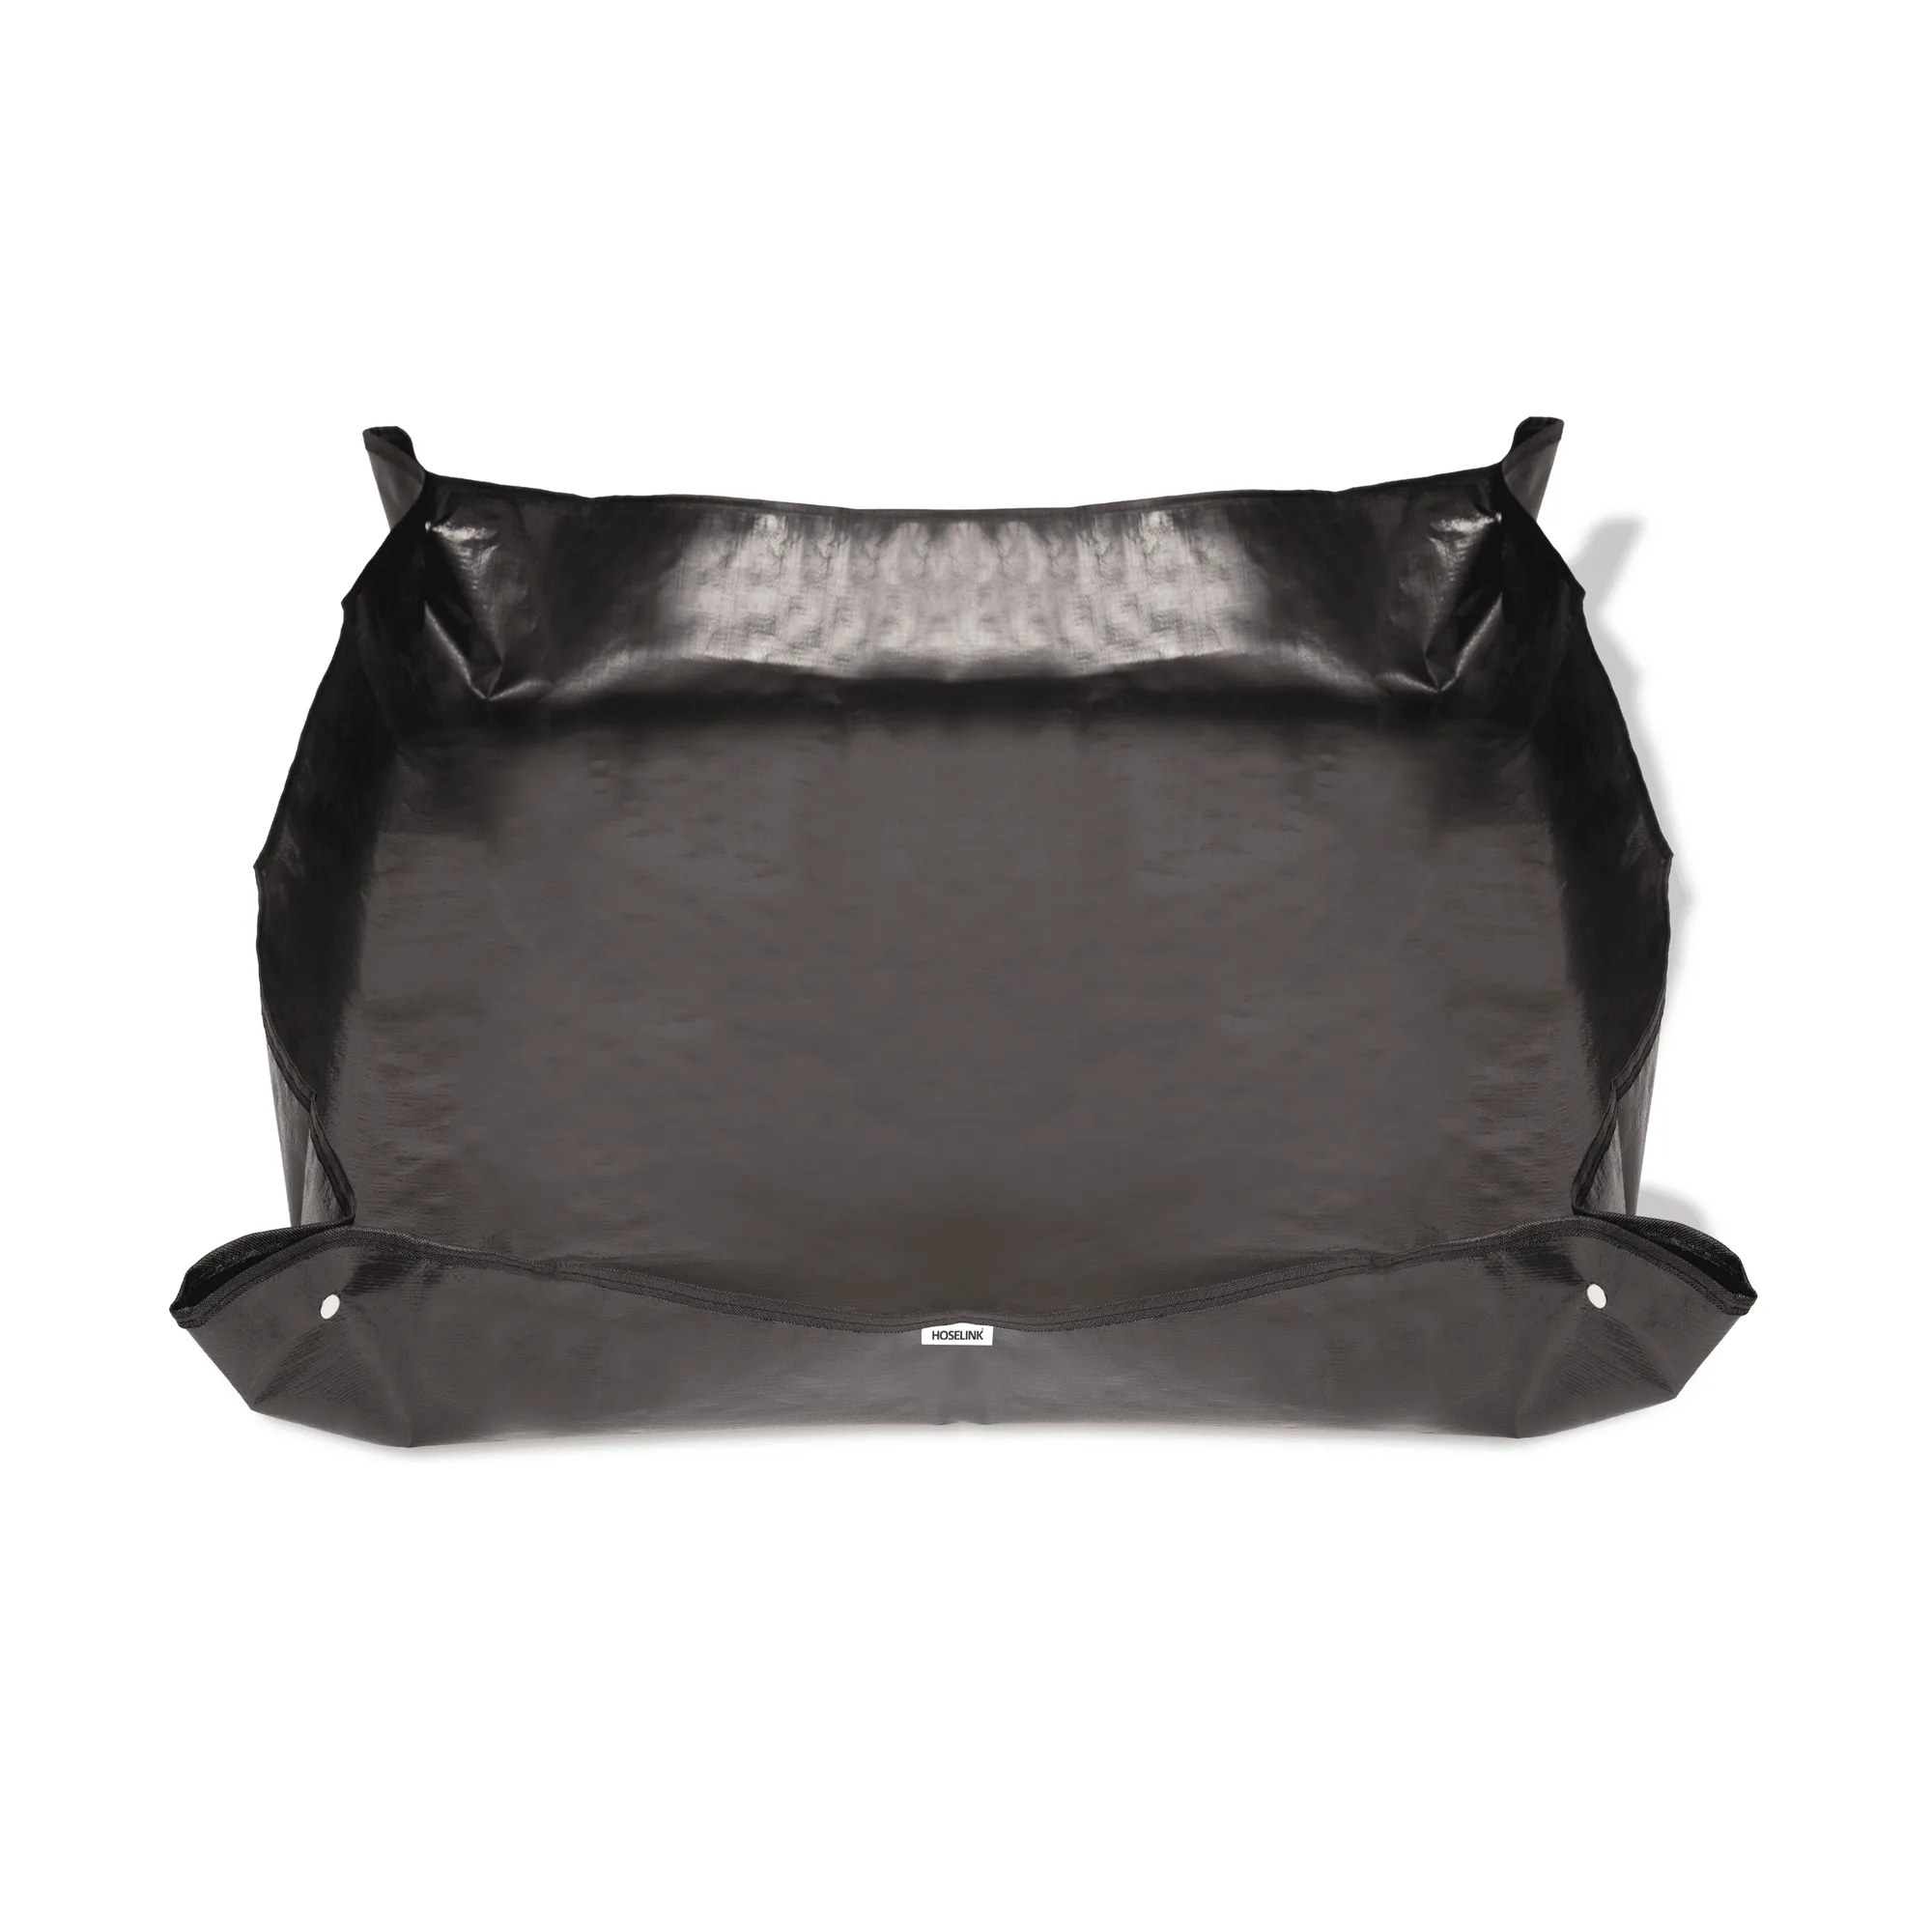
- Waterproof Potting Mat: The Waterproof Potting Mat is made from durable waterproof tarpaulin and sets up by pressing the corner clips into place, creating a clean contained work area for potting or re-potting. Laying out drip line and potting up bed plants makes a mess fast. This gives you a contained surface to work on, which is useful in confined or indoor spaces where soil would otherwise spread.