Quick answer
Use the Real Colors Markers Wheels Set (RCM102) to paint model car tires and rims in three steps: lay down Rubber Black on the tire, Dark Aluminium on the rim, and Flat Black for touch-ups. Work in thin coats and let each color dry before moving on.
Why a three-color marker set works for wheel detailing
Model car wheels combine two very different surfaces: matte rubber and metallic rims. The RCM102 set gives you a dedicated color for each, plus a flat black that handles shadows and touch-ups. Because the markers are acrylic and fast-drying, you can switch between colors without long waits.
The markers can also be combined with oils, pigments, or other paints if you want to vary the tones later. That flexibility matters when you are matching a specific tire or rim finish rather than settling for a single out-of-the-bottle look.
Where markers beat brush painting, and where they don't
Markers excel on small, defined areas like tire sidewalls, rim spokes, and lug nuts. Their fine tips let you stay inside molded lines without masking every edge. On large flat surfaces, however, markers can leave streaks, so reserve them for detail work or plan to stipple and blend.
If your kit has deep recesses or complex spoke patterns, a marker may not reach every corner. In that case, decant a little marker ink into a palette and apply it with a fine brush for the same color match.
Step-by-step wheel painting with RCM102
- Clean and prime the wheel: Wash the wheel parts with mild soap and water to remove mold release, then let them dry completely. Apply a thin primer coat if the plastic is glossy. Common mistake: skipping the wash, which causes the marker ink to bead and pull away from edges. Check that water sheets evenly on the surface before painting; if it beads, wash again.
- Lay down Rubber Black on the tire: Shake the RCM001 Rubber Black marker and apply a thin coat to the tire sidewall and tread, working in one direction. Let it dry fully before adding a second coat. Checkpoint: the tire should look uniformly matte, not glossy or patchy. If the first coat looks streaky, add a second thin coat rather than flooding the surface.
- Paint the rim with Dark Aluminium: Use RCM011 Dark Aluminium on the rim face and spokes. Keep the tip moving to avoid pooling in the spoke gaps. Common mistake: painting over the tire edge, which dulls the rubber look. If you slip, wipe immediately with a clean cloth. Paint the rim before the tire if you prefer to clean up metal overspray from rubber more easily.
- Add Flat Black for depth and touch-ups: Use RCM033 Flat Black in recessed areas, around lug nuts, and on any spots where the tire or rim color needs to be tightened. A small amount goes a long way. Checkpoint: step back and confirm the wheel reads as two distinct materials, not one flat color. Keep Flat Black for shadows only; using it broadly will flatten the metallic rim.
- Seal and assemble after full drying: Let all colors dry completely, then apply a clear coat if you want extra durability. Assemble the wheel to the axle only after the paint is fully cured. Common mistake: handling the wheel too soon, which leaves fingerprints in the soft acrylic film. Wait at least the time recommended on the marker label before assembly, and test on a hidden area first.
Product facts
-
RCM102 Real Colors Markers - Wheels RC Markers Set (Pack Of 3): The set contains three colors: RCM033 Flat Black, RCM001 Rubber Black, and RCM011 Dark Aluminium. Each color has a clear job on a wheel, so you can paint tires and rims without mixing custom shades.
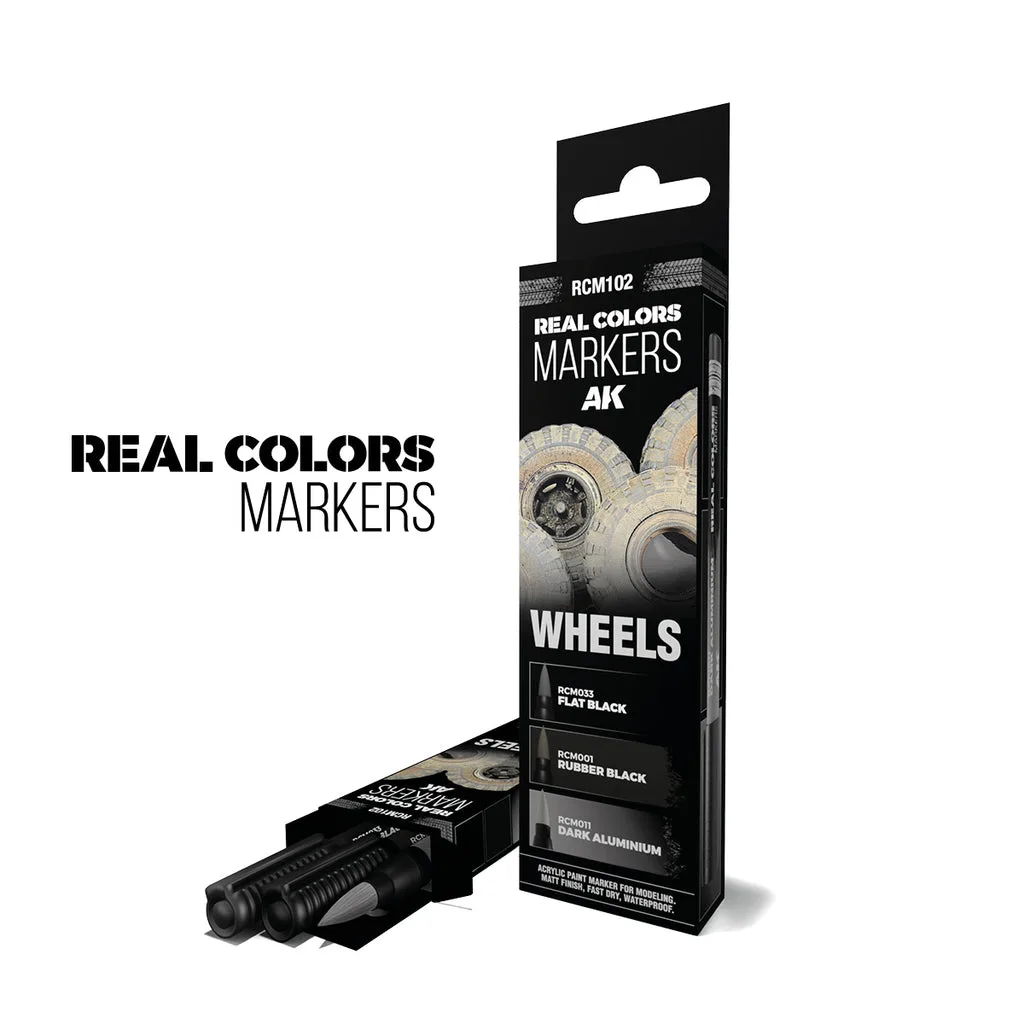
RCM102 Real Colors Markers - Wheels RC Markers Set (Pack Of 3)
-
RCM102 Real Colors Markers - Wheels RC Markers Set (Pack Of 3): The markers are acrylic, fast-drying, and waterproof. You can layer colors quickly and handle the model after drying without smudging the finish.