What This Guide Covers
Installing a rear sway bar (also called an anti-roll bar) on a 2016+ Honda Civic or 2017+ Civic Type R FK8 improves cornering stability and reduces body roll. The job is straightforward with basic tools, but the end links—the links that connect the bar to the suspension—are often overlooked. This guide explains the installation process and highlights why adjustable end links matter for getting the most out of your sway bar.
Compatibility at a Glance
-
Whiteline 2016+ Honda Civic / Type-R FK8 Rear Sway Bar End Link: Fits all 2017-2021 Honda Civic Type-R FK8, all 2016-2021 Honda Civic, all 2022+ Honda Civic, all 2018-2023 Honda Accord, and all variant models including CVT, 6MT, RHD, International Models, etc. One end link covers a wide range of Civic and Accord generations, making it a versatile choice for owners planning future upgrades or working on multiple vehicles.
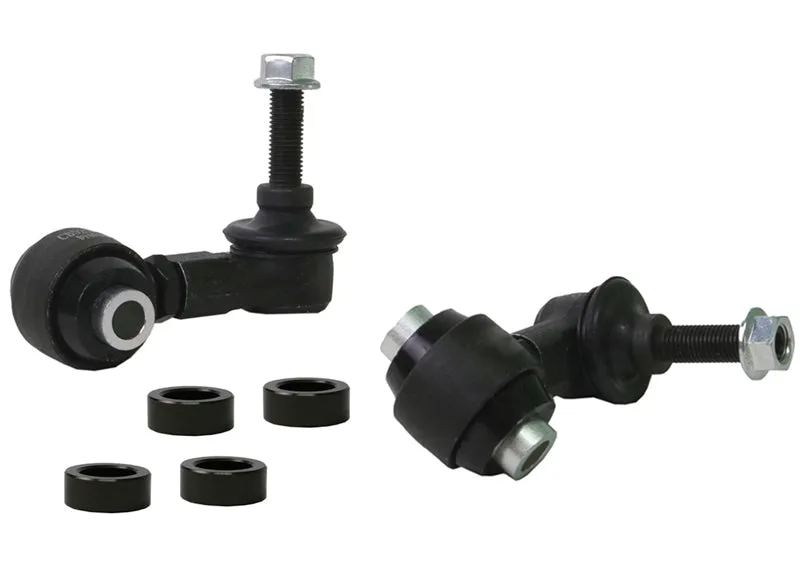
Whiteline 2016+ Honda Civic / Type-R FK8 Rear Sway Bar End Link
Installation Steps
The following steps assume you have a replacement rear sway bar (or are upgrading the existing one) and new end links. Always work on a level surface and use jack stands.
- 1. Prepare the Vehicle: Park on a flat surface and chock the front wheels. Jack up the rear of the car and support it securely on jack stands. Remove the rear wheels for easier access.
- 2. Remove the Old Sway Bar and End Links: Locate the rear sway bar and its end links. Unbolt the end links from the chassis and the sway bar. Remove the sway bar itself. On some models, you may need to unbolt the bar brackets first. Keep the hardware—reuse it if it's in good condition.
- 3. Install the New Sway Bar: Position the new sway bar in place. Reinstall the bar brackets and tighten them to the manufacturer's torque specification. Do not fully tighten the end link nuts yet.
- 4. Adjust and Install the End Links: Whiteline adjustable sway bar links are engineered to eliminate sway bar preload on installation. Thread the end links onto the sway bar and the chassis mounts. Adjust the link length so the bar sits level (no preload) with the suspension at its normal ride height. Tighten the nuts once the adjustment is correct.
- 5. Final Check and Torque: Recheck all fasteners. Torque the sway bar bracket bolts and end link nuts to the specified values. Reinstall the wheels, lower the car, and take it for a test drive. Listen for any unusual noises that might indicate a loose connection.
Why End Link Adjustability Matters
Not many enthusiasts are aware that OE and more importantly aftermarket sway bar effectiveness can be hindered by worn or inadequate mounts, drop links and lateral stoppers. Whiteline adjustable sway bar links are engineered to be up to the task with top spec, light weight componentry combined with a window of adjustability, eliminating sway bar preload on installation but most importantly ensuring the maximum output of the sway bar for improved grip and better handling.
What the Catalog Does Not Confirm
The supplied product information does not include specific torque values, detailed step-by-step installation instructions, or recommended tools. Always consult the manufacturer's documentation that comes with your sway bar and end links for exact specifications. If you are unsure about any step, consider having the work done by a professional mechanic.