Quick answer
A rechargeable magnifier is a versatile tool for hobbyists who need clear, hands-free close-up views of small details in crafting, stamp collecting, coin examination, electronics repair, and model building.
Why a rechargeable magnifier works for hobbyists
Unlike a fixed magnifying lamp, a rechargeable magnifier lets you move the light and lens exactly where you need them without being tethered to a power outlet. The built-in LED light is especially helpful when working in dim conditions or on dark materials.
The trade-off is battery life. While the Australian Geographic Rechargeable Magnifier offers cordless convenience, you will need to recharge it after extended sessions. For most hobby projects, a full charge covers several hours of use.
Common close-up work scenarios
Hobbyists often need to inspect tiny details that are hard to see with the naked eye. A magnifier with a built-in light reduces eye strain and shadows, making it easier to spot flaws or align small parts.
Examples include checking solder joints on circuit boards, reading the fine print on vintage stamps, or examining the edge of a coin for wear. The magnifier's portability means you can take it to a flea market or workshop without hassle.
How to use your rechargeable magnifier for hobby projects
- Choose the right lighting: Turn on the built-in LED light before you start. Position the magnifier so the light falls directly on the object, not at an angle. This prevents glare and reveals true colors and textures. Common mistake: pointing the light away from the object, which creates shadows. Always aim the light straight at the detail you are examining.
- Hold steady or use a stand: For precise work like soldering or model painting, rest your hand or the magnifier on a stable surface. If your magnifier has a stand or clip, use it to keep the lens steady and both hands free. Checkpoint: A shaky hand can blur the view. If you cannot hold still, find a way to brace the magnifier or your wrist against a table.
- Start at the lowest magnification: Begin with the least amount of zoom to get your bearings. Slowly increase magnification until the detail is clear but not so close that you lose the overall shape or orientation of the object. Common mistake: jumping to high magnification immediately, which makes it hard to locate the area of interest. Zoom in gradually.
- Move the object, not the magnifier: Keep the magnifier in a fixed position and slide the item under the lens. This gives you a steady, controlled view and reduces the chance of dropping or scratching delicate pieces. Checkpoint: If the magnifier has a short focal distance, moving the object instead of the lens helps you stay in focus without constant readjustment.
- Clean the lens after each session: Use a soft, lint-free cloth to wipe the lens. Dust and fingerprints reduce clarity and can scratch the coating over time. Store the magnifier in a dry place away from direct sunlight. Common mistake: using a rough cloth or paper towel, which can scratch the lens. Stick to a microfiber cloth designed for optics.
Product spotlight
-
Australian Geographic Rechargeable Magnifier: The Australian Geographic Rechargeable Magnifier offers sharp, high-quality magnification and a built-in LED light for clear results. The LED light eliminates shadows on your work surface, so you can see fine details without straining your eyes or repositioning a separate lamp.
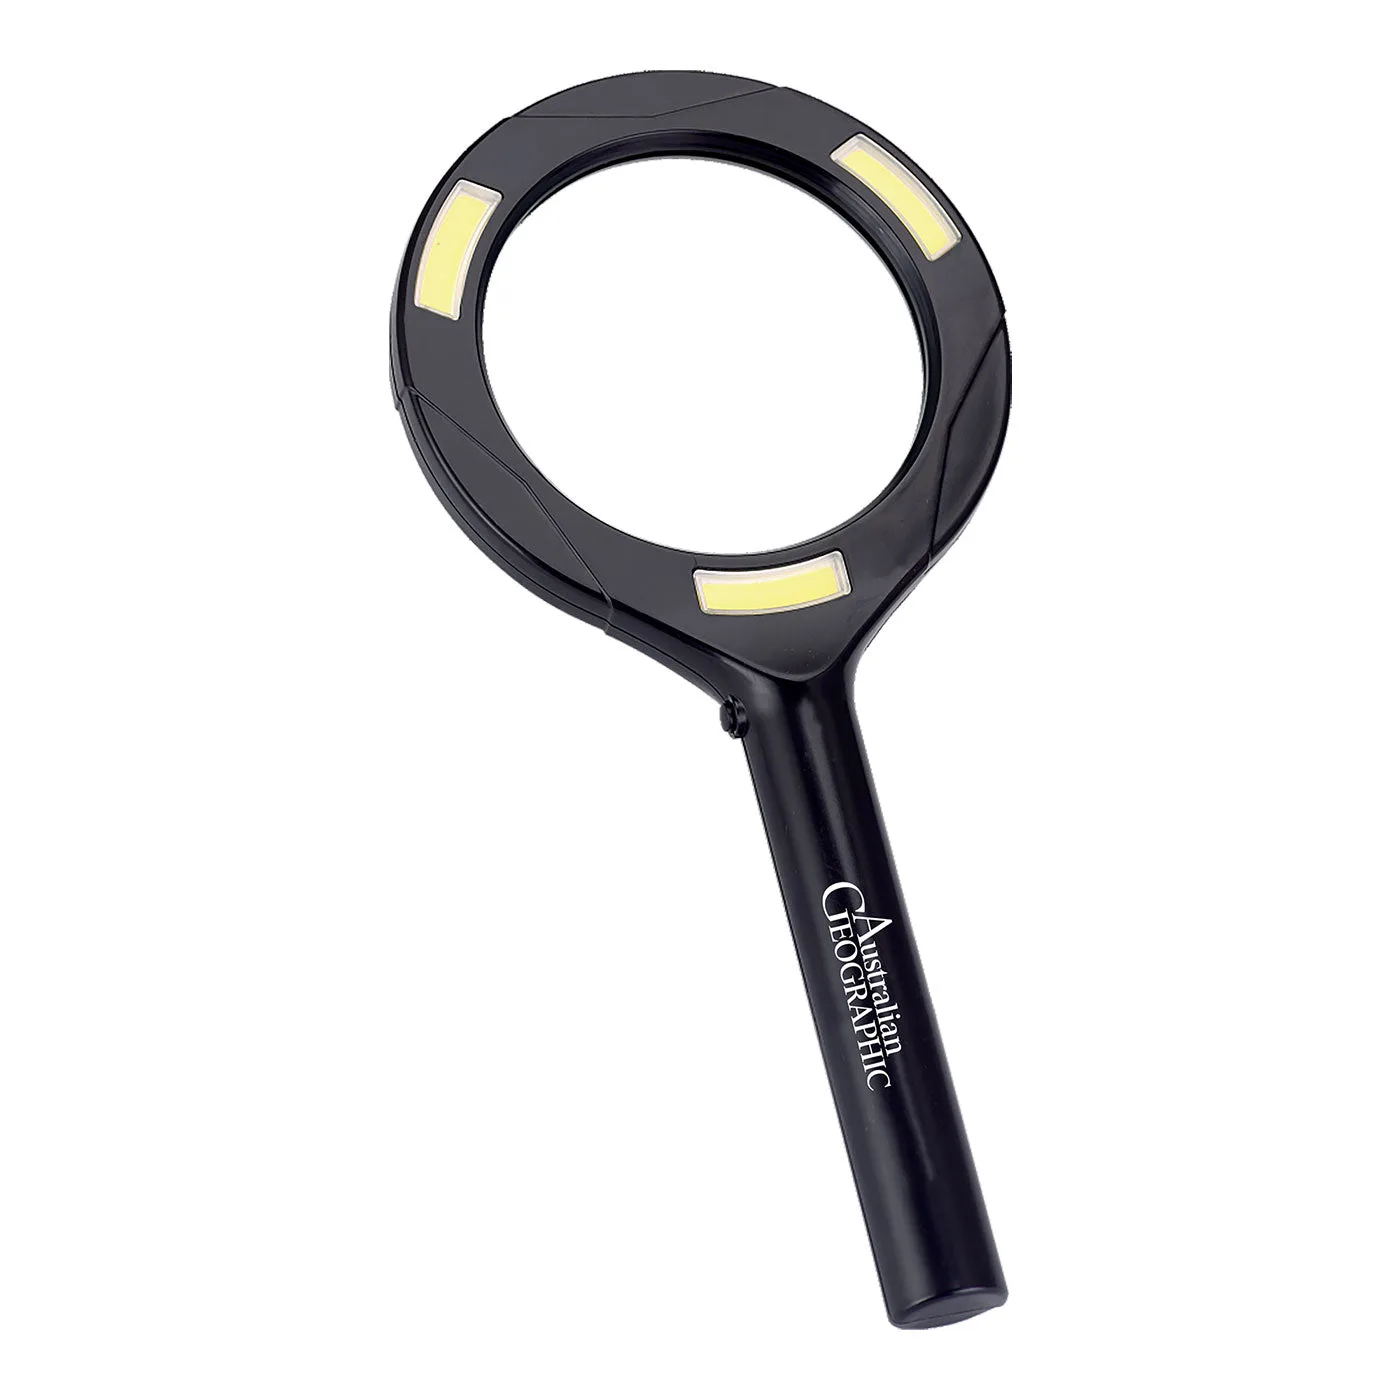
Australian Geographic Rechargeable Magnifier