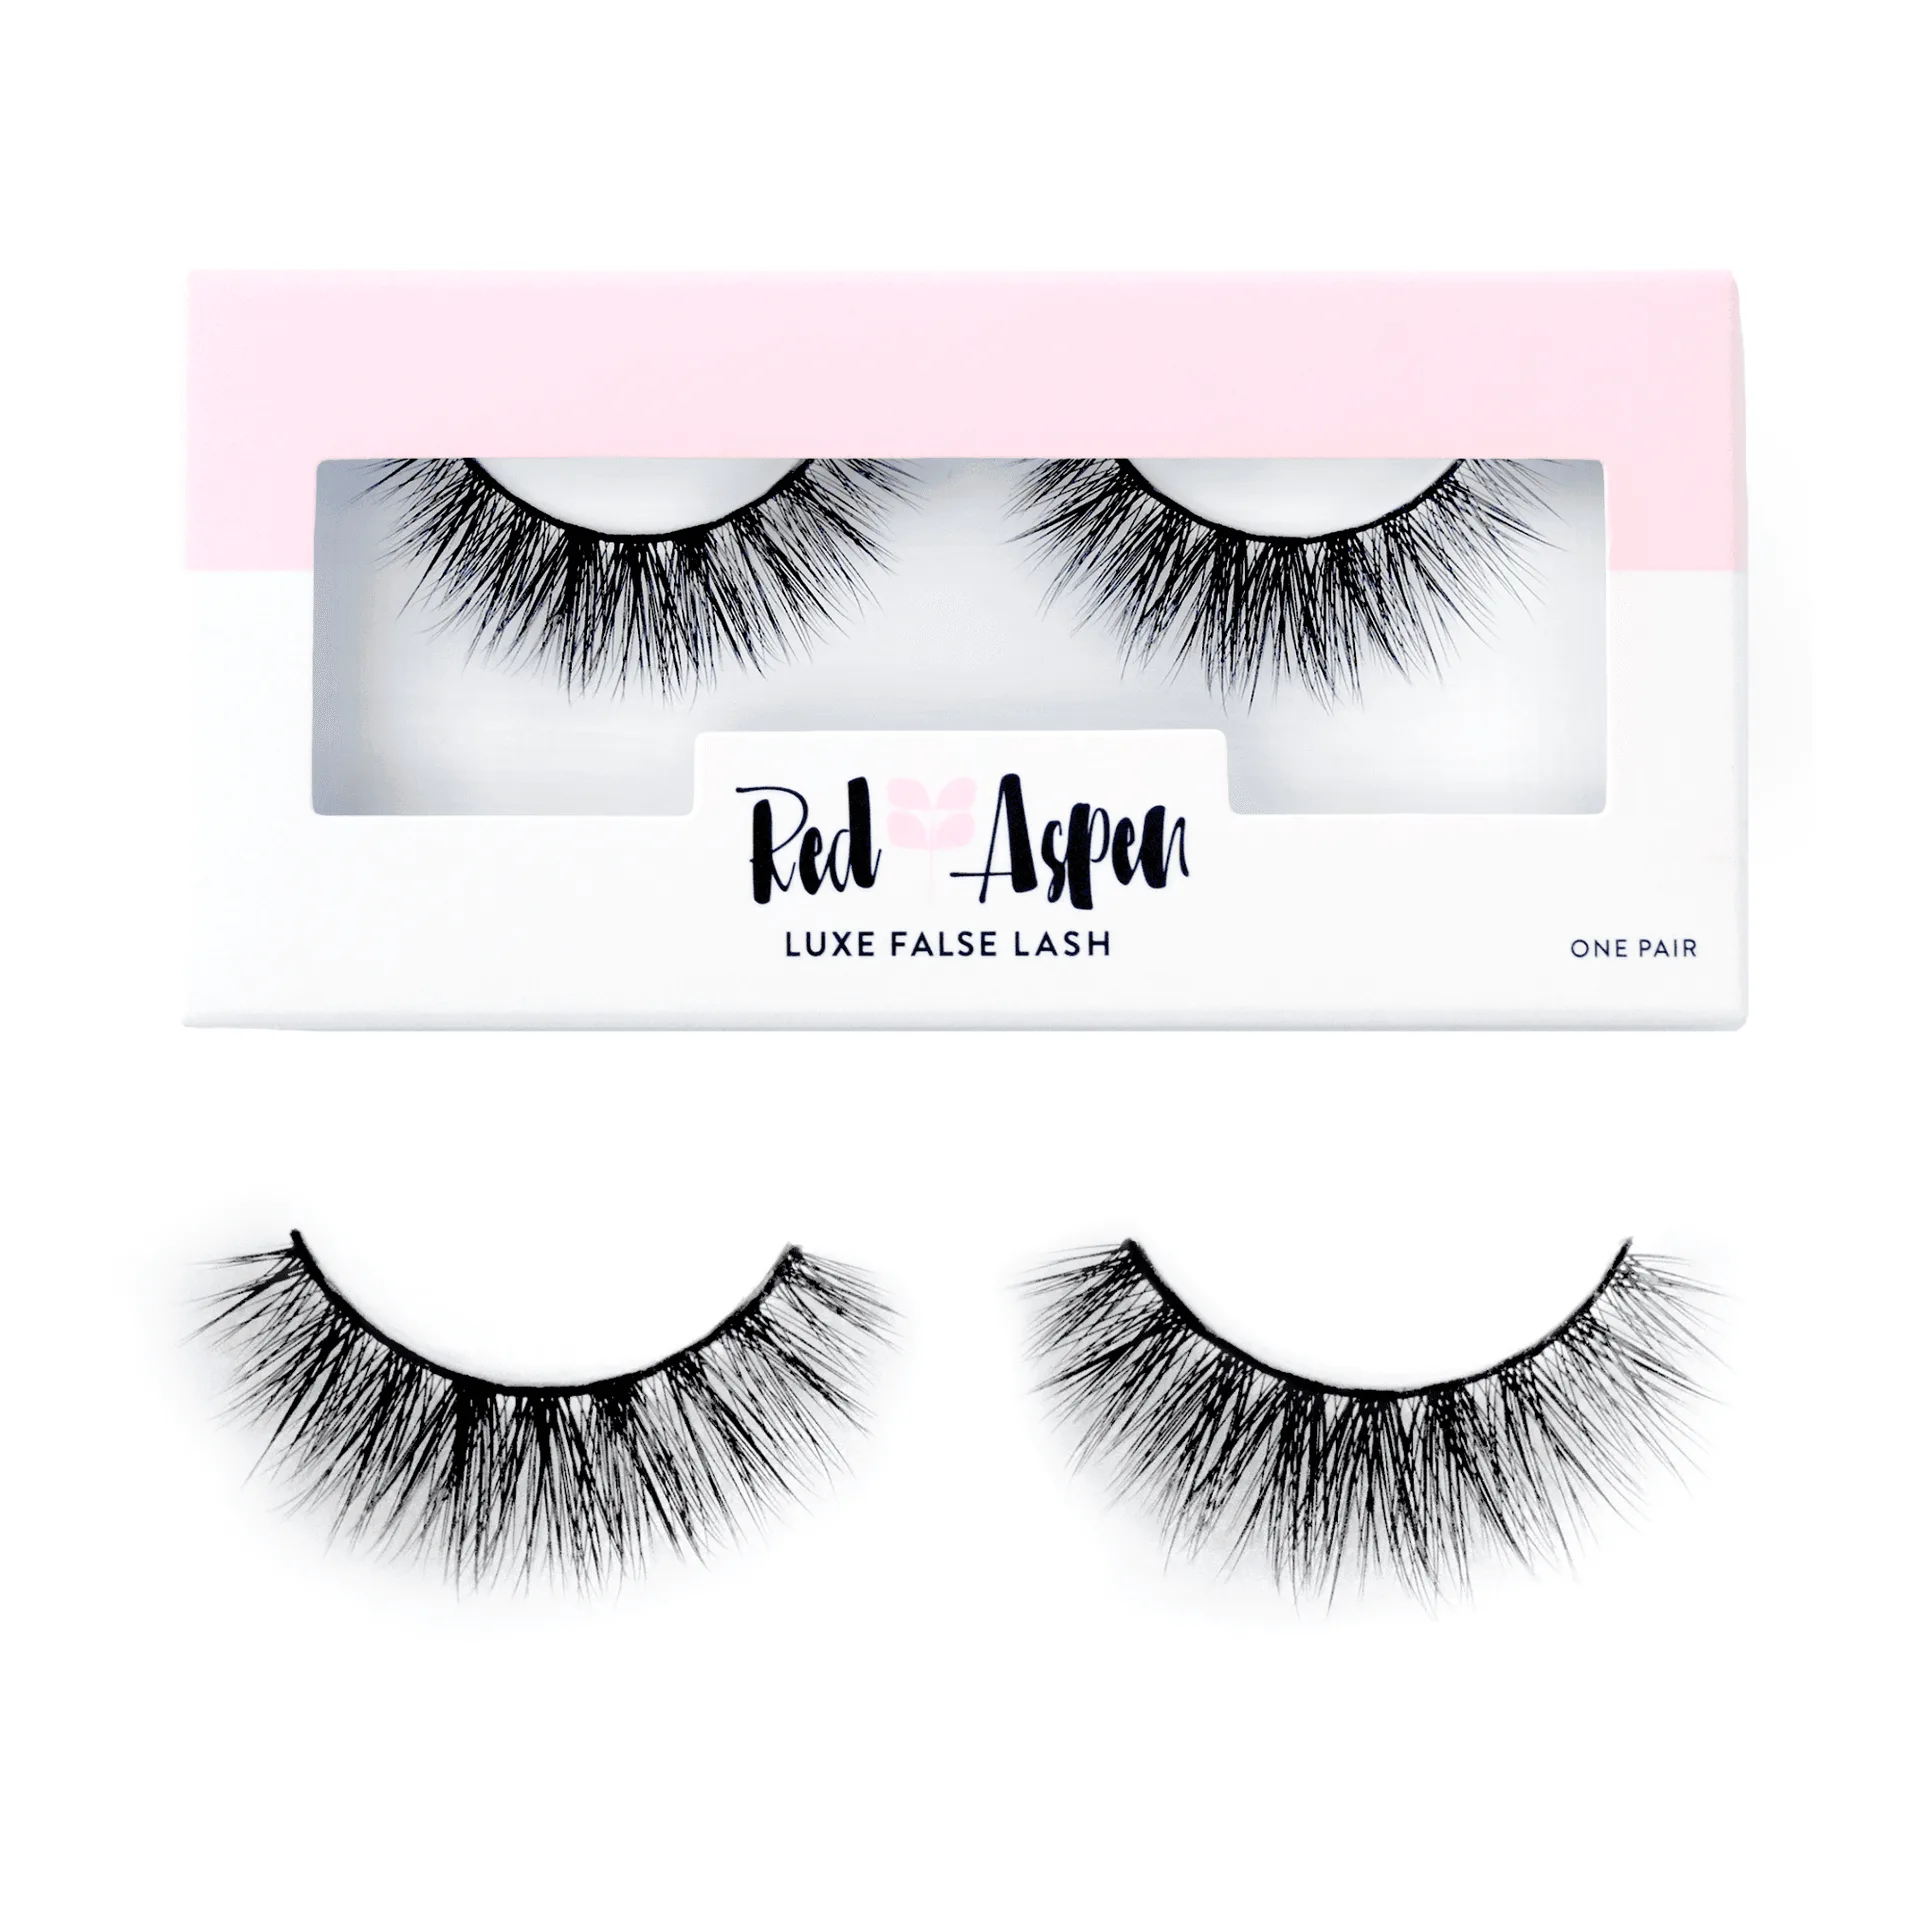
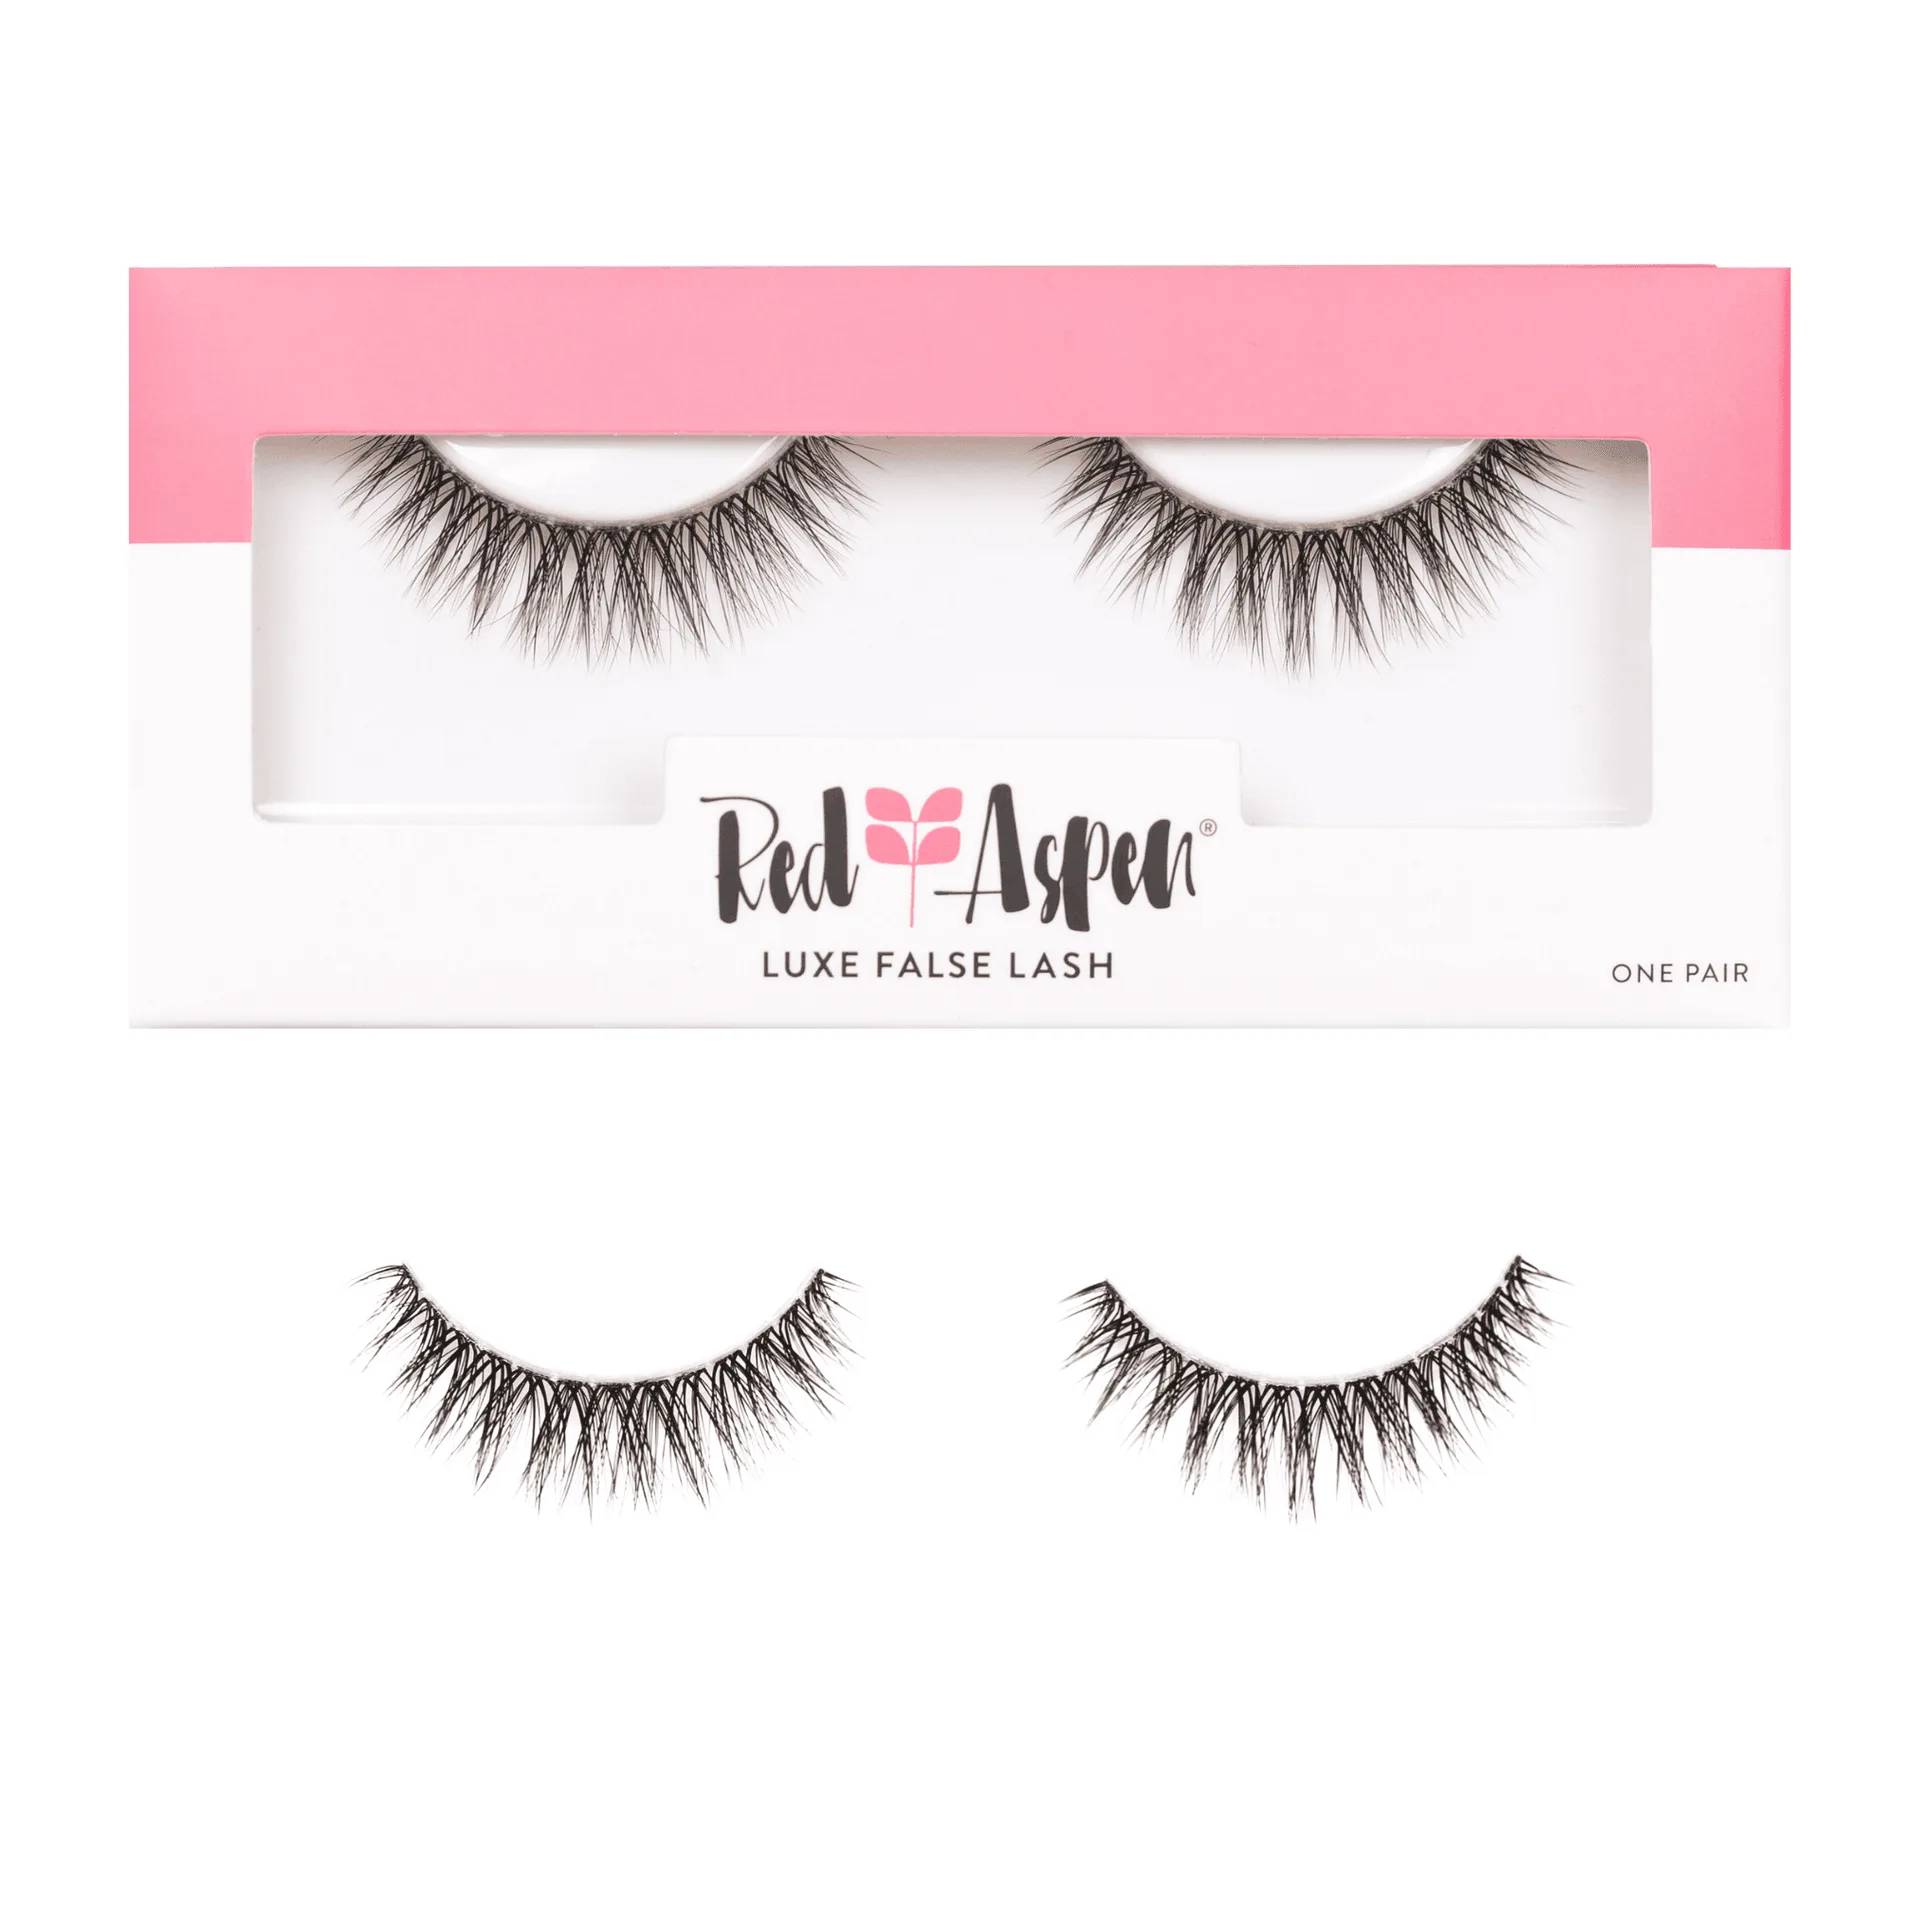
Quick Answer
Most Red Aspen lash glue issues stem from applying too much adhesive, not waiting for it to become tacky, or storing the glue incorrectly. To avoid these problems, use a thin, even layer, wait 30-60 seconds before applying, and keep the tube tightly sealed in a cool, dry place. If you experience persistent issues, check the expiration date and consider switching to a fresh tube.
Applying false lashes can transform your look, but a common frustration is lash glue that doesn't cooperate. Whether you're a beginner or a pro, Red Aspen lash glue mistakes can lead to lashes that slip, lift, or look uneven. The good news? Most of these issues are easy to fix once you know what to look for.
In this guide, we'll walk through the most frequent lash glue problems and provide actionable solutions. From applying too much to not waiting long enough, we've got you covered. Plus, we'll share tips on how to properly store your adhesive to extend its life and ensure a secure hold every time.
Mistake #1: Applying Too Much Glue
One of the most common Red Aspen lash glue mistakes is using too much adhesive. When you overload the lash band, the glue takes longer to dry and can become clumpy, making it difficult to position the lash correctly. It can also cause the lash to slide or lift throughout the day.
The solution is to apply a thin, even layer of glue along the lash band. You only need a small amount—about the width of a toothpick. If you find you're using too much, try wiping the applicator on the edge of the tube to remove excess before applying. This simple change can make a world of difference in your application.
- Use a thin, even layer of glue along the lash band.
- Wipe off excess glue from the applicator before applying.
- Wait 30-60 seconds for the glue to become tacky before placing the lash.
Mistake #2: Not Waiting for the Glue to Get Tacky
Another frequent issue is applying lashes before the glue has had time to become tacky. When you apply the lash immediately after applying glue, it won't adhere properly and can slide around. This often leads to frustration and reapplication attempts, which only make things worse.
The key is patience. After applying the glue, wait 30-60 seconds until it feels sticky to the touch. This tacky stage ensures the lash will grip your eyelid securely. If you're in a hurry, you might be tempted to skip this step, but taking a few extra seconds will save you time in the long run.
- Allow the glue to dry for 30-60 seconds until tacky.
- Test the tackiness by touching the glue with the back of your hand.
- If the glue is still wet, it won't adhere properly.
Mistake #3: Storing Your Lash Glue Incorrectly
Proper storage is crucial for maintaining the effectiveness of your Red Aspen lash glue. Exposing the glue to heat, humidity, or air can cause it to dry out or become clumpy, making it difficult to apply. Many people don't realize that where you store your glue can significantly impact its performance.
To extend the life of your lash adhesive, always keep the tube tightly sealed when not in use. Store it in a cool, dry place away from direct sunlight and moisture. Avoid leaving it in your bathroom, where humidity from showers can affect the glue's consistency. If you notice your glue has become thick or stringy, it may be time to replace it.
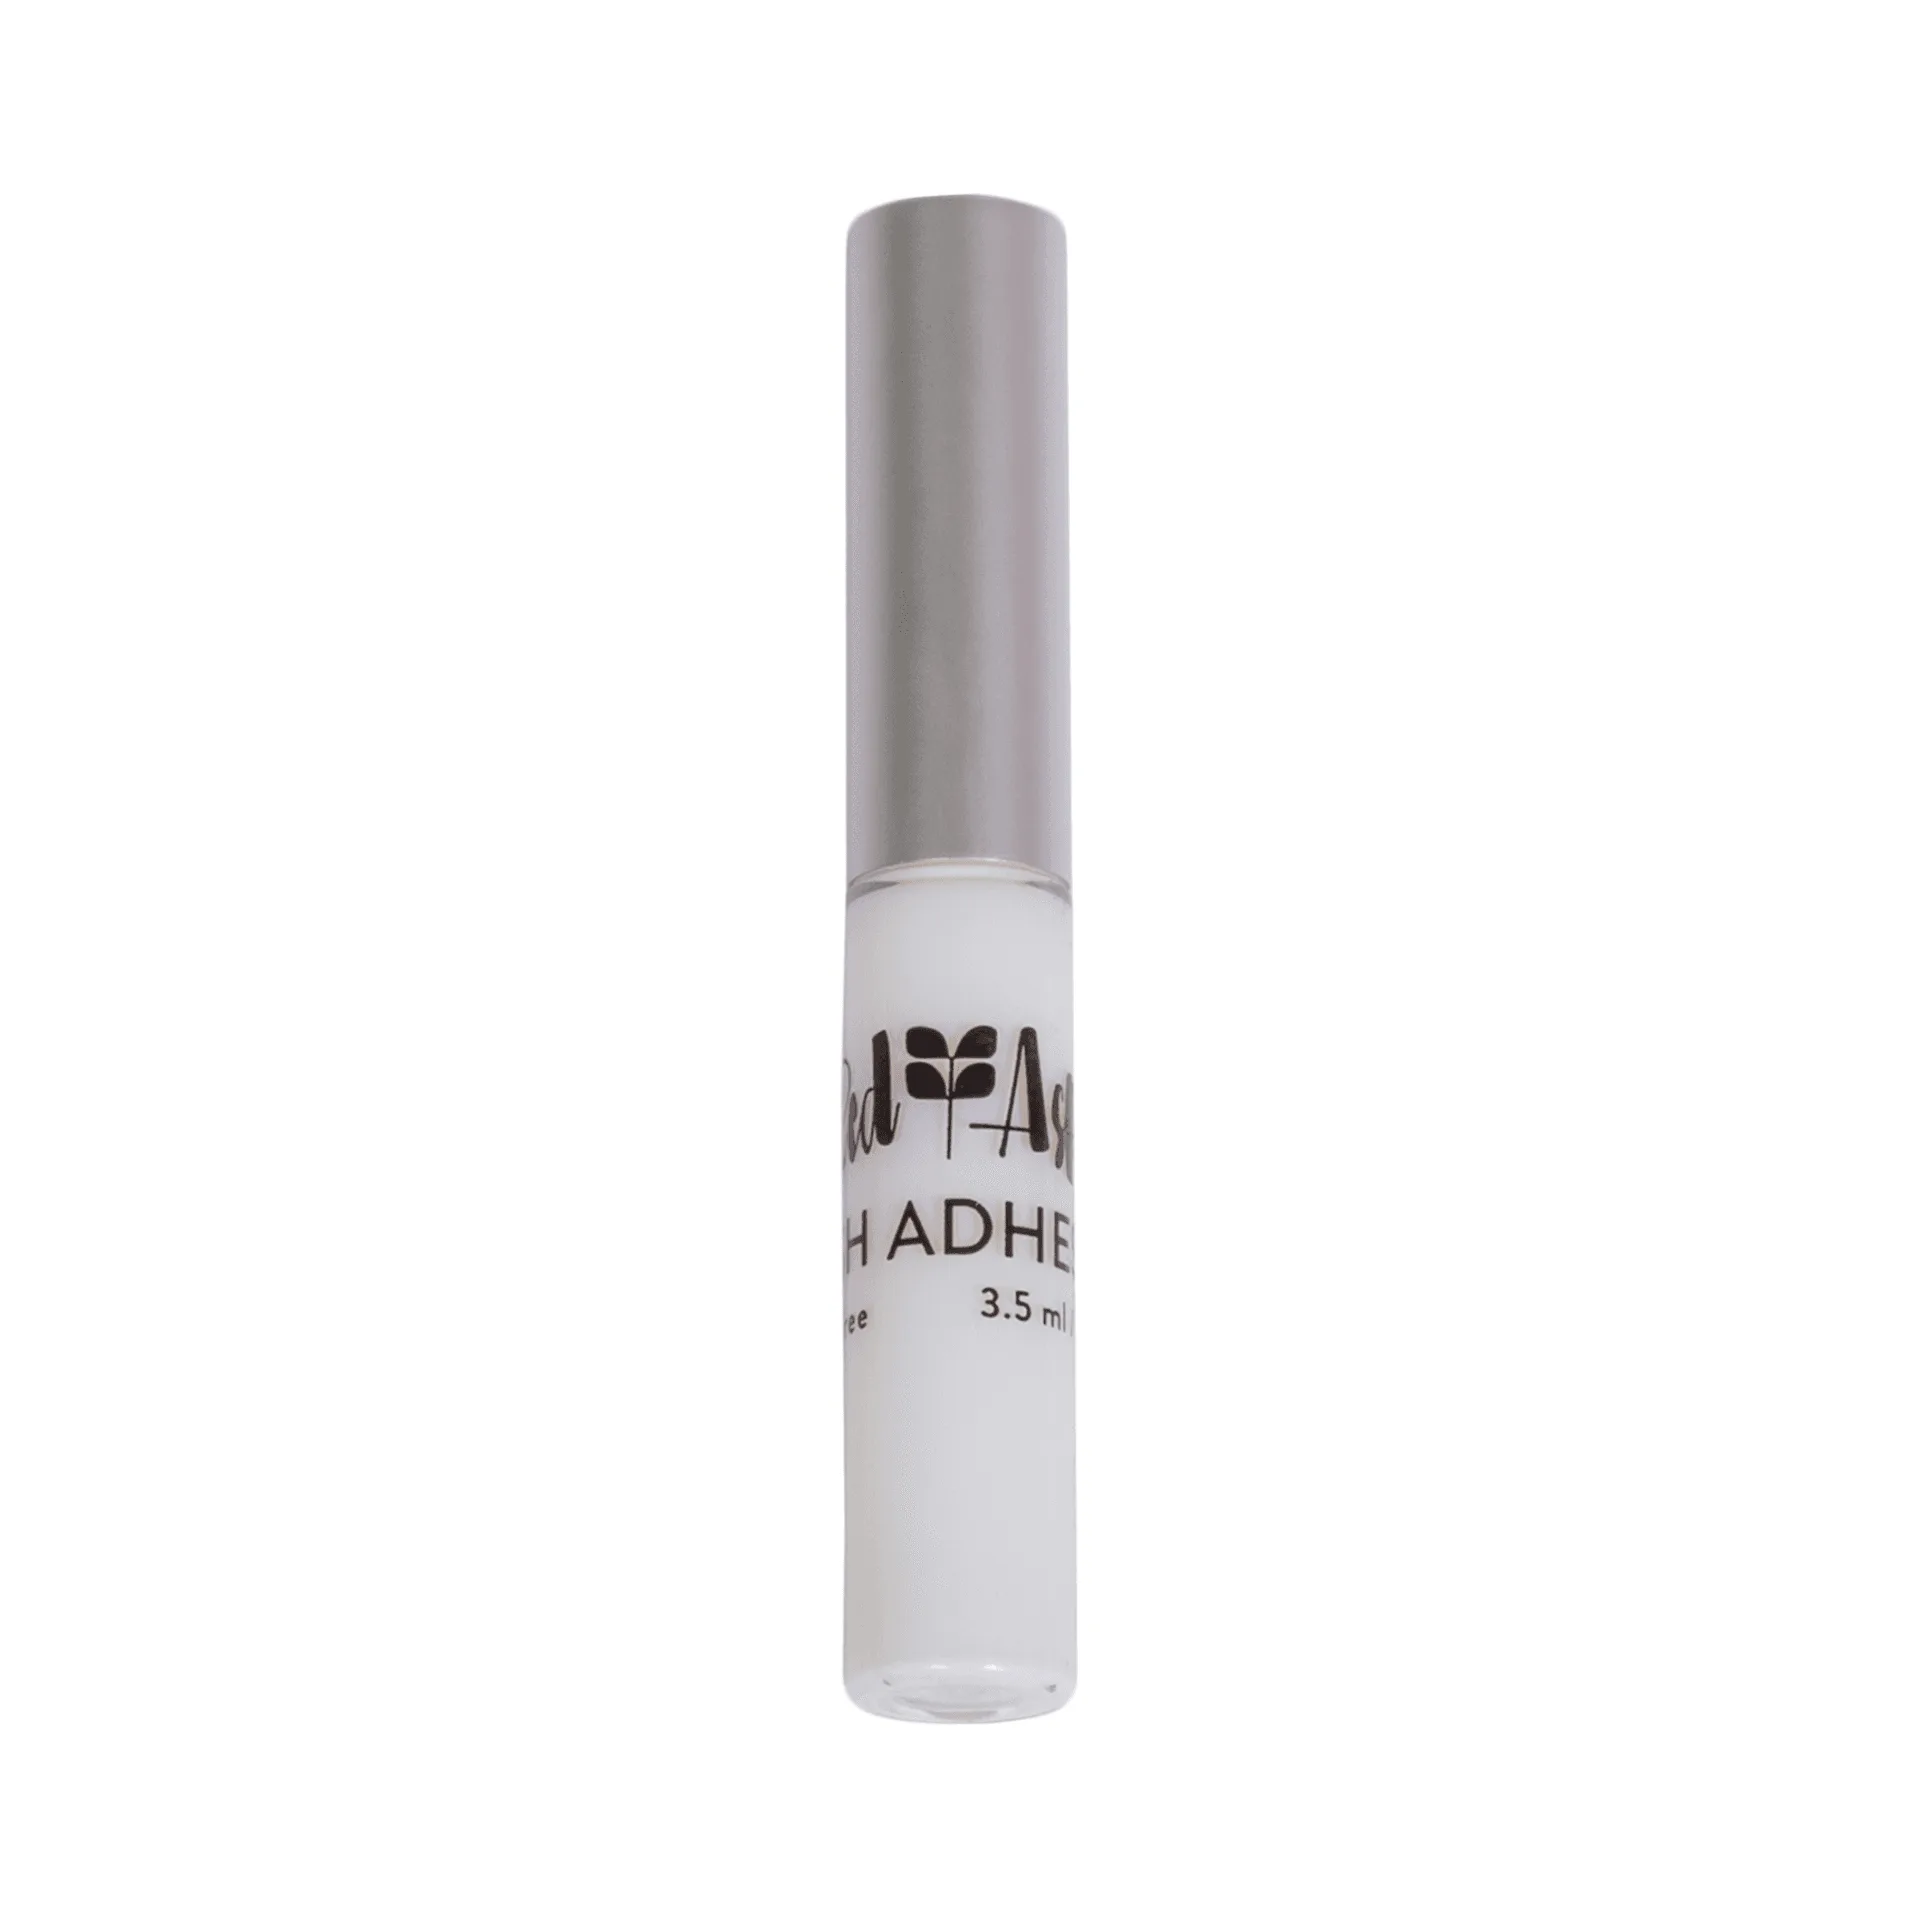
lash adhesive
- Keep the tube tightly sealed after each use.
- Store in a cool, dry place, away from sunlight and humidity.
- Replace the glue every 3-6 months for optimal performance.
Mistake #4: Using Expired or Old Glue
Using expired lash glue is a common mistake that can lead to poor adhesion and even eye irritation. Over time, the adhesive's chemical composition breaks down, making it less effective. Many people don't check the expiration date and continue using glue that's past its prime.
Always check the expiration date on your Red Aspen lash glue before use. If you can't remember when you bought it, it's safer to replace it. Old glue may also become thick and difficult to apply, which is a clear sign it's time for a new tube. Investing in fresh glue ensures a secure hold and reduces the risk of irritation.
- Check the expiration date before each use.
- If the glue is thick or stringy, replace it.
- Write the purchase date on the tube to track freshness.
Mistake #5: Applying Glue to the Wrong Area
Applying lash glue to the wrong part of the lash can cause it to not adhere properly. Some people apply glue to the tips of the lashes instead of the band, which results in the lash lifting or falling off. Others apply glue to their eyelids, which can cause irritation and difficulty in positioning the lash.
The correct method is to apply a thin line of glue along the entire lash band, from inner to outer corner. Make sure to cover the edges, as they are prone to lifting. Avoid getting glue on the lashes themselves, as this can cause them to clump together. With practice, you'll find the perfect placement for a secure hold.
- Apply glue along the entire lash band, not the tips.
- Ensure the edges are well-coated to prevent lifting.
- Avoid applying glue to your eyelids.
Mistake #6: Not Allowing the Glue to Dry Completely
Even after the glue becomes tacky, it needs time to dry completely once the lashes are applied. Some people immediately open their eyes or touch the lashes, causing them to shift. This can lead to misalignment and a less natural look.
After placing the lash, press it gently along the band for a few seconds to ensure a secure bond. Then, give the glue a few minutes to dry fully before opening your eyes wide or applying mascara. This patience will pay off with lashes that stay in place all day.
- Press the lash gently along the band after placement.
- Wait a few minutes before opening your eyes fully.
- Avoid touching or adjusting the lash until the glue is dry.
Mistake #7: Ignoring Skin Sensitivity
Some people have skin that is sensitive to lash glue, leading to redness, itching, or irritation. This can be due to an allergic reaction or simply a sensitive eye area. Ignoring these signs can lead to discomfort and even damage to your natural lashes.
If you experience any irritation, remove the lashes immediately and consult with a dermatologist. You may need to switch to a hypoallergenic glue or use a different application method. Always perform a patch test before trying a new adhesive, especially if you have sensitive skin.
- Perform a patch test before using a new lash glue.
- If irritation occurs, remove lashes immediately.
- Consider hypoallergenic alternatives if you have sensitive skin.
Diagnosing Your Lash Glue Issues
- Symptom: Lash slips or slides after application: This often indicates that you applied too much glue or didn't wait for it to become tacky. Try a thinner layer and wait 30-60 seconds before applying.
- Symptom: Lash lifts at the inner or outer corner: This suggests that you didn't apply enough glue to the edges or the glue has dried out. Ensure the entire band is coated, especially the edges, and consider using a fresh tube.
- Symptom: Glue appears clumpy or stringy in the tube: This is a sign of old or improperly stored glue. Replace the glue and store it in a cool, dry place, tightly sealed.
- Symptom: Redness or irritation after application: This could indicate an allergic reaction or sensitivity to the adhesive. Remove the lashes immediately and consult a professional. Consider a hypoallergenic option.
Red Aspen Products to Enhance Your Lash Experience
- Peel-Off Lip Stain: A long-lasting, peel-off lip stain that hydrates, defines, and delivers all-day color. While not directly related to lashes, this product pairs well with a bold lash look, ensuring your entire face stays flawless from morning to night.
- Mini Cuticle Oil: Nourish and moisturize your cuticles with Red Aspen Mini Cuticle Oil. This vegan, cruelty-free essential helps keep nails healthy and can also be used to help remove Nail Dashes. Healthy cuticles frame your eyes beautifully, and this oil is perfect for on-the-go care, keeping your hands looking neat as you apply your lashes.
By avoiding these common Red Aspen lash glue mistakes, you'll achieve a flawless, long-lasting lash application every time. Remember to use the right amount, wait for the tacky stage, and store your glue properly. If you're looking to enhance your beauty routine further, explore our Peel-Off Lip Stain for a pop of color that lasts all day.