Quick Answer
Assembling a Pilates reformer requires careful alignment of the frame, correct spring attachment, and proper adjustment of components like the headrest and foot bar. Follow the manufacturer's instructions step by step, use the right tools, and test all moving parts before your first session. This FAQ covers the most common setup questions to help you avoid mistakes.
headrest
Setting up a new reformer can feel overwhelming, especially if it's your first time. Between unpacking the frame, attaching springs, and adjusting the headrest, it's easy to miss a step. This article answers the questions most people ask during assembly and setup—so you can get your reformer ready with confidence.
Whether you're setting up a commercial studio or a home gym, understanding the basics of reformer assembly will save time and prevent issues like loose parts or uneven tension later. Let's go through the most common questions.
What tools do I need to assemble my reformer?
Most reformers come with the necessary hex keys or Allen wrenches. You’ll also need a Phillips head screwdriver and possibly a small adjustable wrench for nuts. Some models require a rubber mallet for gently tapping parts into place. Check your specific instruction manual—some brands include a tool kit. If not, a basic home toolkit is usually sufficient.
- Keep a level nearby to ensure the frame sits flat.
How do I align the frame correctly?
Start by placing the main frame on a flat, level surface. Many reformers have adjustable feet that can be turned to compensate for minor floor unevenness. Use a spirit level to check both the length and width of the frame. Misalignment can cause rocking or uneven spring tension. Once the frame is level, tighten all bolts snugly—but don’t overtighten as this can strip threads.
- If your reformer has a wooden frame, avoid over-tightening bolts to prevent cracking.
How do I attach the springs?
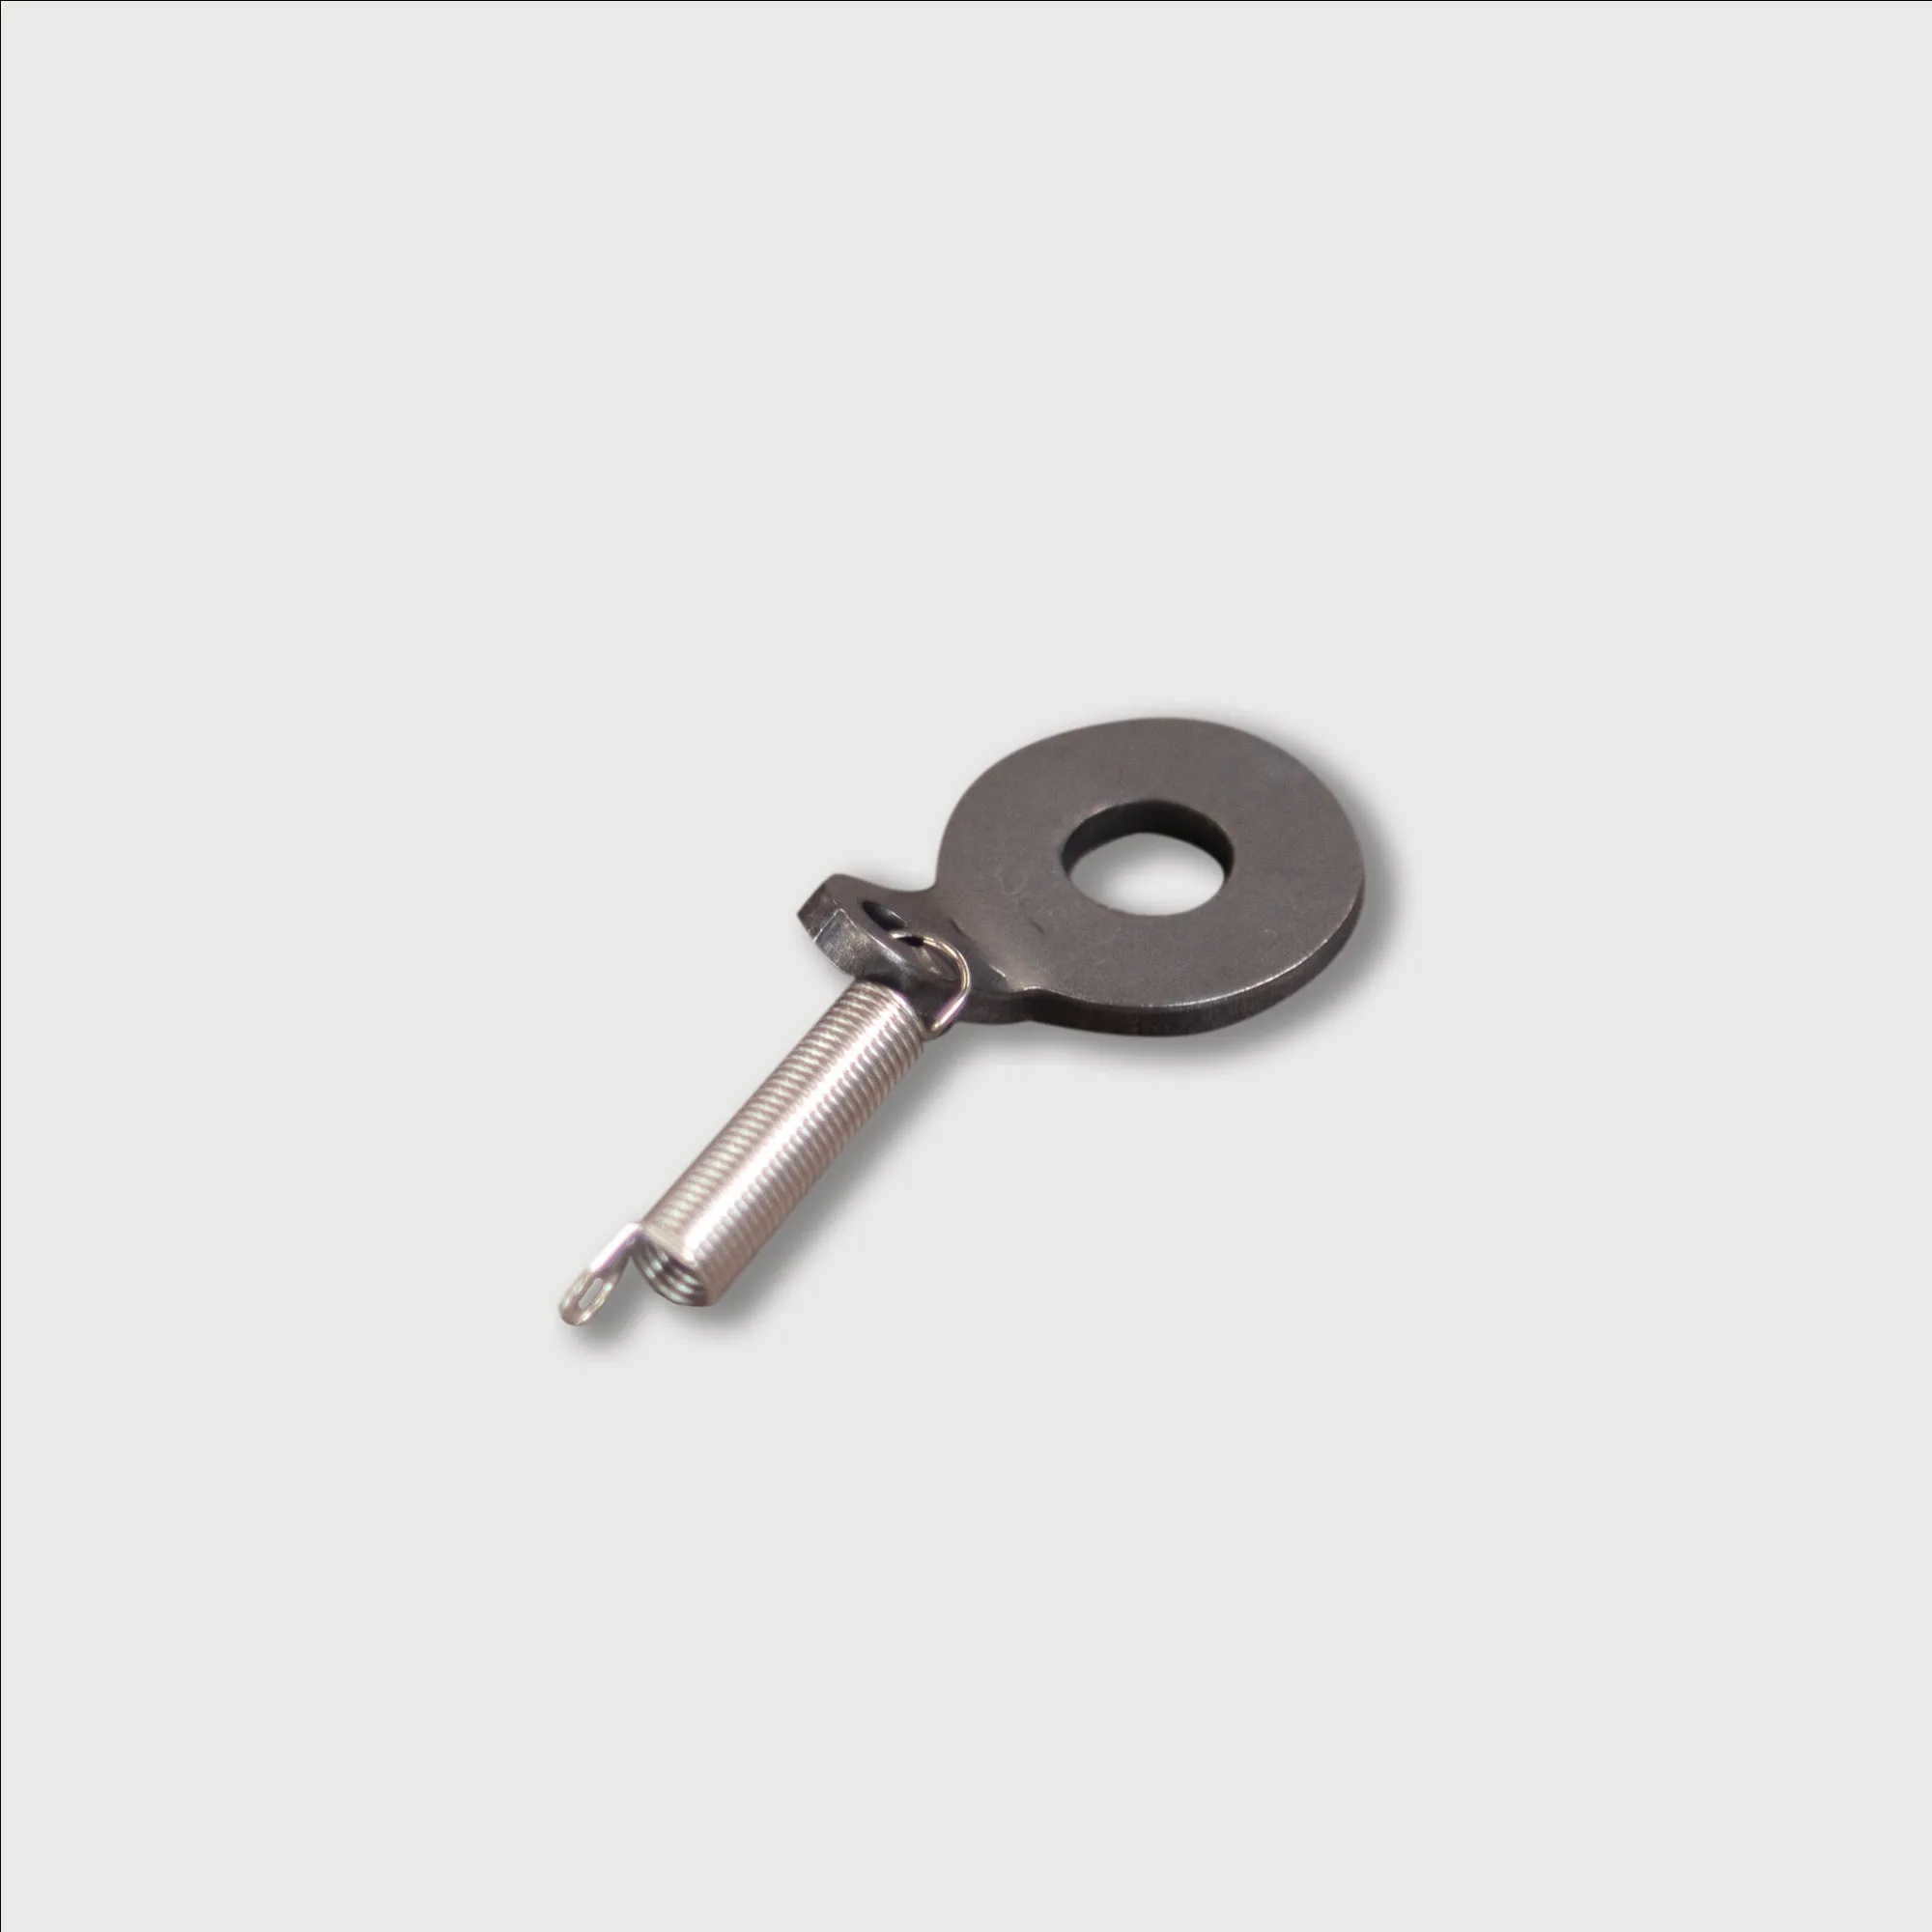
Springs usually hook onto the foot bar, carriage, and frame using eye loops or pegs. Attach springs one at a time, starting from the outer ends. Ensure each spring is fully seated on its peg and not twisted. The tension should be even across all springs. If you're replacing a spring, the Foot Bar Spring from Your Reformer USA is a direct replacement that maintains consistent tension. Overstretching springs can cause premature wear, so avoid forcing them into place.
Foot Bar Spring
- Different spring colors often indicate different resistance levels—check your manual for color codes.
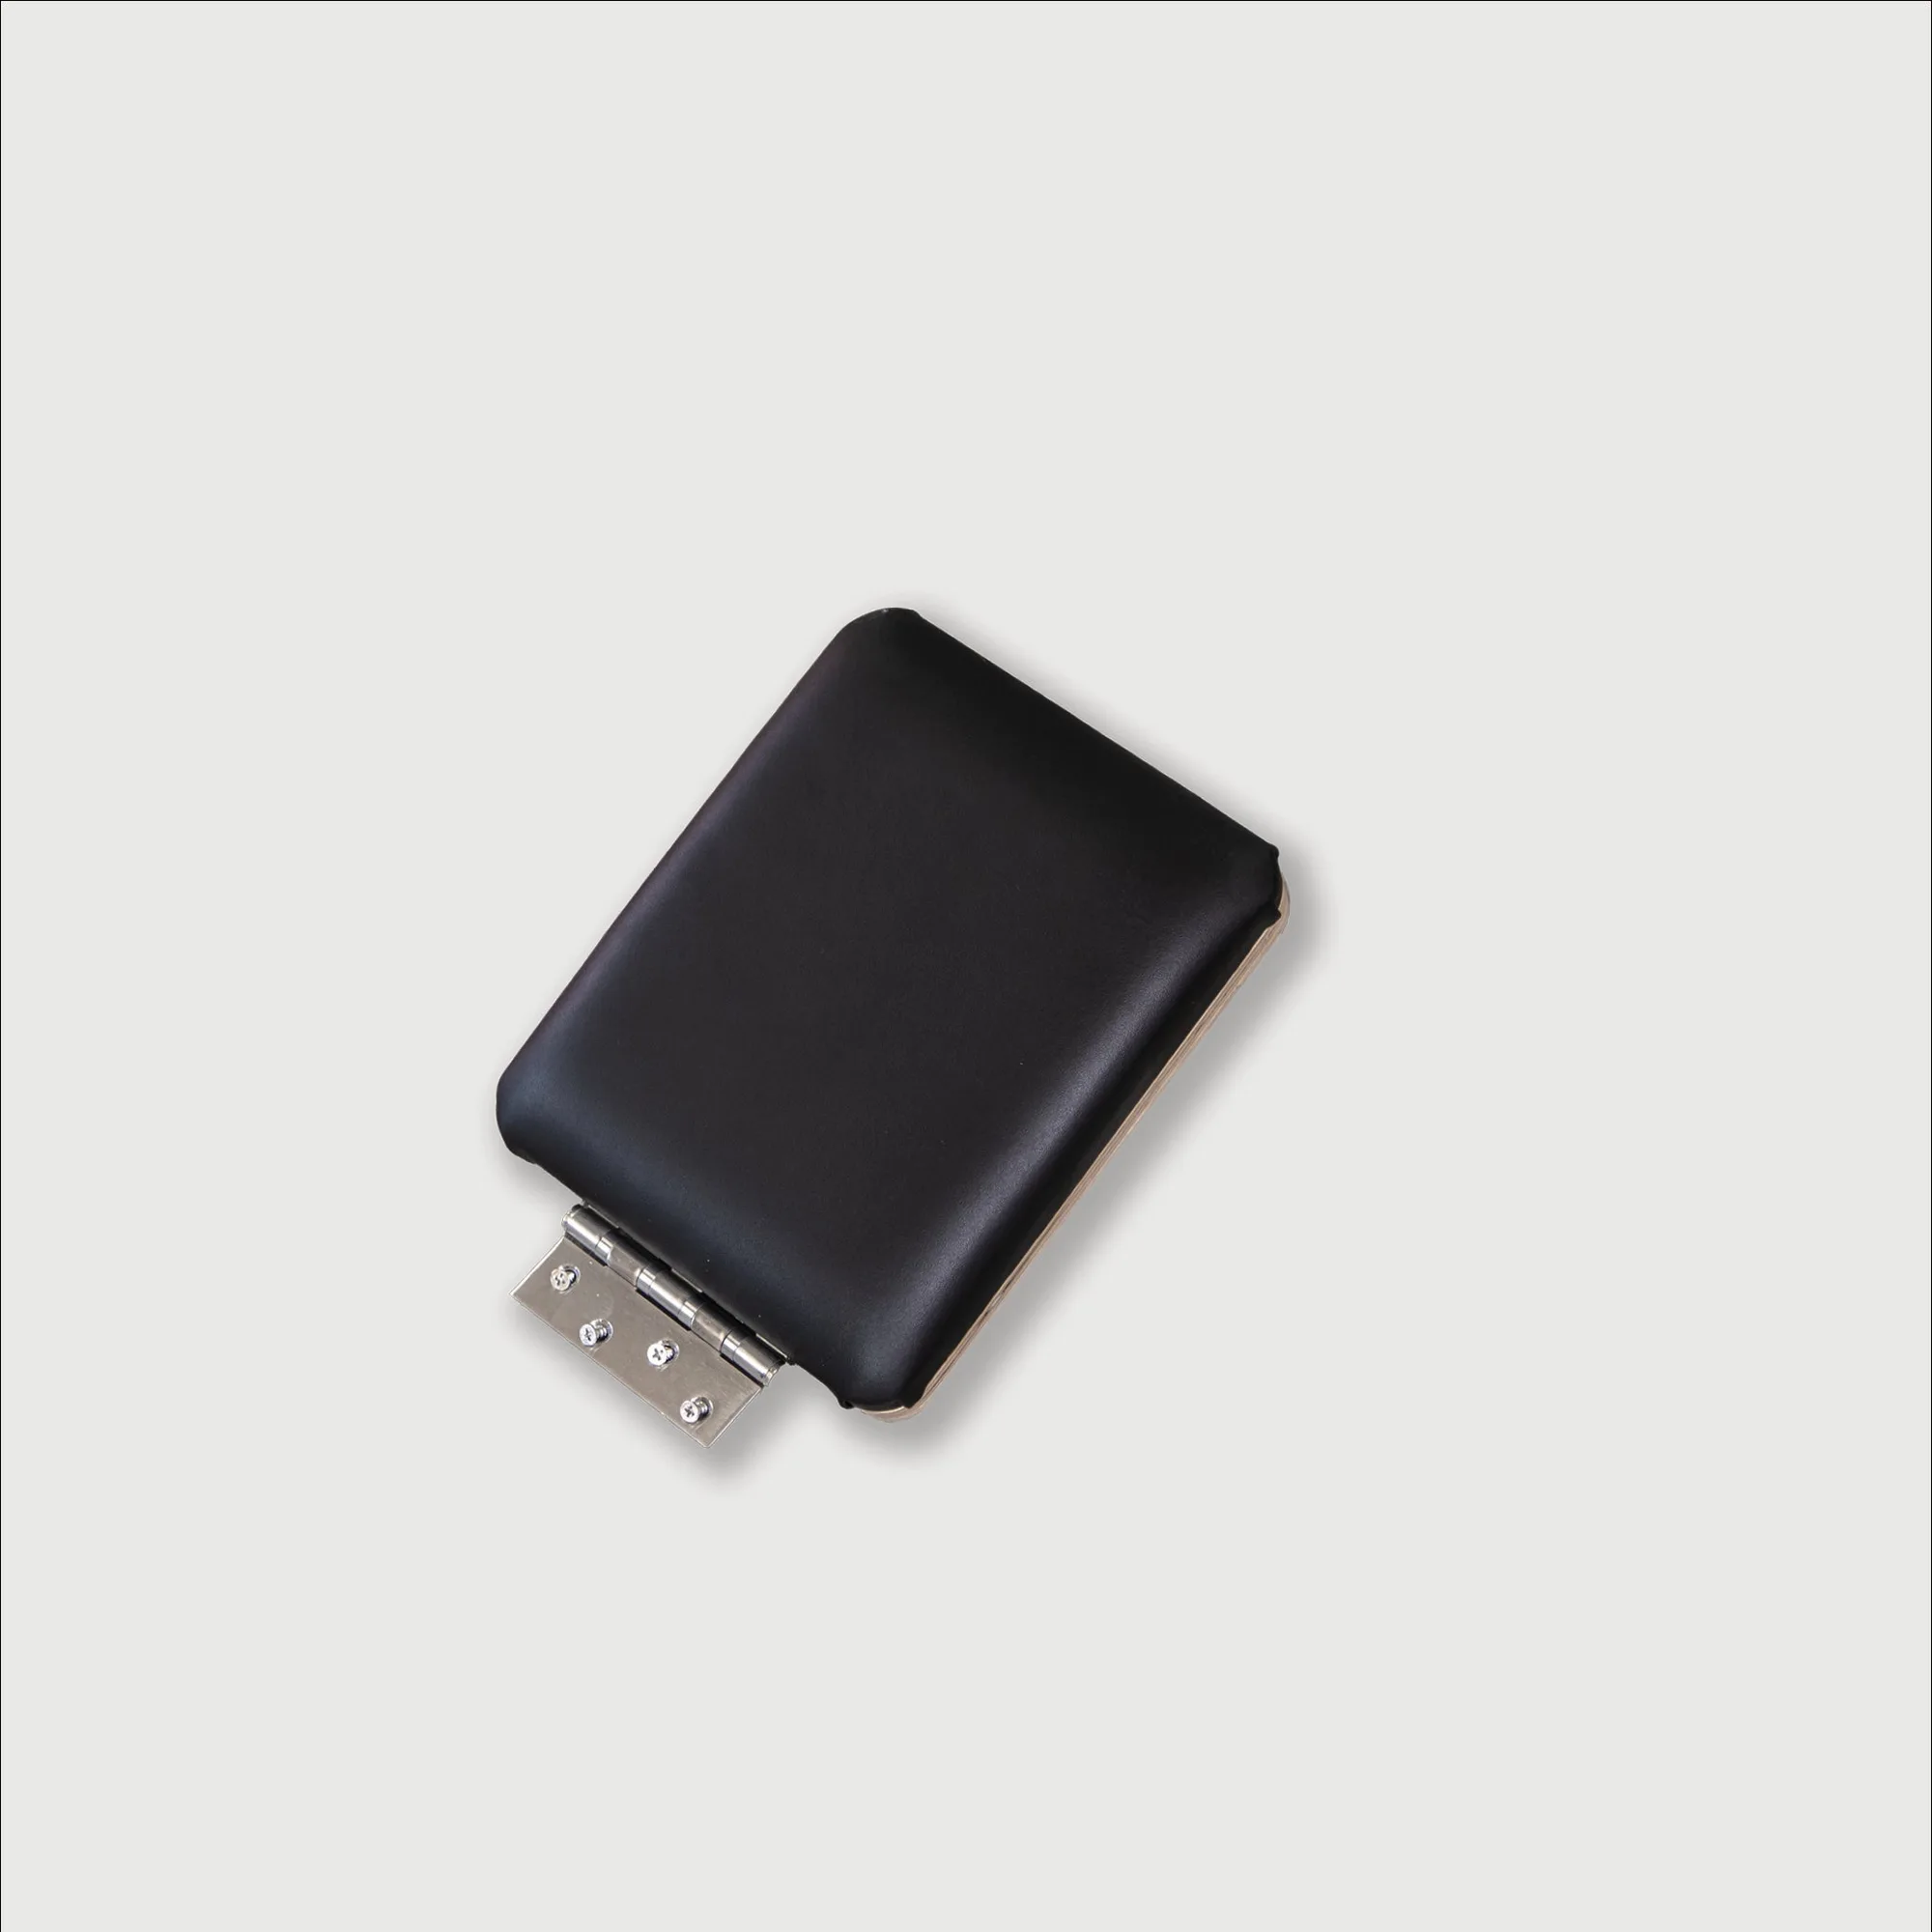
How do I adjust the headrest?
The headrest height and tilt adjust to match your torso length. For timber headrests like the Headrest Timber from Your Reformer USA, you typically loosen a wing nut, slide the headrest to the desired position, and retighten. The headrest should support the natural curve of your neck without forcing your head forward. If it feels unstable, check the mounting bracket screws.
- Always test the headrest lock before lying down.
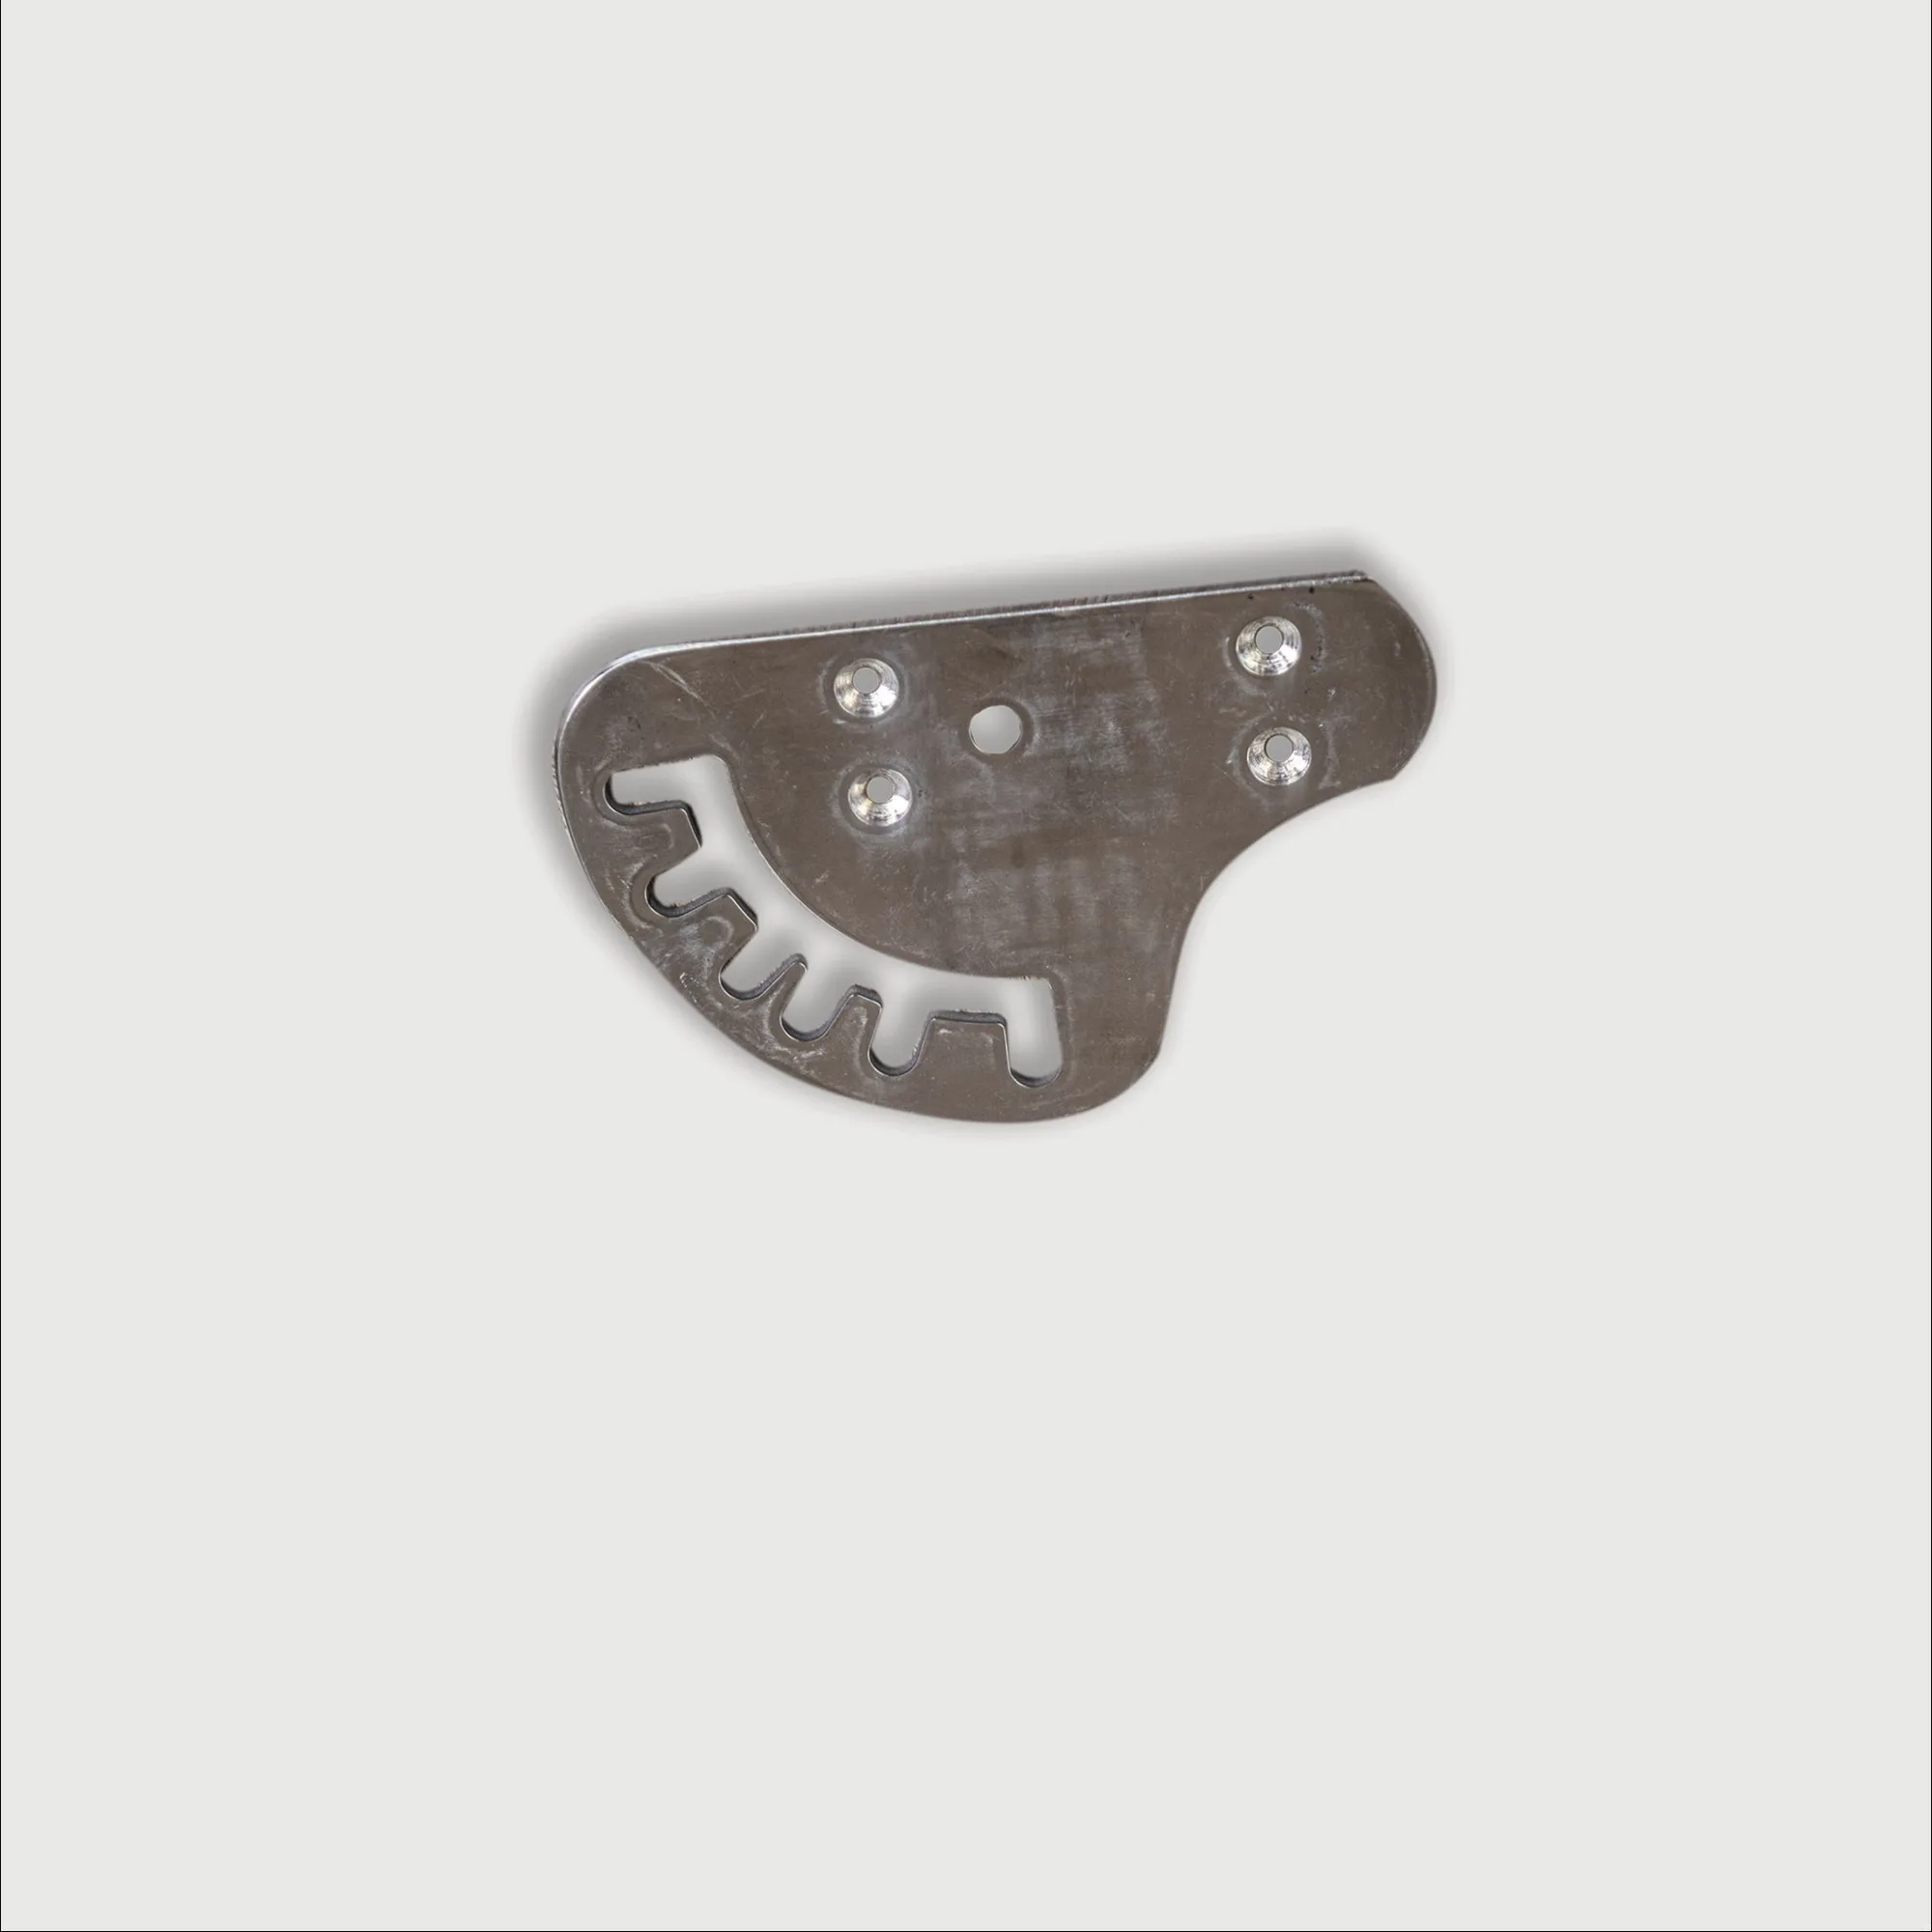
How do I install or replace the foot bar selector plate?
The foot bar selector plate determines the position of the foot bar. To install, align the plate with the mounting holes on the frame and secure it with the provided bolts. For replacement, like with the genuine Foot Bar Selector Plate from Your Reformer USA, reverse the steps. Ensure the plate sits flush—any gap can lead to instability. Use the correct style for your reformer model; some plates have different hole patterns.
- A worn selector plate can cause the foot bar to slip—replace it promptly if you notice movement.
How do I check that everything is secure before first use?
After assembly, go through a full checklist: check all bolts are tight, springs are attached evenly, headrest locks in place, foot bar moves smoothly, and carriage glides without obstruction. Test the reformer by performing a few gentle footwork exercises while lying down. Listen for squeaks or rattles. If something feels off, double-check the alignment and hardware.
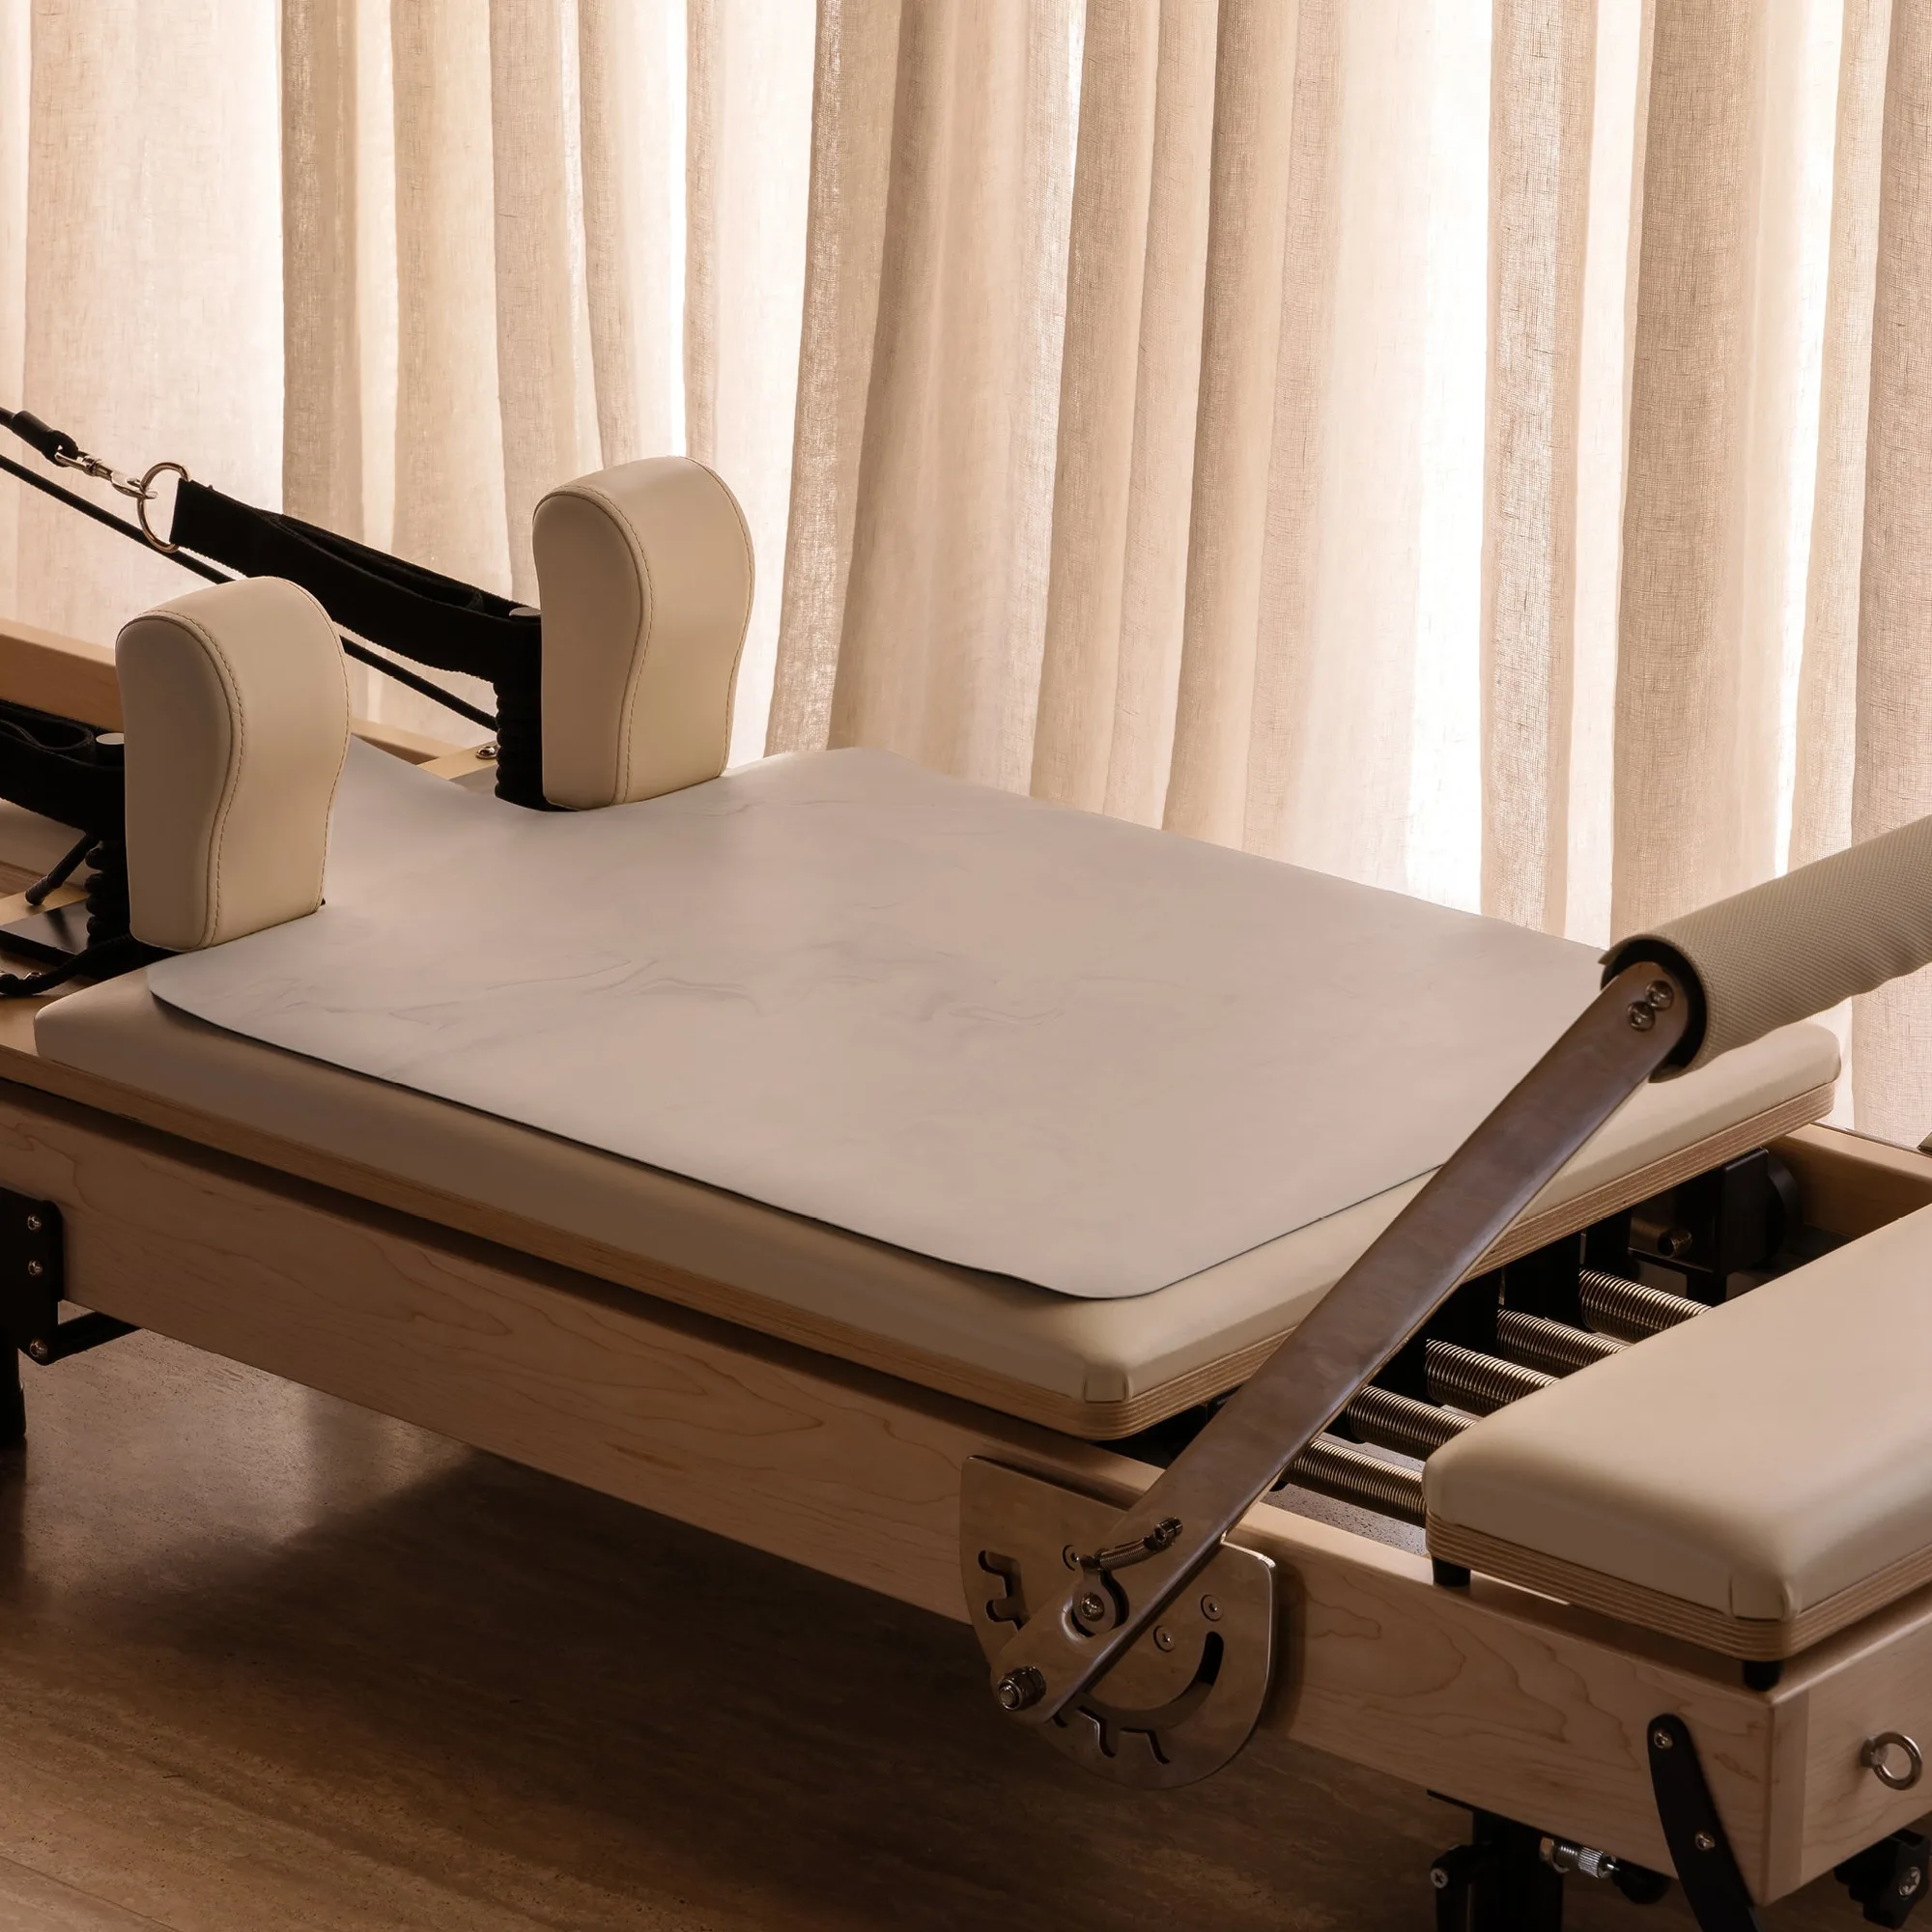
- Place a Reformer Mat under the carriage to protect the frame and provide extra cushioning during use.
Top 3 Assembly FAQs
What tools are needed?
Most reformers include hex keys; you may also need a Phillips screwdriver, adjustable wrench, and a level. A rubber mallet helps seat parts gently. Check your manual first—most tools are included.
How do I ensure the frame is level?
Use a spirit level on the frame rails. Adjust the feet to compensate for floor unevenness. Tighten bolts only after leveling. A level frame prevents rocking and uneven spring tension.
What should I check before first use?
Inspect all bolts, spring attachments, headrest lock, foot bar selector plate position, and carriage glide. Perform a test with gentle footwork. A thorough safety check avoids accidents and prolongs equipment life.
Parts and Accessories to Know During Setup
- Foot Bar Selector Plate: Your reformer's foot bar does a lot of work. Every position change, every spring adjustment, every session. When the foot bar selector plate wears out or gets damaged, the whole mechanism suffers. This is the genuine replacement part that keeps your reformer performing the way it should. Ensuring the selector plate is correctly installed prevents foot bar instability and potential injury during use.
- Headrest Timber: The Headrest Timber is the genuine replacement headrest for Your Reformer USA equipment. It is machined to the same specifications as the original, so the fit is exact and the surface remains solid. A properly fitted headrest supports your neck during exercises; using a non-original part may compromise comfort and alignment.
- Foot Bar Spring: This Foot Bar Spring is a replacement part designed for use with your reformer. Manufactured by Your Reformer USA, it offers a precise fit for maintaining proper tension and functionality. Standard size for foot bar assembly. Using the correct spring ensures consistent tension and prolongs the life of your foot bar mechanism.
- Reformer Mat: The Reformer Mat from Your Reformer USA is a practical accessory designed for use with Pilates reformers. This mat provides a comfortable surface for your practice and is available in several attractive colors. Adding a mat under the carriage reduces wear on the reformer and adds comfort during supine exercises. It also makes cleanup easier.
With these answers, you should feel confident setting up your reformer for a safe and effective practice. If you encounter specific issues, refer to your model's instruction manual or contact customer support. For genuine replacement parts like the Foot Bar Selector Plate, Headrest Timber, or Foot Bar Spring, always use parts designed for your machine to maintain performance and safety.