Quick answer
To fix a leaking sleeping pad, first locate the leak by inflating the pad and listening or submerging it in water. Then clean and dry the area, apply a patch or sealant from a sleeping pad repair kit, and let it cure fully before reinflating. For field repairs, carry a patch kit and know how to patch sleeping pad fabric without over-gluing.
A leaking sleeping pad can ruin a night outdoors, but most leaks are fixable with a basic repair kit. Whether you're at home or deep in the backcountry, knowing how to fix a leaking sleeping pad saves your trip and your gear budget.
This guide walks you through the tools you need and the exact steps to find and patch a leak. We'll also cover how to repair an inflatable mattress when you don't have a dedicated kit, and how to prevent future punctures.
What to carry in a sleeping pad repair kit
A good sleeping pad repair kit includes alcohol wipes, a patch or two of adhesive fabric, and a small tube of seam sealant or urethane glue. Some pads come with a patch kit; if yours didn't, assemble your own. Keep it in your pack for every trip.
For inflatable mattress repair, you'll also want a small piece of sandpaper or a rough surface to roughen the area, and a marker to circle the leak. If you're using glue, a small clamp or heavy object helps hold the patch while it cures.
- Alcohol wipes for cleaning
- Adhesive patches or repair tape
- Seam sealant or urethane glue
- Small sandpaper or roughing tool
- Marker for marking the leak
How to find the leak
Inflate the pad fully and listen for a hiss. If you can't hear it, submerge the pad in a bathtub or a calm body of water and look for bubbles. Mark the spot with a marker. For very slow leaks, leave the pad inflated for an hour and check for deflation.
If you're in the field without water, try a soapy water solution in a spray bottle. Spray it on the pad and watch for bubbles. Another trick is to hold the pad against your cheek; escaping air feels cool on your skin.
- Inflate fully and listen for hissing
- Submerge in water and look for bubbles
- Use soapy water spray for slow leaks
- Mark the leak immediately
How to patch a sleeping pad
Clean the area around the leak with an alcohol wipe and let it dry completely. Roughen the surface lightly with sandpaper if you have it. Apply a thin layer of seam sealant or urethane glue to the leak and let it get tacky, then press the patch firmly over the spot. Smooth out any air bubbles.
If you're using a self-adhesive patch, peel and stick it, then press hard for 30 seconds. For glue repairs, place a heavy object on the patch and let it cure for at least an hour, or overnight if possible. Don't reinflate until the patch is fully cured.
- Clean with alcohol and let dry
- Roughen surface for better adhesion
- Apply glue, let it get tacky, then patch
- Press firmly and let cure fully
Field repairs and emergency fixes
In the backcountry, you might not have time for a full cure. Use a quick-drying patch or tape to get you through the night. If the leak is at a seam, a drop of seam sealant can work temporarily. Remember that field repairs are temporary; do a proper repair when you get home.
If you don't have a patch, you can try using duct tape, but it may not stick to a wet or dirty surface. Clean and dry the area as best you can. For valve leaks, check if the valve is loose or has debris; sometimes a simple tightening or cleaning fixes the issue.
- Use quick-drying patches for temporary fixes
- Duct tape works in a pinch but not permanent
- Check valve for debris or loose parts
- Redo the repair properly at home
Preventing future leaks
Always use a groundsheet or footprint under your pad to protect it from sharp objects. Clear your campsite of twigs, rocks, and pine needles before setting up. Avoid over-inflating your pad, which stresses seams and valves.
Store your pad loosely rolled or flat, not compressed, to avoid creases that can weaken the fabric. Keep it away from extreme heat and direct sunlight when not in use. Regularly inspect your pad for signs of wear.
- Use a groundsheet or footprint
- Clear campsite of sharp objects
- Don't over-inflate
- Store loosely and inspect regularly
Step-by-step: Fix a leaking sleeping pad
- Inflate and locate the leak: Fully inflate the pad and listen for a hiss, or submerge it in water to spot bubbles. Mark the leak with a marker. Checkpoint: If you can't find it, try soapy water or leave it inflated for an hour.
- Clean and dry the area: Use an alcohol wipe to remove dirt and oils. Let it dry completely before applying any patch or glue. Common mistake: Skipping cleaning, which prevents proper adhesion.
- Apply the patch or sealant: Roughen the surface, apply glue or sealant, let it get tacky, then press the patch firmly. Smooth out air bubbles. Checkpoint: For glue, let it cure for at least an hour before reinflating.
- Test and reinflate: After curing, reinflate the pad and check for leaks. If it still leaks, repeat the process or consider a professional repair. Common mistake: Reinflating too soon, which can dislodge the patch.
Products that pair well with a repair kit
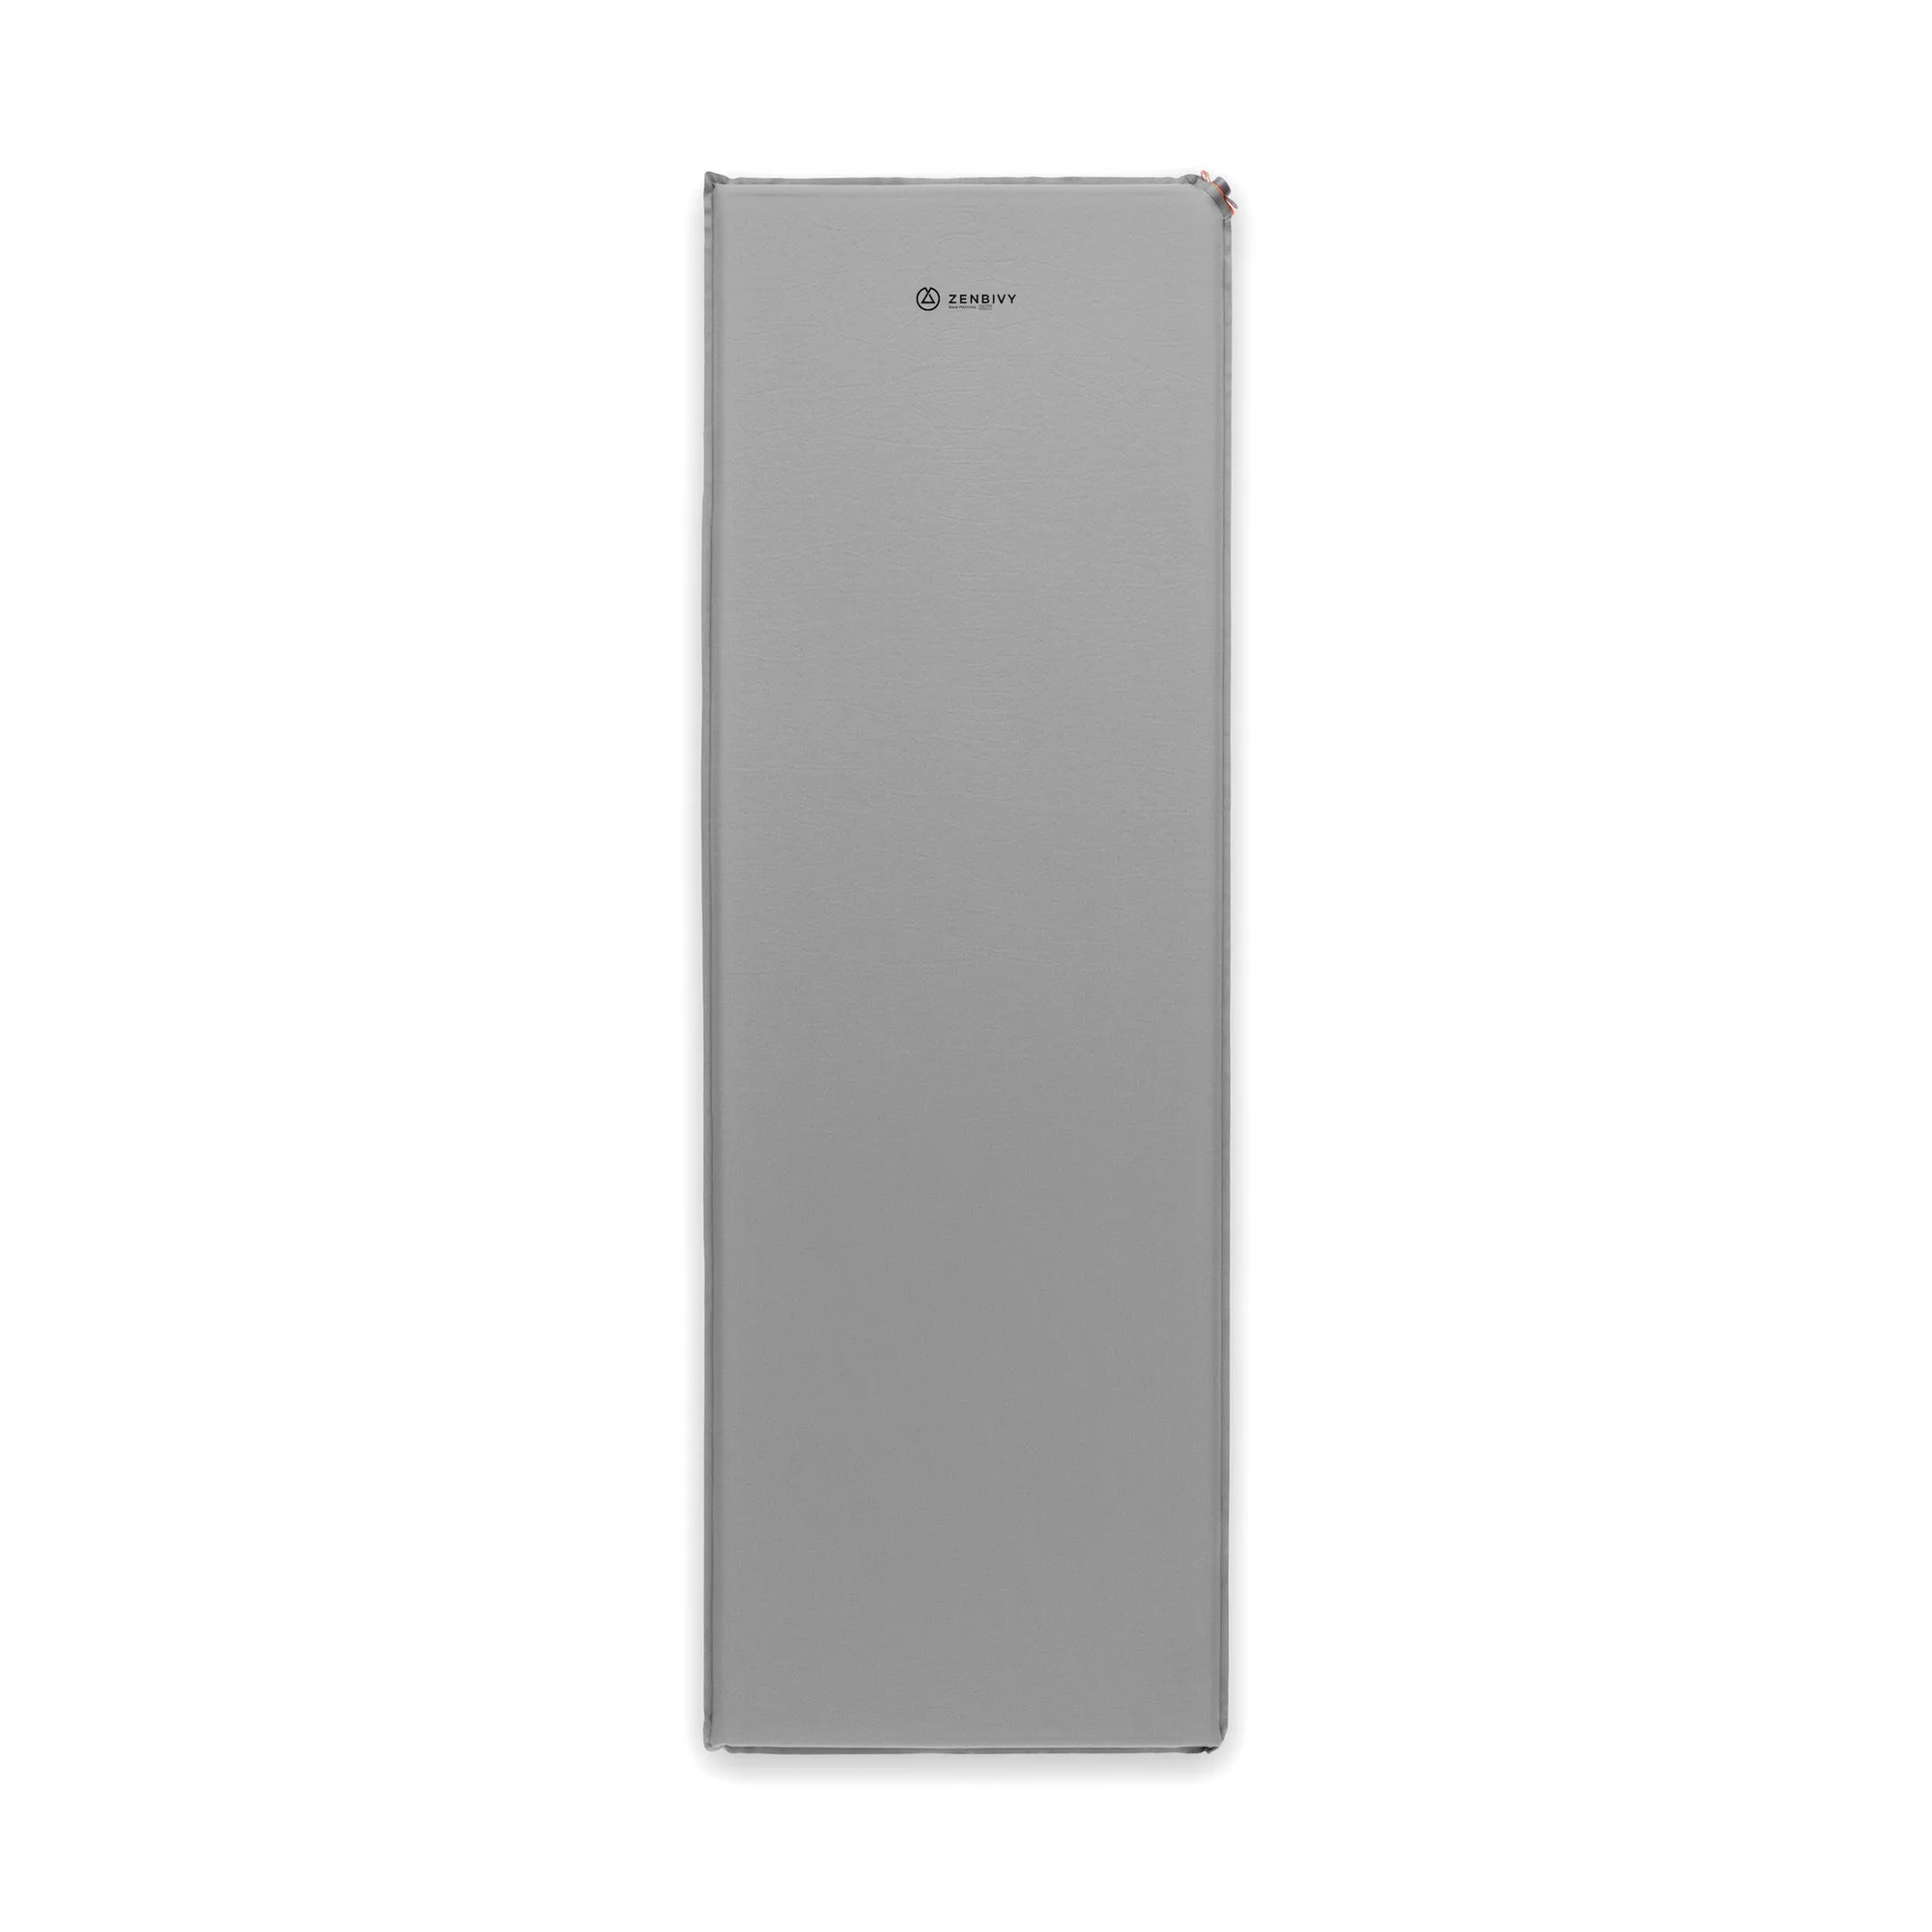
- Base Mattress: The Base Mattress is everything you need and nothing you don’t—a tried and true camp mattress that will give you a good night’s sleep no matter where you are. A simple, durable design means fewer seams and valves to fail, making it a reliable choice for campers who want low maintenance.
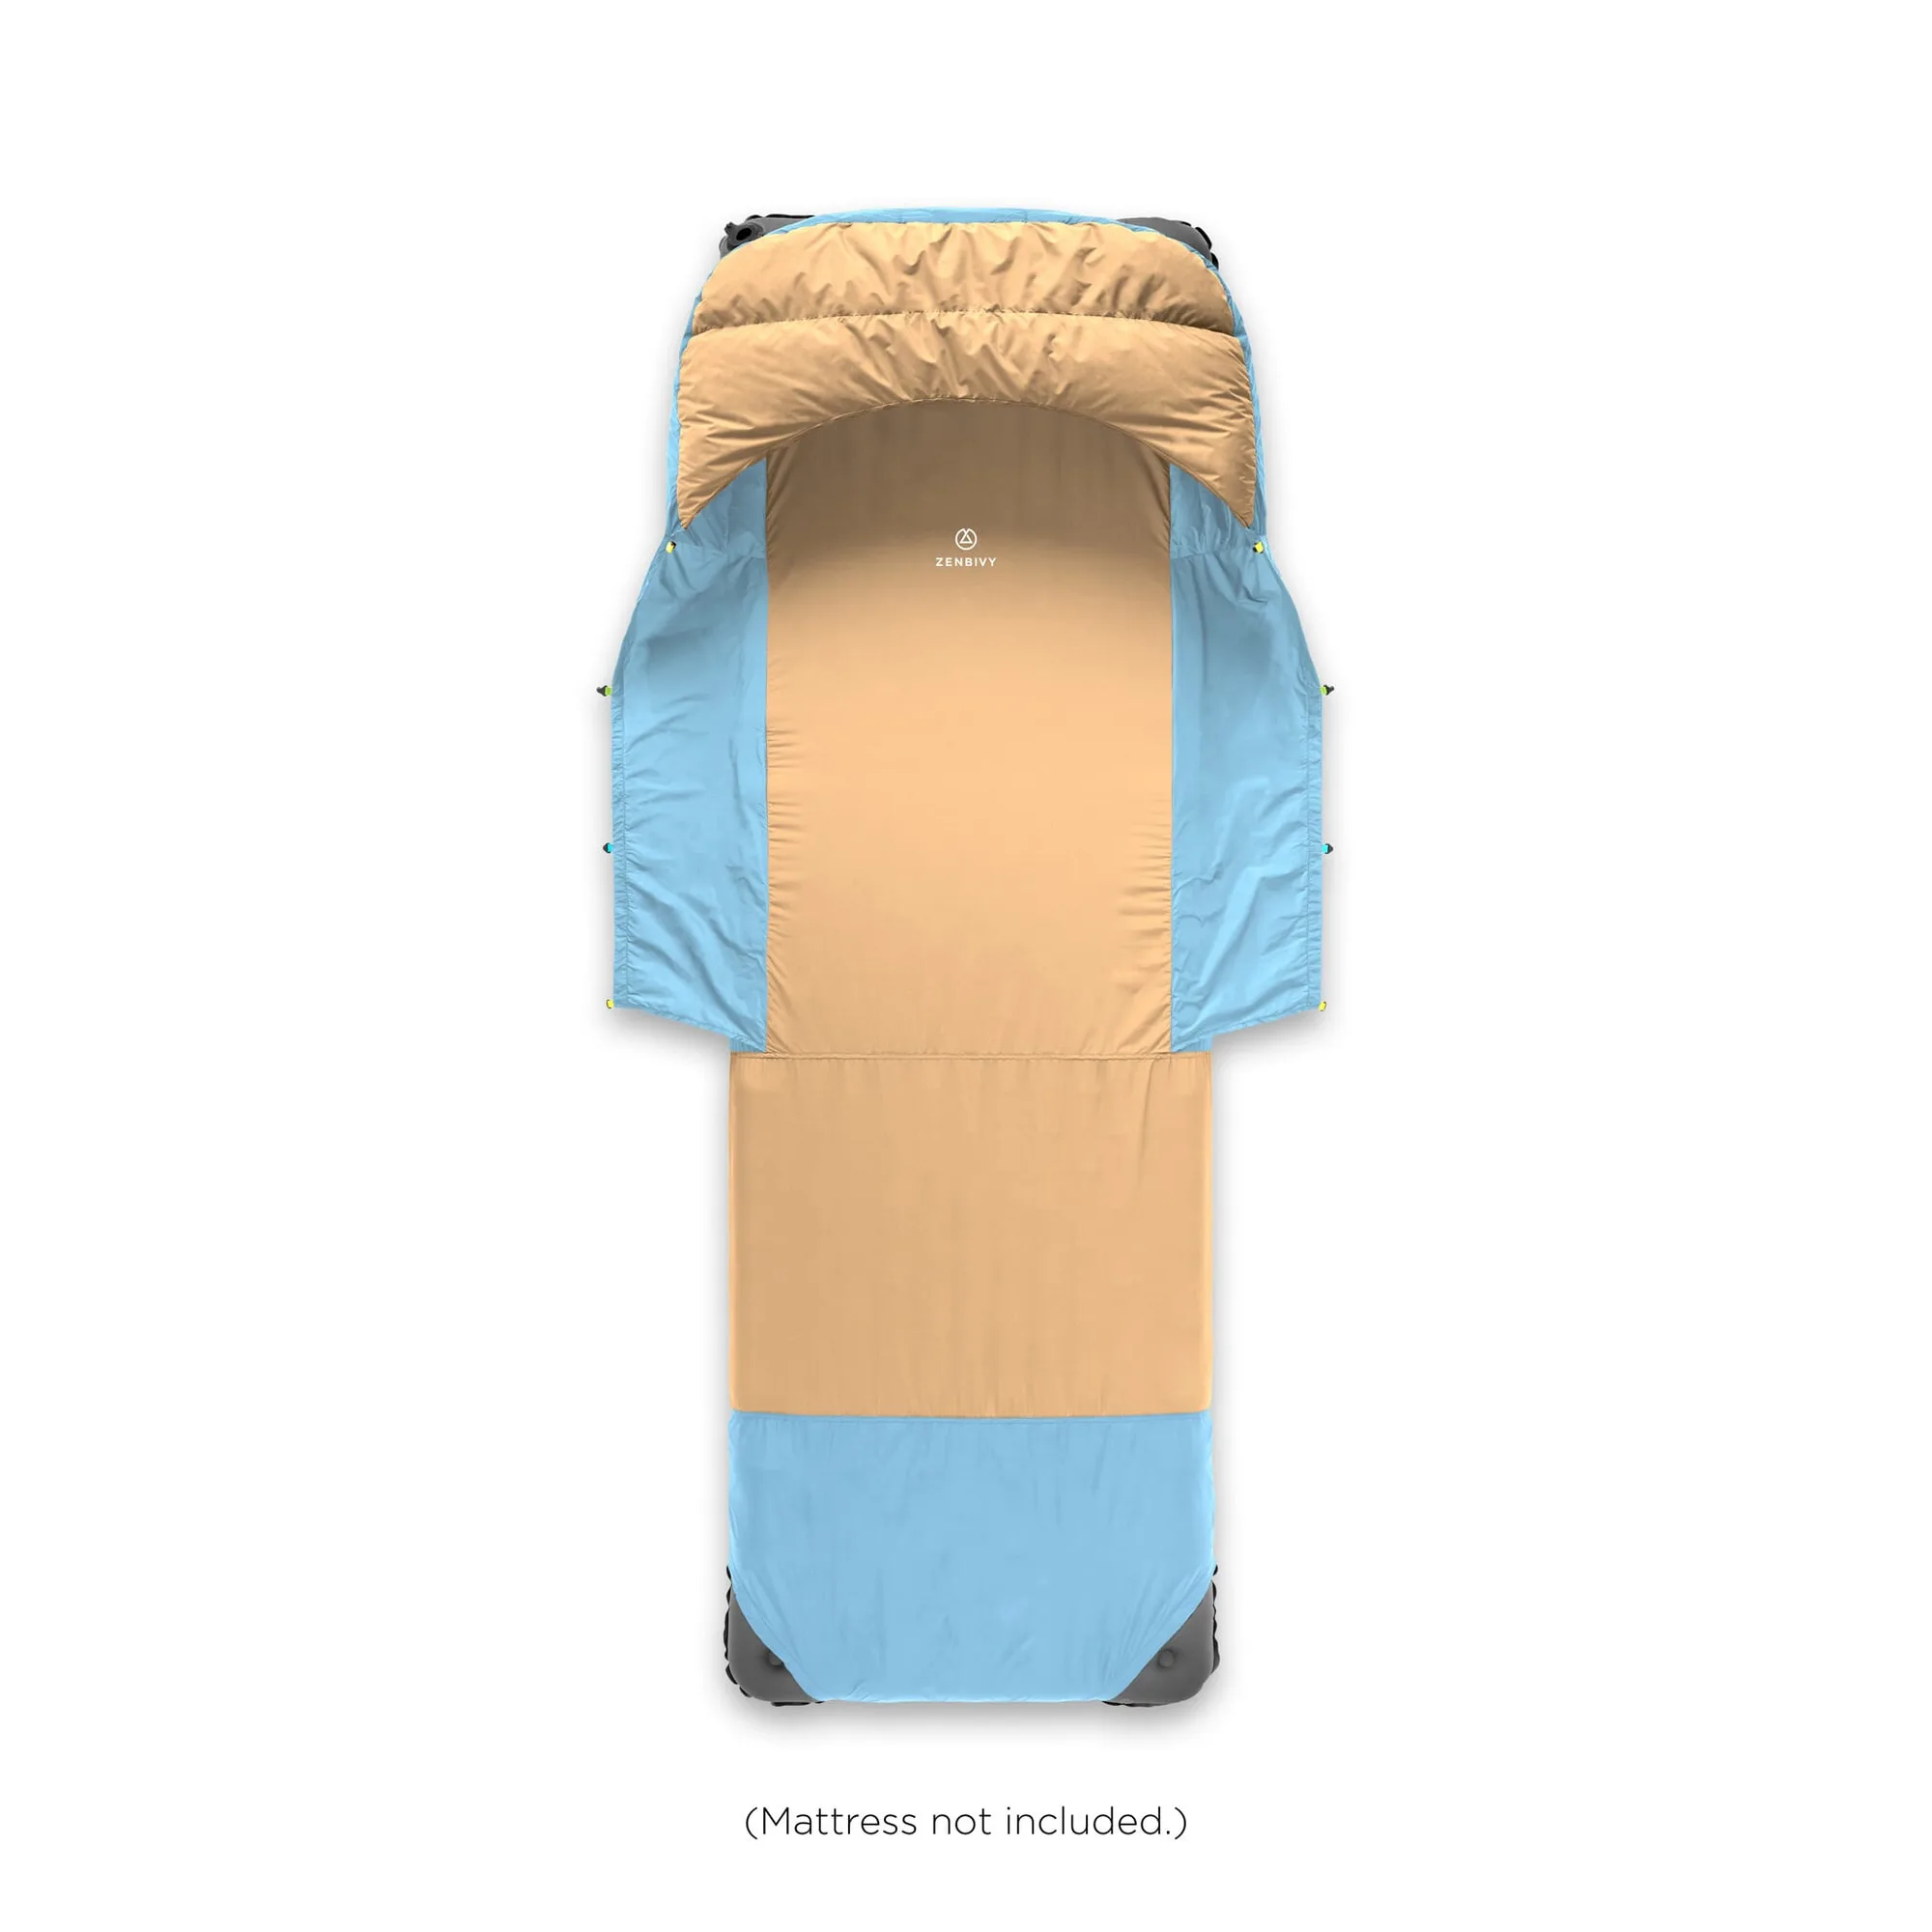
- Light Sheet: The Zenbivy Light Sheet features an ultra-soft 25D Pongee lining and provides full mattress coverage for maximum comfort. It blocks drafts, eliminates constriction, and keeps your pillow securely in place throughout the night. A sheet adds a layer of protection between you and the pad, reducing wear and tear that can lead to leaks.
With a small repair kit and these steps, you can fix most sleeping pad leaks and get back to sleeping comfortably outdoors. Always carry a patch kit on trips and do a proper repair at home when possible.