Your Waterpik water flosser is a powerful tool for maintaining oral health, but its effectiveness depends on the condition of its tips. Over time, tips can wear out, accumulate bacteria, or become less efficient. Knowing when to replace them and how to do it correctly ensures your flosser continues to deliver the clean, healthy results you expect.
In this guide, we’ll cover the lifespan of Waterpik tips, signs that it’s time for a replacement, and step-by-step instructions for changing them. We’ll also share practical tips for extending the life of your tips and keeping your water flosser in top shape.
Why Waterpik Tip Replacement Matters
Waterpik tips are designed to deliver a focused stream of water to clean between teeth and along the gumline. Over time, the tip’s opening can become worn or clogged with mineral deposits from hard water, reducing the pressure and effectiveness of the flossing stream. A worn tip may also harbor bacteria, especially if not properly dried or stored.
Replacing your tips regularly ensures that your water flosser works at its best. Most manufacturers, including Waterpik, recommend replacing tips every 3 to 6 months, but this can vary based on usage and care. If you notice a decrease in water pressure or see visible wear, it’s time to swap in a new tip.
- Check your tip for cracks, fraying, or discoloration regularly.
- If you’ve been ill, replace your tip to avoid reintroducing bacteria.
How Often Should You Replace Waterpik Tips?
The general guideline is every 3 to 6 months. For most users, replacing tips twice a year aligns with your dental check-up schedule. However, if you use your water flosser more than once a day, you may need to replace tips more frequently. Similarly, if you have hard water, mineral buildup can clog the tip faster, so consider replacing every 3 months.
For families sharing a water flosser, each person should have their own color-coded tip. This prevents cross-contamination and ensures each user gets a fresh tip when needed. Many Waterpik models come with multiple tips in different colors, making it easy to keep track.
- Set a reminder on your phone or calendar to replace tips every 3 months.
- If you notice a change in water pressure, check the tip first.
Signs It’s Time to Replace Your Waterpik Tip
Even if you’re not at the 3-month mark, certain signs indicate it’s time for a new tip. Visible wear and tear, such as cracks, bending, or a rough edge, can irritate your gums. A tip that has become discolored or has a buildup of residue is also a red flag. Additionally, if the water stream feels weaker or less precise, the tip may be clogged.
Another sign is if you’ve dropped the tip on the floor or it has come into contact with a contaminated surface. In such cases, it’s safer to replace the tip rather than risk introducing harmful bacteria into your mouth.
- Inspect your tip under bright light for any signs of damage.
- If you’re unsure, compare it to a new tip to see the difference.
How to Change a Waterpik Tip: Step-by-Step
Changing a Waterpik tip is a simple process that takes just a few seconds. First, ensure the water flosser is turned off and unplugged (if it’s a countertop model). For cordless models, remove the tip by pressing the release button located on the handle or base. Pull the old tip straight out.
To insert the new tip, align it with the notch or groove in the handle and push it firmly until it clicks into place. Give it a gentle tug to ensure it’s secure. Then, you’re ready to use your flosser again. Always refer to your specific model’s manual for any variations.
- Keep spare tips on hand so you’re never caught without a replacement.
- If you have a cordless model, practice changing the tip with the unit off to avoid accidental spraying.
Tips for Extending the Life of Your Waterpik Tips
Proper care can help your tips last longer and stay hygienic. After each use, remove the tip and rinse it under running water to remove any debris. Shake off excess water and let it air dry completely before storing. Avoid using harsh chemicals or boiling water to clean tips, as this can damage the plastic.
Store your tips in a dry, clean place, preferably in the storage compartment of your flosser or a separate container. If you have hard water, consider using distilled water in your reservoir to reduce mineral buildup. Additionally, avoid bending or twisting the tip during use, as this can weaken the material.
- Replace your tip after a cold or flu to prevent reinfection.
- If you travel with your water flosser, keep tips in a protective case.
Choosing the Right Replacement Tips
When it’s time to replace your tips, you have several options. Waterpik offers standard tips, as well as specialized ones like orthodontic tips for braces, periodontal tips for deep cleaning, and tongue cleaners. Choose the tip that best suits your oral health needs. For most people, the standard jet tip is sufficient.
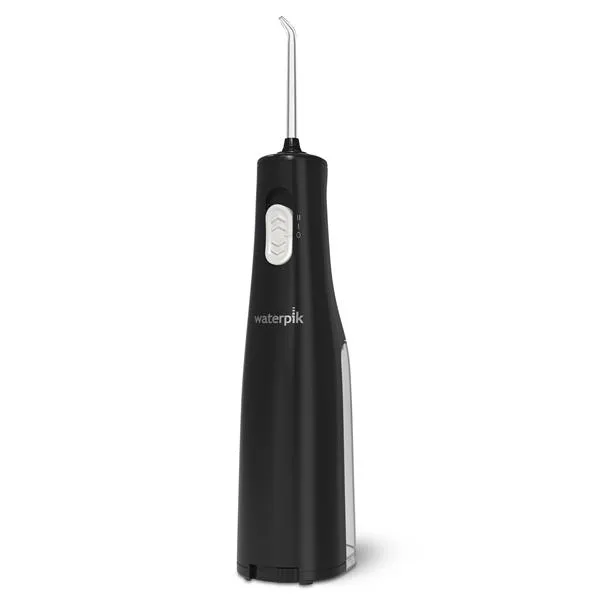
If you’re using a cordless model like the Black Cordless Express Water Flosser – Black (WF-02W012) or the Cordless 1000 Water Flosser – White (WF-29W011), you’ll want to ensure you purchase compatible tips. These models typically come with a few tips, but replacements are available. For those with a Sonic-Fusion 2.0, which combines brushing and flossing, the tip replacement process is similar, but you’ll also need to replace the brush head as recommended.
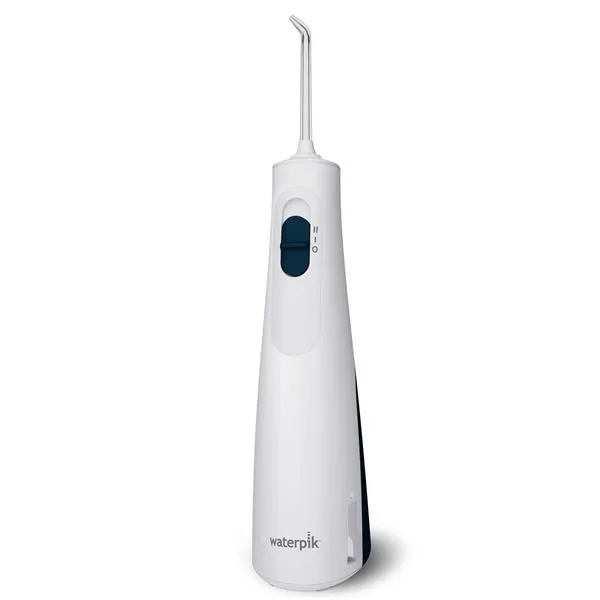
Cordless 1000 Water Flosser – White (WF-29W011)
- Check your model’s manual for the correct tip type and replacement schedule.
- Consider buying a multi-pack of tips to save money and always have a backup.
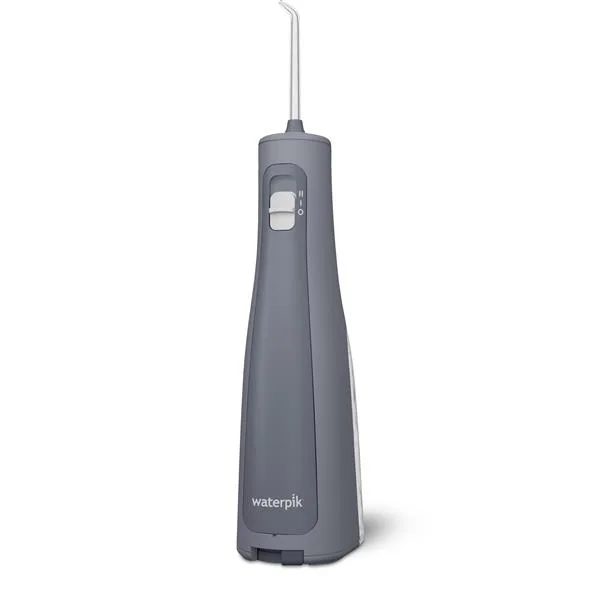
Regularly replacing your Waterpik tips is a small but crucial part of maintaining your oral health. By following the guidelines in this article, you’ll ensure your water flosser works effectively and hygienically. If you’re ready to stock up on replacement tips or upgrade your water flosser, explore our range of products, like the Cordless Revive Water Flosser – Gray (WF-03W037), to find the perfect fit for your routine.