Why the Diaphragm Matters for Pump Performance
The diaphragm is a small but essential part of your wearable breast pump. It works with the pump valves to create the suction that gently expresses milk. Over time, the diaphragm can wear out, losing its ability to form a proper seal. When that happens, suction drops and pumping becomes less effective.
Checking the diaphragm after each session and replacing it regularly helps keep your pump working as it should. The good news is that swapping it out is quick and straightforward.
When to Replace the Diaphragm
Lansinoh recommends replacing your wearable breast pump diaphragm every 4 to 6 weeks. This regular schedule helps maintain consistent suction. However, you should also inspect the diaphragm after every pumping session. Look for any signs of wear, such as tiny tears, stretching, or loss of shape. If the diaphragm no longer sits flat or feels loose, it's time for a new one.
Keeping a spare set on hand makes it easy to swap out a worn diaphragm without interrupting your routine.
Product Facts: Replacement Wearable Pump Diaphragm
-
Replacement Wearable Pump Diaphragm: The replacement diaphragm works with your Wearable Breast Pump valves to ensure proper suction when expressing breastmilk. Ensuring the diaphragm is in good condition directly affects pump performance and milk output.
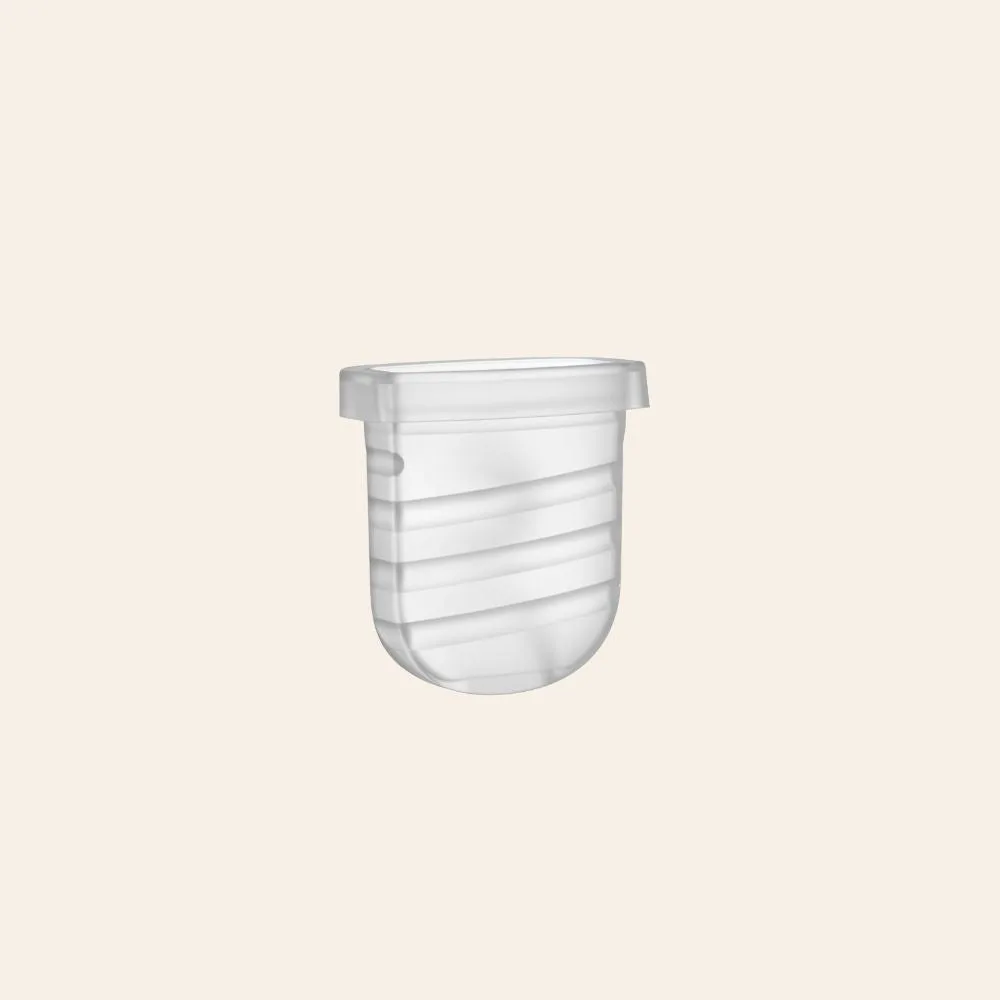
Replacement Wearable Pump Diaphragm
-
Replacement Wearable Pump Diaphragm: It is good practice to check your diaphragm after each breast pumping session, replacing it every 4-6 weeks. Regular inspection and timely replacement prevent loss of suction and keep your pump reliable.
-
Replacement Wearable Pump Diaphragm: Available in 2 or 4 packs. Buying a multi-pack ensures you always have a replacement ready when needed.
How to Replace the Diaphragm
Replacing the diaphragm is a simple process that takes just a few seconds. Here's how to do it:
- 1. Remove the old diaphragm: Gently pull the existing diaphragm away from the pump valve assembly. Discard it.
- 2. Align the new diaphragm: Take a new replacement diaphragm and position it over the valve opening. Make sure it sits flat and evenly.
- 3. Press into place: Firmly press the edges of the diaphragm down so it creates a tight seal. It should feel secure and not move when lightly tugged.
- 4. Test the suction: Before pumping, do a quick suction test by placing your palm over the breast flange and turning on the pump. You should feel steady, even suction.
Tips for Diaphragm Care
To get the most out of your diaphragms, handle them with clean hands and store them in a dry, clean place between uses. Avoid using sharp tools to remove or install them, as this can cause damage. If you notice any change in pump performance, check the diaphragm first—it's often the simplest fix.
Remember that for hygiene reasons, once opened, the diaphragm pack cannot be returned. So inspect your current diaphragm before opening a new pack to confirm it's needed.