Quick answer
Use the Classic Series 12mm Retractable Reel Hose Repair Kit when the hose itself is cut, chewed or split and the reel still retracts normally. It lets you cut out the damaged section and join the hose with the supplied barb and fittings rather than replacing the whole reel hose.
When a repair kit is the right fix, and when it is not
A repair kit solves damage to the hose wall: a dog chew, a mower nick or a clean cut. It does not solve a leak at the reel hub, a cracked connector thread or a retraction mechanism that no longer pulls the hose back. If water escapes from the centre of the reel or the hose will not retract, the problem is upstream of the hose and a splice will not help.
The kit is also limited by hose length. Each repair removes the damaged section, so the hose becomes slightly shorter. That is usually acceptable for a single small repair, but repeated splices on the same hose add joints and reduce usable reach.
What the Classic Series kit includes
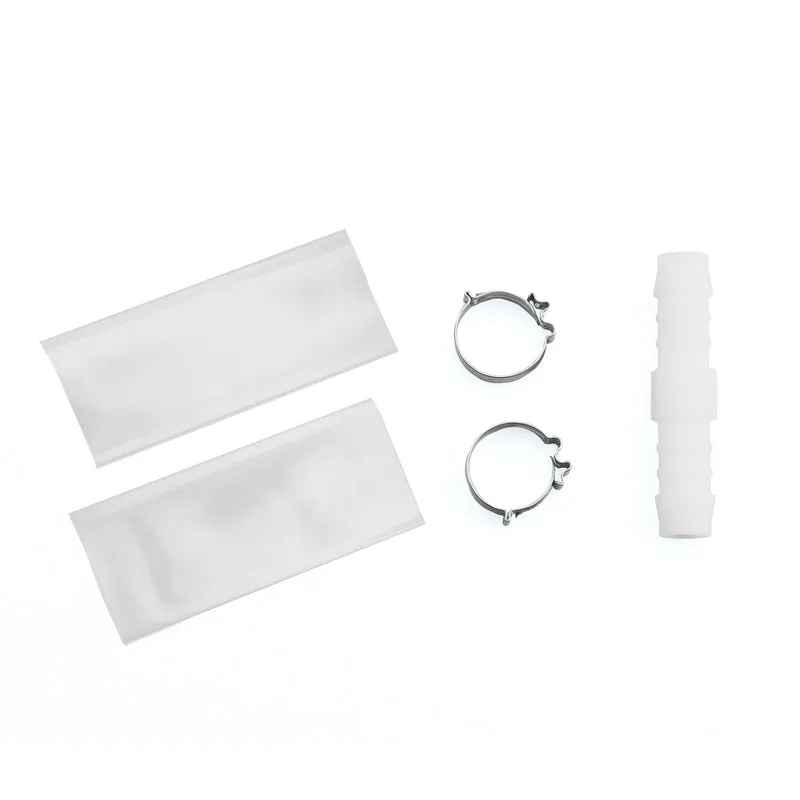
The kit is built around a plastic double-ended barb that joins the two cut hose ends, plus easy-fit fittings for the connection. It is designed for standard 12mm hose used in retractable reels, so check your hose diameter before cutting anything. If your reel uses a different hose size, this kit is not the correct match.
Because the kit is a spare part for the Classic Series, it is the appropriate choice when you want to keep the existing reel rather than replace the hose assembly.
Step-by-step: repairing a 12mm retractable reel hose
- Isolate the water and release the reel: Turn off the tap and pull a little hose out so the reel is not under tension. Common mistake: cutting while the reel is pressurised, which can spray water and make the cut ends hard to control. Confirm the tap is off and the hose is slack before you pick up a knife.
- Find the full extent of the damage: Bend the hose gently along the damaged area to reveal splits or soft spots. Mark a cut point at least a little beyond each visible defect so you remove all weakened hose. Common mistake: cutting exactly at the visible nick, leaving a hidden split that leaks again. Cut back to clean, round hose on both sides, not just to the obvious damage.
- Cut squarely and check the hose size: Use a sharp knife to make straight, square cuts. Confirm the hose is standard 12mm before fitting the barb. Common mistake: an angled cut, which lets the barb sit unevenly and creates a leak path. A square cut is easier to seat fully on the barb.
- Fit the double-ended barb: Push one cut end fully onto one side of the plastic barb, then push the other end fully onto the opposite side. Keep the hose straight as it seats. Common mistake: stopping halfway, which leaves the barb only partly inserted and prone to pulling out under reel tension. Both hose ends should butt up against the centre of the barb.
- Secure the fittings and test under pressure: Fit the supplied easy-fit fittings as intended for your reel connection, then turn the water on slowly and watch the repair. Common mistake: testing at full pressure immediately, which can hide a partial seal until the hose is retracted. Run the reel in and out once with water on to check the joint under movement.
Product facts
-
Retractable Reel Hose Repair Kit | Standard 12mm | Classic Series: The kit includes a plastic double-ended barb and easy-fit fittings for repairing a cut or chewed 12mm hose section. It gives you the joining parts in one pack, so you can cut out the damaged section and reconnect the hose without sourcing separate barbs.
Retractable Reel Hose Repair Kit | Standard 12mm | Classic Series