What the Jasion fender kit actually covers
The Jasion Ebike Bike Fenders are sold as a front and rear set with four screws included. The product information lists compatibility with the EB7 2.0 and EB7 ST. The RetroVolt Max is not named in that compatibility line, so treat this as a fit-check-first job rather than a guaranteed bolt-on. If you ride a RetroVolt Max, confirm with JasionBike support before you rely on these fenders for daily commuting.
The fenders are made from durable, weather-resistant materials and are designed to guard against splashes, mud, and debris. That is the practical job: keeping spray off you and the bike in wet or messy conditions. The supplied information does not include tire-size limits, stay lengths, or torque values, so those are decision points you will need to verify against your own bike and the hardware in hand.
Fender kit details worth checking before you start
-
Jasion Ebike Bike Fenders: Package includes front and rear fenders and four screws. Count the hardware before you loosen anything so you know whether you have the full set for both wheels.
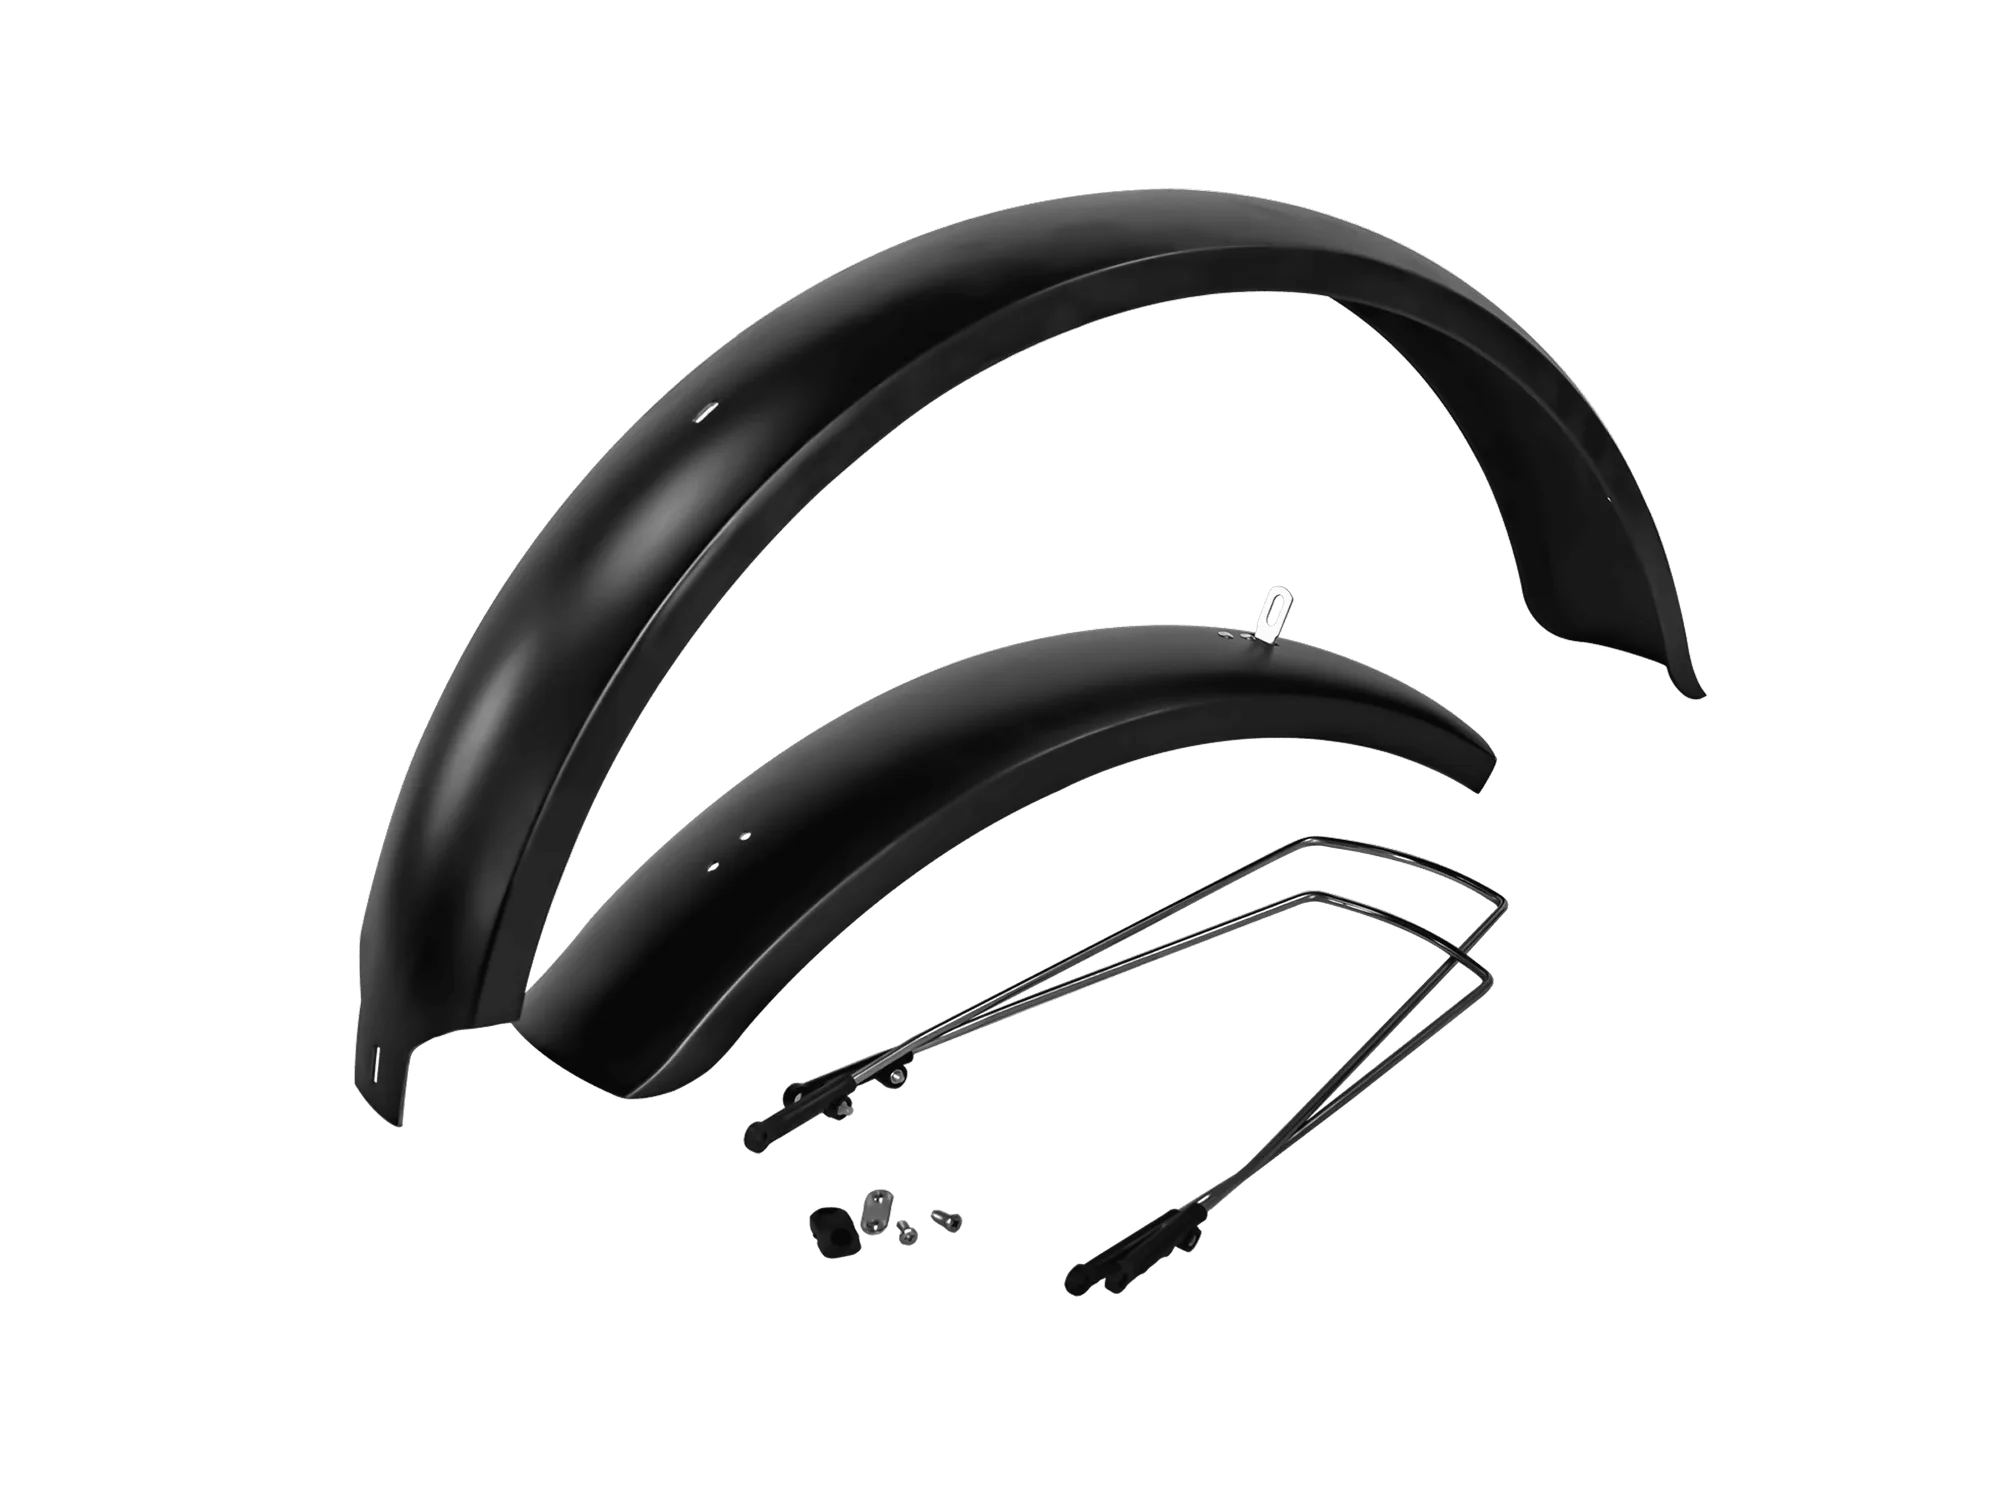
Jasion Ebike Bike Fenders
-
Jasion Ebike Bike Fenders: Listed compatibility is EB7 2.0 and EB7 ST. The RetroVolt Max is not named in the supplied compatibility line, so verify fit before installing.
A careful install sequence for the RetroVolt Max
- 1. Confirm compatibility before touching the bike: The supplied product information lists EB7 2.0 and EB7 ST, not the RetroVolt Max. Contact JasionBike support with your bike model and the fender product ID before you commit to installation. This is the one step that prevents wasted effort.
- 2. Lay out the kit and check the screws: The package should contain a front fender, a rear fender, and four screws. If anything is missing, stop and contact support rather than substituting hardware you are not sure about.
- 3. Test-fit the rear fender first: Hold the rear fender in place without tightening anything. Check that it follows the tire curve and that the stays or mounting points line up with the frame. The supplied information does not specify stay lengths or mounting brackets, so judge alignment by eye and by hand before you fasten anything.
- 4. Check tire clearance at the tightest point: Slowly rotate the wheel by hand and watch the gap between the tire and the fender at the chainstay bridge, seatstay bridge, and brake area. The fender should not rub at any point through a full rotation. The supplied information does not give a minimum clearance figure, so use the rule that matters: no contact, and enough room that a small stone or mud clump will not jam the wheel.
- 5. Fit the front fender and recheck steering clearance: Mount the front fender, then turn the handlebar fully left and right. Watch for contact with the fork crown, brake hardware, or the down tube. A front fender that touches under steering is a safety issue, not a cosmetic one.
- 6. Tighten the four screws evenly: The kit includes four screws, which suggests a straightforward bolt-on arrangement. The supplied information does not include torque specifications, so tighten evenly and stop when the fender is secure without distorting the plastic or stripping the screw heads. If you have a torque wrench and the bike manufacturer publishes a value for those mounting points, use that value.
- 7. Do a slow test ride: Ride at low speed on a smooth surface and listen for rubbing or rattling. Then check the screws again. Vibration is the most common reason a freshly installed fender shifts.
Clearance checks that matter more than the spec sheet
- Tire-to-fender gap through a full wheel rotation: Spin each wheel and watch the gap at every point. A fender that clears at rest can still rub when the wheel flexes under load. The supplied information does not give a minimum gap, so treat any visible contact as a fail.
- Brake and derailleur hardware: Fender stays and screws can foul brake arms, cables, or the rear derailleur. Check these with the bike on a stand or flipped upside down so you can see the full arc of the fender.
- Steering range at the front: Turn the bars lock to lock and confirm the front fender does not touch the frame or fork. This is especially important on a folding or compact frame where the front wheel sits close to the down tube.
- Mud and debris room: The fenders are designed to guard against splashes, mud, and debris. That only works if there is enough gap for mud to pass through rather than pack up. If you ride in sticky clay or heavy wet grit, check clearance again after your first muddy ride.
Where the Jasion fenders make sense, and where to be cautious
These fenders are a practical addition for riders who want to keep spray and road grime off their clothes and bike. The weather-resistant material and front-and-rear coverage are the main selling points, and the four-screw kit is simple enough for a home mechanic to handle with basic tools.
The honest limitation is the compatibility line. If you own a RetroVolt Max, the supplied information does not confirm that these fenders fit. That does not mean they cannot work, but it does mean you should verify before installation rather than assume. The same applies to tire width and wheel size: the product information does not list a maximum tire size, so measure your own setup and check that the fender follows the tire curve without rubbing.
If you are fitting fenders to an EB7 2.0 or EB7 ST, the compatibility is stated directly and the install sequence above still applies. For RetroVolt Max owners, a quick call or email to JasionBike support is the sensible first move. The product listing includes a phone number and support email for exactly this kind of question.