Quick answer
Build the RG Sazabi in stages: assemble and clean nubs, panel line before decals, apply decals with setting solution, then pose using its articulation gimmicks rather than forcing parts. The kit's Real Grade engineering rewards patience more than extra tools.
Why the RG Sazabi rewards a slower build order
The Real Grade MSN-04 Sazabi packs a structure faithful to its setting and articulation gimmicks for recreating series poses into a 1/144 frame. That density means a rushed assembly can leave visible nub marks or stressed joints that show up later. Work in subassemblies—head, torso, arms, legs, backpack—and test-fit before committing to a pose.
Panel lining and decals are easier before final assembly because you can reach inner surfaces and keep the lines crisp. If you plan to topcoat, do it after decals but before final posing to avoid trapping dust in joints.
Panel lining choices that suit the Sazabi's curves
The Sazabi's rounded armor and large surface panels benefit from thin, consistent lines rather than heavy washes. A fine-tip gray or brown liner works well on lighter armor; black can be too stark on curved surfaces. Clean excess immediately with a swab, and let lines dry fully before handling.
Avoid lining every seam—focus on panel gaps and molded detail. Over-lining flattens the RG's surface detail and makes the kit look busier than intended.
Decal and posing trade-offs to plan for
Real Grade decals add scale realism but can silver if applied over curved or matte surfaces. Use a setting solution and press edges down; skip decals on joints that will flex. When posing, the Sazabi's articulation gimmicks allow dynamic stances, but extreme twists can stress the inner frame—move joints gradually and check clearance before locking a pose.
If you display on a stand, balance the backpack weight and avoid leaning the torso too far without support.
Step-by-step RG Sazabi build, lining, and posing
- Assemble in subassemblies and clean nubs: Build the head, torso, arms, legs, and backpack separately. Cut parts from the runner with side cutters, then trim nubs with a hobby knife and sand progressively. Test-fit joints before snapping them together. Checkpoint: every nub should be flush before you move to lining.
- Panel line before final assembly: Use a fine-tip liner on panel gaps and molded detail. Work one section at a time, clean excess with a swab, and let it dry. Avoid lining deep recesses that will be hidden after assembly. Common mistake: lining after assembly makes inner surfaces hard to reach and smears lines.
- Apply decals with setting solution: Place decals on flat or gently curved surfaces, not on joints. Use setting solution and press edges down with a damp swab. Skip decals where parts will flex during posing. Checkpoint: inspect for silvering under light before topcoating.
- Topcoat if you want a unified finish: Apply a thin topcoat after decals are fully dry. Work in light passes and let each pass dry to avoid runs. Do this before final posing so joints stay clean. Common mistake: heavy coats pool in panel lines and soften decal edges.
- Pose using the articulation gimmicks gradually: Move joints in small increments and check clearance between armor parts. Use the kit's articulation to recreate series poses, but avoid forcing a joint past its natural stop. If using a stand, balance the backpack weight. Checkpoint: the pose should hold without stressing the inner frame.
Kit facts that shape your build
-
Gundam #29 RG 1/144 MSN-04 Sazabi "Char's Counterattack": Real Grade kits combine a setting-faithful structure with articulation gimmicks for recreating poses from the series. That means you can plan panel lines and decals around joints that will actually move, rather than treating the kit as a static model.
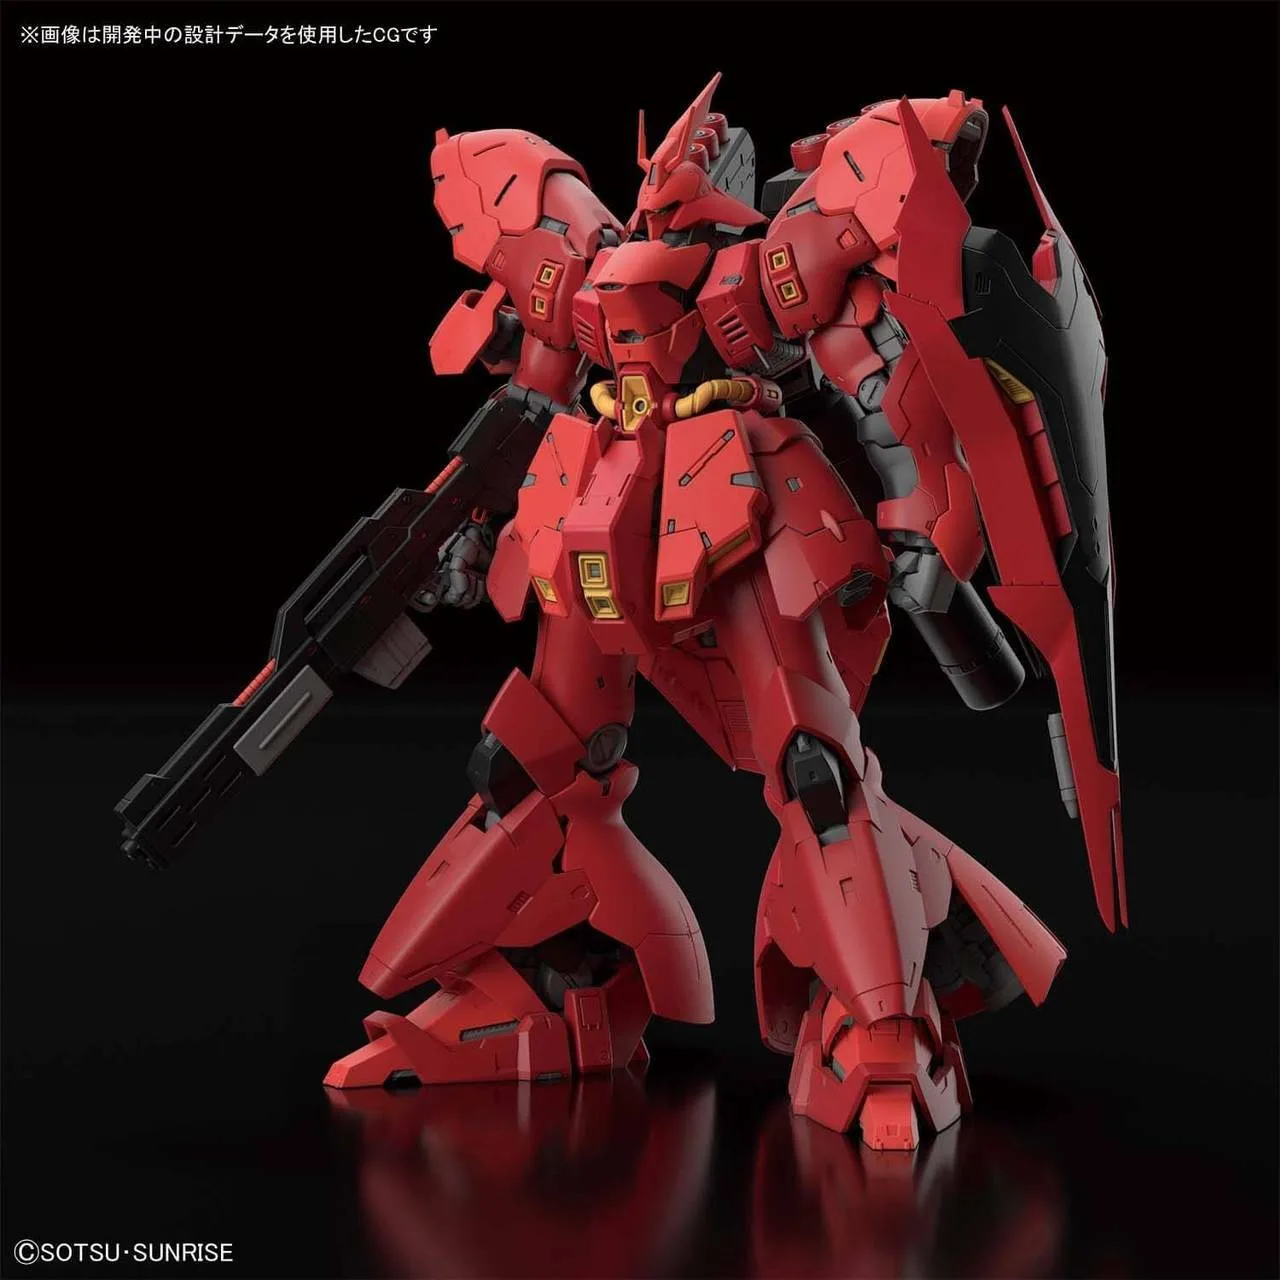
Gundam #29 RG 1/144 MSN-04 Sazabi "Char's Counterattack"