Have you ever spent time perfecting your manicure only to see chips and peeling within a day or two? The culprit is often not the polish itself but the steps you skipped before applying color. Nail prep is the foundation of any long-lasting manicure, whether you use regular polish or semi-permanent LED formulas. Proper preparation ensures that your polish adheres evenly, resists lifting, and stays vibrant for up to two weeks or more.
In this guide, we’ll walk you through the essential role of nail prep in manicure longevity, covering everything from cuticle care to surface buffing. You’ll also learn how to incorporate vegan and bio-sourced products into your routine for healthier nails and a more sustainable beauty practice.
Why Nail Prep Matters for Manicure Longevity
Nail prep is not just a cosmetic step—it is a scientific process that optimizes the surface for polish adhesion. Natural oils, dust, and microscopic debris can create a barrier between your nail plate and the polish, leading to early chipping. By thoroughly cleaning and dehydrating the nail, you create a clean canvas that allows the polish to bond tightly. This is especially important for semi-permanent LED polishes, which rely on a strong mechanical bond to last up to three weeks.
For regular polishes, a well-prepped nail prevents air bubbles and ensures a smooth, even finish. Skipping prep can also lead to staining, especially with darker shades or glitter formulas. Investing just five minutes in proper nail preparation can double the life of your manicure, saving you time and product in the long run.
- Always start with clean, dry nails free of any old polish or residue.
- Use a gentle nail polish remover that doesn’t dry out your nails, like a bio-sourced dissolvant.
Step 1: Cleanse and Dehydrate the Nail Plate
The first step in nail prep is removing any traces of oil, lotion, or previous polish. Wash your hands with soap and water, then use a lint-free wipe soaked in a gentle nail cleanser or isopropyl alcohol. This dehydrates the nail plate, removing moisture that can cause lifting. Avoid using acetone-based removers for this step as they can be too harsh and strip natural oils from the surrounding skin.
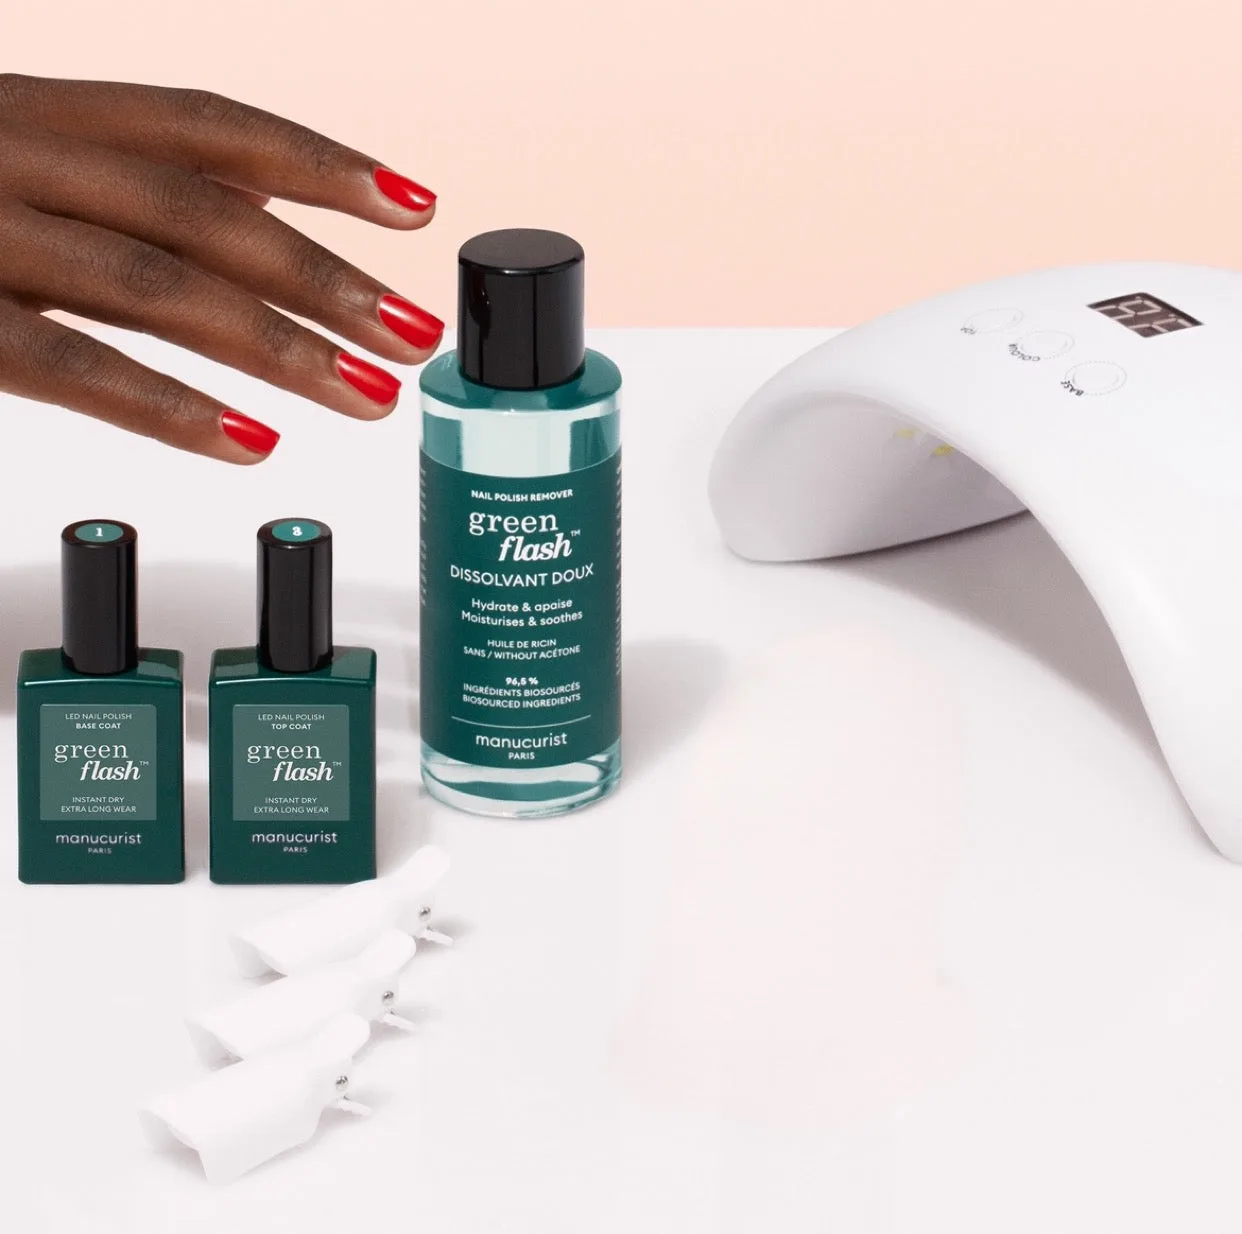
For a more eco-friendly approach, choose a vegan nail polish remover that is free of acetone and enriched with nourishing ingredients. This step is crucial for semi-permanent polishes, as even a small amount of oil can compromise adhesion. If you’re using a base coat, ensure the nail is completely dry before application.
- Avoid touching your nails after cleansing to prevent re-oiling.
- For best results, use a dedicated nail prep solution or a simple alcohol wipe.
Step 2: Shape and Buff for a Smooth Surface
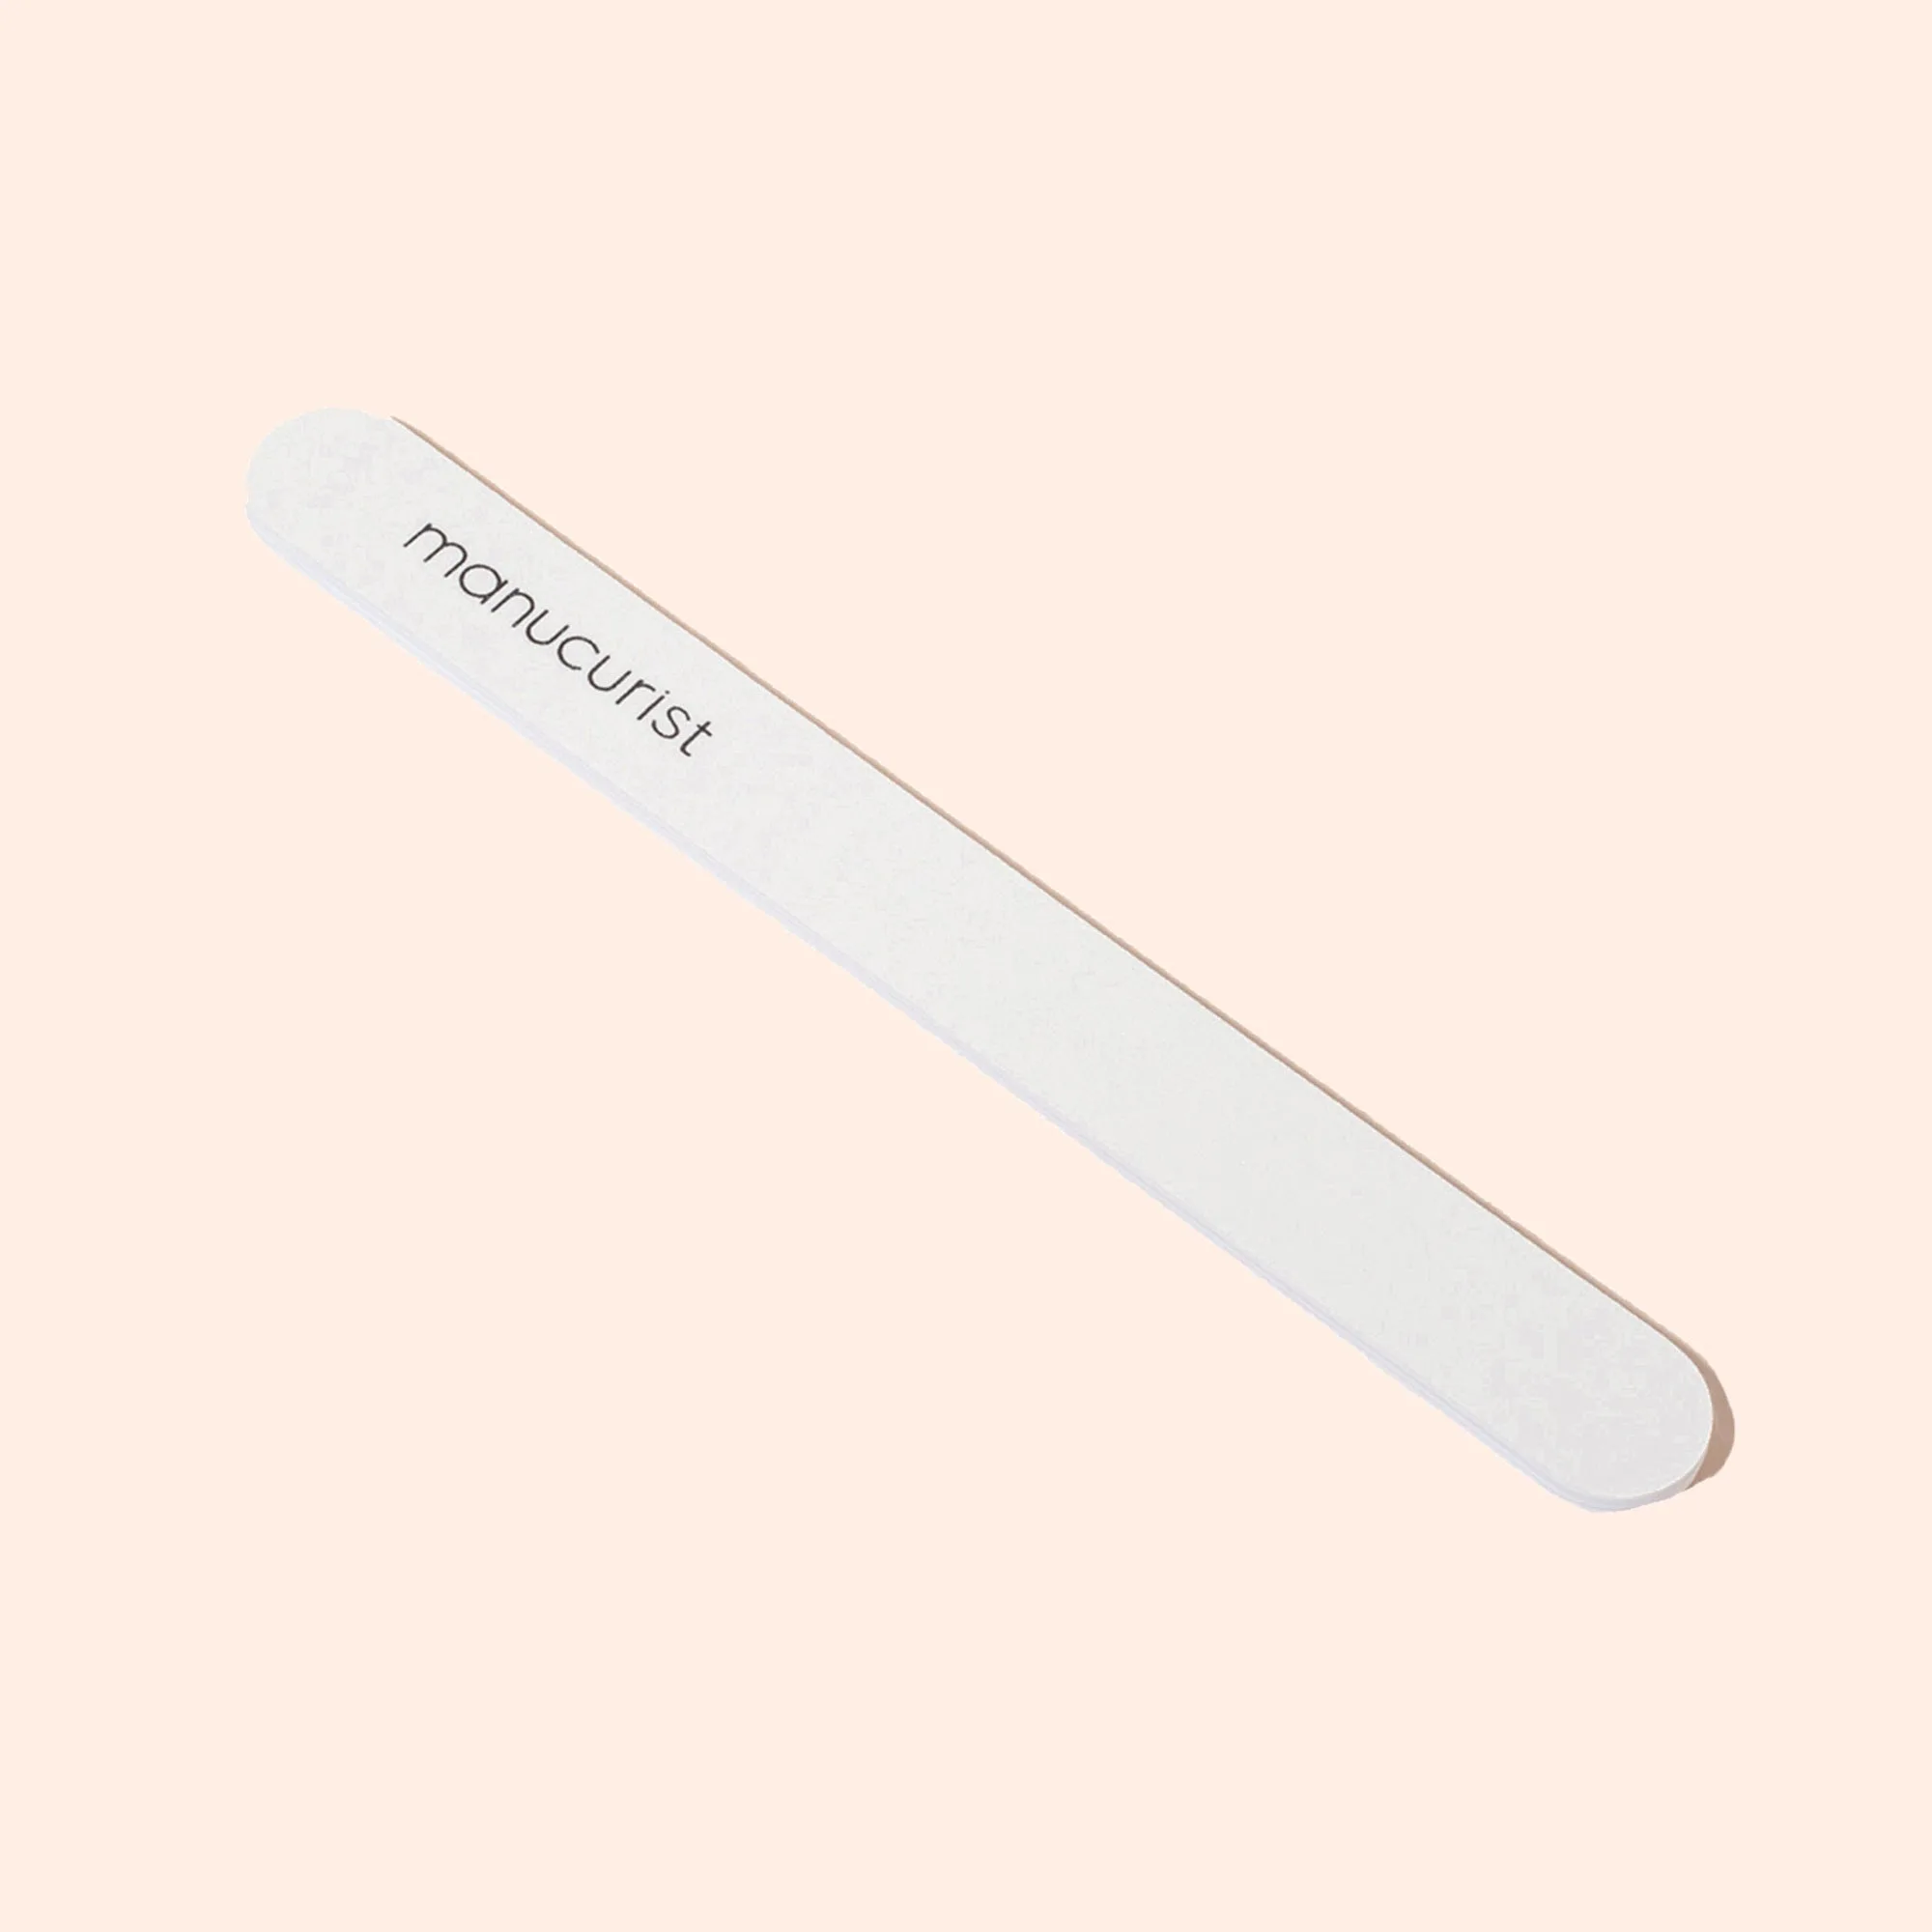
Next, shape your nails using a fine-grit file. File in one direction to prevent splitting and breakage. Choose a shape that complements your hand—square, oval, or almond. After filing, lightly buff the surface of each nail with a gentle buffer. This removes any ridges and creates a slightly textured surface for better polish grip. Be careful not to over-buff, as this can thin the nail and lead to weakness.
Buffing is especially beneficial when using gel or semi-permanent polishes, as it increases the surface area for adhesion. For regular polishes, a light buff is sufficient to smooth out imperfections. Follow up with a dusting brush to remove all filing debris. A clean, smooth nail bed is the perfect foundation for any color, from soft neutrals to bold shades.
- Use a glass or crystal file for a gentler finish.
- Buff only the surface, not the edges, to avoid weakening the nail tip.
Step 3: Push Back and Care for Cuticles
Cuticle care is often overlooked but is essential for a professional-looking manicure. Gently push back your cuticles using a cuticle pusher or an orangewood stick. Do not cut them, as this can lead to infection and inflammation. Soften cuticles first with a nourishing oil or cream, then push them back carefully. This creates a clean nail bed and prevents polish from bleeding onto the skin.
Healthy cuticles also contribute to polish adhesion. When cuticles are dry or overgrown, they can lift the polish at the base, causing early peeling. Incorporate a cuticle oil into your daily routine to keep them hydrated. For an extra boost, try a vegan cuticle serum that absorbs quickly and strengthens the nail matrix.
- Apply cuticle oil after each manicure to maintain moisture.
- Avoid soaking nails in water before polish—it makes nails swell and then contract, leading to chipping.
Step 4: Apply a Quality Base Coat
A base coat is not optional—it is a critical layer that bonds the polish to the nail and prevents staining. Choose a base coat that is specifically formulated for your polish type, whether regular or LED. For semi-permanent polishes, a dedicated base coat ensures proper curing under the lamp. For regular polishes, a ridge-filling base coat can create an even surface for color application.
Apply a thin, even layer of base coat, making sure to cap the free edge of the nail. This seals the tip and prevents water and debris from seeping under the polish. Allow the base coat to dry completely before moving to color. A good base coat can extend your manicure by several days and is a key component of nail prep for lasting wear.
- Look for a base coat with strengthening ingredients like keratin or calcium.
- Avoid thick layers—thin coats cure and dry more evenly.
Step 5: Choose the Right Polish and Application Technique
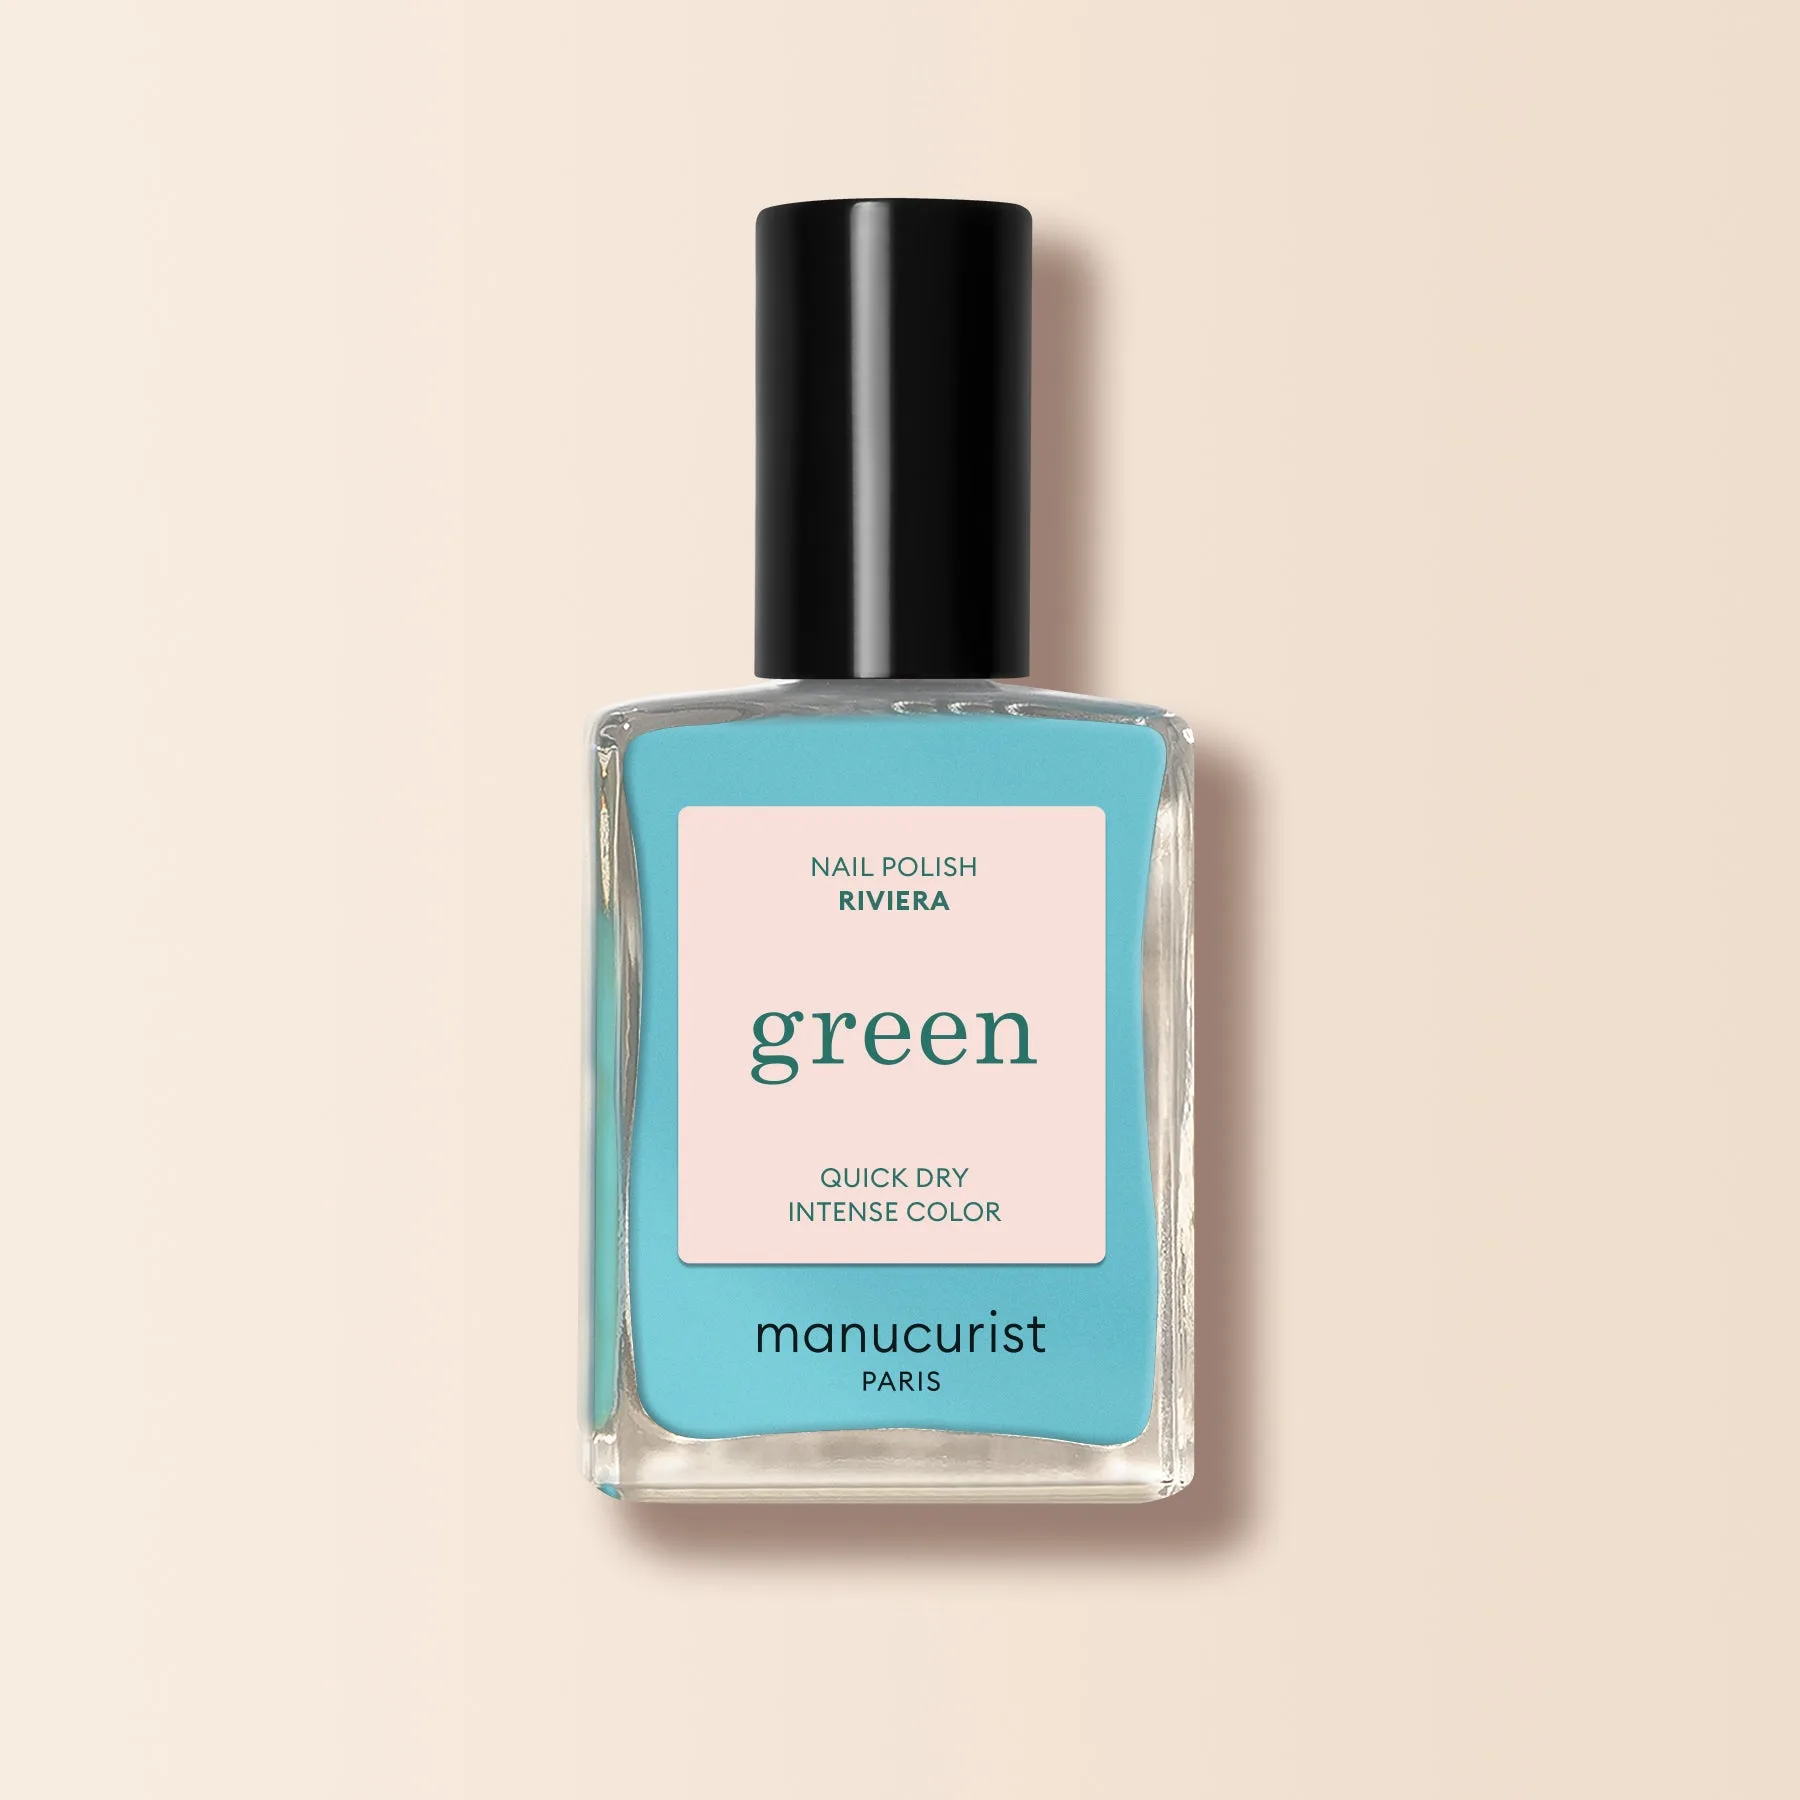
Once your nails are prepped, it’s time to apply color. Opt for high-quality, vegan and bio-sourced polishes that are free of toxic chemicals like toluene, formaldehyde, and dibutyl phthalate. These formulas are gentler on nails and still deliver vibrant, long-lasting results. Apply thin, even coats, allowing each layer to dry fully before adding the next. For semi-permanent polishes, cure each coat under an LED lamp according to the manufacturer’s instructions.
For a flawless finish, use three thin strokes per nail—one down the center and one on each side. Cap the free edge with each coat to prevent chipping. If you’re using glitter or shimmer-126926">shimmer polishes, a slightly thicker coat may be needed, but still aim for even coverage. The right application technique, combined with proper nail prep, ensures your manicure stays intact for days.
- Shake the polish bottle gently before use to mix pigments.
- Store polishes in a cool, dark place to maintain consistency.
Step 6: Seal with a Top Coat and Maintain
The final step in nail prep for longevity is a high-quality top coat. A top coat seals the color, adds shine, and protects against scratches and chips. For regular polishes, apply a fresh layer every two to three days to refresh the seal. For semi-permanent polishes, a no-wipe top coat saves time and leaves a glossy finish without sticky residue.
Maintenance is just as important as initial prep. Wear gloves when doing household chores, avoid using your nails as tools, and apply cuticle oil daily. With proper care, your manicure can last up to two weeks with regular polish and even longer with semi-permanent formulas. Remember, the effort you put into nail prep directly determines the longevity of your manicure.
- Reapply top coat every few days to extend wear.
- Avoid hot water exposure immediately after polishing.
Mastering nail prep is the key to achieving salon-quality, long-lasting manicures at home. By following these steps—cleansing, shaping, buffing, cuticle care, base coat, careful application, and top coat—you can enjoy vibrant, chip-free nails for days. Explore our collection of vegan and bio-sourced polishes and base coats to build a sustainable nail care routine that delivers results. Start with a nourishing base coat and see the difference proper preparation makes.