Quick answer
To swap or refresh your Roll 1 trauma pouch insert, unroll the pouch, remove the old insert, inspect the outer pouch, install a fresh insert, and reload your medical supplies in the same order every time. Replace the insert when it is worn, contaminated, or when you want a different setup.
When to replace the insert instead of cleaning it
The insert is the part that holds and organizes your medical supplies inside the Roll 1 trauma pouch. If it is torn, stretched, or contaminated with blood or other fluids, replacement is the safer choice. A clean, intact insert also makes it easier to confirm that every item is in its expected place during a quick check.
If the insert is simply dirty from dust or everyday carry, you can usually clean it according to the pouch manufacturer's instructions. But if the material is frayed or the stitching is failing, a new insert restores reliable retention.
Why a second insert is useful for different setups
Keeping a spare insert lets you maintain two configurations without unpacking your primary kit. For example, you might have one insert loaded for daily carry and another for a larger trauma kit. Swapping inserts takes seconds and helps you avoid leaving critical items behind when you change your loadout.
A spare also gives you a quick way to refresh your kit after a training session or a real-world use, so you can return the pouch to service without waiting for a replacement to arrive.
Step-by-step insert swap
- Unroll and open the pouch: Lay the Roll 1 trauma pouch flat and open it fully so the insert is accessible. Common mistake: forcing the pouch open while it is still rolled, which can stress the seams. Work on a clean, flat surface so small items do not roll away.
- Remove the old insert: Slide the insert out gently, keeping the medical supplies inside if possible so you can see how they were arranged. Common mistake: pulling sharply and snagging the insert on the pouch edges. If the insert is contaminated, wear gloves and dispose of it properly.
- Inspect the outer pouch: Check the inside of the pouch for debris, moisture, or damage before installing the new insert. Common mistake: skipping this step and trapping dirt or moisture against the fresh insert. A dry, clean pouch helps prevent odor and material degradation.
- Install the new insert: Slide the replacement insert into the pouch, making sure it sits flat and is fully seated. Common mistake: leaving a corner folded or misaligned, which reduces capacity and can block access. The insert should sit flush without bulging or bunching.
- Reload your supplies in a consistent order: Place items back in the same positions you used before, or follow your planned layout. Common mistake: reorganizing on the fly and later forgetting where critical items are. Keep a photo of your layout on your phone for quick reference.
- Roll, secure, and label: Roll the pouch closed, secure it, and add a date label or marker if you track replacement intervals. Common mistake: forgetting to secure the closure, allowing the pouch to unroll in storage. A small label helps you remember when the insert was last refreshed.
Product facts
-
Roll 1™ Trauma Pouch - Insert: This is the individual roll pouch that securely stores medical supplies and tools for the Roll-1 trauma pouch, offered separately as a replacement or for different setups. You can replace a worn insert or build a second loadout without buying a whole new trauma pouch.
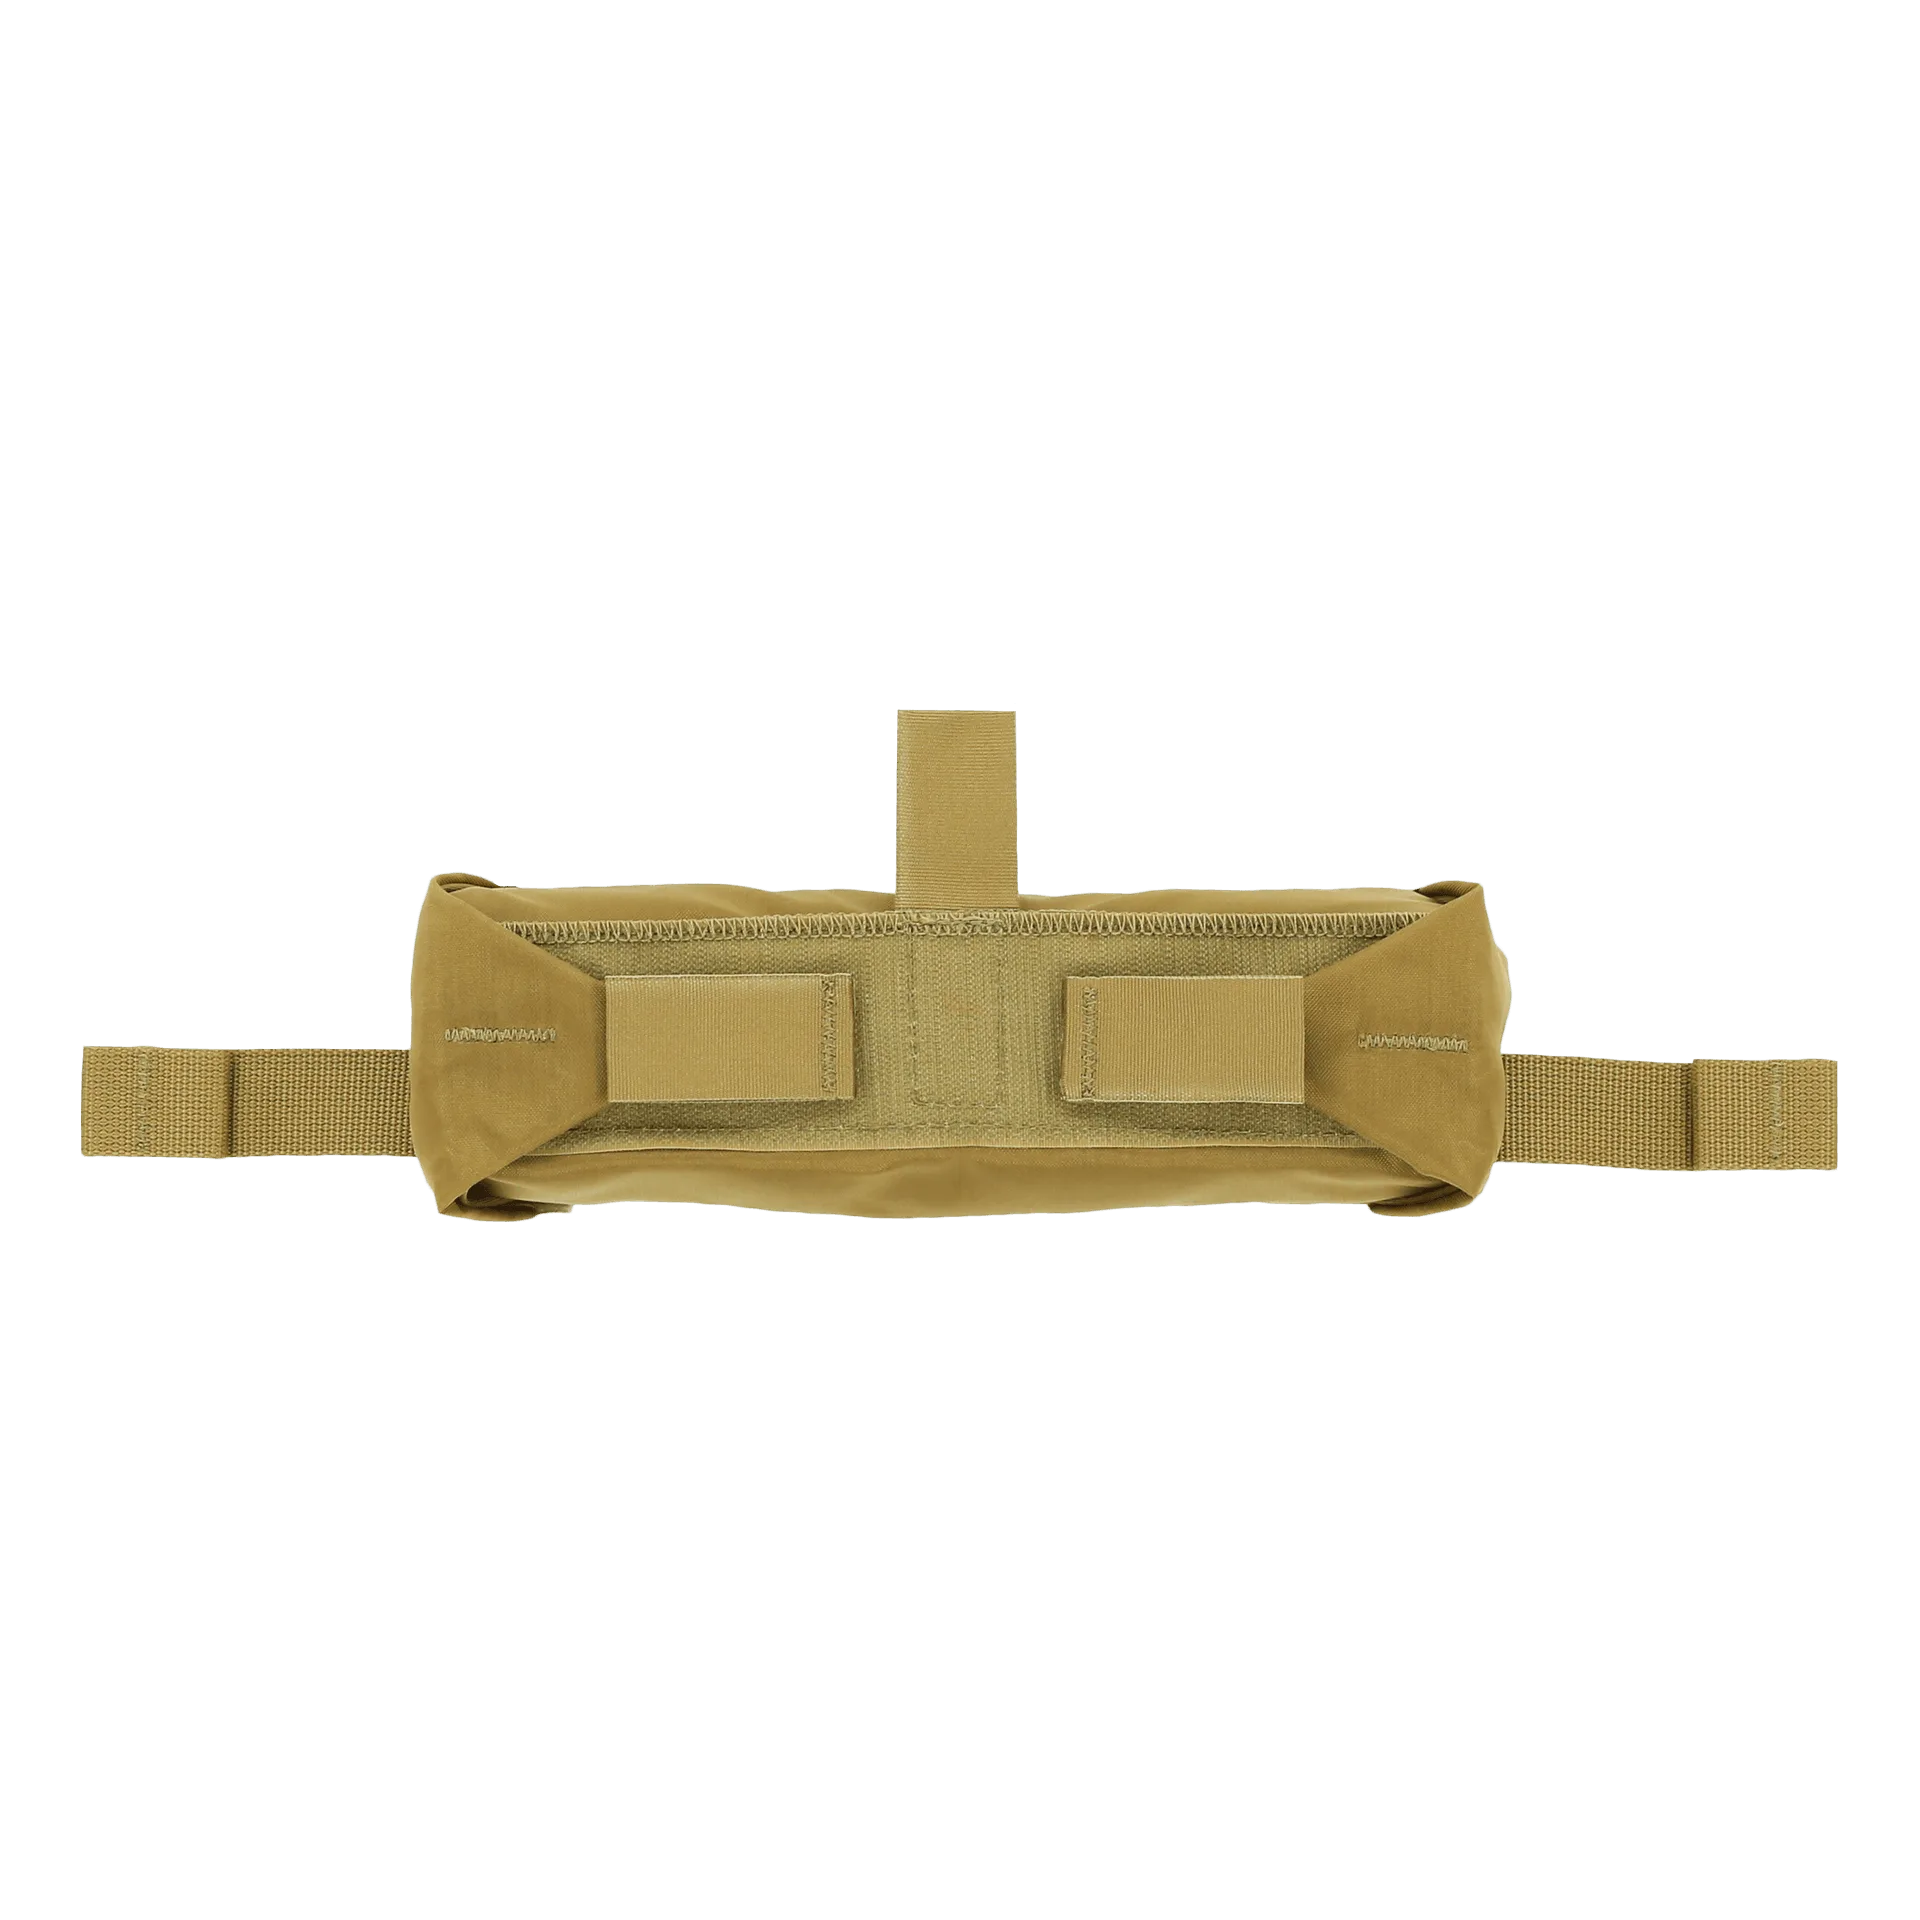
Roll 1™ Trauma Pouch - Insert