Quick answer
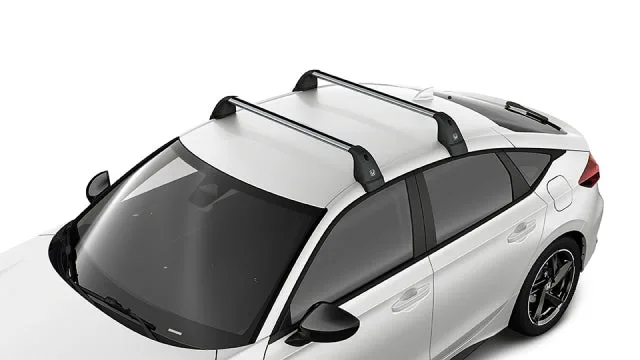
For a 2022+ Civic Hatchback, start with the Genuine Honda Roof Carrier (product ID 2681983) because it is vehicle-specific, preserves moonroof operation, and supports up to 154 lb. Install the crossbars on the factory mounting points, then add only cargo accessories rated for that load. Check torque and re-check after your first drive.
Why vehicle-specific fitment matters on the Civic Hatchback
The 2022+ Civic Hatchback has fixed mounting points under the roof ditch trim, and the Genuine Honda roof carrier is designed to lock into those points without drilling or universal clamps. That matters because clamp-on racks can pinch the door seals, interfere with the hatch glass, or shift under load. The Honda carrier also keeps the moonroof fully operational and includes covers for the mounting points when the rack is removed.
If you are shopping for a honda roof carrier fitment, confirm the rack is listed for all 2022+ Civic Hatchback variants, including RHD and international models. That coverage is a good sign the mounting hardware matches the body, not just the model year.
Gather tools and set a safe working position
Park on a flat, level surface and set the parking brake. You will need the rack kit, a torque wrench, a clean microfiber cloth, and a step stool if you cannot comfortably reach the roof center. If your kit includes new bolts, use them rather than reusing old hardware. Do not install a roof rack in a garage with a low ceiling; you will lift and position crossbars above the roofline.
Open the doors and lower the windows slightly so you can access the roof ditch without leaning on the glass. If your Civic has a moonroof, leave it closed during installation to avoid pressing on the glass panel.
Step 1: Clean and inspect the roof mounting points
Wipe the roof ditch and the area around each mounting point with a clean cloth. Dirt or grit under the feet can scratch the paint once the rack is tightened. Check that the factory covers or trim pieces come off without binding; if a clip feels stuck, warm the area slightly or use a plastic trim tool instead of a metal screwdriver.
Common mistake: prying the trim covers with a flathead screwdriver. That chips paint and can break the clips. Use a plastic trim tool and keep the covers in a safe place so you can reinstall them when the rack is off.
Step 2: Assemble the crossbar feet and position the bars
Follow the kit instructions to attach each foot to the crossbar. Most vehicle-specific racks have left and right feet, and some have a front and rear bar with different widths. Lay the bars on a blanket or padded surface while you assemble them so the metal does not contact concrete.
Set the front bar roughly above the B-pillar and the rear bar above the C-pillar, then adjust fore and aft until the feet align with the mounting points. Do not fully tighten anything yet. If the bars have a marked front edge, face it forward; reversing the bar can create wind noise and place the load differently.
Step 3: Secure the feet to the factory mounts
Seat each foot onto its mounting point and start the bolts or locking mechanisms by hand. Once all four corners are started, tighten in a cross pattern, a little at a time, until you reach the torque specified in the kit instructions. If the kit does not list a torque figure, tighten until the foot is snug and the rubber or foam pad just contacts the roof; do not crush the pad or deform the trim.
Checkpoint: grab each bar near the foot and try to move it side to side. There should be no clunk or visible movement. If a foot rocks, loosen it, reseat it, and tighten again.
Step 4: Add cargo accessories and load the roof
Choose accessories that match your cargo: a roof box for luggage, a fork-mount or upright bike carrier, or a basket for soft bags. Whatever you add, the combined weight of the bars, carriers, and cargo must stay at or below the 154 lb maximum load capacity of the Honda carrier. That figure includes the weight of the rack itself, so subtract the carrier weight before you load.
Distribute weight evenly from side to side and keep heavier items low and centered between the bars. Use cam straps or ratchet straps with the excess tail secured so it cannot slap the roof. If you are carrying a bike, remove the front wheel if the carrier requires it and secure the rear wheel with a strap.
Step 5: Re-check after the first drive and before every trip
Drive a short loop at low speed, then stop and re-check the torque on all four feet and the accessory mounts. New installations can settle, and a loose foot is the most common cause of noise and movement. After that, inspect the rack before each trip: look for cracks, missing covers, or worn straps.
When you are not carrying cargo, remove the rack and reinstall the factory covers. That reduces wind noise and keeps the mounting points clean. Store the rack indoors; UV and road salt degrade rubber pads and plastic covers over time.
Civic hatchback roof rack installation steps
- Clean and inspect the mounting points: Wipe the roof ditch and remove the factory trim covers with a plastic trim tool. Checkpoint: no dirt under the feet and no broken clips.
- Assemble and position the crossbars: Attach the feet to the bars, set the front bar above the B-pillar and the rear above the C-pillar, and align the feet with the mounts. Mistake to avoid: fully tightening one side before the other, which twists the bar.
- Secure the feet and torque in a cross pattern: Start all bolts by hand, then tighten in a cross pattern to the kit-specified torque. Checkpoint: grab each bar and confirm zero movement.
- Add accessories and load within 154 lb: Include the weight of the bars and carriers in the total, and distribute cargo evenly. Mistake to avoid: forgetting that the load limit includes the rack hardware.
- Re-check after the first drive: Drive a short loop, then re-torque the feet and accessory mounts. Next step: remove the rack and reinstall covers when not in use.
Product facts
- Genuine Honda 2022+ Civic Hatchback Roof Carrier: Fits all 2022+ Honda Civic Hatchback, including RHD and international models, with a 154 lb maximum load capacity and no effect on moonroof operation. Vehicle-specific fit means no drilling or universal clamps, and the load limit tells you exactly how much gear you can carry safely.
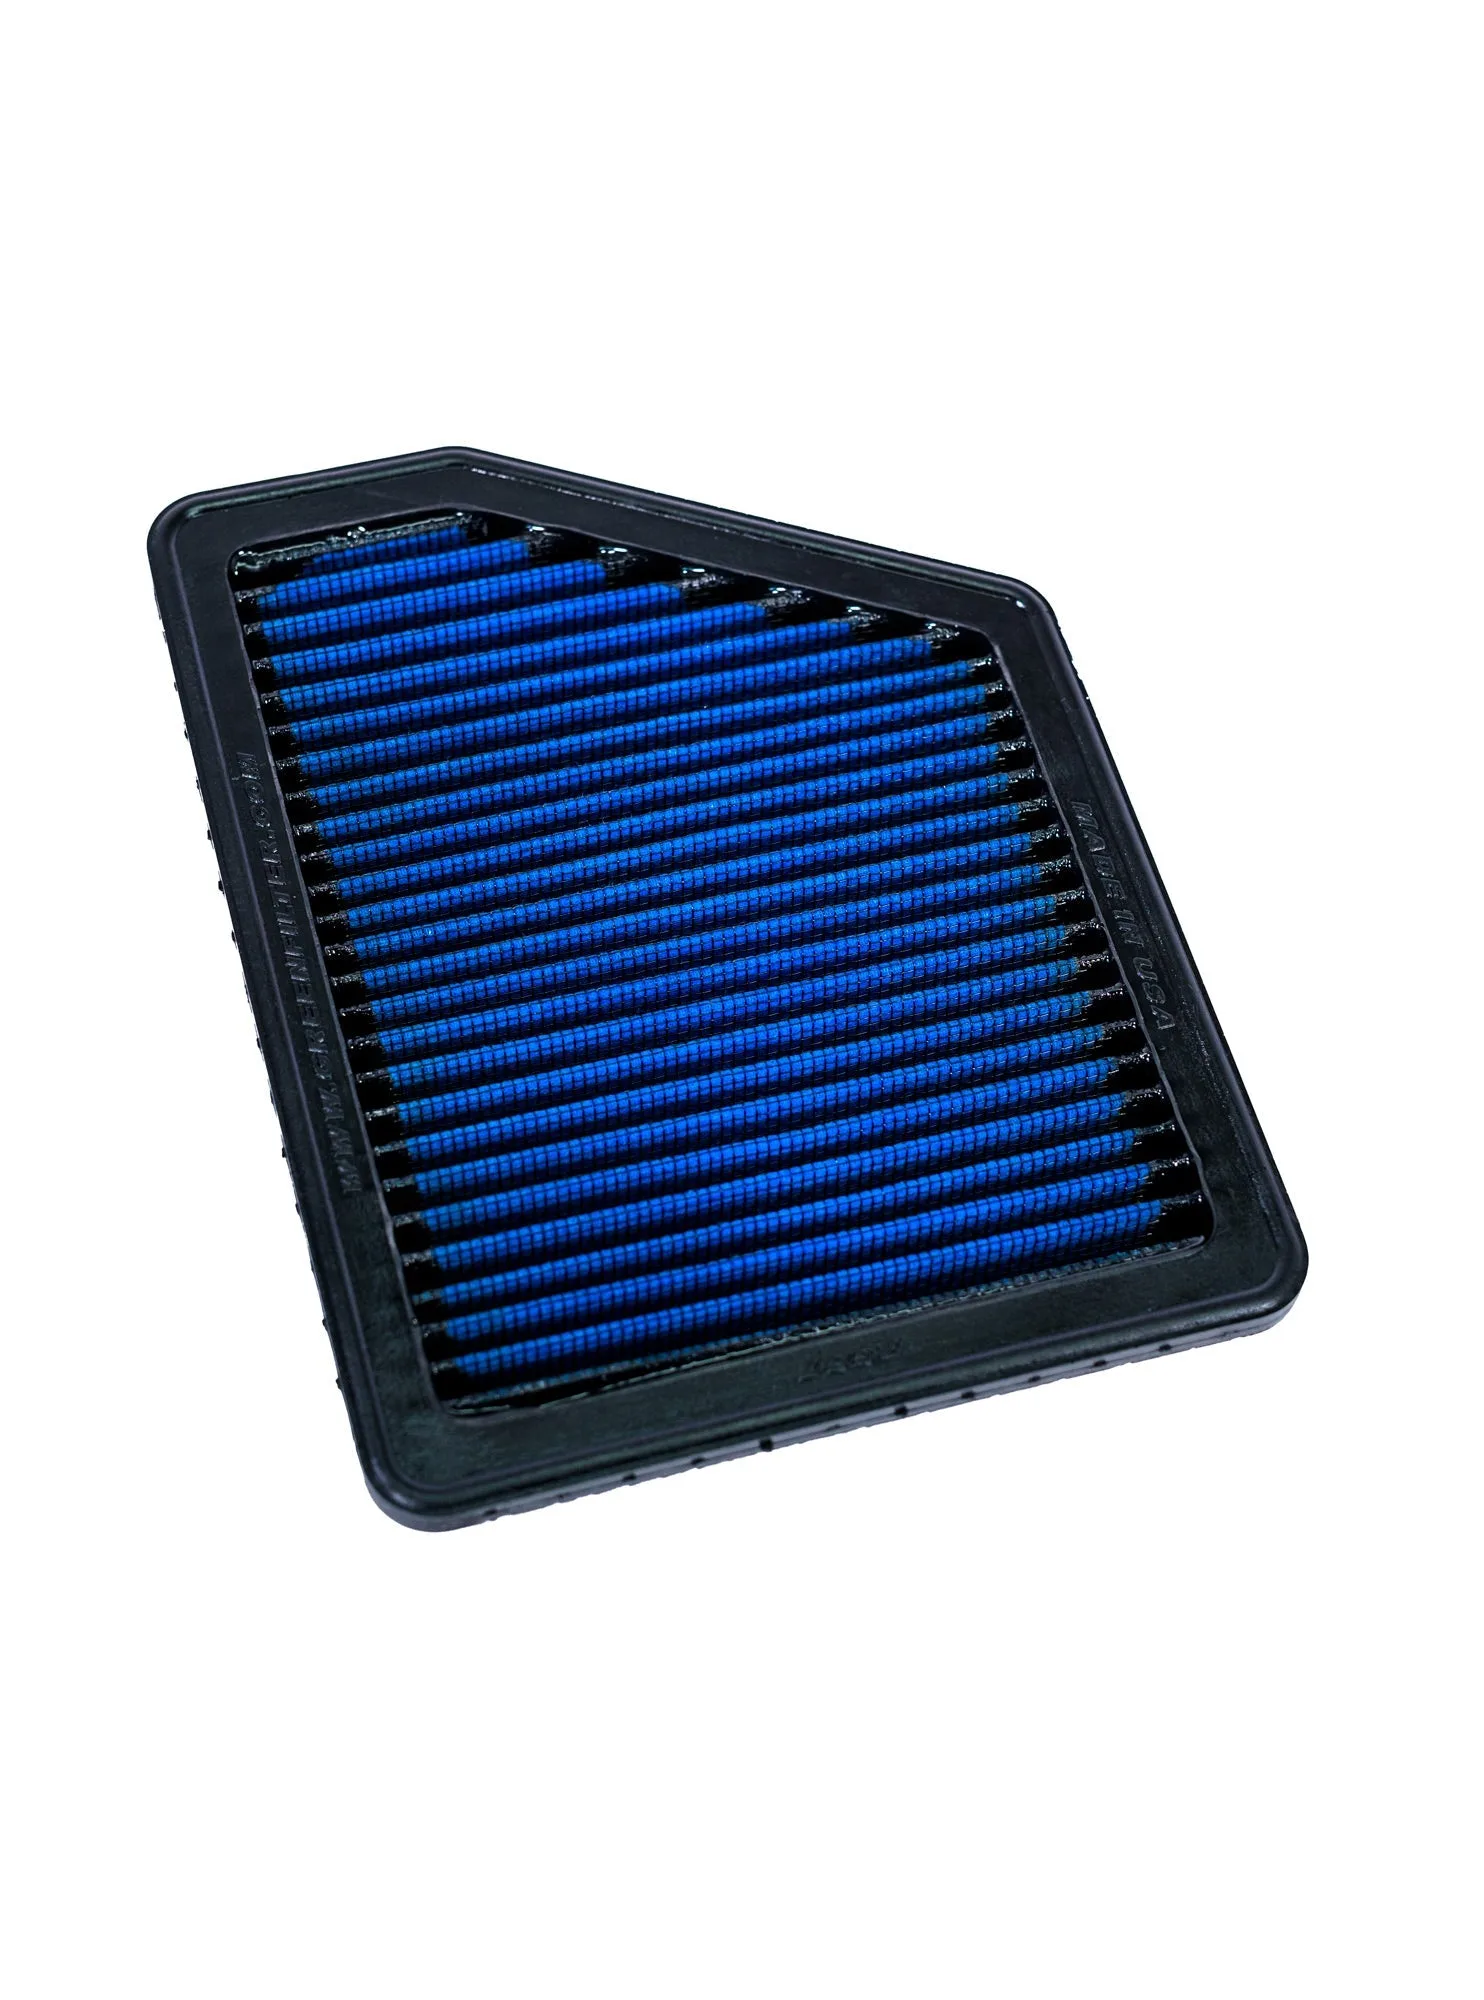
- 2016-2021 Honda Civic 2.0L Replacement Panel Air Filter Upgrade: Fits all 2016-2021 and 2022+ Honda Civic 2.0L, including Si, CVT, 6MT, RHD, and international models, and requires no ECU calibration. If you are already doing roof rack work, this drop-in panel filter is a no-tune upgrade that supports the engine without extra electronics.
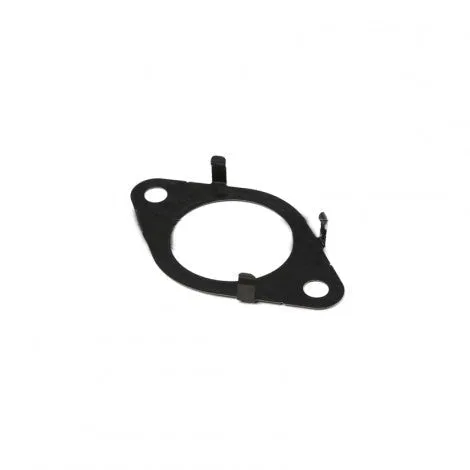
- Genuine Honda Turbocharger Compressor Outlet Gasket - 2.0T: Genuine Honda turbocharger compressor outlet gasket for 2017-2021 Civic Type-R FK8 and 2018+ Accord 2.0T, Honda part number 17285-RPY-G01. A factory replacement gasket is the right choice when you remove the compressor outlet for other work; it seals correctly without guesswork.