Quick answer
Use a rubber brayer to roll a thin, even layer of paint onto a flat surface, then press paper on top to make a print. It turns a simple paint activity into a printmaking project that even preschoolers can handle.
Why a brayer works well for small hands
A brayer lets kids apply paint without brushes, which means less smearing and more control. The rolling motion is easy for preschoolers to master, and it creates a smooth, even coat that makes prints come out clearly. Because the tool does most of the work, children can focus on the fun part: choosing colors and pressing paper.
One trade-off: a brayer is not a replacement for brushes. It works best for flat, smooth surfaces like paper, cardboard, or craft foam. Textured or bumpy materials will not print evenly, so save those for brush painting.
Set up a printmaking station that works
Before you start, cover the table with newspaper or a washable mat. Pour a small amount of paint onto a flat tray or piece of wax paper—just enough to coat the brayer. Keep a stack of paper nearby and a damp cloth for quick cleanups. A brayer with a 2.5-inch roller is a good size for small hands and small projects.
How to use a brayer with kids: step by step
- Prepare the paint: Squeeze a small amount of washable paint onto a flat tray or sheet of wax paper. Roll the brayer back and forth a few times to coat the roller evenly. Common mistake: using too much paint—it will squish out and make blurry prints. A thin, even coat is better than a thick one.
- Roll onto the printing surface: Have your child roll the brayer across a piece of paper, cardboard, or craft foam in one direction. Encourage slow, steady pressure. Checkpoint: the paint should look smooth and slightly tacky, not drippy. If the paint looks uneven, roll again without adding more paint.
- Press the paper: Place a clean sheet of paper on top of the painted surface and press gently with flat hands. Help younger children press from the center outward. Common mistake: rubbing or sliding the paper, which smears the design. Lift the paper straight up to reveal the print.
- Clean the brayer right away: Wipe the roller with a damp cloth or rinse under warm water before the paint dries. Checkpoint: paint left on the roller can harden and ruin the surface. Cleanup is part of the process—keep a cloth nearby.
Tool to try
-
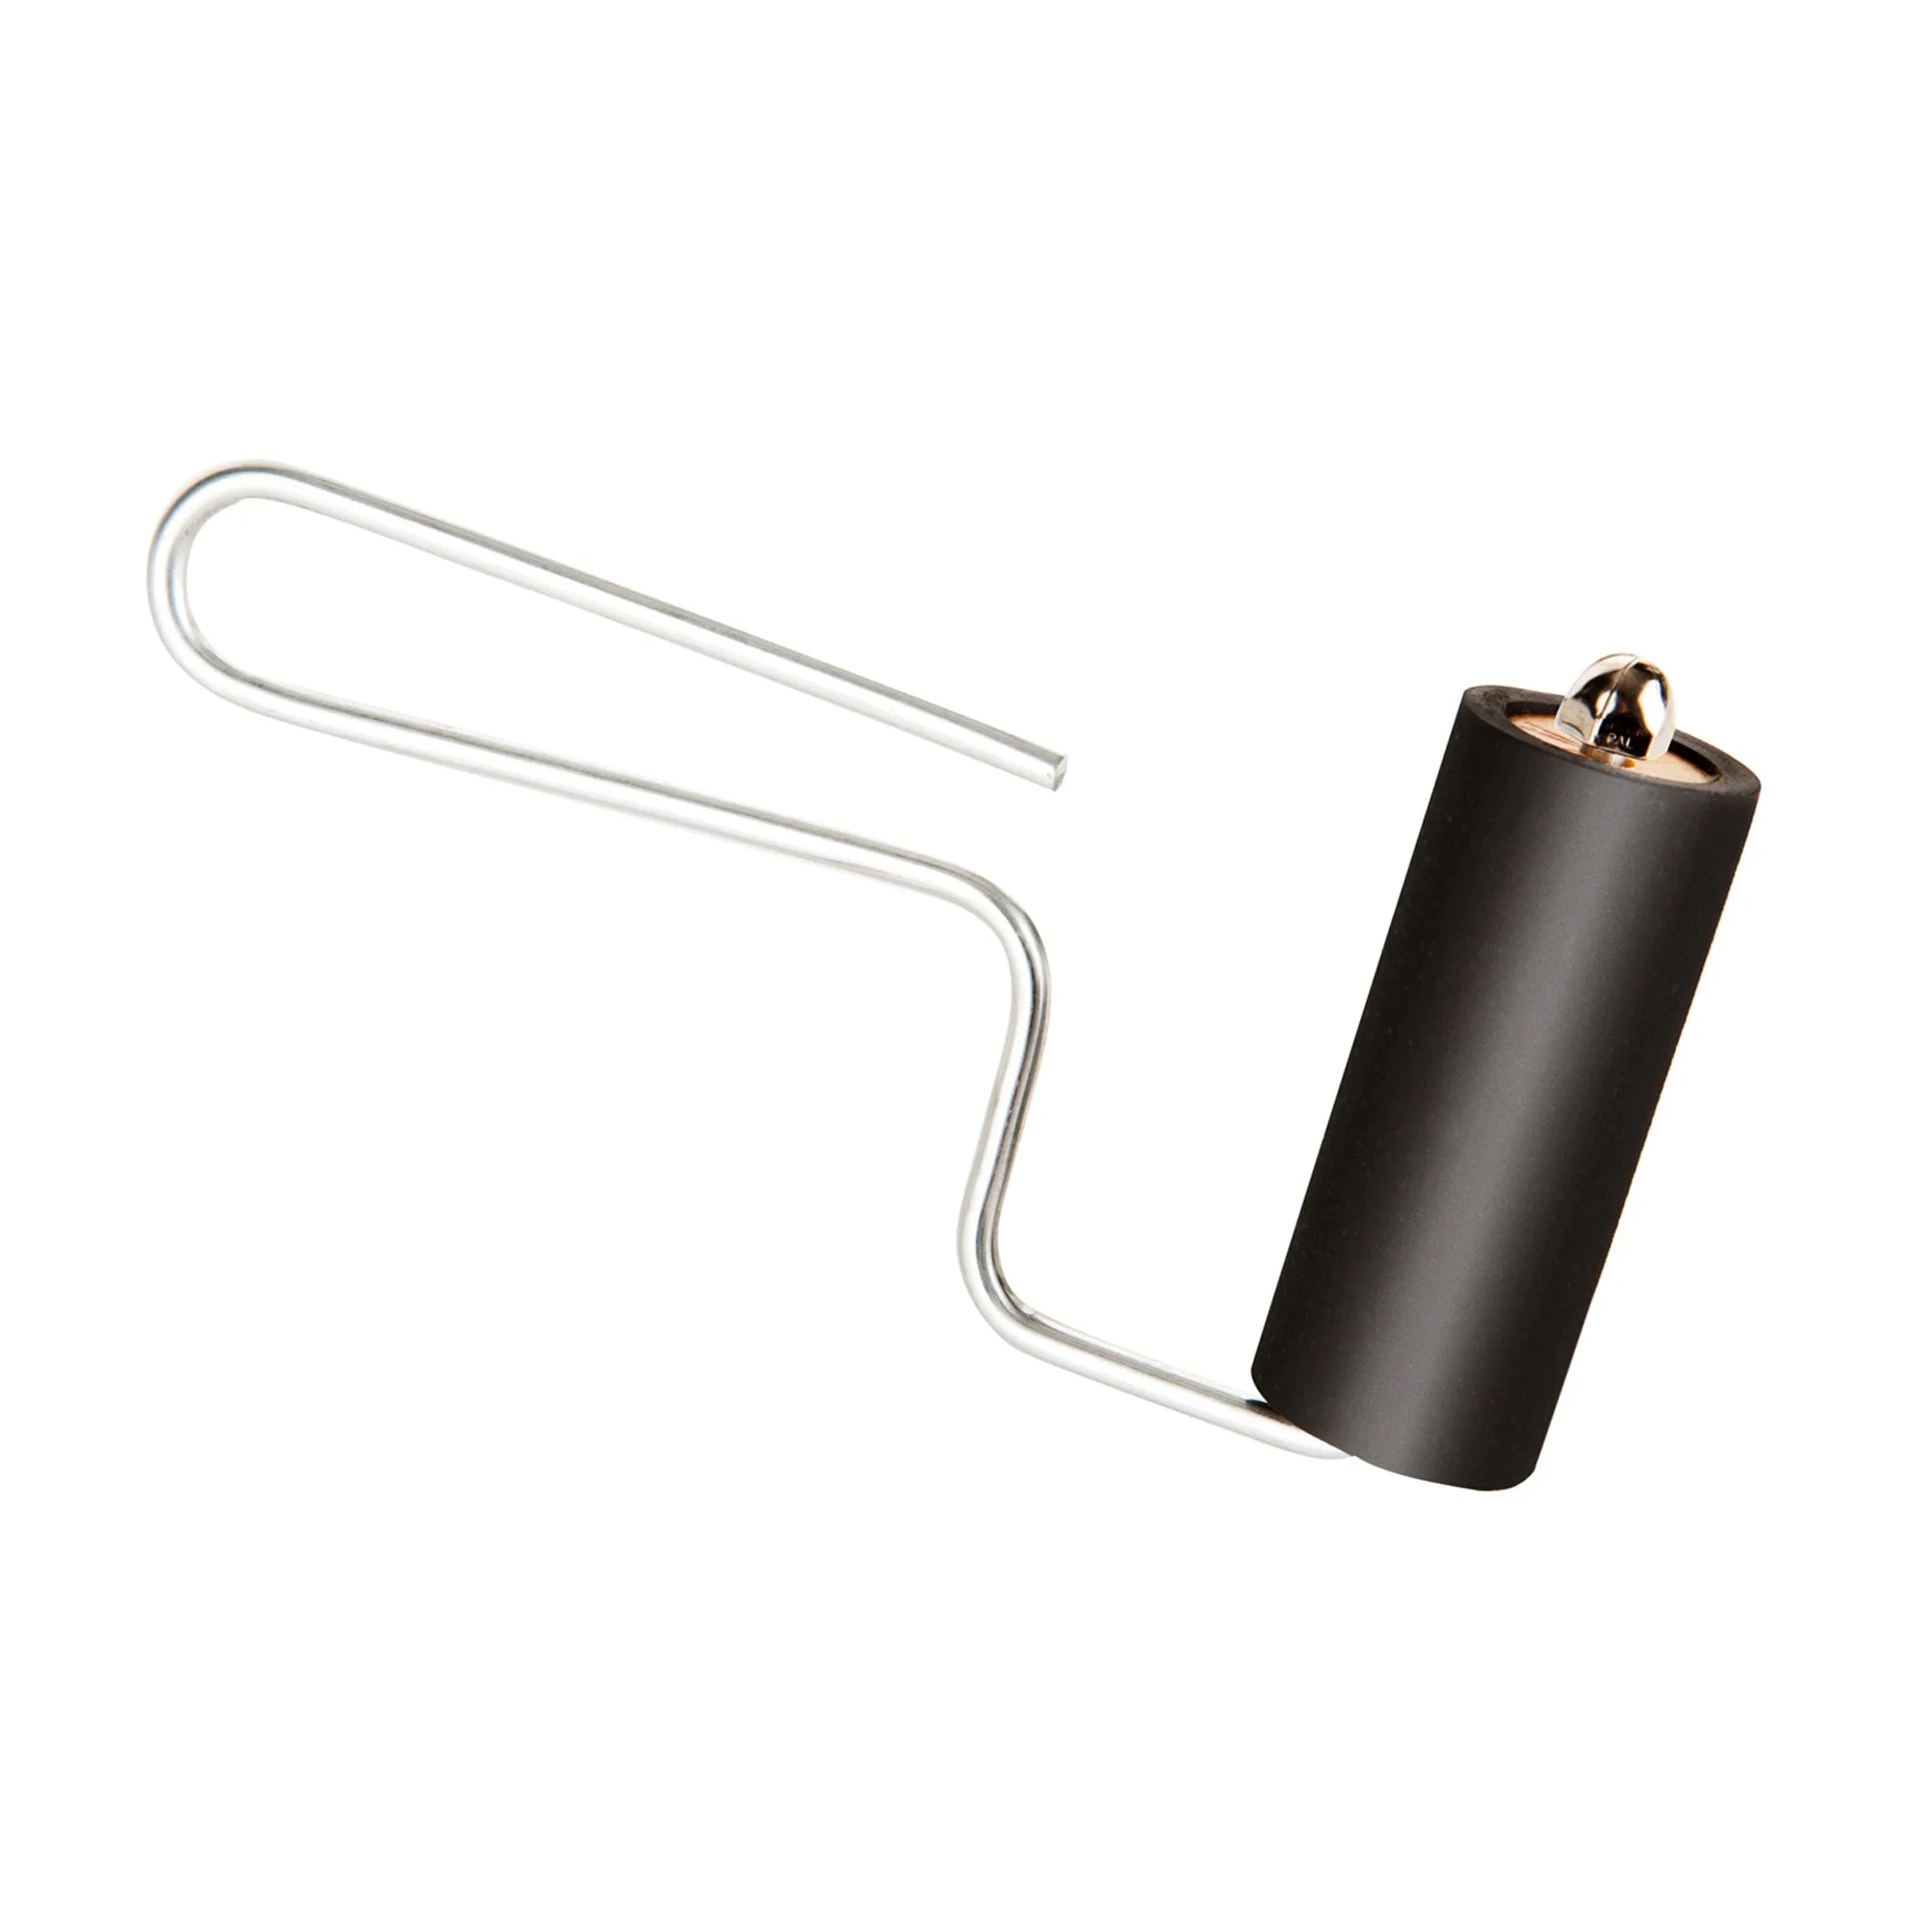
Rubber Brayer Hard: This hard rubber brayer has a 2.5-inch wide roller and a 3.5-inch handle, made with a wire frame and rock-maple core. The compact size and sturdy build make it easy for kids to grip and roll, while the hard rubber surface works well with many printing techniques.
Rubber Brayer Hard