Quick answer
Pack the Ruffle Strap Labor & Delivery Gown in your hospital bag as your primary labor and delivery gown, then follow a simple step-by-step routine to use its features during monitoring, epidural placement, and nursing. Check each feature before you leave for the hospital so nothing surprises you in the delivery room.
Why a dedicated labor gown beats a standard hospital gown
Hospital-issued gowns are designed for institutional use, not for the specific sequence of labor, delivery, and postpartum recovery. A dedicated gown like the Ruffle Strap Labor & Delivery Gown is built around the access points your care team actually needs: front snaps for monitoring and exams, back openings for epidurals, and snap-down straps for nursing and pumping. That means fewer awkward adjustments and more coverage when you want it.
The trade-off is that you are bringing your own garment, so you need to pack it early and confirm your hospital's policy on personal gowns. Some hospitals allow them for labor but prefer their own gown for delivery; ask during your pre-registration call so you can plan accordingly.
What to check before you pack the gown
Before the gown goes into your bag, confirm that all snaps and openings work smoothly and that the size you ordered gives you room to move. The gown is available in size options, so try it on over a comfortable bra and practice opening the front snaps and back openings. If you will be induced or have a planned cesarean, mention the gown to your provider at your next appointment to confirm it fits your birth plan.
Also check the hospital's laundry and storage rules: some facilities ask you to bring the gown in a sealed bag and may not allow it in the operating room. Knowing this ahead of time prevents a last-minute change of plans.
How to pack the gown in your hospital bag
Place the gown in a packing cube or a large zip-top bag labeled 'labor gown' so it is easy to find when you are in a hurry. Pack it with the front snaps facing up and the back openings accessible, and include a spare nursing bra or tank if you plan to use the snap-down straps for pumping. Keep the gown near the top of your bag, since you may want to change into it as soon as you are admitted.
If your bag is already packed from an earlier checklist, double-check that the gown is still there and that no other items have shifted over the snaps. A quick visual check takes seconds and avoids discovering a missing gown after you have already changed into a hospital one.
Your step-by-step hospital gown checklist
- 1. Try on the gown and test every opening: Before packing, put on the gown and practice opening the front snaps, the back openings, and the snap-down straps. Make sure the size allows you to sit, lie back, and walk without pulling. Common mistake: assuming the gown fits because it looks right on the hanger. Checkpoint: you can open and close each snap without help. If any snap is stiff or the size feels tight, exchange it before your due date.
- 2. Confirm your hospital's policy on personal gowns: Call your hospital's labor and delivery unit or ask at your pre-registration visit whether you can wear your own gown during labor, delivery, and recovery. Ask specifically about the operating room if a cesarean is possible. Common mistake: waiting until you are in triage to ask. Checkpoint: you know which stages allow your gown and have a backup plan if it is not permitted. Write the policy answer in your birth plan notes so your support person can remind you.
- 3. Pack the gown where you can reach it fast: Fold the gown and place it in a labeled bag or packing cube at the top of your hospital bag. Include a spare nursing bra or tank if you plan to pump. Common mistake: burying the gown under snacks and toiletries. Checkpoint: you can pull out the gown without unpacking the whole bag. Snap a photo of your packed bag so you can confirm the gown is included before you leave.
- 4. Change into the gown when you are admitted: As soon as you are settled in your labor room, change into the gown and show your nurse the front snaps, back openings, and snap-down straps. This helps them use the features correctly during monitoring and exams. Common mistake: waiting until contractions intensify to change. Checkpoint: your nurse has seen the access points and knows how the gown works. Keep a lightweight robe or blanket nearby in case you want extra coverage between checks.
- 5. Use the features stage by stage: During monitoring and exams, your care team can use the front snaps. For an epidural, the back openings keep the gown in place. After delivery, use the snap-down straps for nursing or pumping, and keep essentials in the pockets. Common mistake: tugging the gown down instead of using the snaps. Checkpoint: you or your support person can open each access point without removing the gown. Ask your support person to practice the snaps with you once so they can help later.
- 6. Plan the trip home and laundry: Pack a going-home outfit separately so the gown can go straight into a laundry bag. Check the gown's care label before washing, and spot-clean any spills during your stay. Common mistake: stuffing the gown into your bag without a laundry bag, which can transfer odors to other items. Checkpoint: you have a separate bag for worn clothing and know the wash instructions. Keep a travel-size stain remover in your hospital bag for quick touch-ups.
Product facts
-
Ruffle Strap Labor & Delivery Gown | Honey: Front snaps allow monitoring, exams, and skin-to-skin contact; back openings accommodate epidurals; snap-down straps provide nursing and pumping access. These access points let your care team work without removing the gown, so you stay covered and comfortable during each stage.
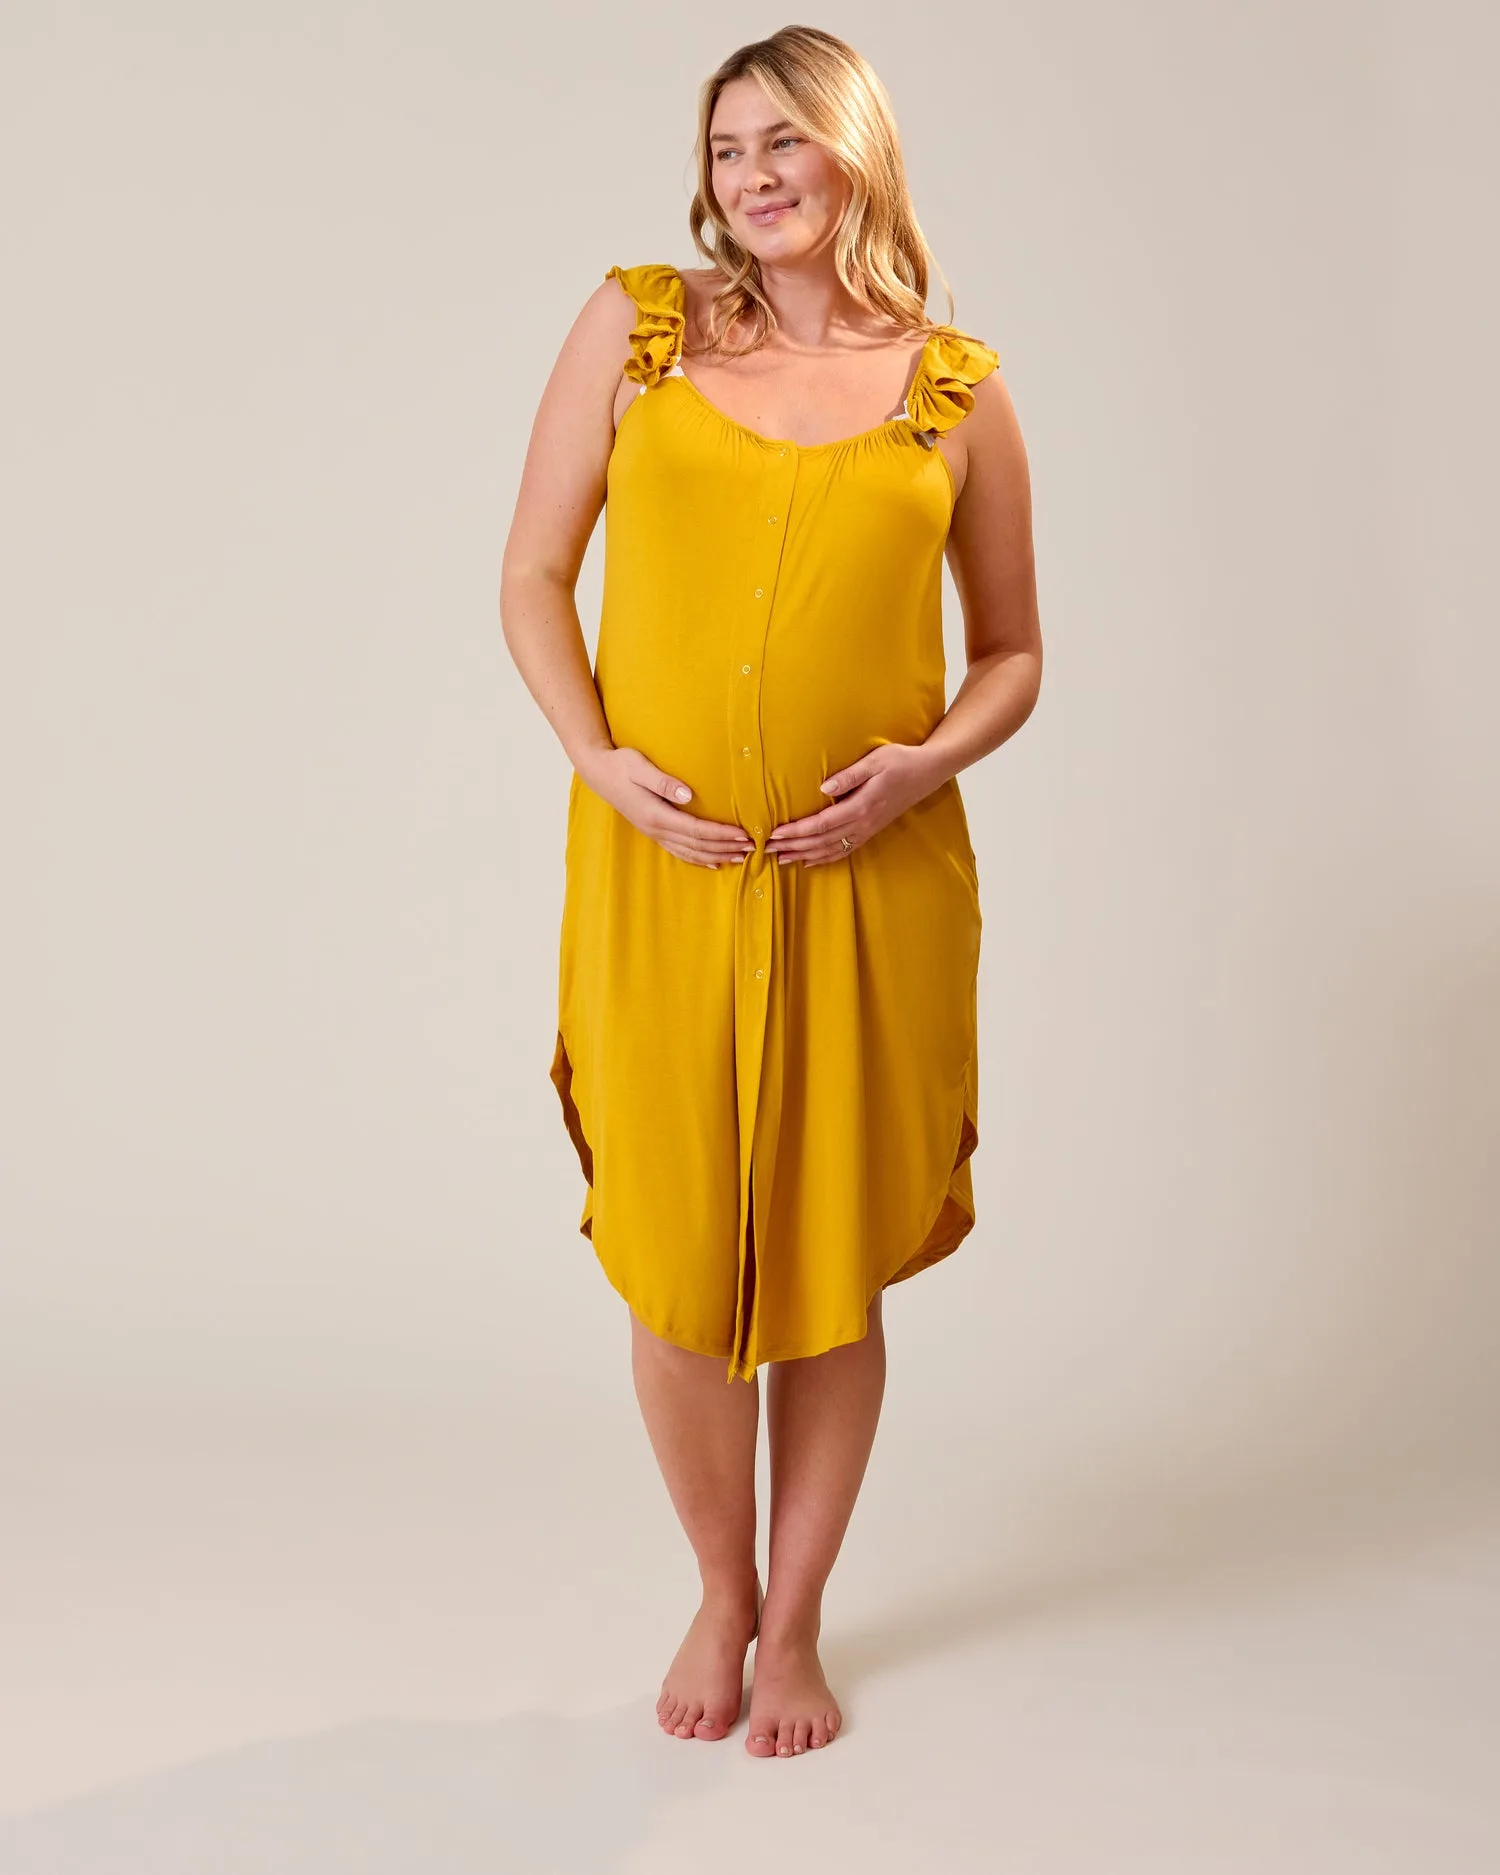
Ruffle Strap Labor & Delivery Gown | Honey
-
Ruffle Strap Labor & Delivery Gown | Honey: The gown is made of ultra-soft, stretchy fabric and includes pockets for essentials. Stretch helps the gown move with you during labor, and pockets keep small items like a phone or lip balm within reach.