Quick answer
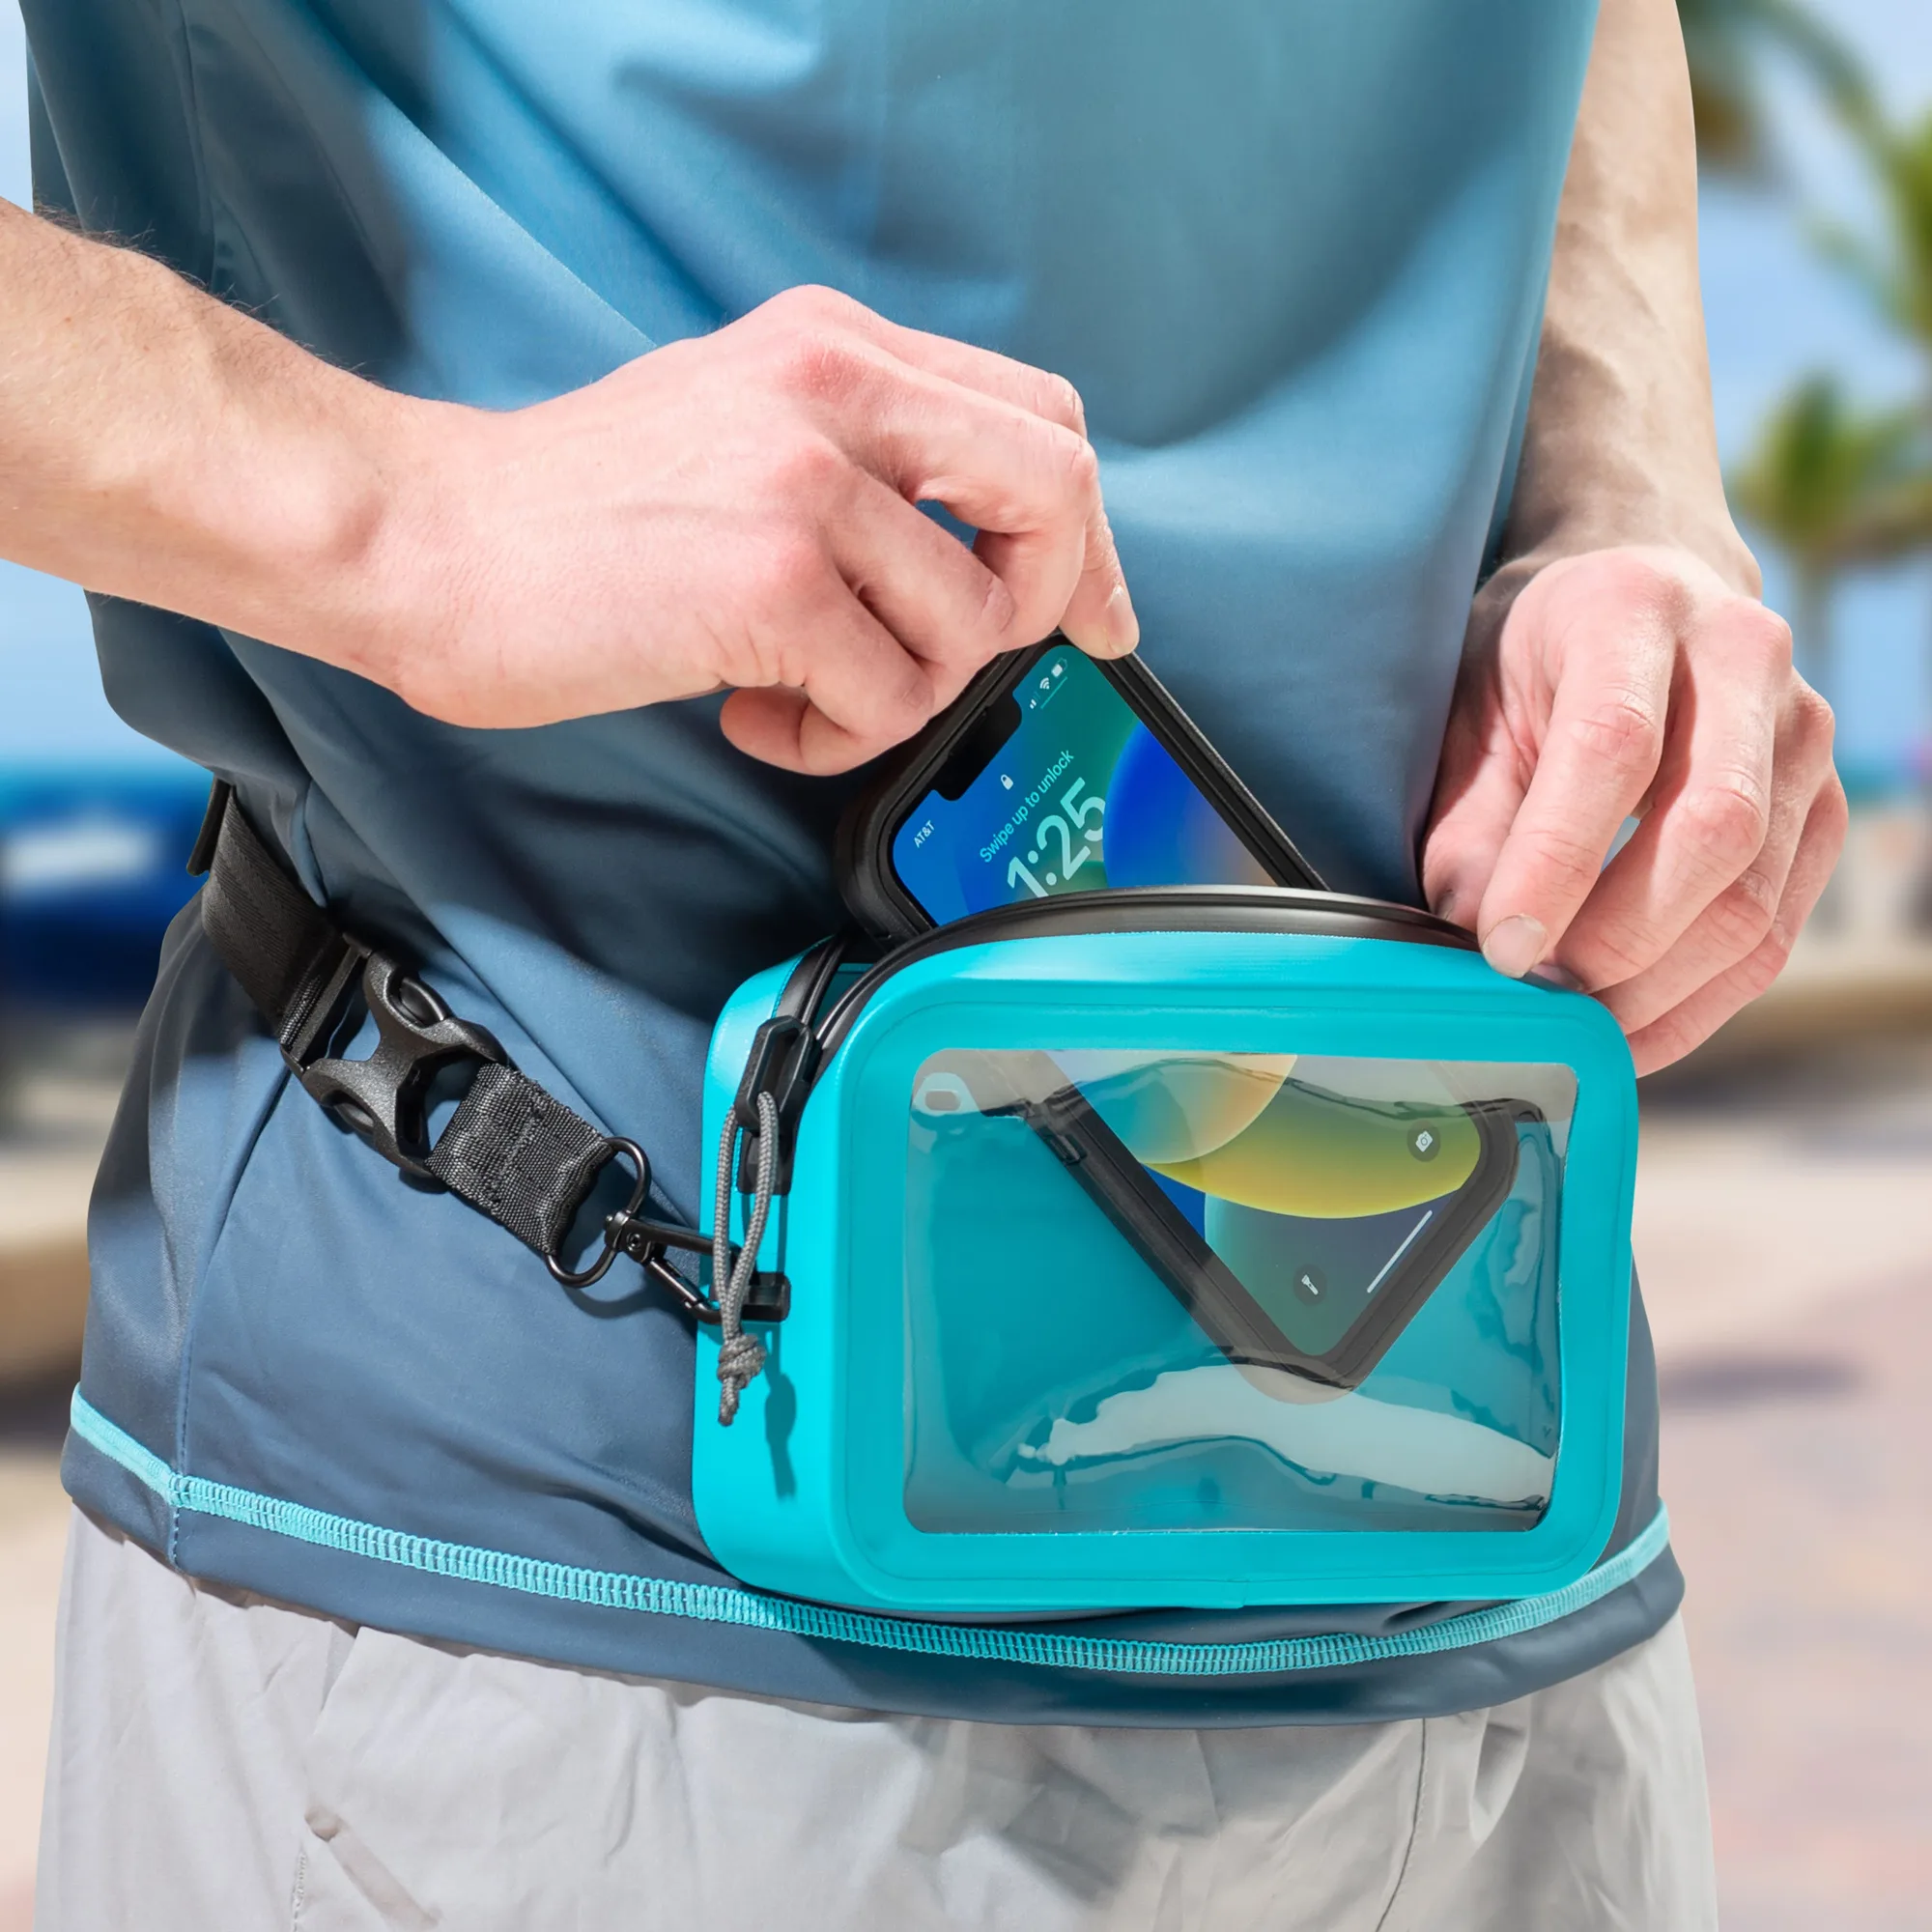
Pack the RunOff Waterproof Hip Pack for wet days by layering from the inside out: small dry essentials first, then one flat item, then anything you will grab often. Keep the load light enough that the pack stays snug at your hip or cross-body, and test the closure before you leave.
Why a hip pack changes your packing list
A waterproof waist pack is not a smaller backpack. It rides at your hip or across your body, so bulky or rigid items press into your side and make the pack shift when you move. That makes soft, flat, and genuinely necessary items the best candidates.
The RunOff Waterproof Hip Pack is described as adjustable and submersible, and it can be worn cross-body. Those traits reward a tight, deliberate load: the less empty space and loose gear inside, the less the pack swings during watersports or boating.
What earns a place, and what does not
Prioritize items that would be ruined by water or that you need without opening a larger bag: phone, keys, a card or cash, a small sunscreen, and a compact lip balm. A waterproof pouch for travel can organize small items inside, but it adds bulk, so use one only if you already carry it.
Leave out towels, water bottles, and bulky cameras. They either do not fit comfortably at the hip or belong in a larger dry bag. Also skip anything that can poke or abrade the pack from the inside, since that is a common way a waterproof closure gets compromised.
How to pack the RunOff Hip Pack step by step
- Start with a dry, empty pack: Open the pack fully and confirm the inside is dry before loading. Common mistake: packing over a damp interior or trapped sand, which can wick moisture onto your phone. A dry start is the checkpoint; if the inside is wet, let it air out first.
- Put the most water-sensitive item in first: Place your phone or another critical item against the back of the pack, away from the closure. Common mistake: putting the phone last, where it presses against the seal and is the first thing exposed when you open the pack.
- Add flat, soft items next: Slide in a card, cash, or a slim travel pouch flat against the phone. Common mistake: adding a rigid key organizer or thick pouch that creates a pressure point and makes the pack bulge.
- Keep grab-and-go items near the opening: Put sunscreen, lip balm, or keys where you can reach them without unpacking the whole bag. Common mistake: burying small items so you have to open the pack fully on a windy beach or a moving boat.
- Close, then test the seal: Seal the closure completely and give the pack a gentle shake before you get it wet. Common mistake: assuming the pack is closed because it looks closed; check that no fabric or sand is caught in the seal. Test the closure before every wet session, not just the first one.
- Adjust the fit last: Tighten the strap so the pack sits snug at your hip, or switch to cross-body if you will be bending or paddling. Common mistake: leaving it loose, which lets the pack swing and bump against your body. A snug fit is part of keeping gear dry, because it reduces movement and accidental opening.
Product facts
-
RunOff® Waterproof Hip Pack: Adjustable and submersible, and can also be worn cross-body. You can tighten it for swimming or boating and switch to cross-body when you want quicker access on shore.