Ever walked out of a barbershop or spa with that unmistakable glow and wondered how to recreate it between visits? The truth is, a salon-quality facial isn’t reserved for professionals. With the right tools and a few quality products, you can give yourself a deeply cleansing, restorative facial at home—no esthetician license required.
In this guide, we’ll walk you through a complete home facial routine that uses simple tools like a facial cleansing brush, a purifying mask, and a lightweight moisturizer. You’ll learn the order of operations, the techniques pros use, and how to pick the right products for your skin type. By the end, you’ll have a repeatable ritual that leaves your skin looking and feeling its best—without the appointment.
Step 1: Start with a Clean Slate – Double Cleansing
Every great facial begins with a clean canvas. Dirt, oil, and leftover product can block the benefits of everything you apply afterward. That’s why professional facialists always start with a thorough cleanse—and often a double cleanse. The first cleanse removes surface impurities, while the second dives deeper to unclog pores.
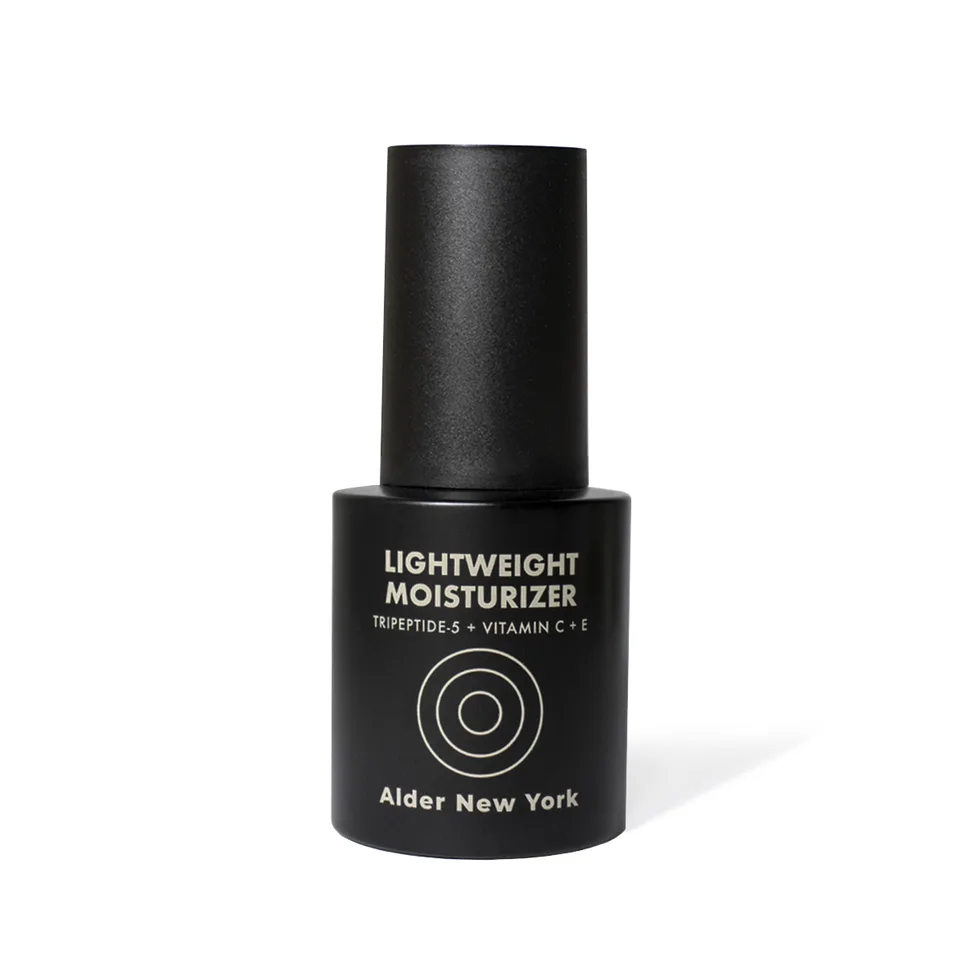
For at-home results, use a gentle cleanser and warm water. If you have a facial cleansing brush, now is the time to use it. A brush like the Alder Lightweight Moisturizer isn’t a cleanser, but it’s a great follow-up. For the cleanse itself, consider a product like the Jackfir Classic Shave Cream—even if you’re not shaving, its rich lather can double as a gentle cleansing cream for sensitive skin.
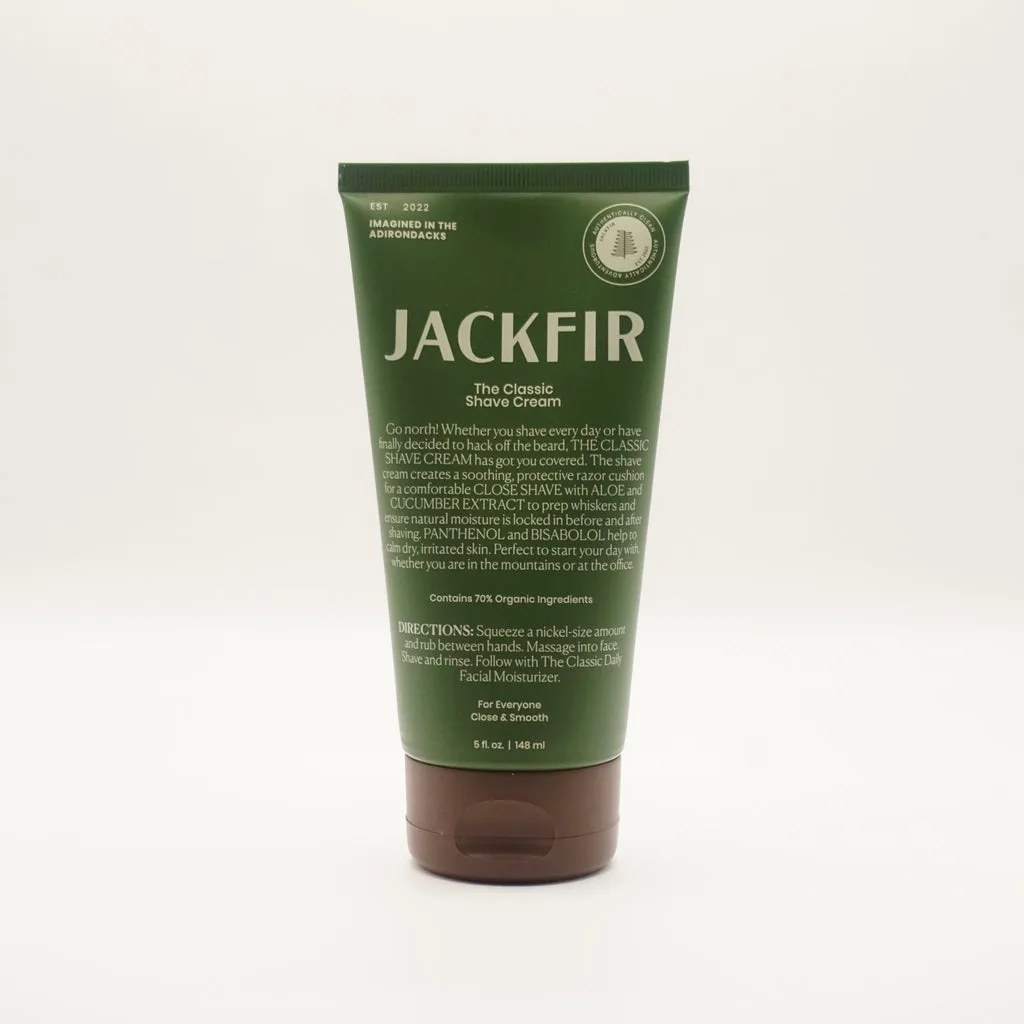
Jackfir Classic Shave Cream
- Wet your face with warm water to open pores.
- Apply a dime-sized amount of cleanser and massage in circular motions.
- Rinse with cool water to close pores and pat dry.
Step 2: Exfoliate – But Don’t Overdo It
Exfoliation removes dead skin cells, revealing the fresh, radiant layer underneath. However, over-exfoliating can strip your skin’s natural barrier and cause irritation. For a home facial, aim to exfoliate 1–2 times per week, depending on your skin type.
If you have a cleansing brush, it can double as an exfoliating tool when used with a gentle scrub. Alternatively, you can use a chemical exfoliant like a BHA or AHA toner. The key is to be gentle—let the product do the work, not your hands. After exfoliating, your skin is primed to absorb the next steps more effectively.
- Use a soft-bristle brush or a mild scrub.
- Avoid the eye area and any broken skin.
- Follow with a soothing toner if you have one.
Step 3: Steam or Warm Compress to Open Pores
Steaming is a classic facial step that helps loosen blackheads and allows deeper penetration of masks and serums. You don’t need a fancy steamer—simply soak a clean towel in warm water, wring it out, and place it over your face for 3–5 minutes. Or, fill a bowl with hot water, lean over it, and drape a towel over your head to trap the steam.
This step is especially beneficial before applying a purifying mask. The heat softens the sebum in your pores, making it easier to extract impurities. Just be careful not to burn your skin—the steam should feel comfortable, not scalding.
Step 4: Apply a Mask – Choose Based on Your Skin’s Needs
Masks are the workhorse of any facial. They deliver concentrated ingredients that target specific concerns like oiliness, dryness, or dullness. For a salon-quality result, choose a mask that addresses your primary skin issue.
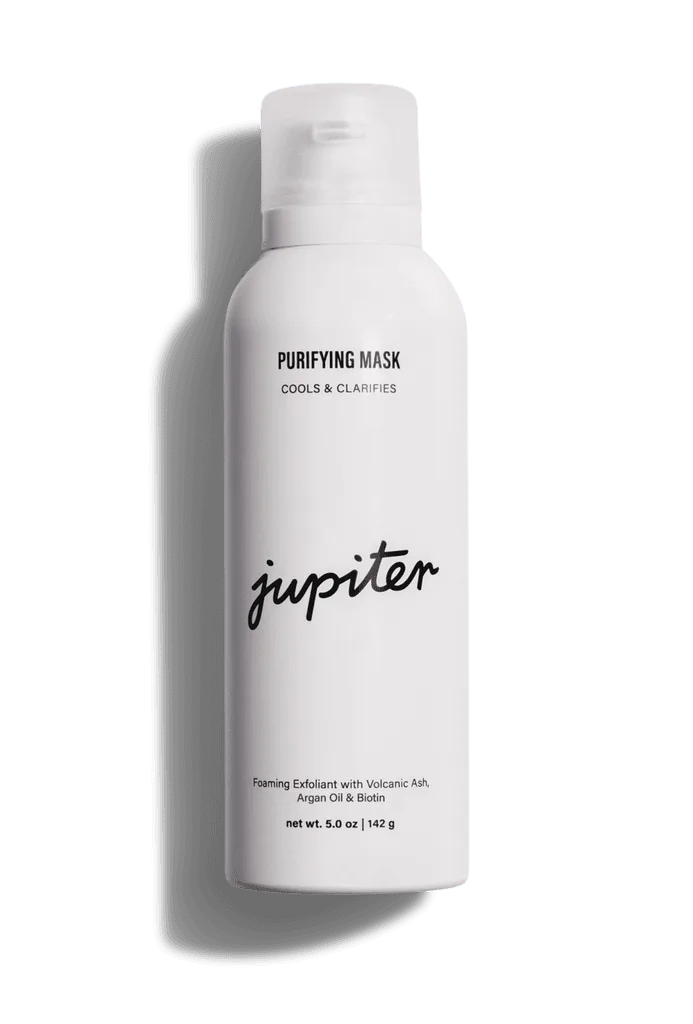
If you have oily or combination skin, a clay-based mask like the Jupiter Purifying Mask can draw out impurities and absorb excess oil. Apply a thin, even layer, avoiding the eye area, and leave on for the recommended time. While the mask works, relax—this is your at-home spa moment. Rinse with warm water and pat dry.
- For dry skin, opt for a hydrating mask with hyaluronic acid.
- For dull skin, look for a brightening mask with vitamin C.
- Always follow the mask’s timing instructions—never leave it on overnight unless specified.
Step 5: Tone and Moisturize – Lock in the Benefits
After rinsing off your mask, your skin is clean and receptive. A toner helps balance your skin’s pH and tighten pores, while a moisturizer seals in hydration and protects the skin barrier.
For a lightweight, daily option, the Alder Lightweight Moisturizer is an excellent choice—it hydrates without feeling greasy, making it perfect for post-facial use. If you prefer a more intensive treatment, layer a facial oil or serum before your moisturizer. Don’t forget your neck and décolletage—they age just as fast as your face.
- Apply toner with a cotton pad, pressing gently into the skin.
- Warm a pea-sized amount of moisturizer between your fingers before applying.
- Finish with a broad-spectrum SPF if you’re doing this routine in the morning.
Bonus: Incorporate a Facial Massage for a Lifting Effect
Professional facials often include a massage to stimulate circulation and promote lymphatic drainage. You can mimic this at home with your fingertips or a jade roller. Use upward, outward strokes from the center of your face toward your ears and down your neck. This helps reduce puffiness and gives your skin an instant glow.
For an even more luxurious experience, use a few drops of facial oil to allow your fingers to glide smoothly. This step doesn’t take long—just 2–3 minutes—but it makes a noticeable difference in how your skin looks and feels.
A salon-quality facial at home is completely achievable with the right tools and a simple routine. By cleansing with a brush, exfoliating gently, steaming, masking, and moisturizing, you can keep your skin in top shape between barber visits. To get started, explore our selection of skincare essentials like the Jupiter Purifying Mask and the Alder Lightweight Moisturizer—your skin will thank you.