Quick answer
Choose an indoor spot with a washable floor and nearby water access for everyday sensory play, and reserve outdoor setup for sand, larger groups, or messy explorations. Whichever location you pick, confirm drainage, lid storage, and a clear cleanup path before the first fill.
Why the location decision comes before the table choice
Indoor and outdoor setups fail for different reasons. Indoors, the usual problems are splashed water on flooring and sand tracked into other learning areas. Outdoors, wind, sun, and distance from a drain or hose can turn a quick activity into a hauling job. Decide where the table will live most days, then match the table features to that reality.
A mobile sand and water table earns its keep when the table must move between a classroom and a playground. If the table will stay in one place, prioritize drainage and lid coverage over wheel size.
Indoor setup: control the mess before the fun
Place the table on a hard, washable floor rather than carpet, and leave at least two feet of clearance on all sides for toddlers to circle without bumping shelves. Keep a small drying mat and a towel within arm's reach so wet hands do not carry water across the room.
Lids matter indoors because they let you close the table between sessions instead of emptying it every time. If your table does not include lids, plan a covered storage spot for the sensory material itself.
Outdoor setup: plan for wind, sun, and drainage
Outdoors, position the table on level ground away from direct midday sun so sand and water do not overheat. Check that a hose or water source is close enough to refill without carrying heavy containers across the play area.
Wind is the quiet culprit: lightweight toys and dry sand blow out of open trays. Set up on a patio or against a fence line, and keep a lid or cover handy for gusty days.
Step-by-step sensory table setup for toddlers
- Pick the primary location and measure clearance: Choose indoor or outdoor based on flooring, water access, and how often the table will move. Measure a two-foot clearance zone around the table and confirm the surface is level. Common mistake: placing the table against a wall where toddlers cannot walk around it, which causes crowding and spills. If the table will move weekly, choose a mobile model; if it stays put, prioritize drainage and lids.
- Confirm drainage and lid storage before filling: Locate the drain plug or plan how you will empty the tray. Decide where lids will rest when the table is open so they do not become trip hazards. Common mistake: filling the table first and discovering the drain is blocked or the lid has no home. Test the drain with a small amount of water before the first full fill.
- Choose the sensory material for the location: Indoors, start with water or a small amount of sand that stays in the tray. Outdoors, sand and water together are easier to hose off. Common mistake: overfilling trays so toddlers cannot scoop without pushing material over the edge. Fill no more than halfway until you see how the group plays.
- Set up the cleanup station within reach: Place towels, a small broom, and a drying mat beside the table before play begins. Indoors, add a shallow boot tray for wet feet; outdoors, keep a hose or bucket nearby. Common mistake: storing cleanup supplies across the room, which lets spills spread while you fetch them. A cleanup station that is visible to toddlers also signals the end-of-play routine.
- Run a five-minute trial and adjust: Let one or two toddlers try the table while you watch for splashing, tipping, or reach problems. Adjust the table height, material amount, or location before inviting the full group. Common mistake: skipping the trial and discovering the table wobbles or is too tall only after a crowd arrives. If the table shifts or rocks, stop and fix the footing before continuing.
Product facts to match your setup
-
Toddler Sand & Water Table for Indoor and Outdoor Learning Environments: Includes a screw-in rubber plug for draining after activities. A drain plug makes indoor cleanup faster because you can empty water without lifting or tipping a full table.
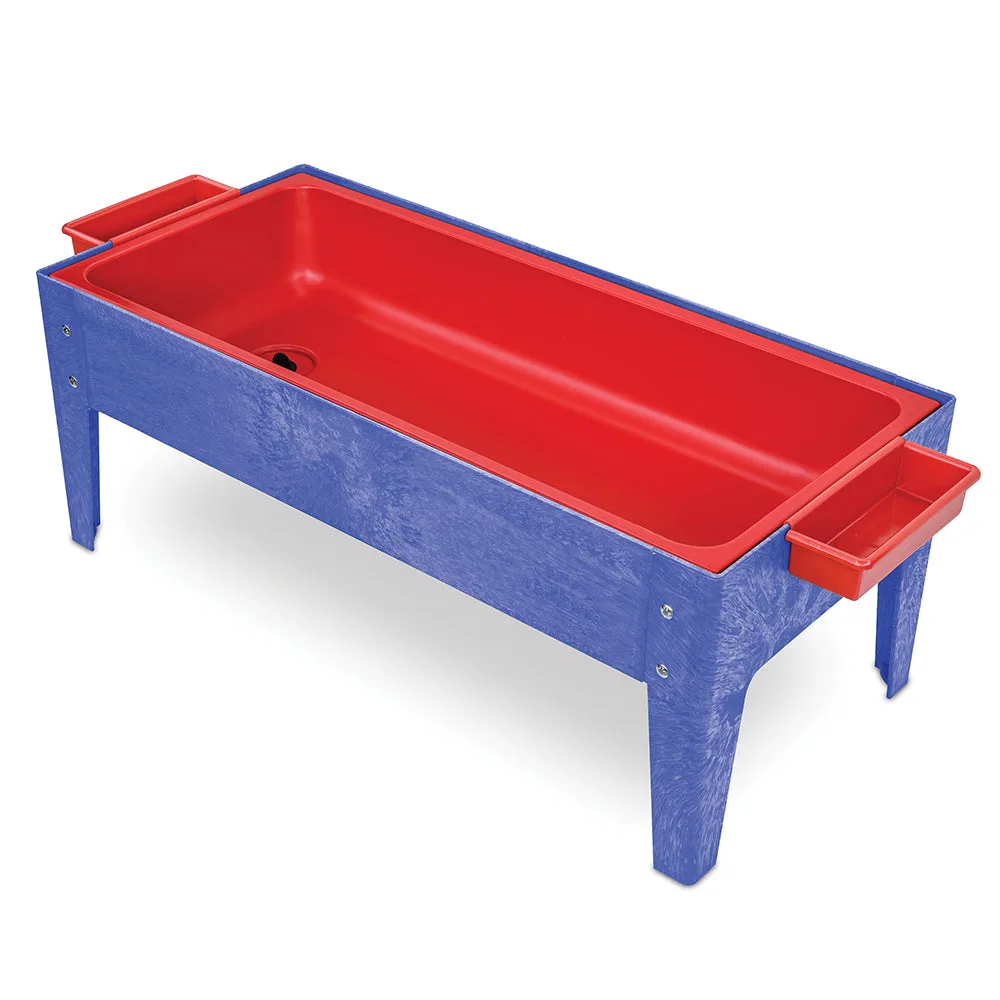
Toddler Sand & Water Table for Indoor and Outdoor Learning Environments
-
Toddler Clear-View Sand & Water Tray Set | Transparent Sensory Table with Stand & Lids: Clear-view tray set with stand and lids. Transparent trays let toddlers watch sand and water move from the side, and the lids simplify covering the table between indoor sessions.

Toddler Clear-View Sand & Water Tray Set | Transparent Sensory Table with Stand & Lids
-
E-Z View Mobile Sand & Water Sensory Table: Mobile E-Z View table designed to move within early childhood spaces. Mobility is the deciding feature if your setup has to shift between indoor circle time and outdoor play.
