Quick answer
Most play sand problems are storage problems, not product defects. If sand crumbles or stops holding a shape, add a little water or knead it back to life before buying a replacement. If sand is escaping the box, the container or mat is the real issue, not the sand itself. Clean with plain water and a dry cloth, and only replace the set when the sand has picked up grit, pet hair, or odors that washing cannot fix.
Why play sand dries out and what actually revives it
Moldable and kinetic-style sands hold their shape because of the binder and moisture balance inside the grain. Leave the lid off overnight and that balance tips toward dry, which is why the sand suddenly crumbles instead of packing. The fix is small and slow: add water a few drops at a time, knead it through the whole batch, and stop as soon as it clumps when squeezed. Overwatering is the more common mistake, and it turns sand into a sticky paste that stains hands and carpets.
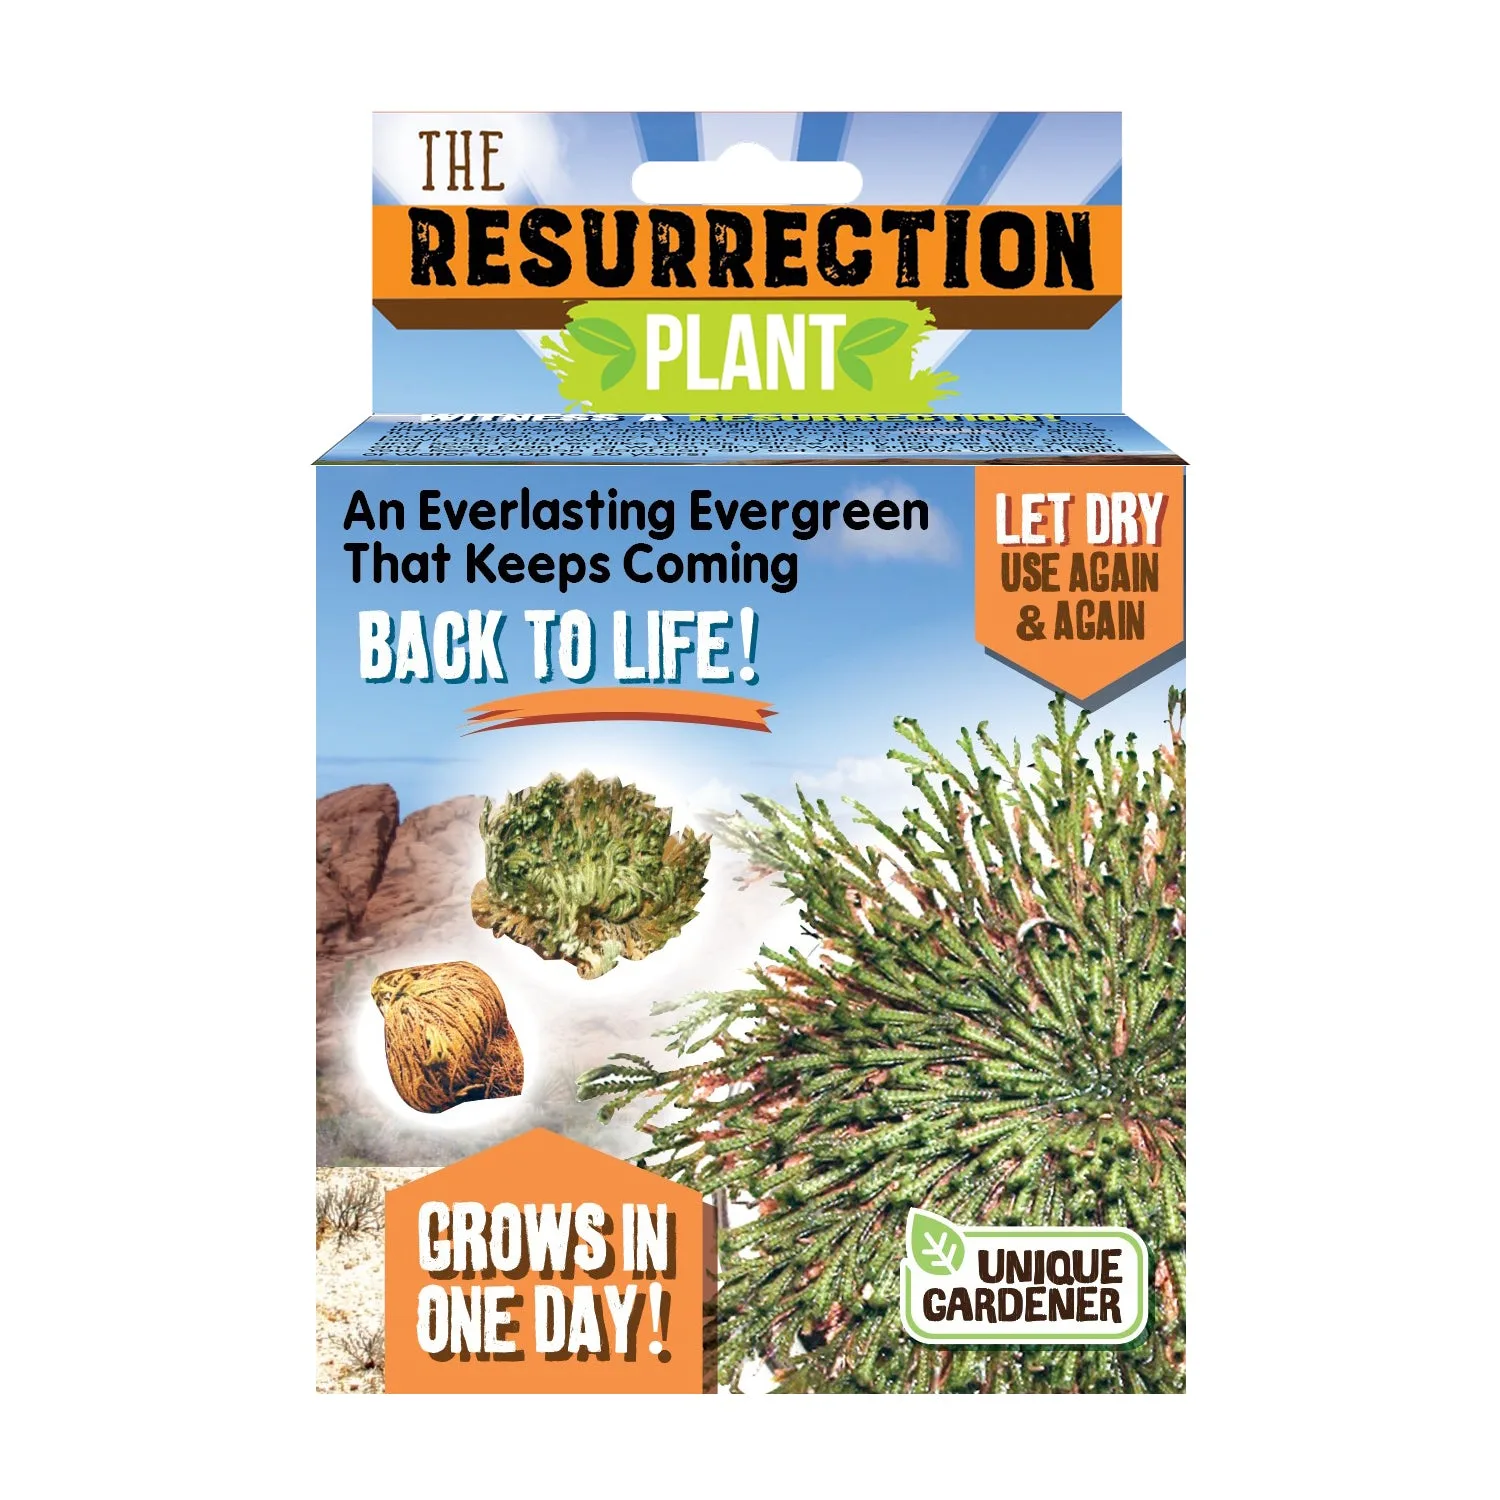
If you are working with a grow-style set rather than a moldable one, the rule flips. Those materials are designed to be rehydrated, and the supplied instructions usually say to add water and watch it expand again. Read the specific set's directions before assuming every sand product revives the same way.
- Dry and crumbly: add water a few drops at a time and knead.
- Sticky and pasty: you added too much water; let it air-dry in a thin layer.
- Smells musty: the sand stayed damp too long; dry it fully before storing.
Storage that keeps sand usable between sessions
The single biggest factor in how long play sand lasts is whether it gets sealed after every session. A lid that closes fully keeps moisture in and dust, pet hair, and crumbs out. If your set did not come with a lid, a resealable bag or a lidded plastic bin works just as well, and it takes ten seconds to close.
Keep the play mat or tray underneath the sand at all times, not just when you expect spills. A defined play zone catches stray grains before they reach carpet or grout, and it makes cleanup a matter of folding the mat and shaking it back into the container. Store the sealed container somewhere dry and out of direct sun, since heat accelerates drying.
Cleaning sand sets without ruining them
For the sand itself, you rarely need soap. Plain water and kneading handle most refresh jobs. If the sand has picked up visible grit or hair, pick out the debris with your fingers rather than rinsing the whole batch, since rinsing can wash away the binder that makes moldable sand moldable.
For the trays, molds, and tools, warm water and a soft cloth are enough. Skip the dishwasher unless the manufacturer says otherwise, because heat can warp thin plastic molds and loosen glued parts. Dry everything completely before the sand goes back in, since trapped moisture is what causes that musty smell.
When to stop fixing and replace instead
There is a point where care tips stop helping. If the sand has been contaminated with something you cannot pick out, if it smells sour even after drying, or if the binder has broken down so far that no amount of water brings back the moldable texture, replacement is the honest answer. The same goes for cracked trays or lids that no longer seal, since a broken container guarantees the mess returns.
For sets with a defined play surface, replacing the whole set is often cheaper than hunting for a matching lid or tray. That is worth knowing before you spend an afternoon trying to rescue a container that was never going to close properly again.
Symptom-to-fix diagnosis
- Sand crumbles and will not hold a shape: The batch has lost moisture, usually because the lid stayed open or the container was stored in a warm spot. Add water a few drops at a time and knead until it clumps when squeezed. If it still crumbles after two rounds of slow rehydration, the binder is spent and replacement is the better call.
- Sand is sticky, greasy, or leaves residue on hands: Too much water was added, or the sand was stored damp. Spread it in a thin layer to air-dry, then knead it back to a workable texture. Stop adding water once it holds a shape; more water makes this worse, not better.
- Sand is everywhere except the play area: The container or play surface is undersized for how the set is being used. A lidded box and a defined mat contain stray grains and make cleanup a fold-and-shake job. If the tray or lid is cracked, replace the set rather than trying to patch it.
- Musty or sour smell after storage: The sand went into the container while still damp. Dry it fully in a thin layer before sealing, and clean the tray with warm water and a soft cloth. If the smell returns after a full dry and clean, the sand has absorbed something you cannot remove.
Sets that make cleanup easier
- Sandbox Critters Tabletop Play Set - Ladybug: Tabletop ladybug sandbox measuring 10.5 x 8.5 x 2 inches, with a lid and a 20 x 20 inch no-mess play mat included. The lid solves the drying problem and the mat solves the spreading problem in one purchase, which is the combination most sand owners end up buying separately.
- Grow it Play Set - Swamp Adventure: Grow it Play Set - Swamp Adventure expands up to 30 times its size with water and can be rehydrated repeatedly when it starts to dry out. A useful contrast to moldable sand: this material is designed to be revived with water rather than sealed against moisture loss.
- Bocce Ball Set: Bocce Ball Set includes eight 100mm balls, a pallino, a carrying bag, and instructions for 2-4 players ages 13 and up. A reminder that not every play set needs sand care at all; the carrying bag is the storage solution, and there is nothing to rehydrate.