Quick Answer
For flat panels and precise edges, stick with sandpaper on a block. For curved, contoured, or delicate model parts, a sanding sponge absorbs vibration and conforms to the surface, reducing the risk of gouging. Many modelers keep both on hand and switch based on the shape they are sanding.
When Sandpaper Wins: Flat Surfaces and Sharp Edges
Sandpaper on a flat block gives you a rigid, predictable sanding plane. That makes it ideal for cleaning up seam lines on flat armor panels, sanding the sides of a wooden model ship hull, or squaring off the end of a styrene strip. Because the abrasive is backed by a hard surface, you can apply even pressure and maintain a true flat. The trade-off is that sandpaper alone does not conform to curves, and if you try to wrap it around a finger to reach a concave area, you often create a flat spot or a divot.
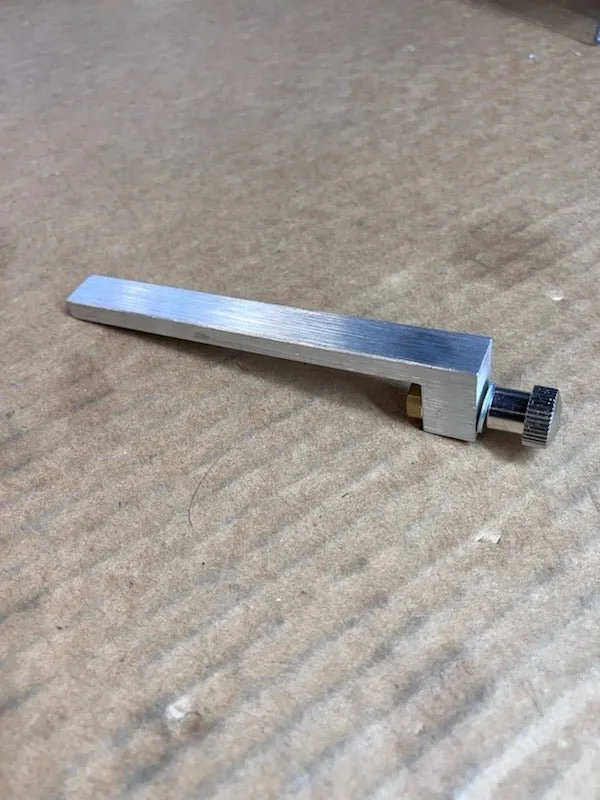
For modelers who need to rip thin strips of wood to precise widths, a setup like the Micro-Mark Brass Ripping Gauges (6-piece set) can help you set a table saw fence accurately, so your sanding starts with stock that is already the correct size. That reduces the amount of material you need to remove and keeps your sandpaper lasting longer.
When a Sanding Sponge Wins: Curves and Comfort
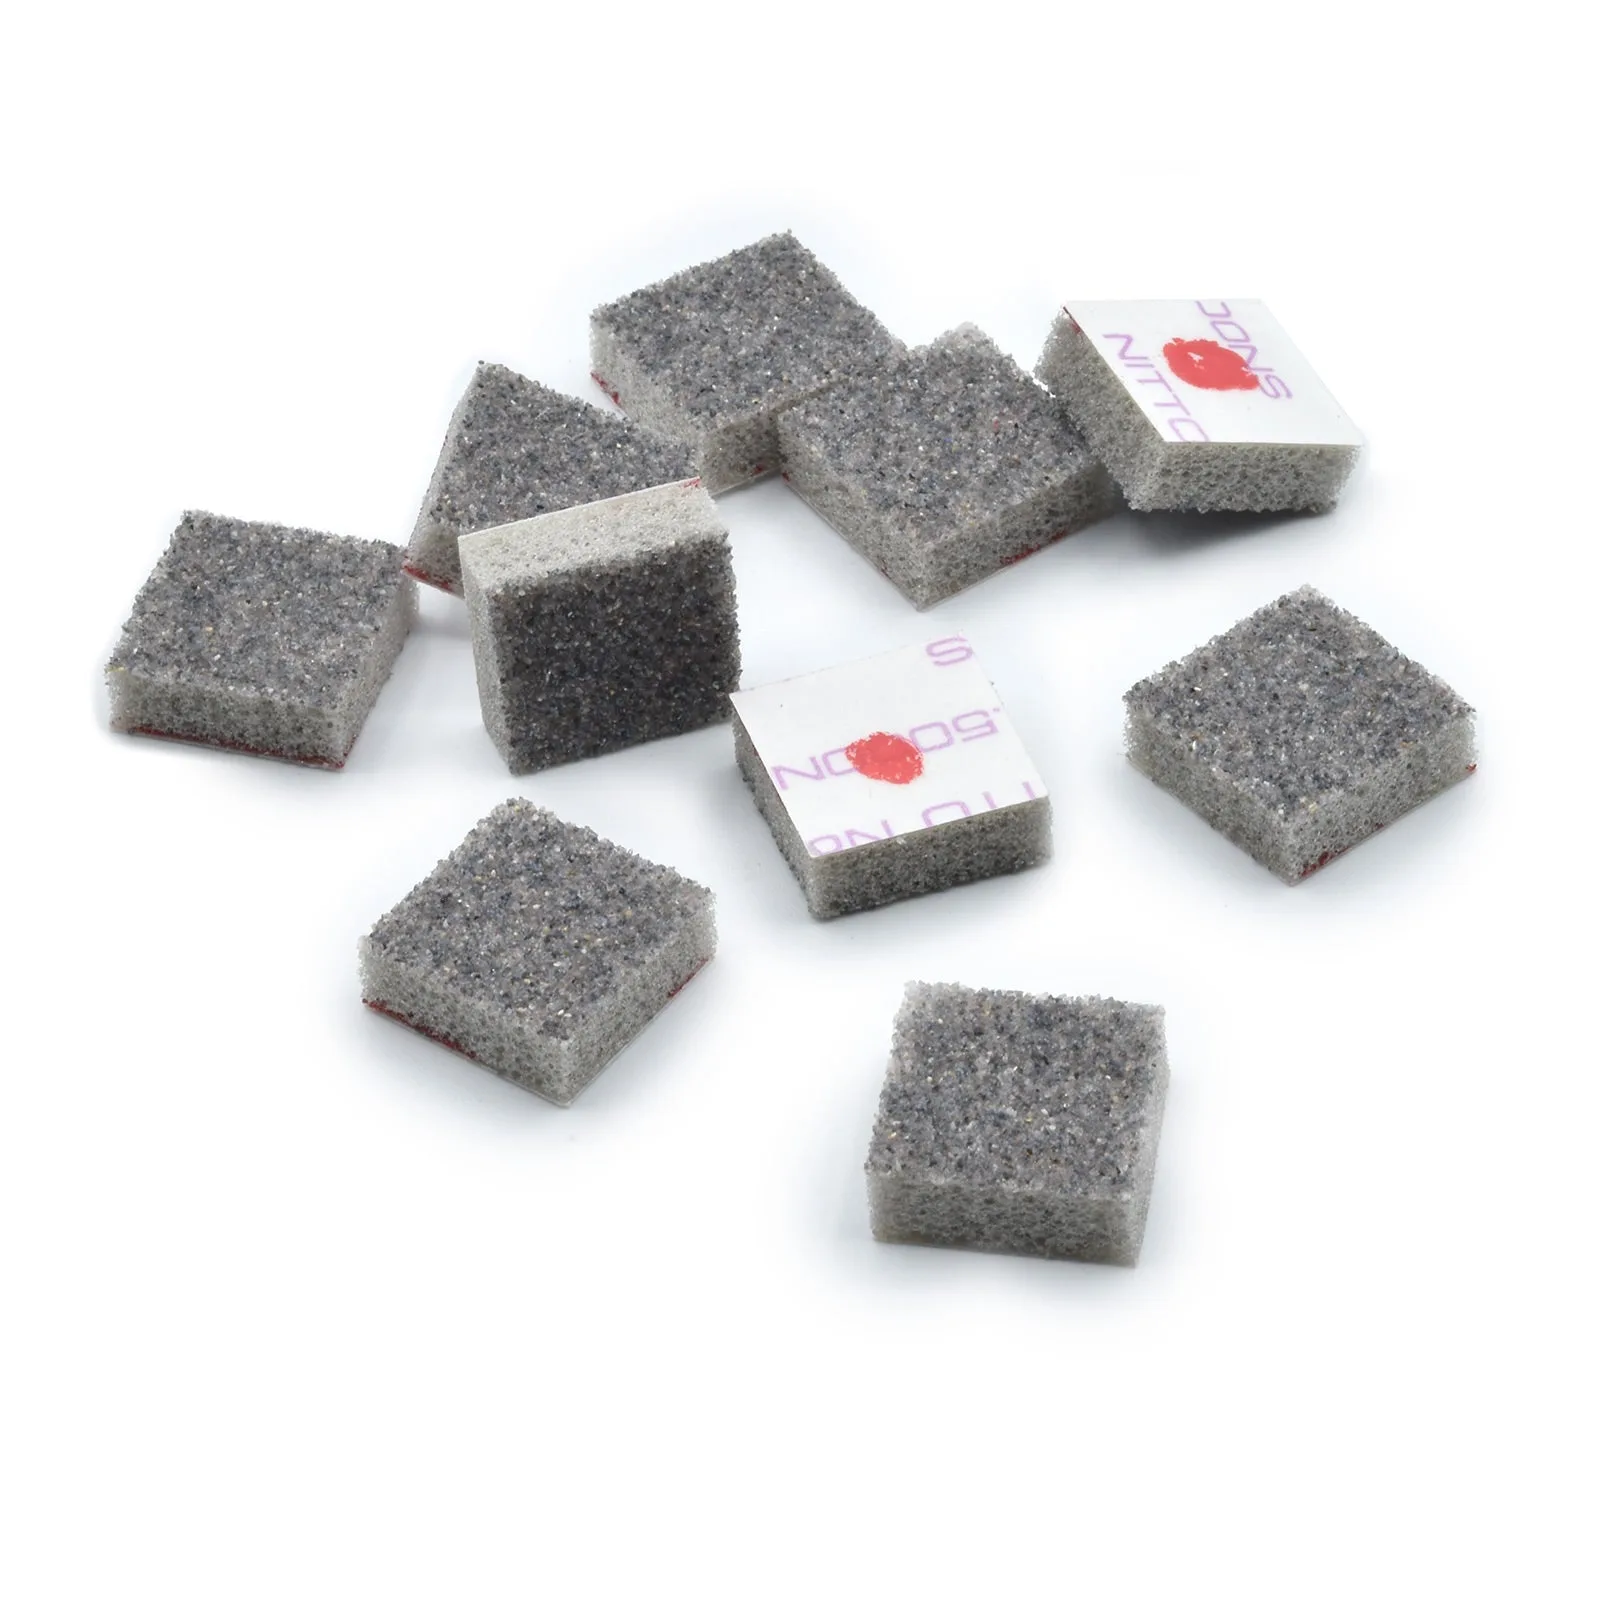
A sanding sponge, such as the Sanding Sponge Square 120 Grit (10-pack) from Micro-Mark, is designed for contoured surfaces. The flexible foam backing allows the abrasive to wrap around curves, gun turrets, cockpit fairings, and fillets. The sponge also absorbs sanding vibration, which makes extended sessions more comfortable on your fingers and reduces fatigue. Because the abrasive is bonded to a cushion, you are far less likely to sand through a thin edge or accidentally create a flat spot on a round part.
These peel-and-stick sponge pads are made for use with Micro-Mark Micro Sanders (models 81266 and 90946), but they can also be used by hand. The square pad can be cut in half to fit a narrow tip head, giving you access to tight spots. The 120-grit is a good medium starting point for removing primer or filler before moving to finer grits.
Sanding Sponge vs Sandpaper: Trade-offs at a Glance
- Surface contact: Sandpaper on a block gives a flat, rigid contact area. A sanding sponge flexes to match curves and contours. Choose sandpaper for flat panels; choose sponge for curved parts.
- Control and precision: Sandpaper on a block offers precise edge control for sharp corners and seam lines. A sponge can round over edges if you are not careful. Use sandpaper when you need a crisp edge; use sponge when you want to soften or blend.
- Comfort and vibration: Sandpaper transfers vibration directly to your fingers. A sanding sponge absorbs much of that vibration, making longer sessions more comfortable. For extended sanding sessions on large curved areas, a sponge is easier on your hands.
- Durability and reuse: Sandpaper can clog and tear, especially on soft materials. A sponge pad (like the peel-and-stick type) can be rinsed and reused several times before needing replacement. Sponges tend to last longer per piece, but sandpaper is cheaper per sheet.
Products That Help You Decide
- Sanding Sponge Square 120 Grit, 10pcs: Sanding Sponge Square for Micro-Sanders, 120 Grit, 10pcs. For use with our Micro Sanders 81266 and 90946. These peel & stick sponge sanding pads make putting finishes on contoured surfaces a breeze. The Square pad can be cut in half for the New Narrow Tip Head. They absorb sanding vibration with surface contact increasing comfort while sanding and modeling. If you work on curved model parts like fuselages, wings, or rounded details, this sponge conforms to the shape and reduces hand fatigue. The ability to cut the pad in half also lets you reach tight areas without losing flexibility.
- Micro-Mark Brass Ripping Gauges - 6 pc Set: Rip wood with precision. Use to align a table saw, set stops or create thin strips. Made of brass. Set of 6 gauges. Trial and error cutting of narrow strip wood is time consuming and costly. Our Brass Ripping Gauges save you time and money. Just place the correct width gauge next to the blade and slide the rip fence up. For modelers who cut their own wood strips (for ship planking, structure framing, or scratch-building), these gauges help you cut accurate widths so you spend less time sanding and more time assembling.
Which One Should You Choose?
Best For
- Modelers who frequently sand curved surfaces such as aircraft fuselages, ship hulls, or car bodies
- Hobbyists who want to reduce hand fatigue during long finishing sessions
- Anyone working with thin or delicate parts where a rigid block could cause damage
Not For
- Sanding large flat panels where a perfectly flat surface is critical (use sandpaper on a block)
- Creating sharp, square edges on wood or plastic strips (use sandpaper or a file)