Quick answer
Start with the band, not the cups: fasten the Savona Curvy Bralette on the loosest hook, check that the band stays level and snug without riding up, then adjust the wide straps so the power mesh lining supports your bust without compressing it.
Why the band does most of the support work
On a full-bust, smaller-band frame, the band anchors the bralette. If it feels loose, the straps take over and dig in; if it feels tight enough to leave deep marks, the power mesh lining cannot sit flat. Aim for a band that stays in place when you lift your arms and breathe deeply, not one you have to tug down all day.
When to size up or down in the Savona
The Savona Curvy Bralette is cut for a full bust and smaller band, so your usual bra size is the starting point, not a guarantee. If the lace cups wrinkle or the center does not lie close to your body, try a smaller band size before changing cup coverage. If the band digs in or the side seams pull forward, size up in the band. Because the bralette uses a 5x3 hook-and-eye closure, you have three levels of adjustment to fine-tune tension without changing the cup.
How the lace and lining affect comfort
Savona lace is a two-tone floral stretch lace with scalloped edges, so the edges are meant to flex with movement. The power mesh lining adds bust support, but it also means the fit should feel secure rather than loose. If you are between sizes, choose the fit that keeps the lining smooth against your ribcage; a slack band lets the lace bunch and reduces the support the lining can provide.
Step-by-step Savona Curvy Bralette fit check
- Fasten on the loosest hook: Close the 5x3 hook-and-eye on the loosest setting, then check that the band sits level around your ribcage and stays put when you lift your arms. Common mistake: fastening on the tightest hook first, which hides whether the band is genuinely too loose. If the band rides up at the back, go down a band size before adjusting straps.
- Settle the cups and lining: Lean forward slightly and smooth the power mesh lining flat against your bust, then stand up and check that the lace cups contain your bust without wrinkling or cutting across the top. Common mistake: judging cup fit while the band is still twisted or sitting too low. If the center front pulls away from your body, the band is likely too loose.
- Adjust the wide straps: Shorten the wide, adjustable straps until they lie flat without digging into your shoulders, then move your arms and shoulders to confirm they stay in place. Common mistake: over-tightening straps to lift the bust, which shifts the support away from the band. Straps should stay put with light tension, not carry the bust on their own.
- Test movement and breathing: Bend, reach, and take a few deep breaths. The band should stay level, the lining should stay smooth, and the lace edges should flex without rolling. Common mistake: checking fit only while standing still in front of a mirror. If you need to tug the band down after moving, revisit the band size.
- Care for the fit: Hand wash in cold water and do not dry in the dryer. Common mistake: machine drying, which can relax the stretch lace and elastane so the band no longer holds its tension. Air-dry flat to keep the band and lining consistent between wears.
Product facts
-
Curvy Bralette: Designed for women with a full bust and smaller band, with power mesh lining for extra bust support. The band and lining work together, so fitting the band first gives the lining a stable base to support your bust.
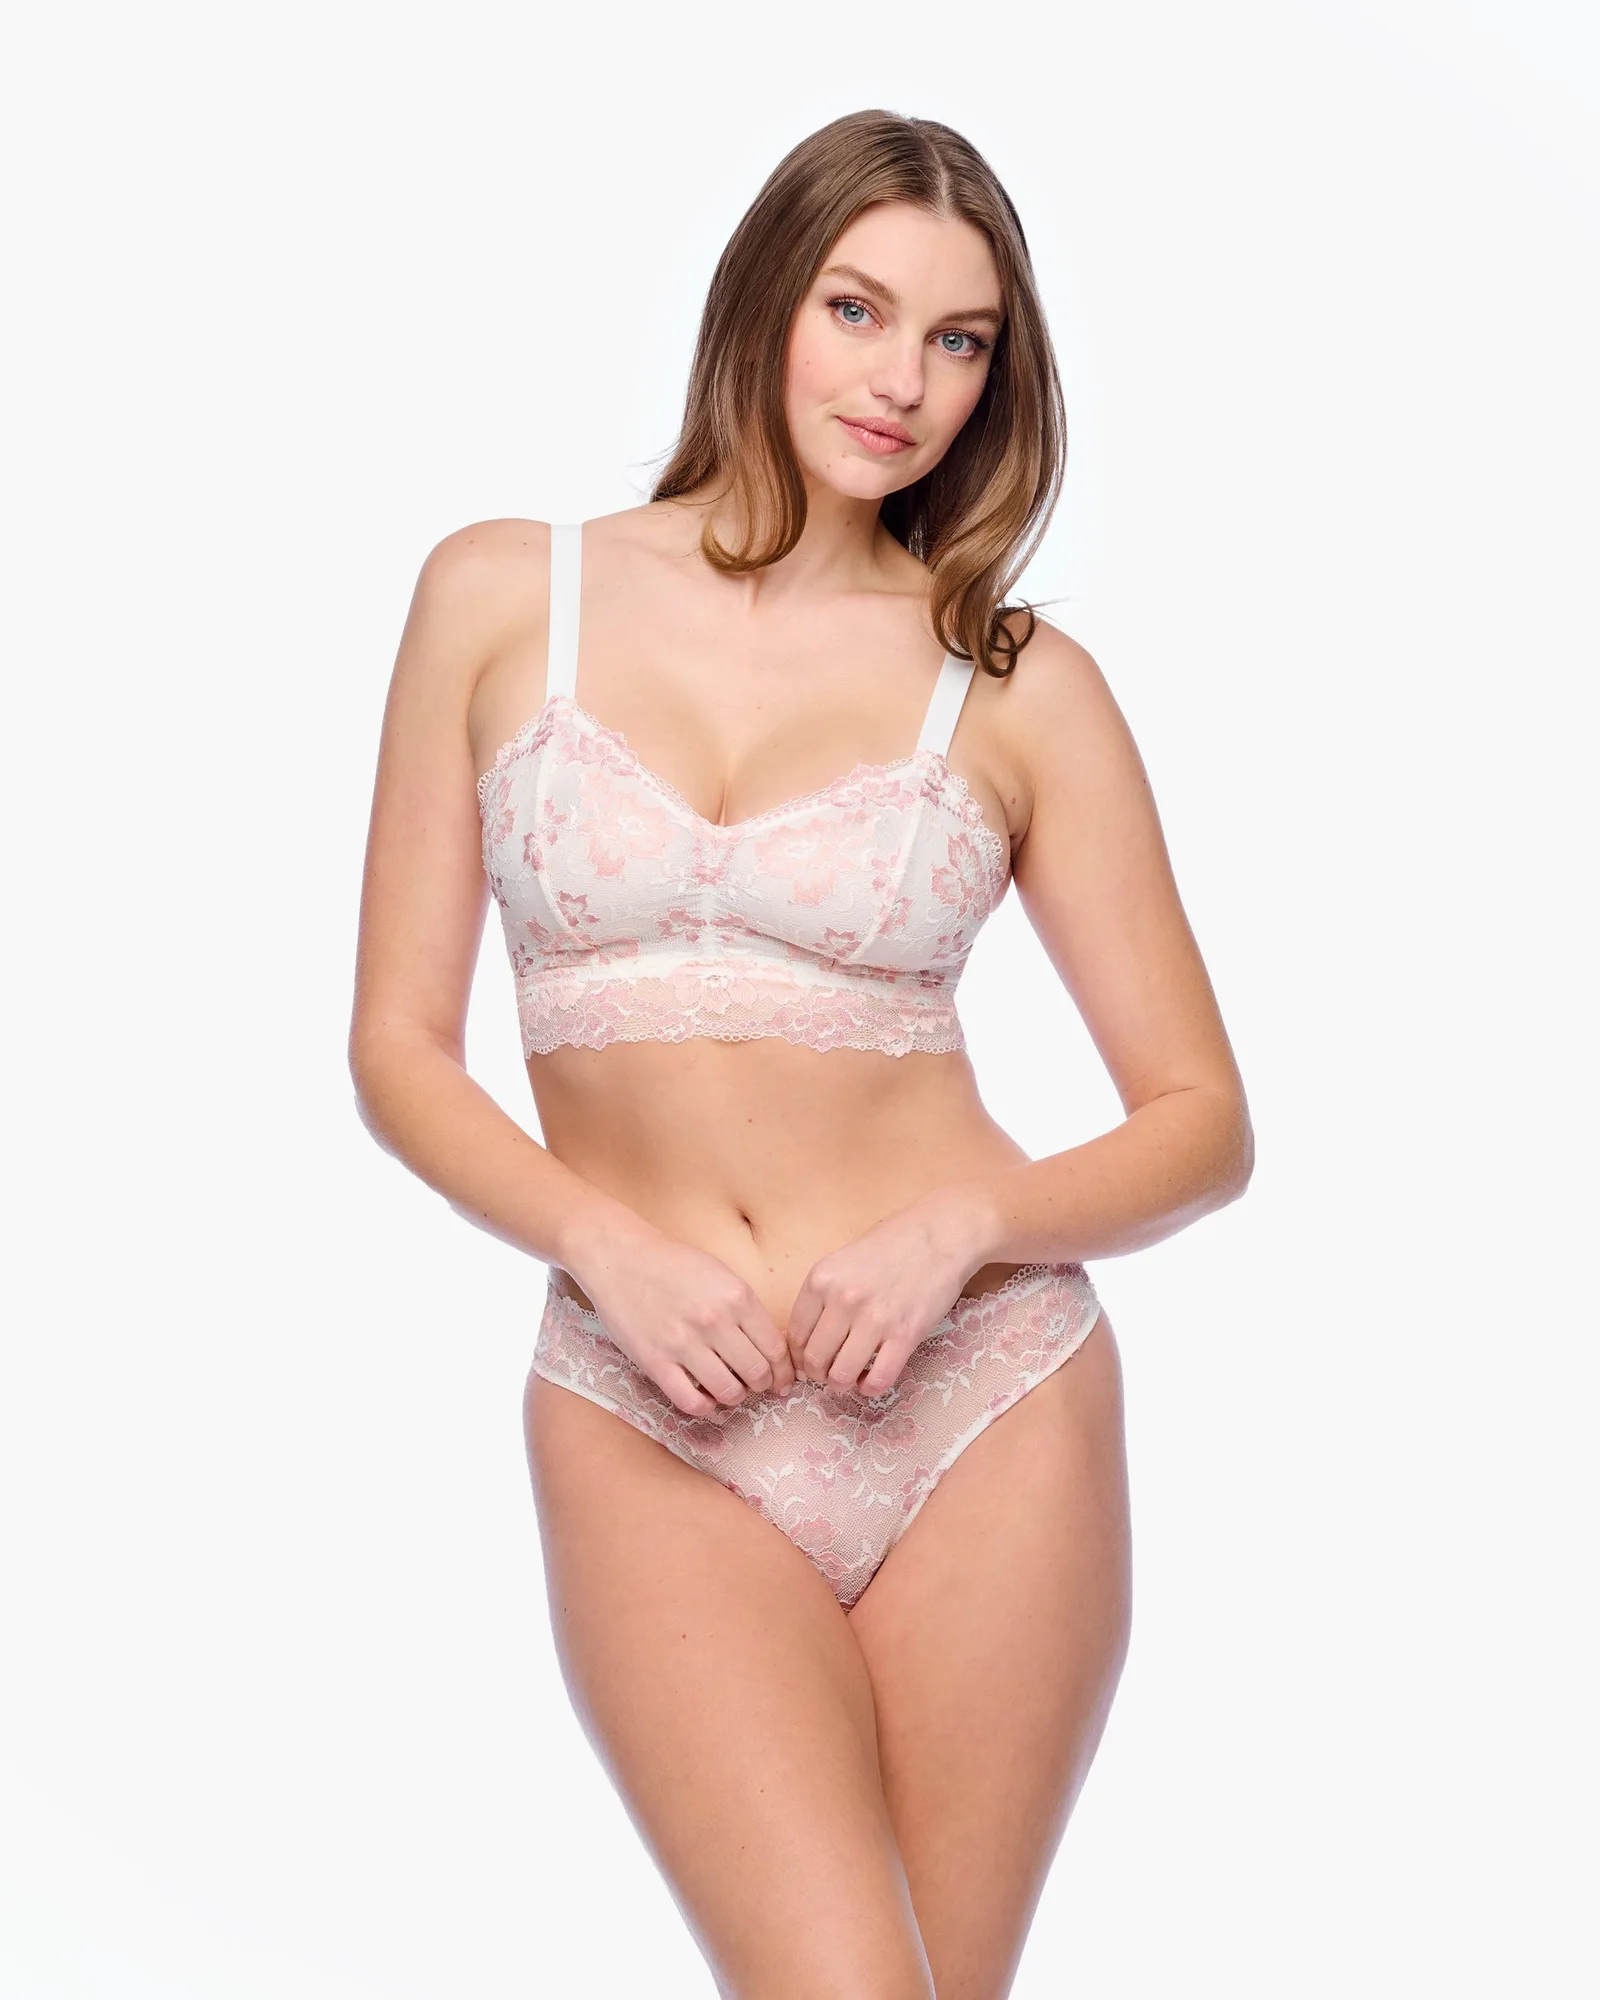
Curvy Bralette
-
Curvy Bralette: Features wide, adjustable straps and a 5x3 hook-and-eye closure. You can fine-tune strap length and band tension across three hook positions instead of relying on a single fixed fit.