Quick answer
An 8L side pouch works best mounted low on the side of a pack, with the top of the pouch at or below your shoulder line and the load kept under about 2 kg. If it sags, bounces, or blocks your arm swing, the problem is usually placement or weight distribution rather than the pouch itself. Move it down and back, tighten the PALS weave, or switch to a hip pouch when you need frequent access.
A side pouch is one of the cheapest ways to add usable capacity to a pack you already own, but it is also one of the easiest places to ruin the carry. Put 8 litres in the wrong spot and you get a pack that leans, a strap that digs in, or a pouch you cannot reach without taking the pack off. The fix is almost always placement and weight, not a different pouch.
This guide walks through the common symptoms people hit when adding an 8L utility pouch to a backpack, belt, or chest rig, what usually causes them, and what to change. It also covers when a side pouch is the wrong tool and a hip pouch or a larger pack makes more sense.
Where an 8L side pouch actually belongs
The side of a pack is a compromise position. It is easy to load and easy to reach around for, but it sits away from your spine, so weight there has more leverage on your posture than weight in the main bag. Keep an 8L pouch to bulky, light items: a shell layer, spare insulation, a tarp, food for the day, or a stove and pot. Heavy items like water, tools, or ammunition belong closer to your back.
Height matters as much as weight. Mount the pouch so its top edge sits at or below your shoulder line, roughly level with the bottom of your shoulder blades. Higher than that and it interferes with your arm swing and can push a shoulder strap outward. Lower and it starts to swing against your hip. On most packs, the sweet spot is the lower third of the side panel, just above the compression strap.
- Load the pouch with soft, light items first and check the pack's balance before adding more.
- Keep the total pouch load under about 2 kg unless the pack's frame and hip belt are designed for more.
- Mirror the load on both sides if you run two pouches, or accept a deliberate offset if you only run one.
PALS mounting: getting the weave tight
Most side pouches attach through PALS webbing, and most sag complaints come from a loose weave rather than a weak pouch. Thread the strap through the pouch, then through the pack's PALS row, then back through the pouch. Alternate rows so the pouch cannot slide vertically. Pull each pass tight before moving to the next one, and finish with the strap end tucked or secured so it cannot work loose.
If the pouch still shifts, add a second attachment point at the bottom rather than overtightening the top. Two points spread the load and stop the pouch from penduluming. On belts, the same logic applies: a pouch that only attaches at the top will flop outward when you bend or run.
- Weave through alternating PALS rows, not the same row twice.
- Leave a small gap between the pouch and the pack body so the pack can still compress.
- Recheck tension after the first hour of carrying; webbing settles.
Side pouch or hip pouch? A simple decision rule
Choose a side pouch when the contents are needed rarely, when you want to keep the front of your body clear, or when you are adding capacity to a pack that already fits well. Choose a hip pouch when you need frequent access without stopping, when you are carrying a rifle or tools in front of you, or when the item is something you want to reach with one hand while moving.
The tradeoff is real in both directions. A side pouch keeps your hips free and your profile narrower, but you have to take the pack off or reach awkwardly to get into it. A hip pouch is faster to access but adds bulk where a belt or harness already sits, and it can interfere with a pack's hip belt if both are worn high.
- Rarely needed, bulky, light: side pouch.
- Frequently needed, small, dense: hip pouch or chest pouch.
- Both at once: keep the hip pouch small and mount the side pouch lower and further back.
When the pouch is the wrong answer
If you find yourself moving the pouch every trip, or if the pack already carries close to its comfortable limit, the honest answer is that you need a bigger pack or a different load plan, not another accessory. Adding 8 litres to the outside of a 30-litre pack changes how the pack carries far more than adding 8 litres inside a 40-litre pack.
The same applies if the pouch keeps snagging on brush, doorways, or vehicle seats. In tight terrain, external pouches cost you width and catch on things. A slightly larger main bag or a flatter organizer inside the pack will usually serve you better.
- Stop adding external capacity once the pack's hip belt no longer transfers weight comfortably.
- If width is a problem, move the load inside the pack before buying another pouch.
- If you need the same items every day, a dedicated pack layout beats a bolt-on pouch.
Diagnosis: side pouch problems and fixes
- Symptom: pouch sags or slides down the pack: The PALS weave is loose or the pouch is only attached at one height. Re-thread through alternating rows, pull each pass tight, and add a second attachment point lower down. If it still slides after re-weaving, the pouch is overloaded for its mounting.
- Symptom: pack leans to one side: Asymmetric weight on the side panel. Move dense items into the main bag near your spine, keep the pouch to light bulky items, or mirror the load with a second pouch. If the lean persists with a light pouch, check the pack's hip belt fit and shoulder strap adjustment.
- Symptom: pouch bounces or swings when moving: The pouch is mounted too high or too far forward, or it only has top attachment. Lower it to the bottom third of the side panel and secure the bottom edge. If it still swings at a run, the pouch is too heavy for side mounting.
- Symptom: you cannot reach the pouch without stopping: Side mounting is the wrong position for frequently used items. Move those items to a hip pouch or chest pouch and keep the side pouch for occasional access. Stop moving the pouch around; change the pouch type instead.
- Symptom: pouch catches on brush, doors, or seats: External width is the cost of side mounting. Either accept a narrower pouch, move the load inside the pack, or step up to a larger main bag. If width is a recurring problem, stop adding external capacity.
Grounded product facts
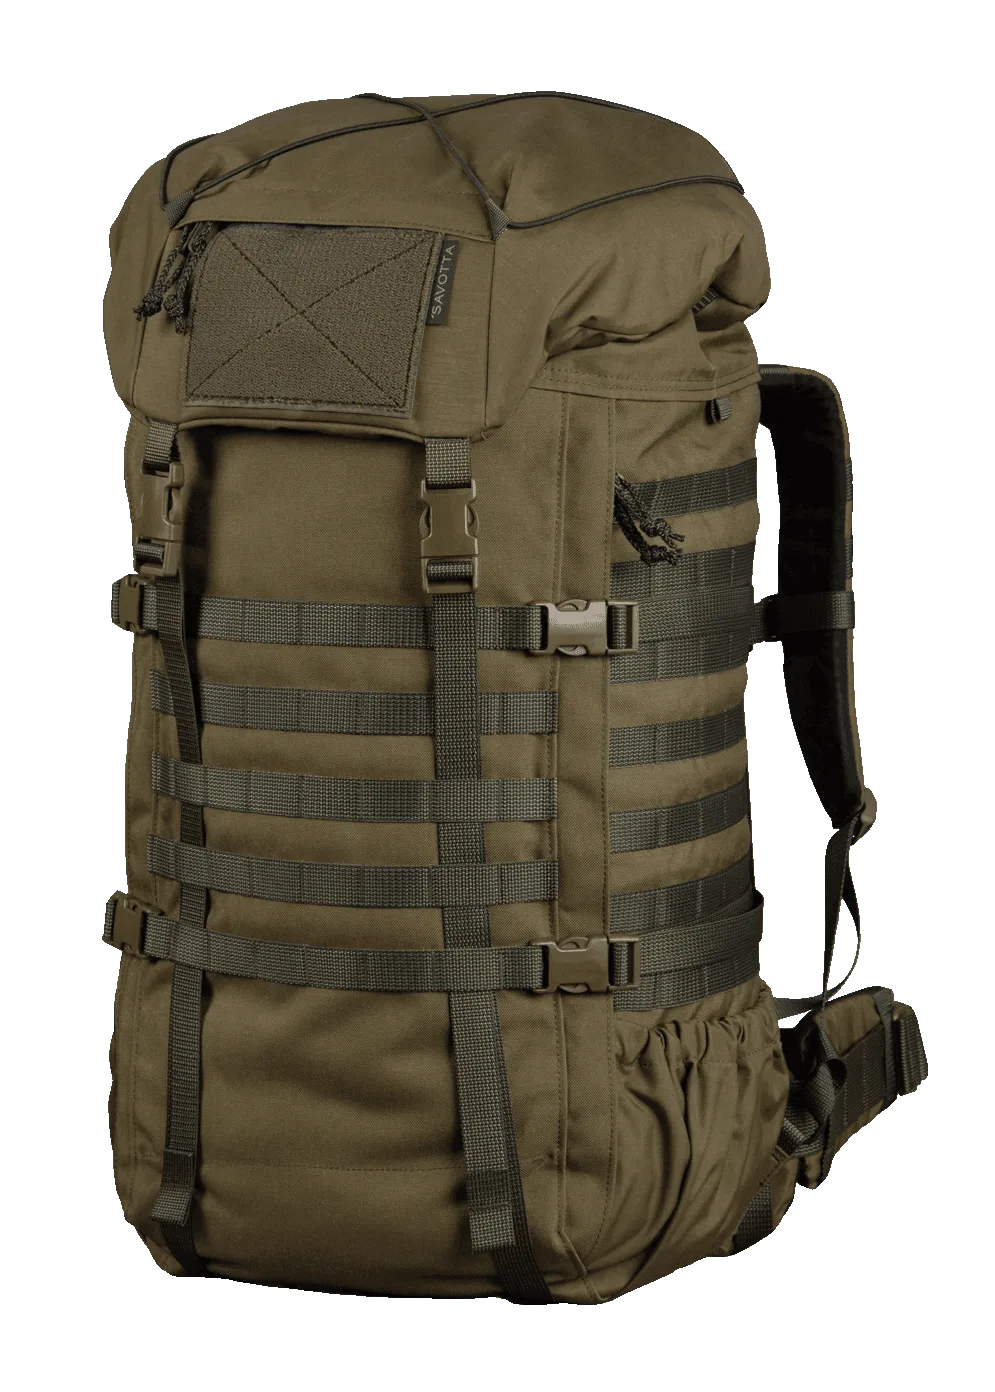
- Kantamus 60L backpack: The Kantamus 60L is the larger model in the Kantamus lineup, with an internal aluminium frame, adjustable shoulder strap attachment, and a main bag capacity of about 60 litres plus about 12 litres in the lid. A framed pack like this carries side-pouch weight better than a frameless pack, and the adjustable shoulder strap attachment lets you tune the fit before you add external load.
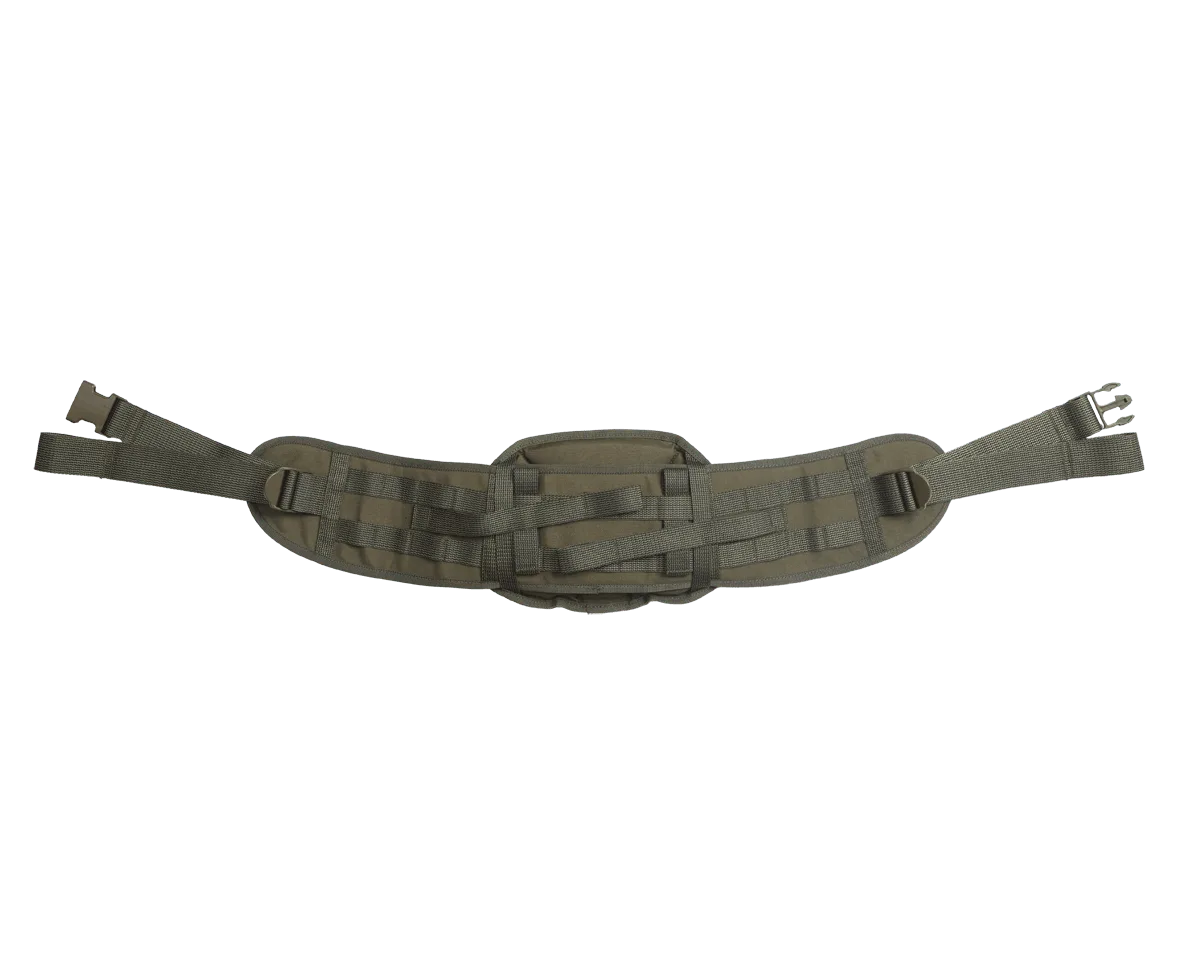
- Jääkäri L/XL hip belt: This is a spare hip belt for the Jääkäri L and XL backpacks, length adjustable from 75 to 148 cm, and the padded section is about 10 cm shorter than pre- or early-2021 belts so it can adjust down for smaller framed users. If your side pouch sags because the hip belt cannot be tightened enough, a correctly sized belt is the real fix, not more pouch straps.
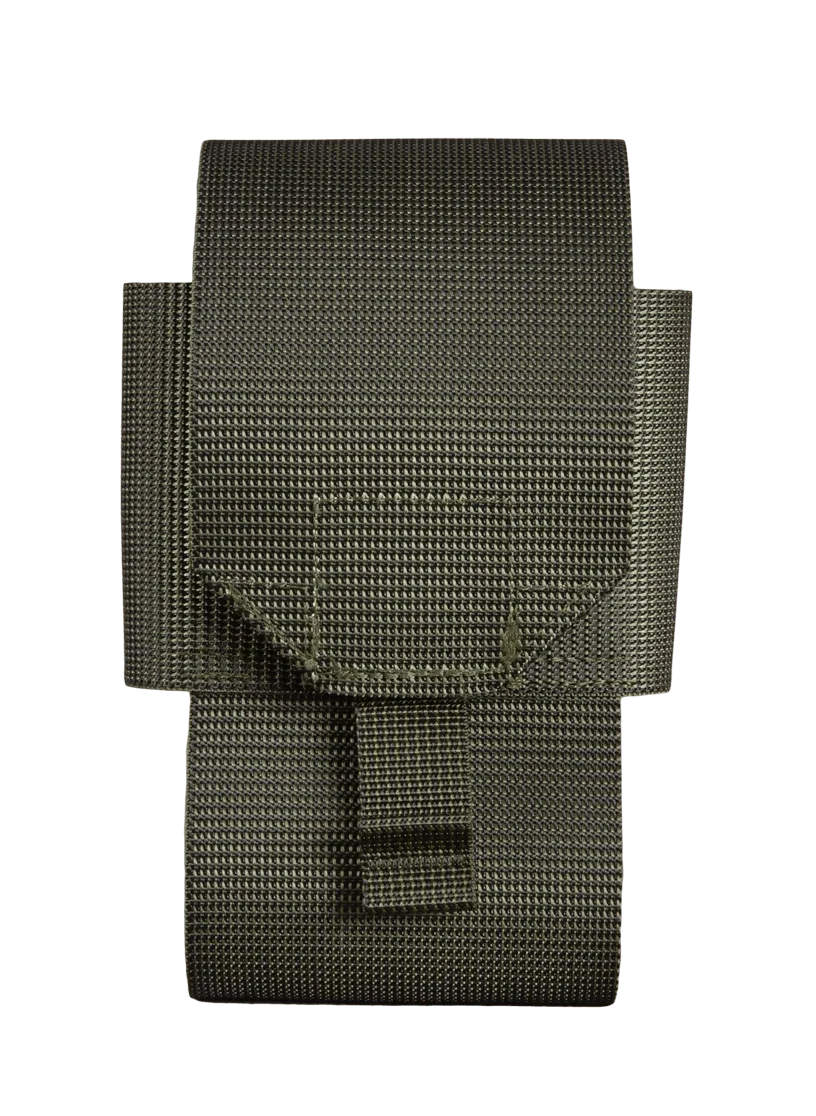
- Trifold E-tool pouch: A development of the M05 e-tool pouch made for the Finnish Defence Forces, using a 50 mm belt compatible PALS attachment system and a tuck tab closure instead of plastic buckles. A good example of how Savotta approaches belt and PALS mounting: the attachment system is the part that decides whether a pouch stays put.
An 8L side pouch earns its place when you mount it low, keep it light, and weave the PALS attachment properly. If you find yourself fighting it every trip, the pouch is telling you something about your load plan: move the weight inside, switch to a hip pouch for frequent access, or size up the pack instead of adding another strap.