Why Ground Prep Matters for Your See-Saw
A see-saw is a simple, classic addition to any backyard swing set, but its stability depends on what happens before the first bolt is turned. Proper leveling and ground preparation keep the beam steady, reduce wear on the hardware, and make the ride smoother for your children.
Our wooden see-saw features a solid 4 in. x 6 in. beam construction with a smooth, friction-free axis and commercial-grade electro-galvanized hardware. That strong build deserves a solid foundation.
Step-by-Step Ground Prep for Your See-Saw
The following steps are based on general outdoor playset best practices and the features of this see-saw. Always follow any manufacturer instructions that come with your specific model.
- Choose a Level Spot: Find an area of your yard that is naturally as flat as possible. Avoid slopes, low spots where water collects, or areas with tree roots. The more level the starting ground, the easier the installation.
- Clear the Area: Remove grass, sod, rocks, and any debris from the footprint where the see-saw will sit. A clean surface helps the see-saw sit flat and prevents shifting over time.
- Check and Adjust the Ground Level: Use a long level or a straight board with a carpenter's level to check the ground in both directions where the see-saw beam will rest. Add or remove soil as needed to create a level surface. Compact the soil firmly with a tamper or by walking on it.
- Consider a Base Layer (Optional): For extra stability, you can lay down landscape fabric and a layer of pea gravel or sand. This helps with drainage and prevents the beam from sitting directly on damp ground. This step is optional but can extend the life of the wood. Follow the supplied product instructions for any specific depth recommendations.
- Position the See-Saw: Place the pre-sanded, pre-stained wooden see-saw on the prepared ground. Check the level again with the beam in place. Make final adjustments by shimming under the beam ends if necessary, using pressure-treated wood or rubber shims.
See-Saw Construction Details That Affect Installation
-
See-Saw: Our see-saw comes pre-sanded with eased-edged lumber for your child's safety. It is also pre-stained. The see-saw is ready to use out of the box—no sanding or staining needed. Just focus on ground prep and assembly.
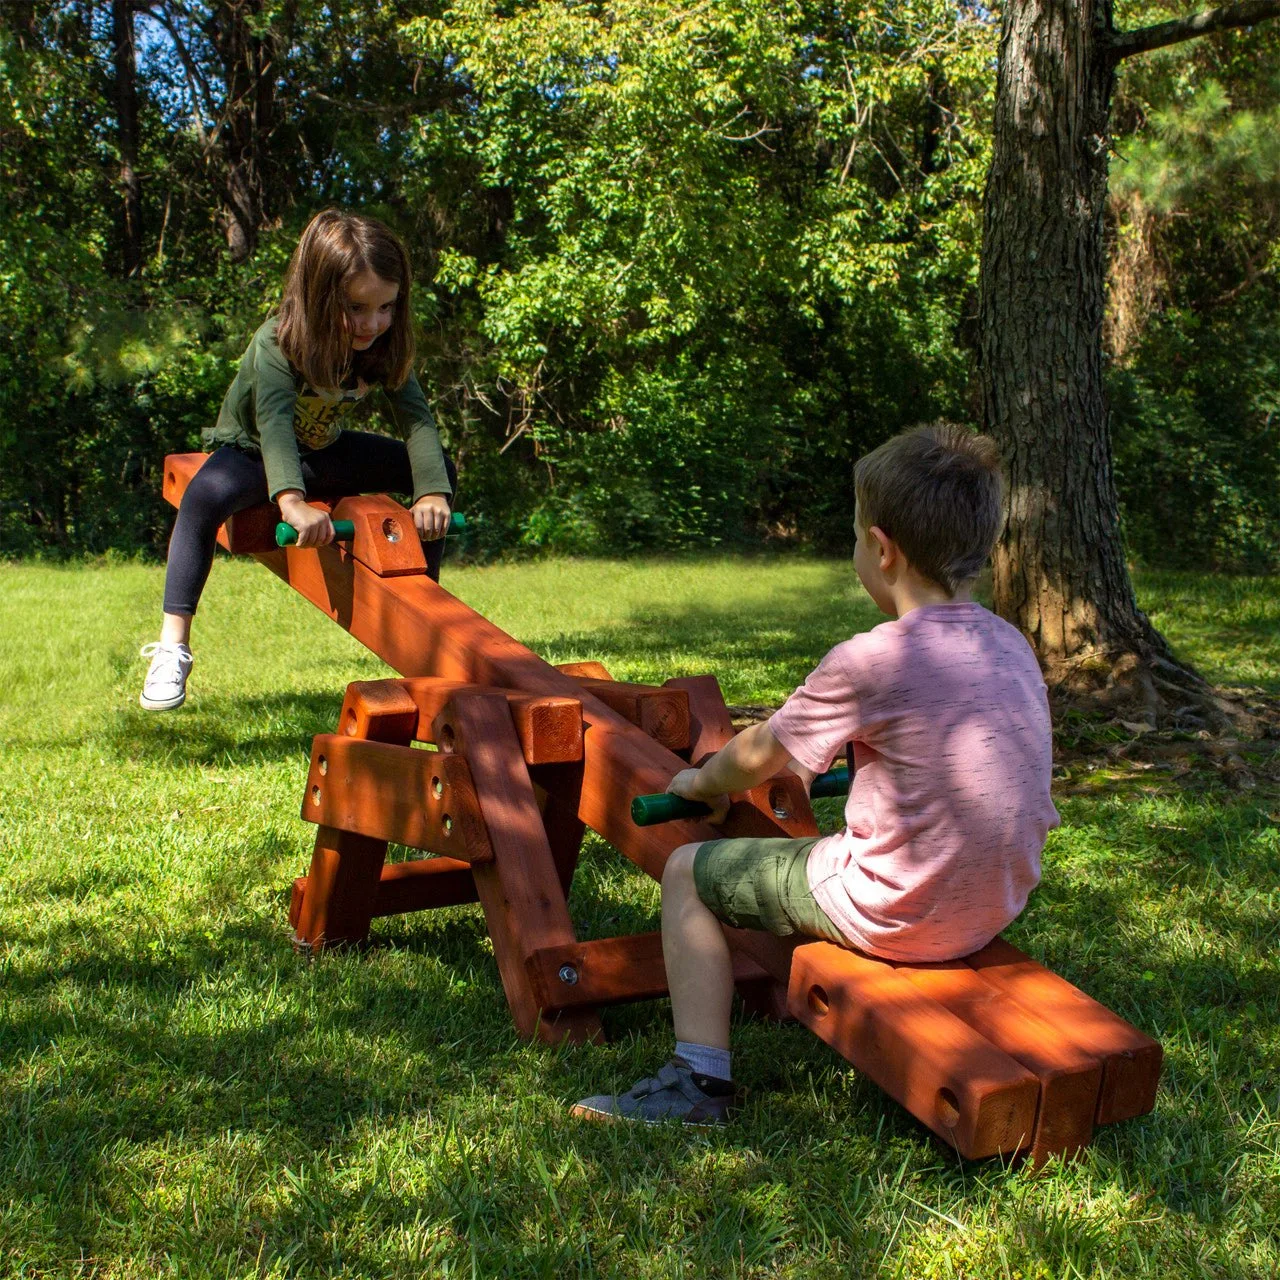
See-Saw
-
See-Saw: Our great see-saw boasts a solid 4 in. x 6 in. beam construction with a smooth, friction-free axis and commercial grade Electro-galvanized hardware. The heavy-duty beam and commercial hardware mean the see-saw is built to last, but they also mean you need a well-leveled base to avoid uneven stress on the pivot point.
What the Supplied Information Does Not Cover
The available product details for this see-saw do not include specific installation instructions, such as recommended ground clearance, anchoring requirements, or exact leveling tolerances. For those details, refer to the manufacturer's manual that ships with your see-saw. If you have questions about your specific yard conditions, consult a local contractor or playset professional.